
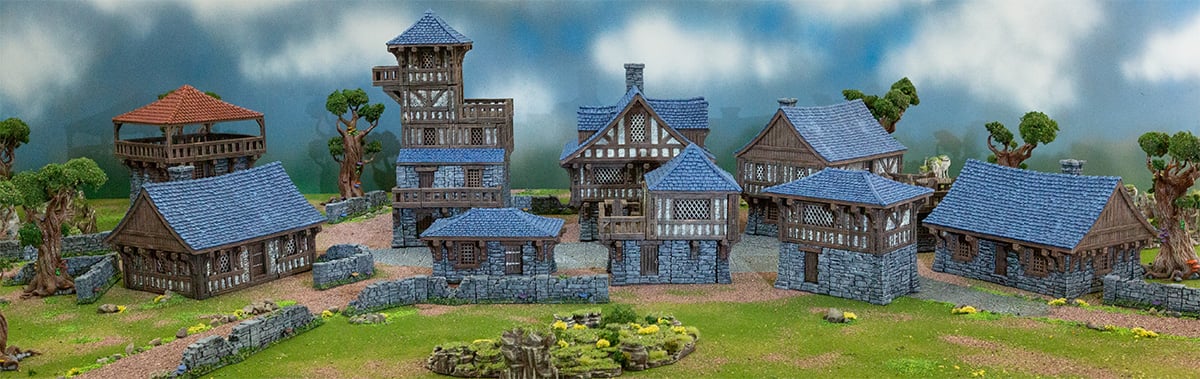
Clorehaven Assembly Guides
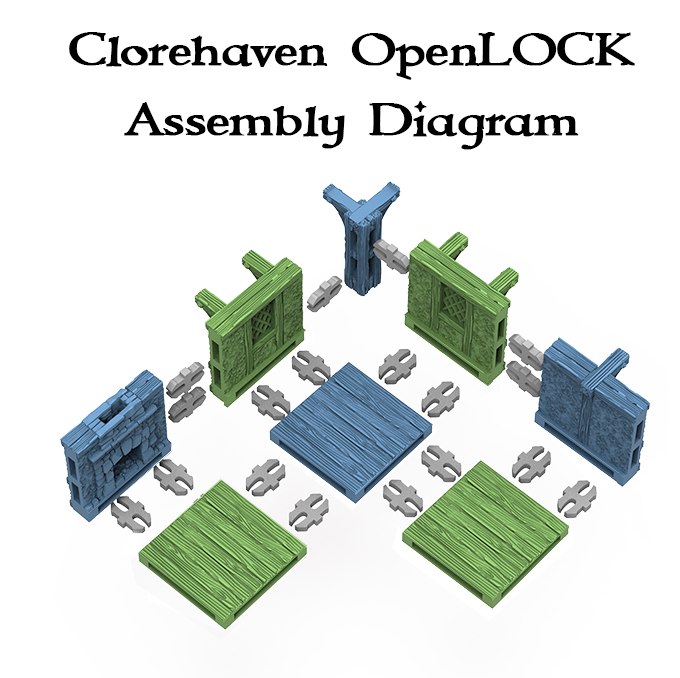
We’ve featured a wide variety of buildings using the Clorehaven OpenLOCK models, so here is a collection of PDF assembly guides that cover the build itself and all the parts you need. They are step-by-step, part-labelled, and colour-coded to make the build as easy as possible.
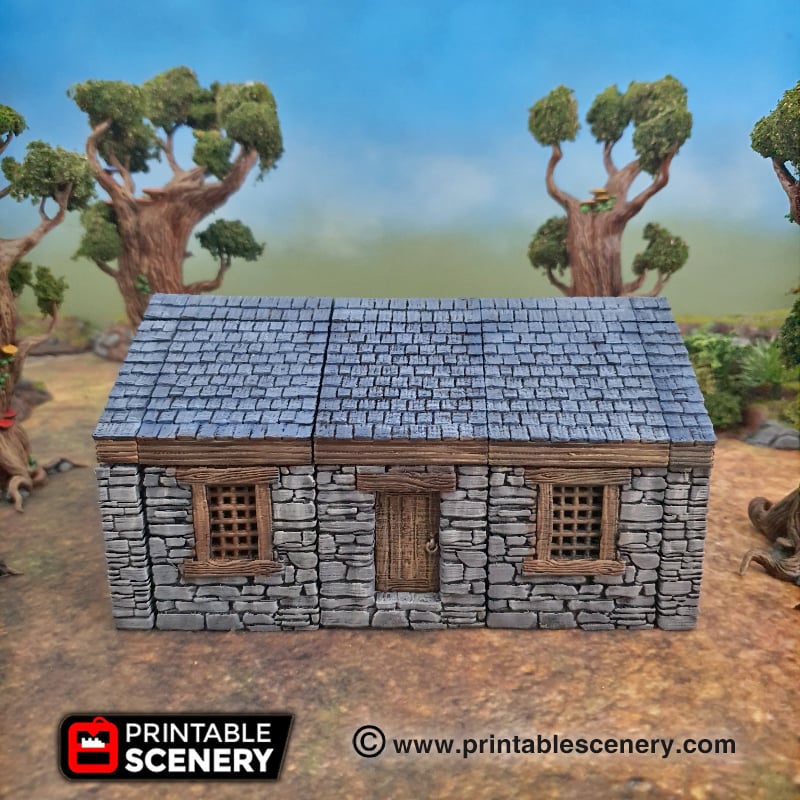
Clorehaven Basic House
This is the humble dwelling using the simplest parts from our free Clorehaven Trial Pack. Perfect place to get started.
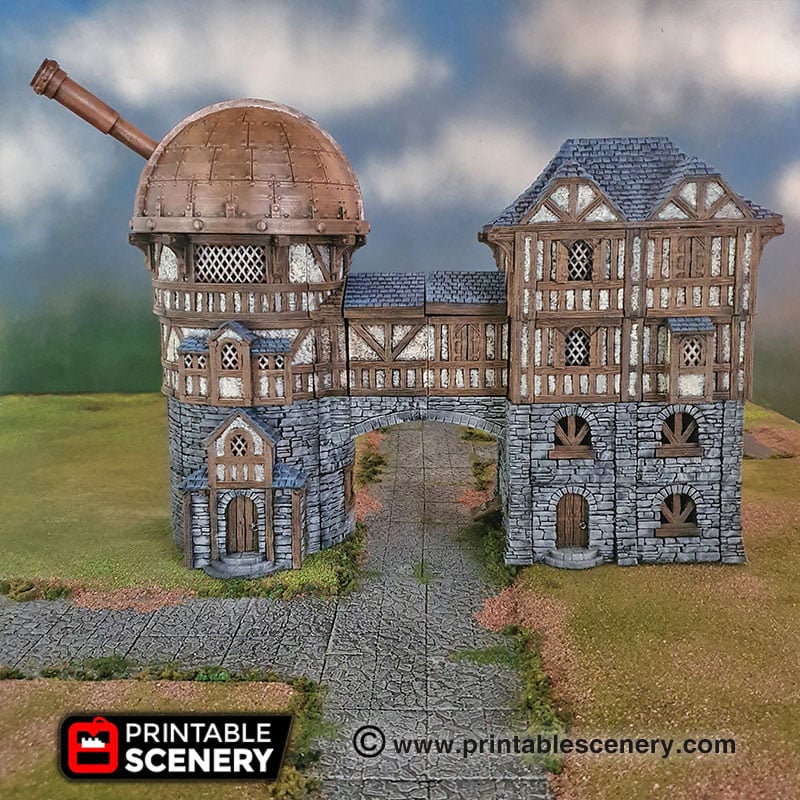
Clorehaven Alchemist Guild
Establish some academia in Clorehaven with the Alchemist Guild. This guide shows you how to build the pictured model, using a combination of basic Clorehaven parts as well as some bespoke parts from the Alchemist Guild collection.

Clorehaven Manor Inn
Featuring multiple levels and huge playable interior spaces, the Manor Inn will dominate the tabletop. Check out how we put together this massive inn using a whole range of parts.
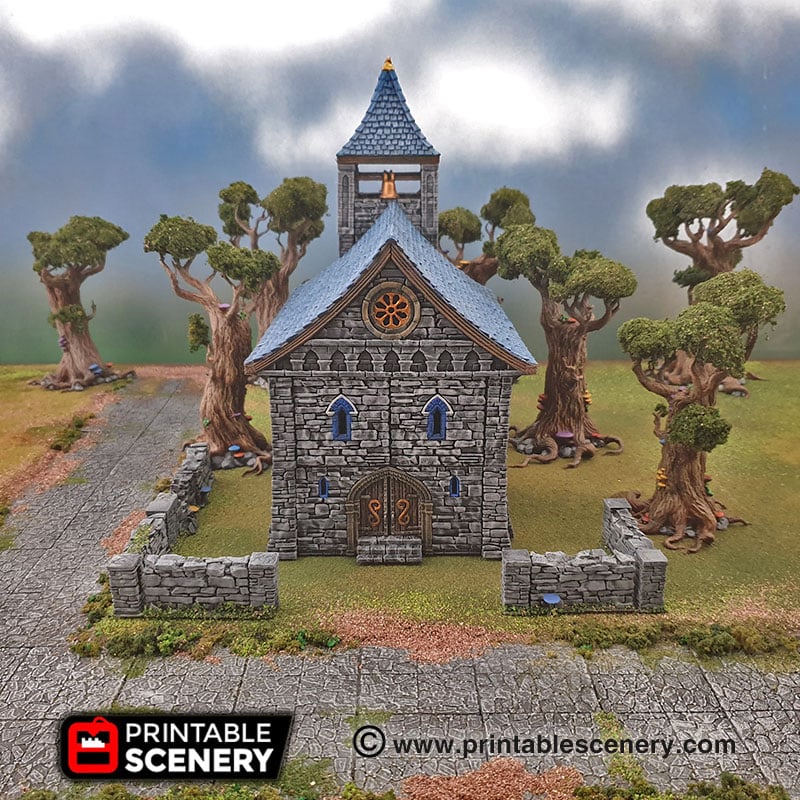
Clorehaven Chapel
Whether it’s a quiet, countryside haven for the faithful or a zealous den of cultists, the Chapel is essential for any medieval village. Put together the humble Clorehaven Chapel with this guide.

Inn of the Welcome Wench
The Inn of the Welcome Wench is massive, but shows how to use the sprawling modular shingle roof parts the best. See how we built this enormous Inn of the Welcome Wench with the guide below.
Clorehaven Homestead
Populate your Clorehaven cities with the Clorehaven Homestead, a simple dwelling that’s easy to build with a single roof part. Use the guide below to create your own.
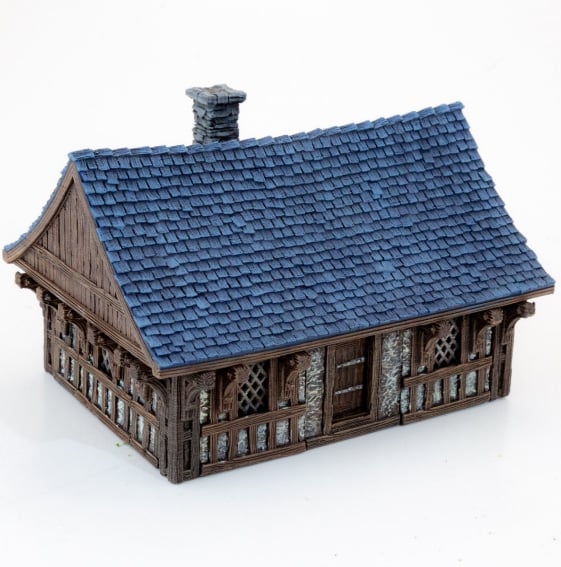
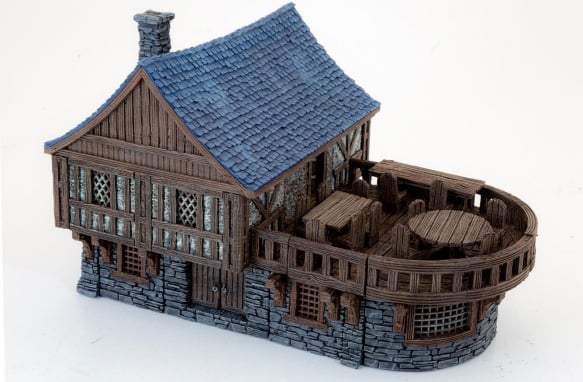
Clorehaven Tavern
Expand on your Clorehaven city by adding the Tavern, an institution in any medieval village. The guide below shows you how to build yours.
Clorehaven Townhouse
The richer suburbs of Clorehaven have these nicer, 2-story townhouses, featuring luxurious Tudor Walls, larger playable interiors, and an attic area. Check out how to build your own with the guide below.
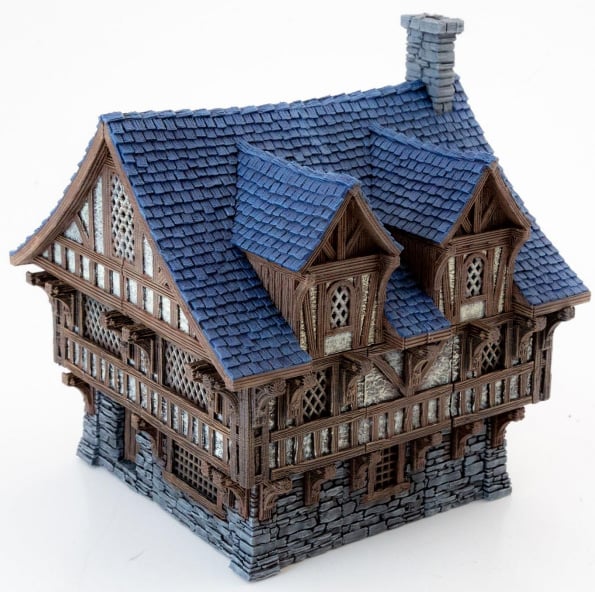
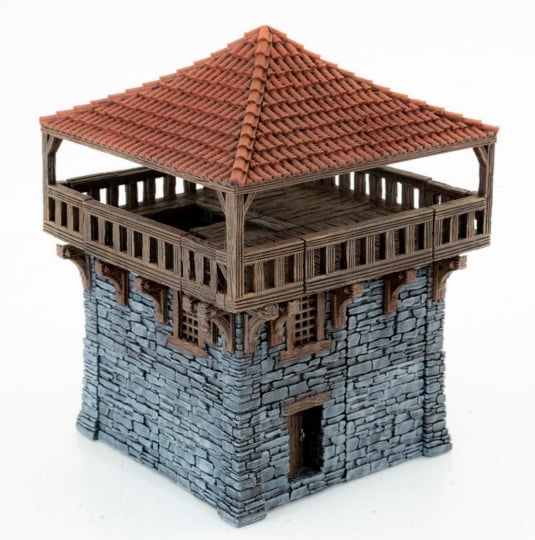
Clorehaven Watch Tower
Keep careful vigil over the kingdom with the Watch Tower. Check out how to use the classic Schist Walls and more in this guide.
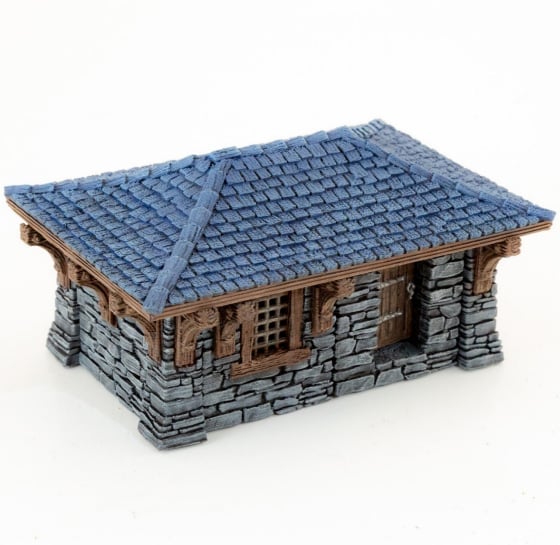
Clorehaven Cottage
The humble cottage can be a dwelling for peasants in the city, or the home of some hag on the swampy outskirts of the city. See how to build this simple cottage below.
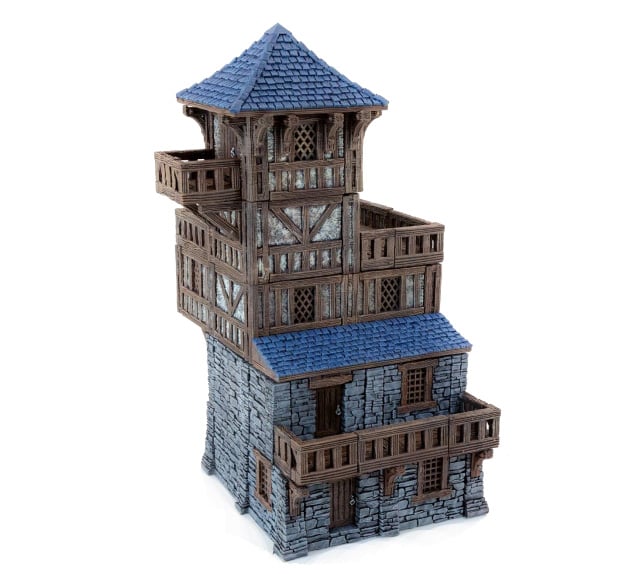
Clorehaven Grand Hostel
The Grand Hostel rises up above the townhouses and taverns of Clorehaven, featuring a high-rise tower and wooden balconies. Check out how to put together your own Grand Hostel with the guide below.
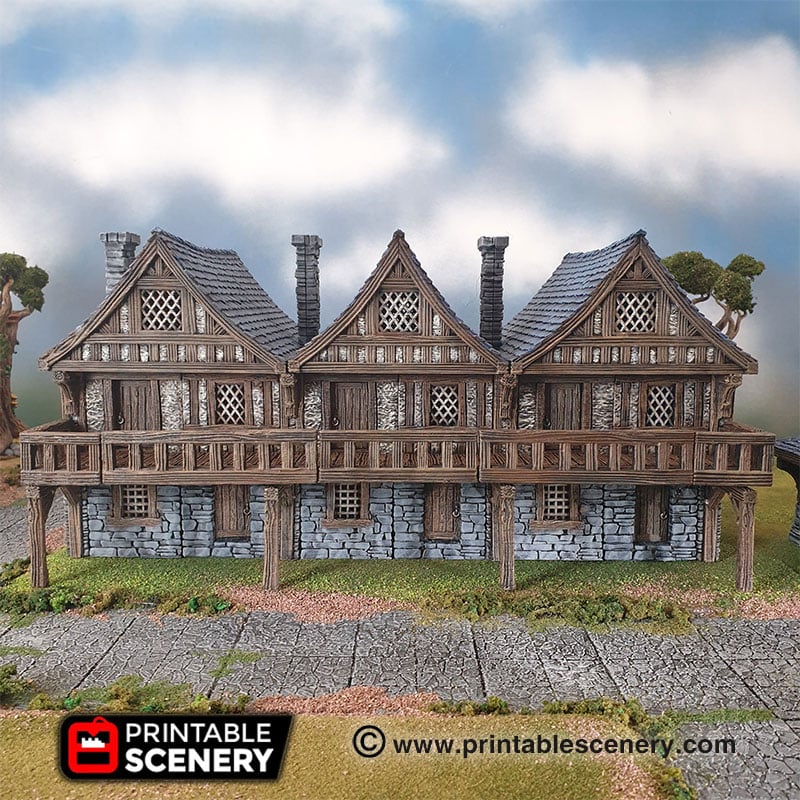
Clorehaven Terrace Housing
Blocks of terraced townhouses line the streets of Clorehaven, bustling with people going about their mundane, peasant lives. See how to put together your own terrace housing with the guide below.
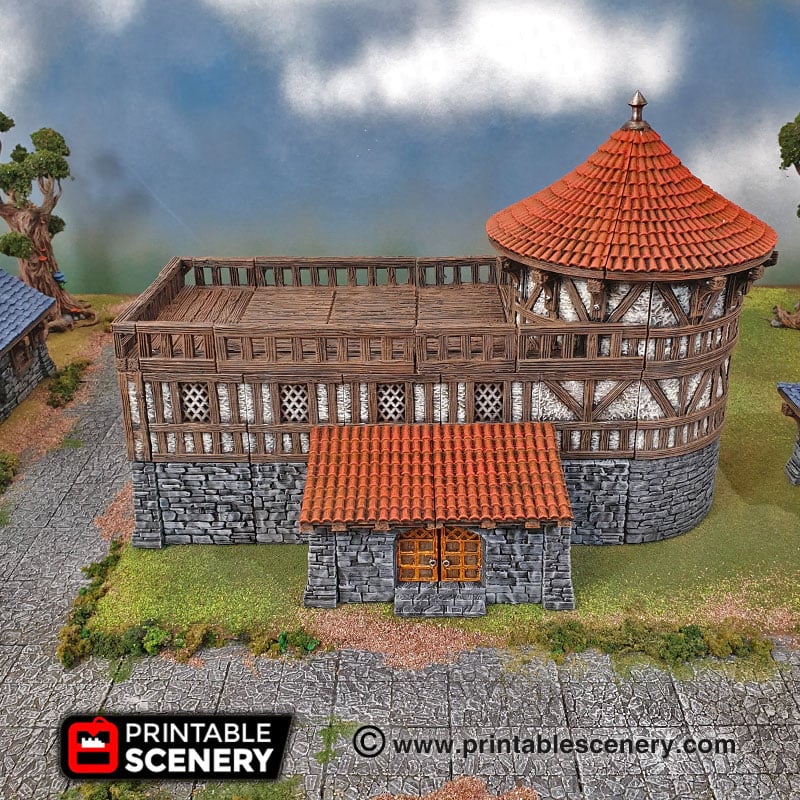
Clorehaven Library
Libraries weren’t common in medieval villages, but the people of Clorehaven are a cut above with their learning. See how to put together the Library with the guide below.
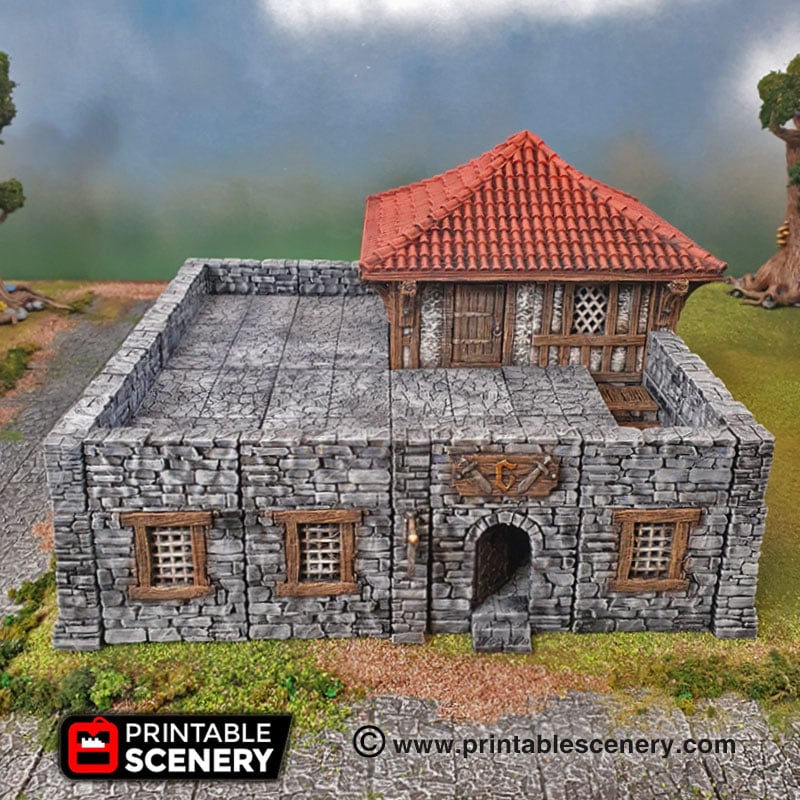
Clorehaven Guardhouse
Both a prison and a headquarters, the Guardhouse utilises strong brick walls and low schist walls to create a defensible building in the event of an uprising. Check out how to build it with the guide below.
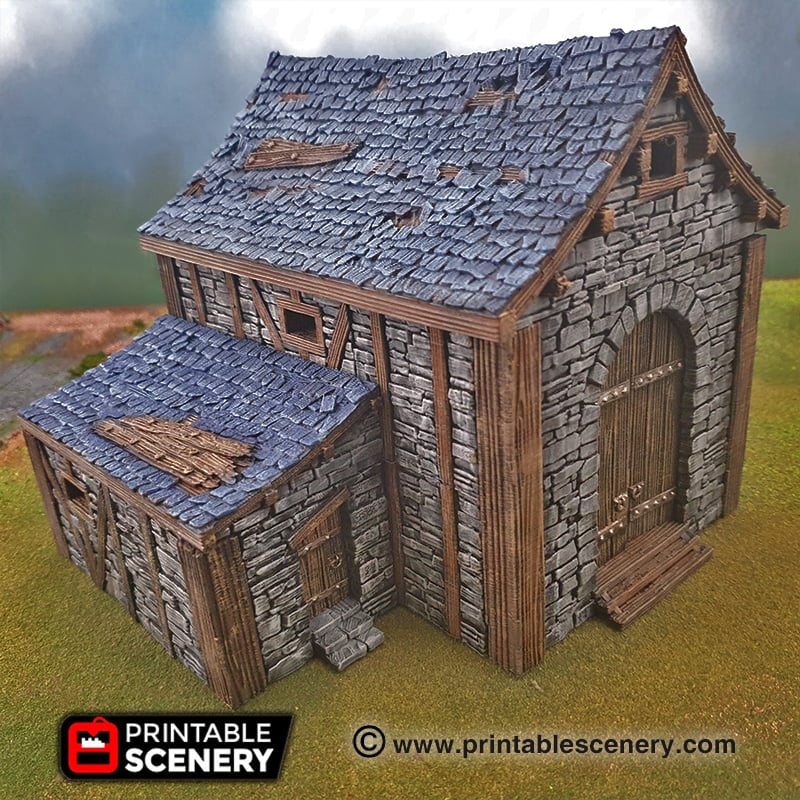
Clorehaven Stone Barn
The rural side of Clorehaven features many run-down old stone barns like this one. Add one to your Clorehaven city using the guide below.
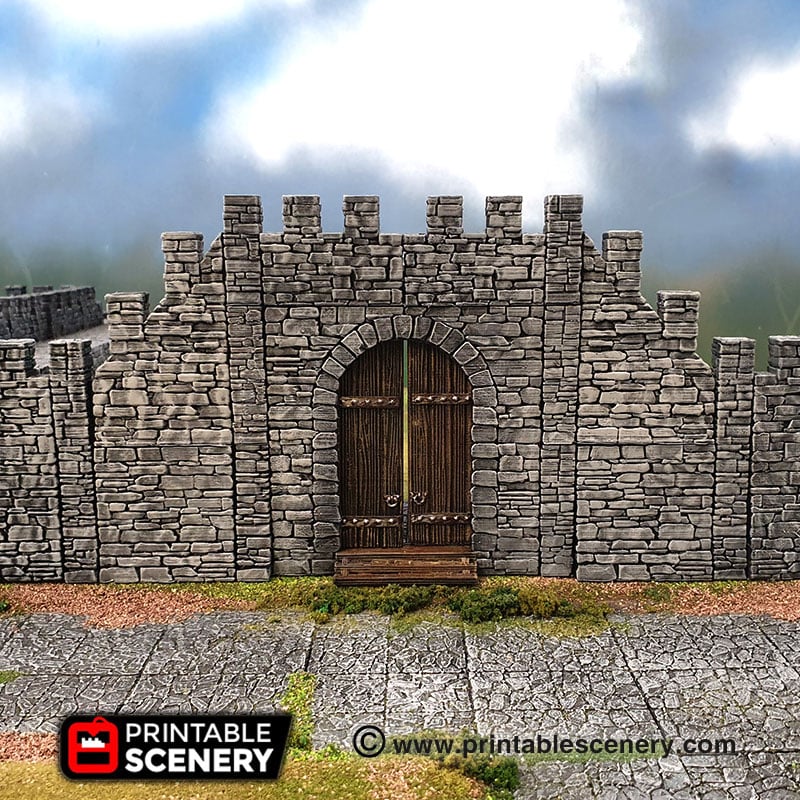
Clorehaven Modular Battlements
The walls of Clorehaven are strong and defended night and day from goblin attacks and worse. These modular battlements are easy to put together using the guide below so you can begin wrapping your city in huge stone walls.
Download the Rampage Base Pack for free to get the latest version of the OpenLOCK clip.
Wonderful, Thank you so much!
Could you guys release a painting guide for each tile type as well?
We will be doing a painting guide for Clorehaven paint scheme.
If I’m not mistaken the Townhouse Level 2 Windows (parts 4 and 5) should also be listed as Corbels.
We will get that updated.
Hi,
Maybe a noob question incoming, I appologize if so 🙂
How are we supposed to assemble the Door, Doorway and beam ?
Should we have to put a wire or something else in the hole and the glue the beam on top of the doorway once the door is in place ?
Thank you in advance.
The roof beam can be glued beforehand and set to dry, then you can run filament or wire through the hole in the top and door like a hinge pin and glue the top part to hole it in place.
Thanks for your advice !!!
I have found a paperclip works will.
Which software do you use to visualize the 3d rendering? I find it super useful to make plans before printing !!
We use Keyshot to render the pictures for diagrams.
could we possibly get a approximate amount of openlock clips needed for each build?
For the buildings there is approximately 2 per wall and 2 per floor piece.
The Watch Tower level 3, there needs to be printed 3 not 2 of #7 Wooden Balcony Walls: D-Balcony-v1.0.
As is evident from the diagram, just a typo I guess.
Yes it is 3 and not 2, I will get this updated.
Sorry, not Townhouse, Tavern level 2 is missing quantities for lines 8 & 9.
Ok, we will update this.
3 Rustic Wooden
Floor
AS-Floor-RusticWooden-v1.0 3
need to be updated to 4 i think instead of 3 second floor tavern
Hi,
Maybe some mistakes in tavern level 2 assembly guide :
Piece n°11 is referenced as IA-Balcony instead of G-Balcony.
Piece n°13 is referenced as HG-Bacony instead of IA-Balcony
Thanks, we’ll get these updated.
For the grand hostel level 4. Should number 8 be the L-column-tudor? Also should number 5 be the as-tudor-wall?
Yes that is correct.
The Guardhouse assebmly guide uses Metal-Hinged-Door-v1.0 and states it is with the Schist Walls pack, but i cannot locate it in with that pack, only the regular wooden door. Could you help me with this?
Schist Walls now contains the updated zip file with the Guardhouse doors and doorway.
Could we potentially add more inner floors into the roof of the Welcome Wench layout? Do the roof modular tiles allow for this? For example, the 3rd floor, should we want to make it, would be slightly smaller in site because the walls would have part of the modular roofing on the outside of it gradually going up higher.
We did some future planning for this and the roofs do allow for attic sections with AS walls to be connect in. We’ll be doing more information expanding on this with the Manor Inn release as well.
On the guide for Grand Hostel on level 2. I think there should be 2 #17s requied but you only have 1 written in the required pieces
Actually even the 3rd level seems weird… like the stairs are meant to go over the overhang for the 3rd level.. ? so the floor pieces are meant to completely cover the second floor stairs?
The orientation of the 3rd and 4th level floors are 90° counter-clockwise to the rest of the floors. Then it will match the lower levels. Level 5 is oriented 90° clockwise to levels 1 and 2.
You are correct, this will be updated.
Number 3 Rustic Wooden Floor AS-Floor-RusticWooden-v1.0 Quantity 3 needs to be changed to Quantity 4
In Tavern
Thanks for spotting that, we’ll update the diagram.
Tavern and Grand Hostel Assembly Guides have been updated.
Hey Sam. The Grand Hostel has a LOT of errors in its guide for pieces… look at level 4. 17 doesn’t exist on the guide… #5 is blank and #8 is definitely not what it shows on the pic. Could you guys do an audit on the whole guide please? It’s a bit frustrating when trying to print out exact pieces only to notice following the quantity was not really helpful haha.
Thanks. We have updated the Grand Hostel now.
I would love to see the assembly guides without the modular roof system get updated to show the modular option as well.
A good suggestion. Some of the roofs have features that aren’t in the modular roofs like windows. We will be releasing some more complex roof guides soon.
The Openlock clip5.4 does not seem to fit in the Floor prints. They work perfect in the Schism walls. Should I be using a different clip? Or am i not pushing together hard enough?
The ports are exactly the same size, you may have to look at any excess stringing your printer is adding to the print because the orientation of the ports are horizontal rather than vertical.
You have to remove the supports in the ports of the floors.
Yes these are printer supports and are easily yanked out (not twisted) with pliers.
Modular Battlements Gate item number 8 , I-Column-Schlist-v1.0, says quantity 4, should be 6.
Thanks, it is now updated.
Manor Inn, Level 4: What pieces are for #19 and #20? They’re blank on the assembly guide.
Thanks, we’ll get that changed and uploaded.
Library, Level 1, #9 Schist Walls A-Wall-Schist-v0.2 says quantity 1, should be 2
Library, Level 2, #5 Clorehaven Library Expansion A-Library-Wall-Tudor-A-v1.1 says quantity 4, should be 2.
Thanks, we’ll get that changed and uploaded.
Thanks, we’ll get that changed and uploaded.
I could be mistaken with the Manor I’m but I count part 8 in the first half of level 1 a total of 6 times and on the second half of level 1 I count part 10 a total 8 times.
First half part 8 is illustrated to have 4 and part 10 in the second half is illustrated to have 9.
Either way, I’m can’t wait to assemble it all!
Thanks, This has been updated and uploaded.
Hello! As you can imagine, I’m gradually building the entire Manor Inn step by step and I started to notice that either I didn’t print enough or I printed to many of something so I started double checking each design before I started printed it. Could you please verify my findings?
I spotted the following points:
Manor Inn first level part 1:
– The blueprint mentions #18 twice but the table only states that one is needed.
– Also #18 seems to be BA-AS-Wall-Schist-v1.0 but that means you have one openlock port on the outside which doesn’t seem to connect to anything. Shouldn’t this be the BA-Wall-Schist which doesn’t have a port on the outside and just on the inside of the building for the floor?
Manor inn first level part 2:
– The table states that #16 is from the Manor Inn line but as far as I can tell it is actually from Schist Walls.
– The table states that #17 is from the Manor Inn line but as far as I can tell it is actually from the Rustic Stone and Wood Stairs line.
– The table states that #6 is used 6 times but I can only find it 4 times in the blueprint.
As always I really appreciate the high quality models and these guides are amazing and as all big projects I can imagine some oversights. As a big fan I hope I can at least help out by proof reading the guide for you!
When I move onto the next levels and if I spot anything not already mentioned then I’ll be sure to give you a heads-up.
Thanks, This has been updated.
Manor Inn, Level 2:
– Missing a #5 between #19 and #20.
– On that same row of walls, the two #7s are together, but should be on each side of the fireplace.
– The #12 near the tower should be replaced with a #11. Remove the #13 next to it, it’s not necessary.
– Missing a #9 just above #21.
Sam, please double-check my corrections. When the floor plan didn’t line up, I had to refer to your video and freeze the video to double check what I was missing. I’m not 100% sure it’s correct.
Also on Manor Inn, Level 2:
#18 – need 6 of them.
Thanks, we have updated and uploaded.
I have double checked these and they’re ok in the alignment of the blow out diagram.
Thanks Billremig. These updates have NOT been made yet on the guide and this was very helpful to finish level 2. I also noticed there are a total of 8 – #19 used (not 7) tudor doors. #20 doesn’t list the correct door beam should be A-Beam-Tudor-v-1.0.strl and I believe you need an extra #3 (13 total)
Updated with new changes. Thanks!
Can I just say these guides are incredibly useful. Is there a possibility that more are added in the future? Would love to see a Mayor House and maybe a type of Academy/School? (Pretty please with sugar on top)
Each of the more complicated designs can take just as much time if not more than sculpting the models. This is something we could look at doing in the future.
Maybe the community could help with this, I’m currently printing the buildings from the guides but I’m quite looking forward to designing my own.
Some sort of building/layout program would be cool too.
It would be awesome to have some other people come up with plans. It does take a lot of work to make an assembly guide.
Yeah a community for this would be amazing!
Sam if I could ask kindly, have you considered a forum or using the facebook group to manage this perhaps? And if you see great designs to take them onboad with some formatting to match the current guides and adding them here, that would be a god-send!
I would happily contribute (when I get get through my current ultra backlog of printable scenery stuff!)
Generally we use Keyshot for rendering the assembly diagrams with matte materials. We would definitely be keen to see some of your layout assembly diagrams. You can post them to this forum https://www.printablescenery.com/forums/forum/3d-printed-terrain-for-dungeon-masters/ or to this facebook group: https://www.facebook.com/groups/Openlock. We’re looking at doing some more for castle and cathedral assembly for other OpenLOCK ranges as well.
I have just looked at the Alchemist Guild Assembly Guide.
You say on Level 1 that 1, 2 & 3 are Rustic Wooden Floors.
They look more like Stone Floors to me.
Stone Barn, level 2
“Roof-Small-Stone-Barn-v1.0” should have quantity of 1, not 6.
Front side of the main section on Stone Barn Level 1 uses L-Double-Column-Stone-Barn-1-v1.0, but the back side of the same room uses L-Column-Stone-Barn-1-v1.0 on both level 1 and level 2. This means that tall walls are connected together in the front wall, but not the back wall. Is this intentional? Should both back and front be using the double column?
Also there are no instructions what doors should be used for any of the three doorways in Stone Barn.
Assembly guide has been updated
Few corrections for the Alchemist Guild Guide.
Square Tower Level 2.
Items 5 & 8 are duplicated.
Item 7 should be qty 4
Square Tower Level 3
Item 6 qty 4
Item 7 qty 6
Square Tower Level 4
Item 6 qty 4
Item 7 qty 6
But also Item 7 in the pictures has corbels, when I printed these I found I had to mirror 2 of them. May be worth putting that in the guide too?
Amazing model again though. Really loving the Clorehaven stuff, Can’t wait to be able to play using it.
Thanks, This has now been updated.
I have a request,
Could we please have a list PDF or excel with all the models and there names/sets so we can keep track of how many of each we have, that would make planning and building much easier.
In the PDFs each level has a list of the parts, the quantity and from which model sets the pieces are from.
The Manor Inn assembly guide with AS Tudor windows and street supports have now been updated.
Modular Battlement: part count for A-Wall-Schist-Low-Battlement-v1.0 should be 9, not 8 as stated.
Thanks for that, we’ll get that updated.
There is a strange arrangement on the Inn of the Welcome Wench cellar part 1. You have pillars which are in-between floor tiles and can only be clipped into .5*1 pieces that only have one clip space. this means that the pillars and .5*1 are clipped to each other and not attached to the rest of the cellar. In my assembly I swapped the 1*1 and .5*1 and in doing that I can attach the pillars and the .5*1 to the rest of the cellar with the 1*1.
Thanks for that Brian, we also developed “I-IA” piece later to cover this issue as well.
I believe there’s a mistake on alchemist guild square tower level 2 assembly guide.
looking at the diagram should be 4 I-column-schist instead of 2?
Yes you will need 4 I columns.
I am wrapping up level 1 of the Welcome Wench and am a bit confused. In Level 1 Part 1 in the top left room the right walls consist of (bottom to top) 20, 17, 18, 20. The problem is that the top 20 is a L column but its still an interior wall not linking to anything. I think this should be a O column Schlist since that would not leave exposed peg holes.
Yes it should be an O Column. we’ll get this updated.
Some notes on the inn of the Welcome Wench
1. Modular Roof – you have the file names for Apex files and Roof files to be very similar. its a bit confusing. There are numbers in them but since they are in a different folder its a bit wierd not having APEX in the name of the files.
2. Level 2
A. Level 2 Part 2 – You have number listed as requiring 23 pieces but I found 25 were needed.
B. Level 2 Part 2 – you have 19 listed as needing 7 of each but actually needs 8
C. Level 1 Part 1 – One of the separating walls is not numbered but is 13. Bottom second wall bottom piece.
D. Level 1 Part 1 – YOu have the separating wall on the top middle listed as 21, 20, 21 but no 21 they should read 12.
E. Level 2 Part 2 – This is minor but the positioning of the right outshoot is extremely confusing as it looks like it is either incorrectly align with the rest of the building or wouldn’t fit. If it was brought down in alignment with the bottom outer wall it may remove a lot of the confusion when looking at this.
Thanks
Hey Brian, cheers for that. we will get it updated ASAP.
Roof Part 4 there are some discrepancies.
(12) E-Riser-Low-v1.2 has 4 listed but 5 depicted and needed.
(16) S-High-Riser-v1.1 should not be on the plans. the depiction is incorrect as it has 10 and 11 with only 1 level of clip ports, but 10 and 11 are high pieces just like 8. This means that the 4 slot 16 is 1 too high. Replace with additional 13 + 14 as is under 8.
Cheers Brian, we will get onto it momentarily.
So I finished the inn. I do have an issue with a gap on the roof. I posted in the forums about it. The one big thing I would put out there for the roof is skip the risers. You will only need them if you are portioning the roof for separation and I would recommend using ones that will support the areas you are splitting. Otherwise its HUGE and now to figure out the painting.
There’s a mistake on the Basic House assembly guide.
4 Clorehaven Modular Roof ER3-FR2 Gothic floor 2
should be….
4 Clorehaven Modular Roof S-Roof-Narrow-High 3
Hi Ron!
Thanks for catching that! It’s now been updated and with the correct quantity of 3 to print 🙂
?
Hello,
The level 3 grand hostel have the roof attached on the wrong wall
By the way, it could be usefull if the “half Roof” from this level had open lock entries. We could combine with AS Tudor Windows and attach it to the building
Anyway, as always, nice material!!
I am unsure what you are referring to by saying the Roof is attached to the wrong wall. The Half roof sits on the Level 2 area and sits against the lower part of the Tudor Window walls.
I will put your OpenLOCK suggestion for this roof on our updates list.
i am running into a problem building the manor inn. on floor 1 part 2, on the far left wall, putting the pieces together as posted has part 23 even with the floor tile but nothing to connect the lower wall to?
Can you please email me at [email protected] with a pic of this issue.
Manor Inn Level 4 anyone else notice that there are two walls labeled 28 but no identifier in the parts list? What did you all use?
These are the AS-Tudor-Window. The guide for the Manor Inn is going to be updated. Just currently being built in Terrain Tinker so that all corrections can be made.
I am trying to get the trial house put together but I cannot for the life of me figure out how E-Floor-RusticWooden-v0.2.stl fits to one another using the open lock clips? I am seeing no information on how exactly these are supposed to fit into the slots of the floor tiles is there a specific clip designed for floor tiles?
I am guessing I am supposed to snip away the smaller posts so the clips will fit?
Hi Caleb
Yes that is correct these are there just as printing support.
On Chapel Level 1, is part 11 supposed to be L-Column or I-column?
The L column would leave connector slots either facing into or out of the structure if I’m reading the diagram right, as part 11 does not connect to the surrounding parts 4, 5, or 9.
Thank you for bringing this to my attention. I have made the necessary corrections to the document.
grand hostel does not seem to be quite right. if level 3 is oriented the way pictured, and set back on the supports from level 2, the staircase does not line up. if you rotate it so that the stairs line up, then the roof section isn’t on the side pictured. i think this might have been the same issue “nicolagattirodrigues” was having from a few posts up.
i would love to see versions of the windows that were split apart similar to how you have split the doors. this would be a simple way to allow us to have open windows. or vary types, like your shuttered windows, without having to print a whole new piece.
I’m putting the grand hostel together and level 3 doesn’t seem to match level 2 at all. If you shift it back as the image indicates the stairs don’t match at all. If you match up the stairs the half roof is in an entirely different position and the supports do nothing. Help?
Sorry I’m an idiot, solved.