
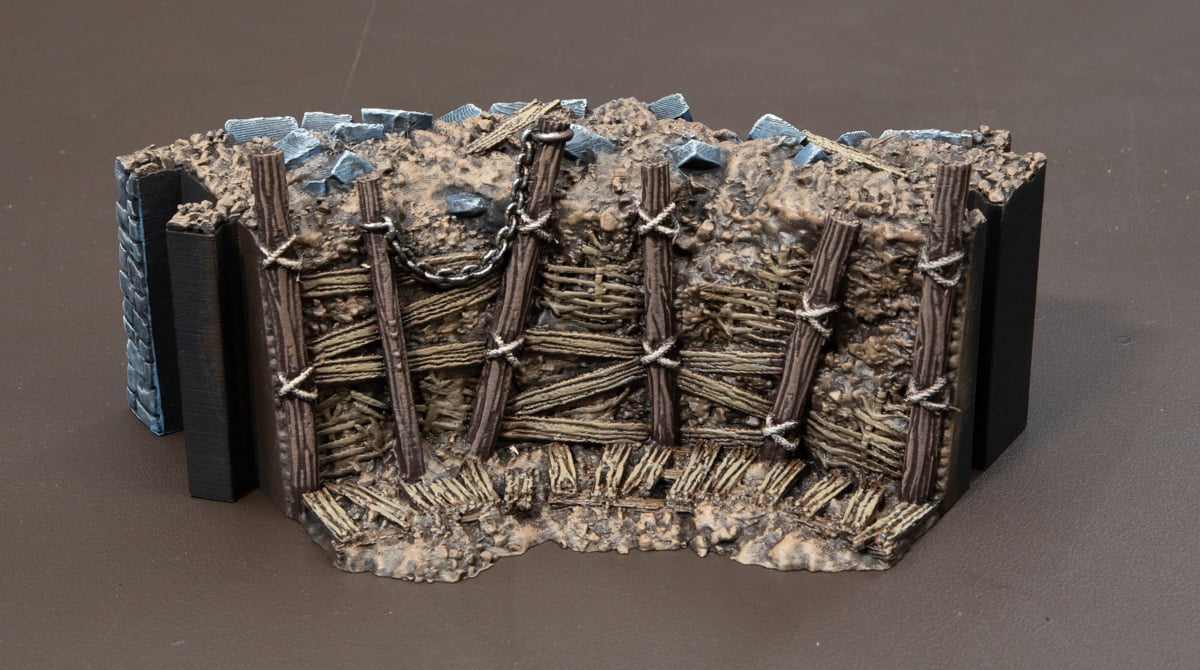
How To Paint The 3D Printed Trench Walls from Darkness & Desolation
In this article, we’ll show you how to paint the 3D printed Trench Walls from our Darkness & Desolation campaign. We’ll cover the paints needed, the techniques we used, and any tips along the way to get your Trench Walls ready for the tabletop. The methods in this guide can be used on all of your Trench Walls and Ruins from Darkness & Desolation.
To paint the Trench Walls, you’ll need the following paints:
- Black Primer
- Woodbark interior paint (or Dryad Bark from Citadel or similar)
- Earth drybrush paint (Ammo)
- Steel Legion Drab (Citadel)
- Agrax Earthshade (Citadel)
- Zandri Dust (Citadel)
- Rhinox Hide (Citadel)
- German Camo Pale Brown (Vallejo)
- Chainmail (Vallejo)
- Banshee Brown (Army Painter)
- The Fang (Citadel)
- Russ Grey (Citadel)
- Black Wash (Vallejo)
- Mechanicus Standard Grey (Citadel)
- Dawnstone (Citadel)
- Light Sand (Ammo)
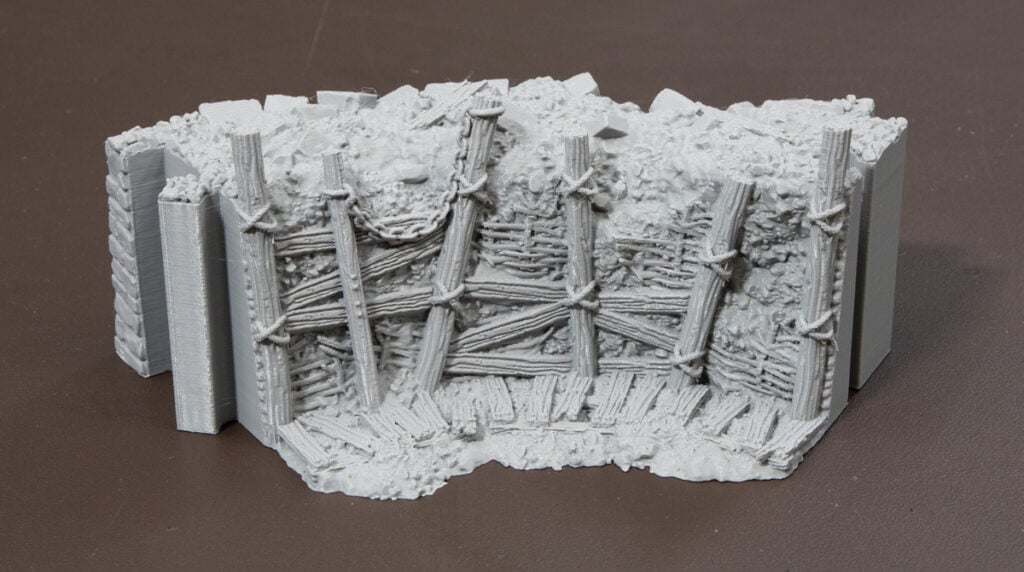
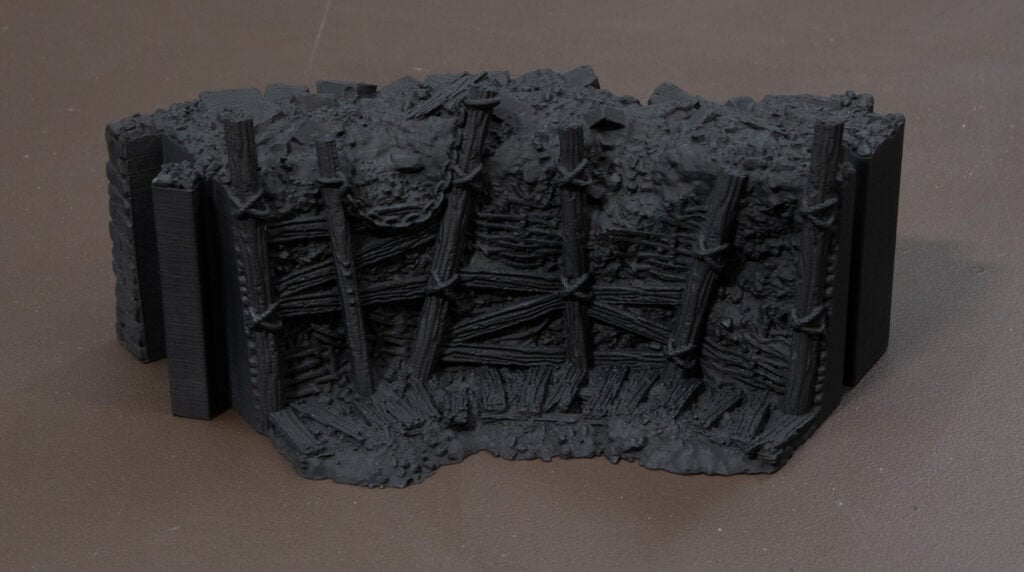
Begin by cleaning up the 3D prints and hitting any stringing with a lighter or blowtorch, then priming your Trench Walls with a black primer.
Wood
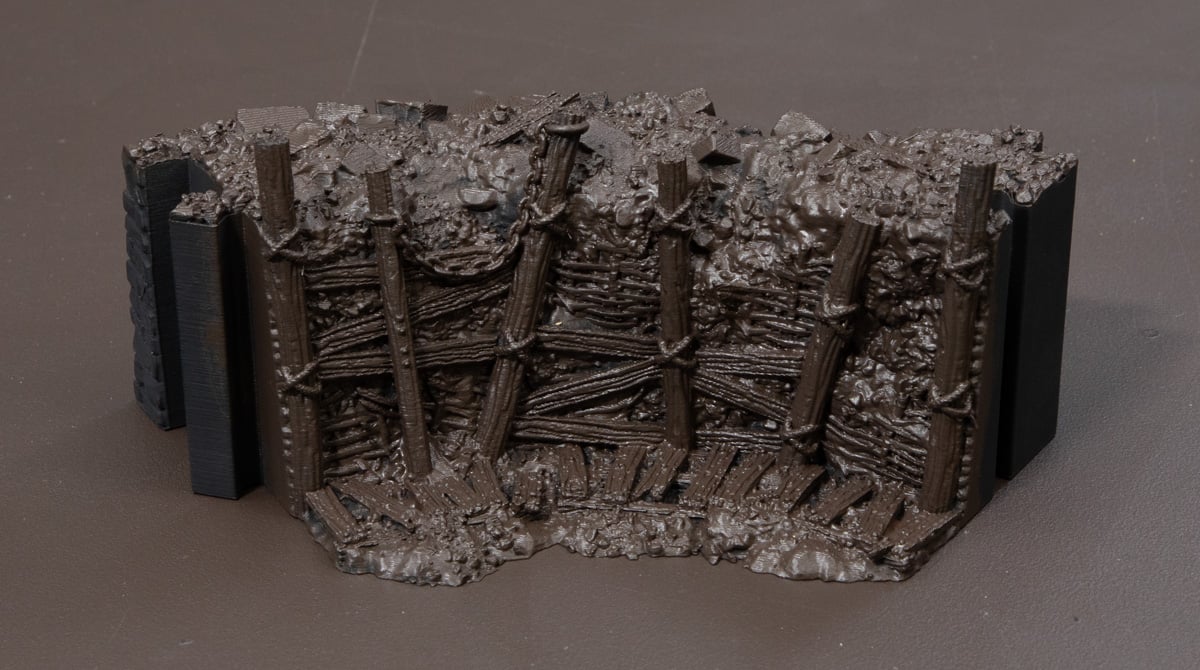
Then, basecoat all areas that will be dirt or wood with Woodbark. We got this paint from our hardware shop in a 2L paint tin to save costs, as we’d be covering a lot of trenches with it. But you could use any dark brown paint you like here.
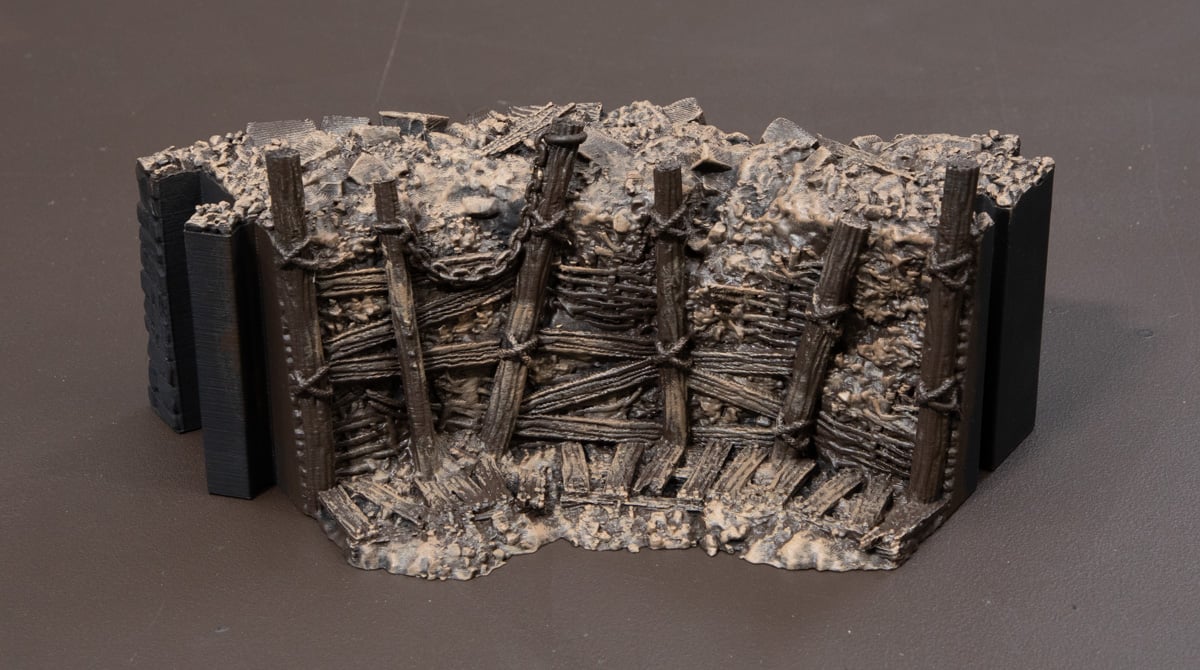
Next, drybrush the dirt areas with the Earth drybrush paint from Ammo. It will take two coats to get a good opaque coat, but make sure to leave some of the darker brown in recesses.
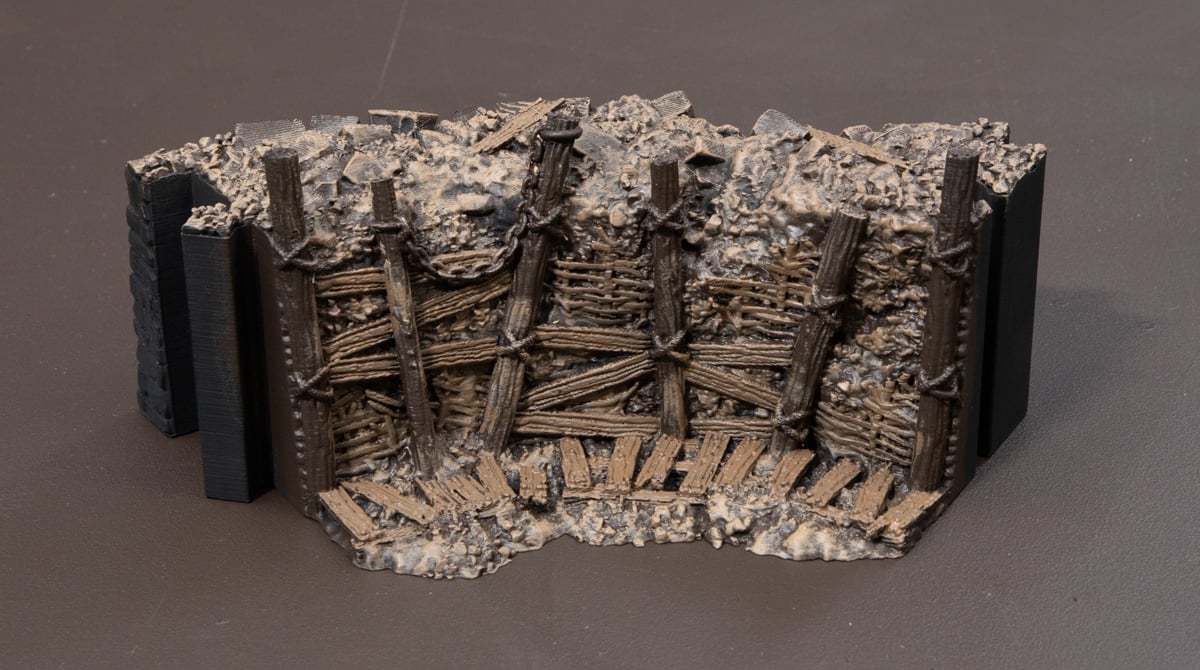
Next, basecoat all the wood planks, woven twigs, and square posts with Steel Legion Drab. Over the brown undercoat, it should only need one coat of the drab.
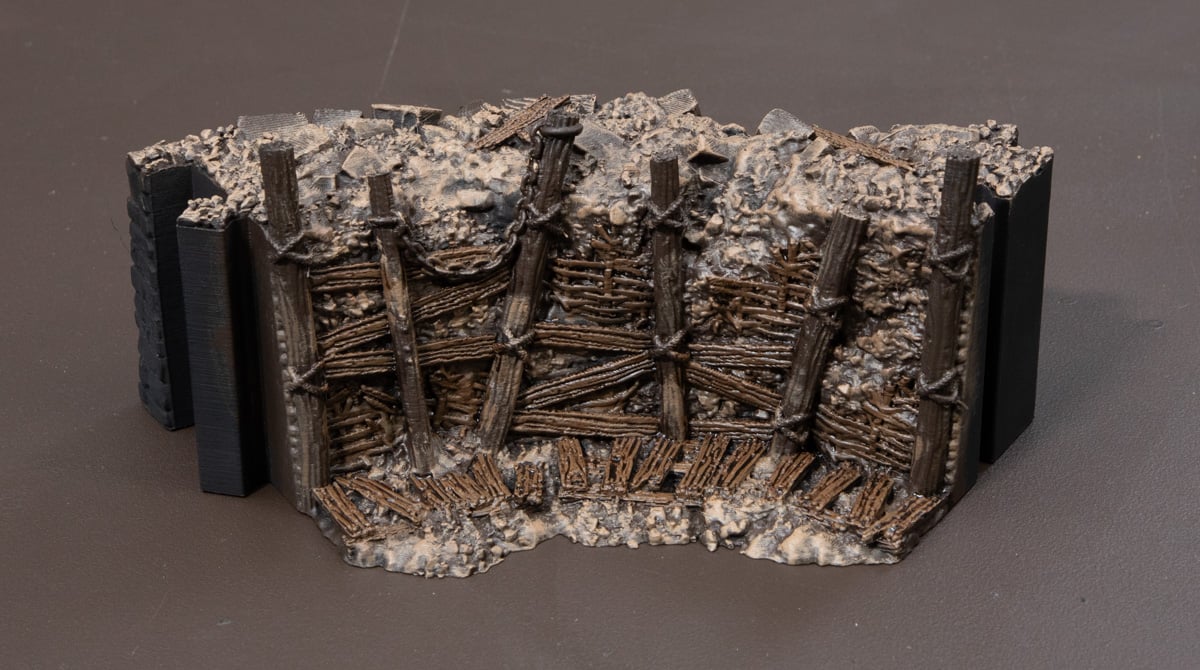
Then wash the wood with Agrax Earthshade. We used the wash very generously, letting it spill over the wood panels to help separate the wood from the dirt, creating a dark outline in the recess.
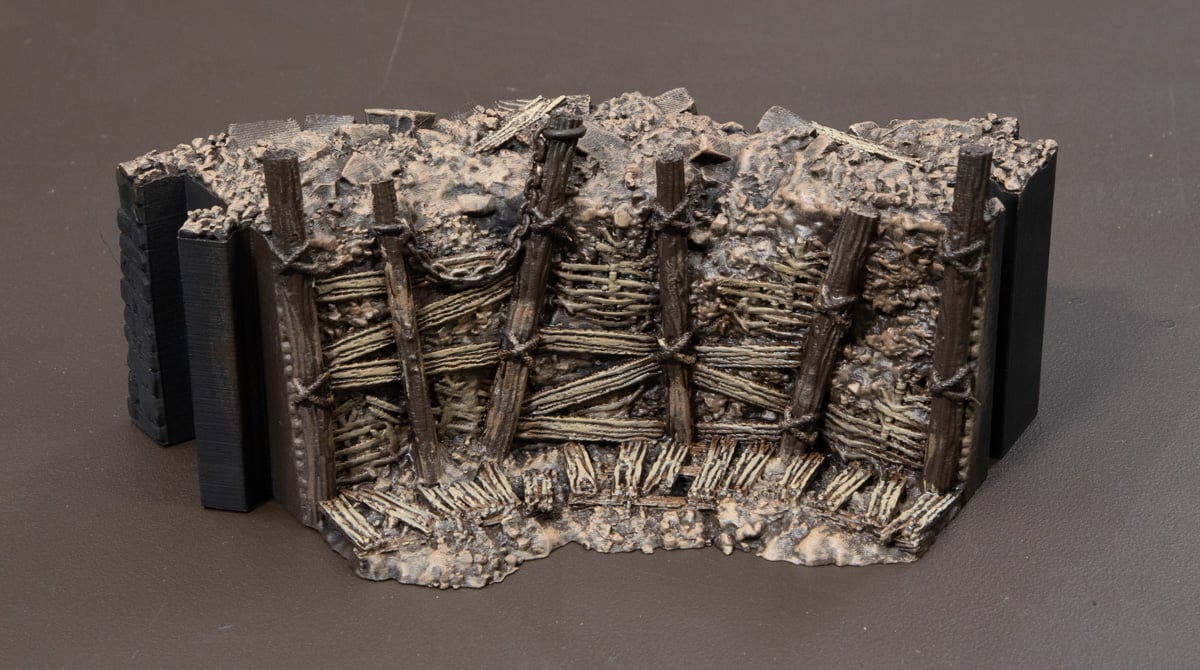
Next, drybrush the wood planks, woven twigs, and square posts with Zandri Dust, leaving some of the darker colour in the recesses.
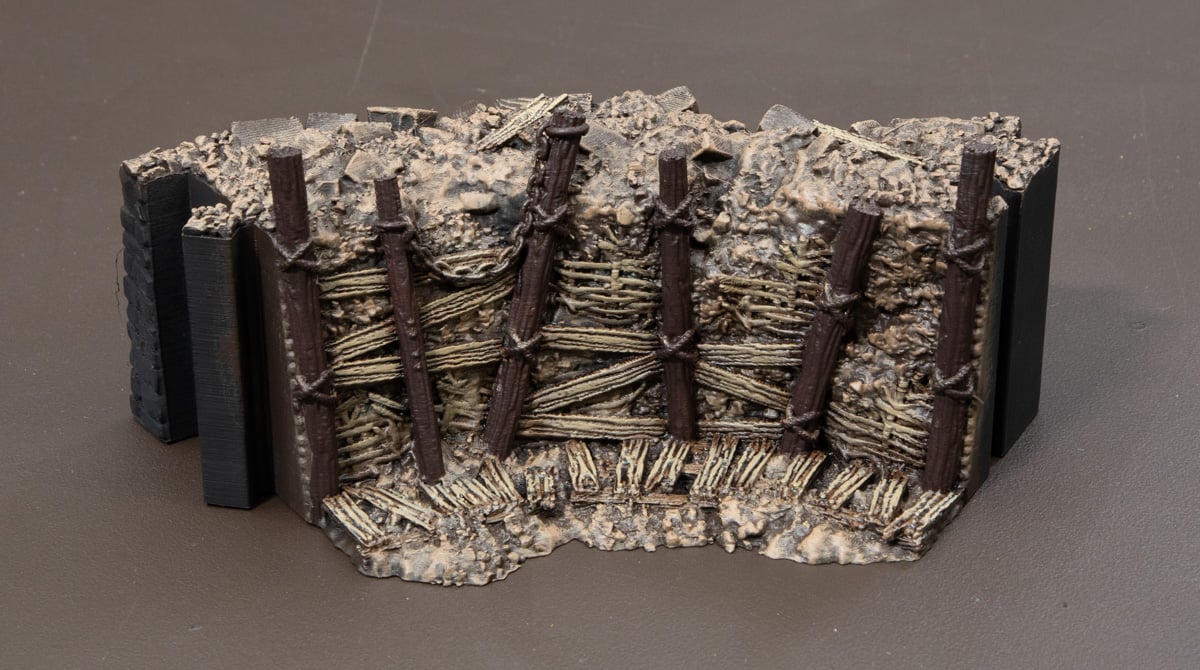
Then begin basecoating all the round, tall posts with Rhinox Hide.
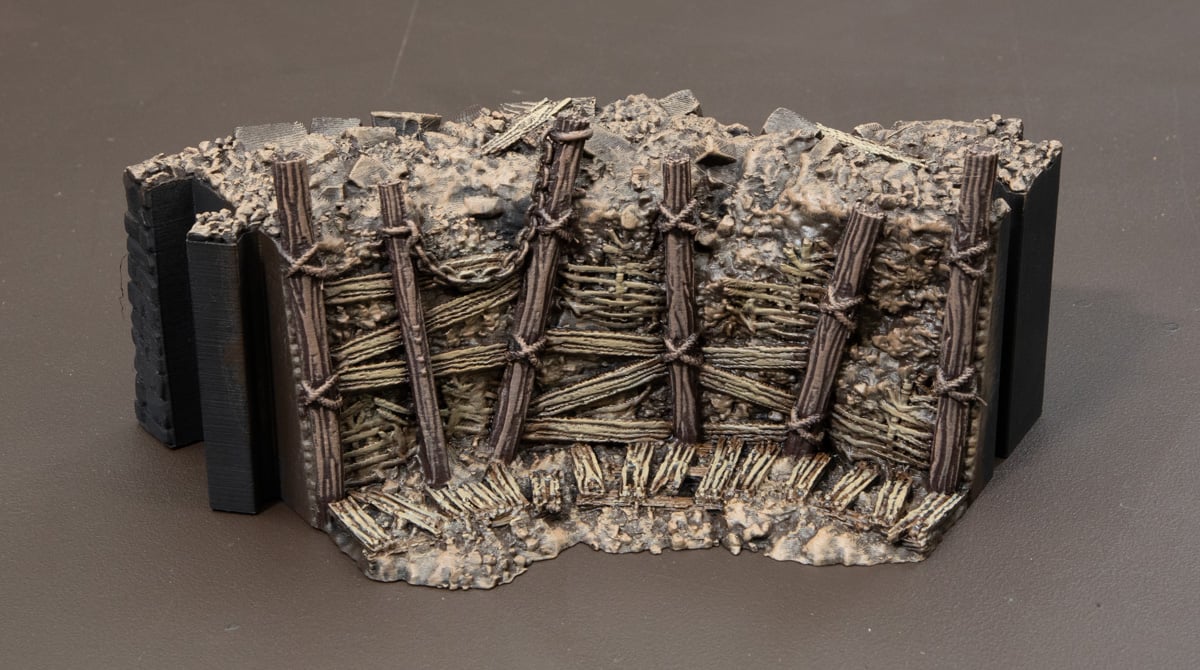
Drybrush those posts with the German Camo Pale Brown. This will take two coats for a good opaque layer, letting it dry between coats.
Bricks and Concrete
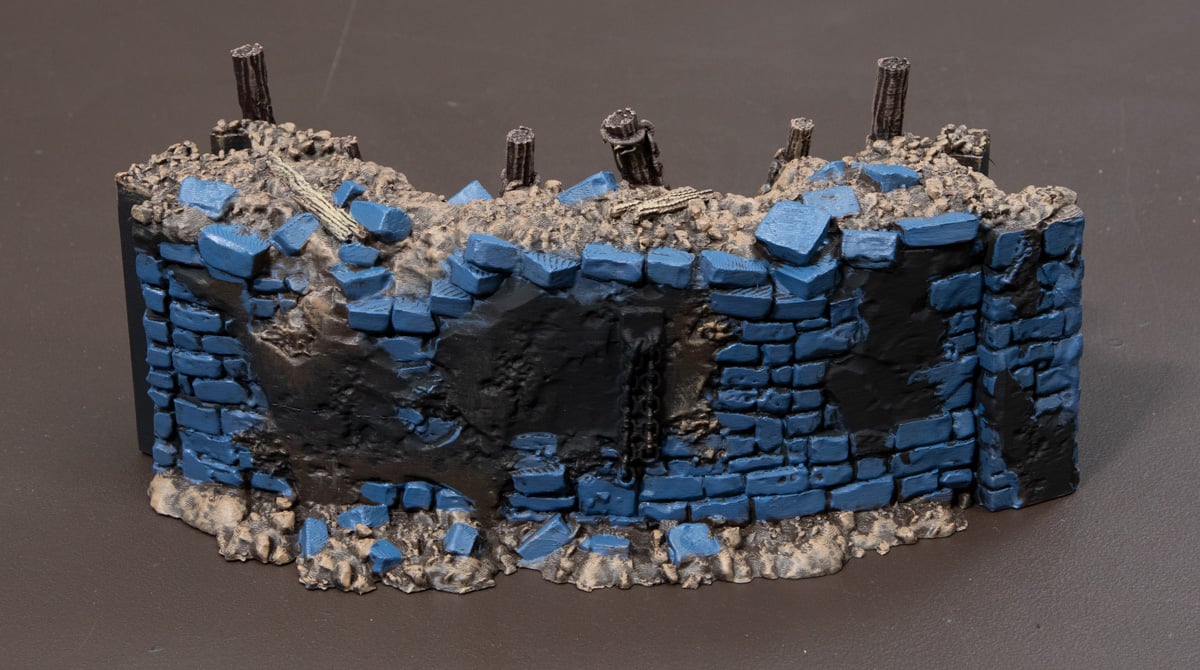
Now we can move on to the brick and concrete areas. Begin by base coating the bricks with the Fang.
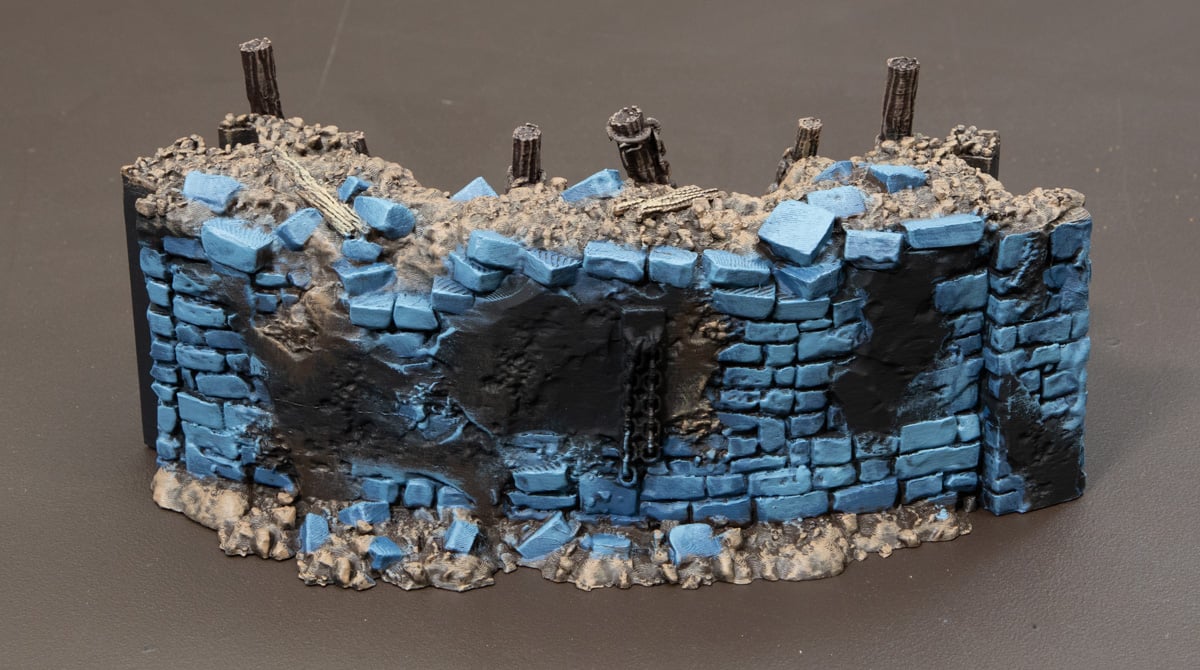
Next, drybrush those bricks with Russ Grey, being a bit patchy with the application, so some bricks have an opaque layer, others are barely touched by the Russ Grey. This is to create a realistic brick look with some natural aging of the stone work.
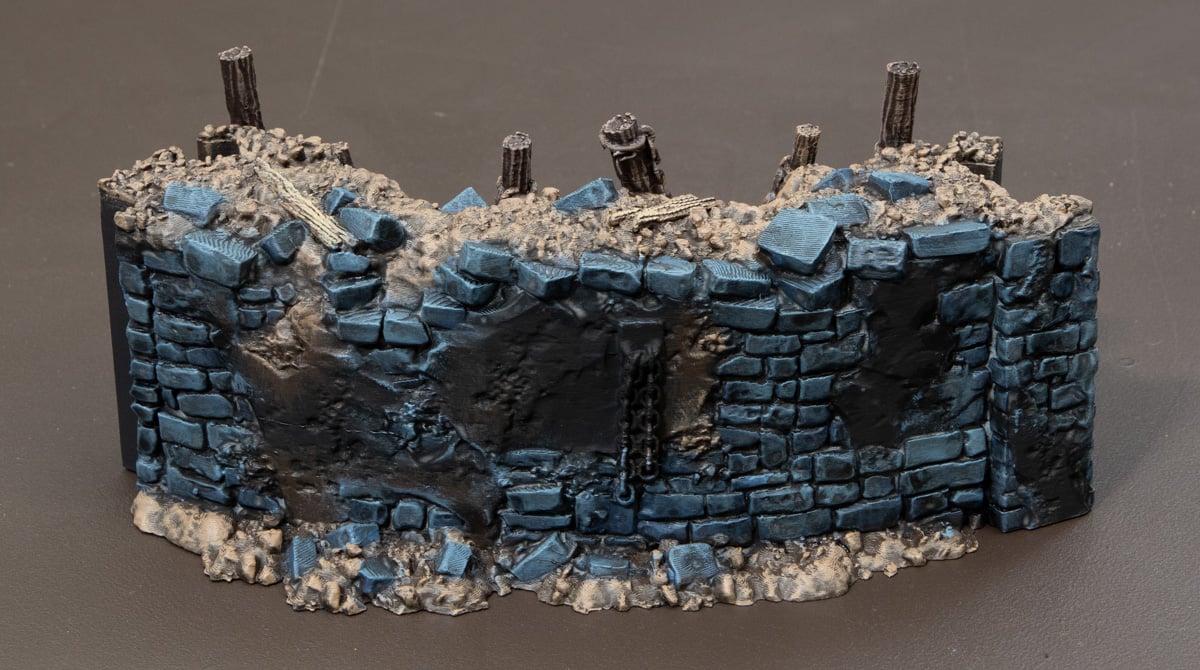
Then you can give the bricks a wash with some thinned-down black wash. We thin the black wash 2:1 paint to water. This helps desaturate the blue bricks and adds definition, especially the ones buried in the dirt.
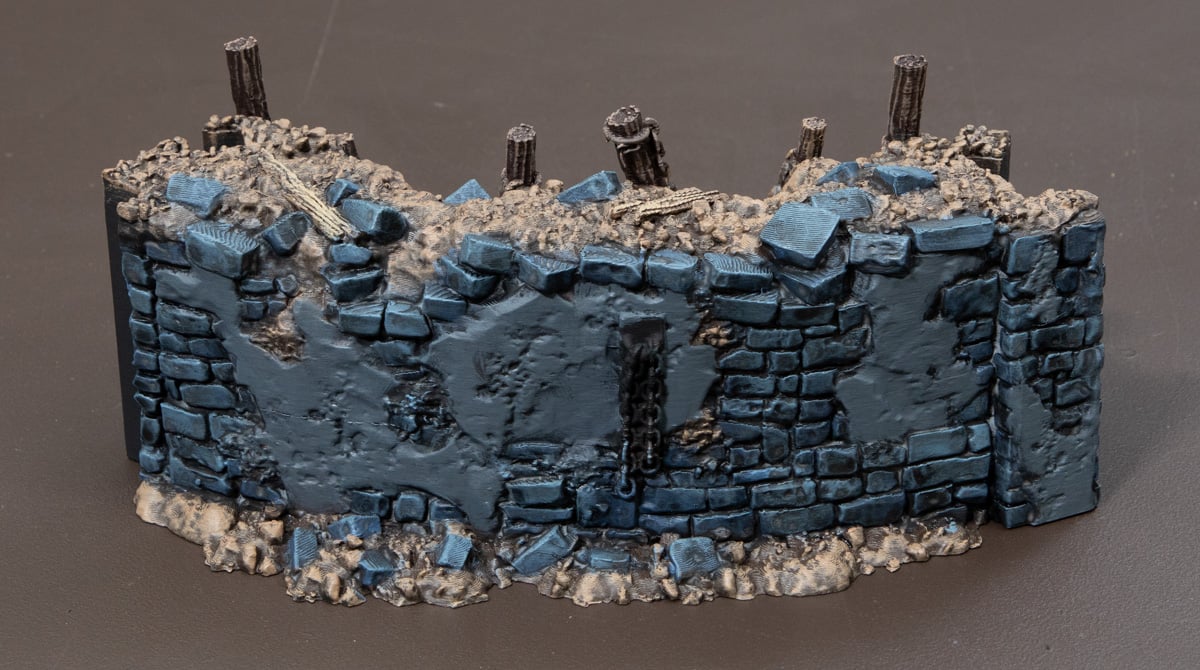
Next, basecoat the concrete with Mechanicus Standard Grey.
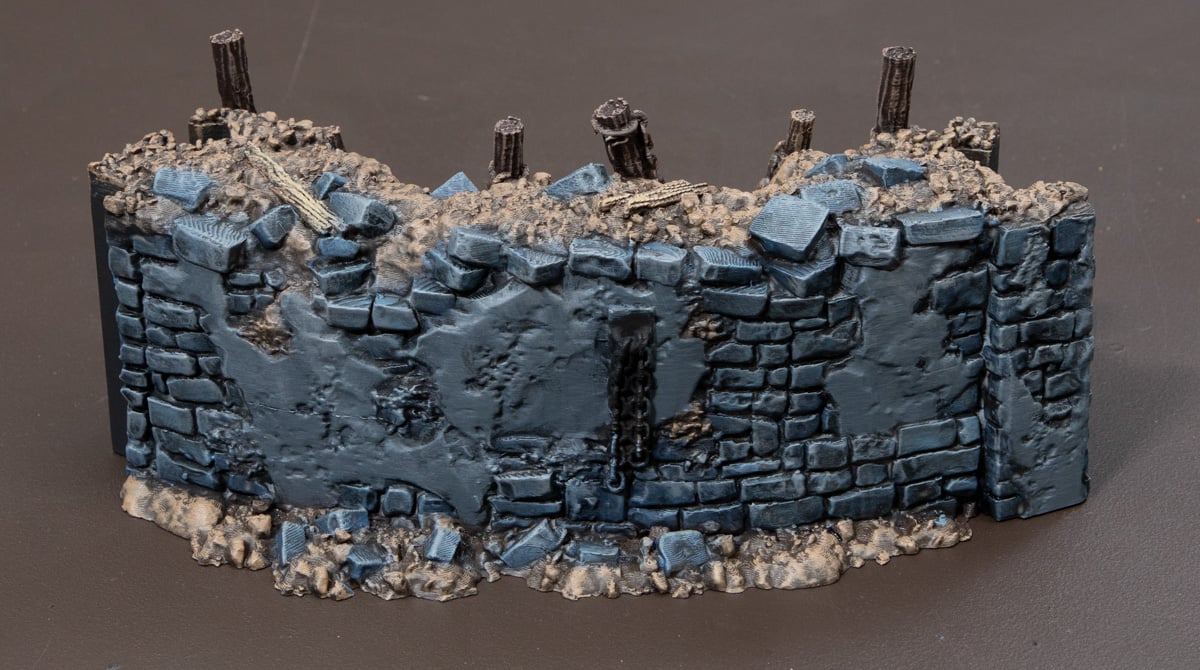
Then, drybrush the bricks and concrete with Dawnstone. Focus on drybrushing the upper areas of the concrete patches.
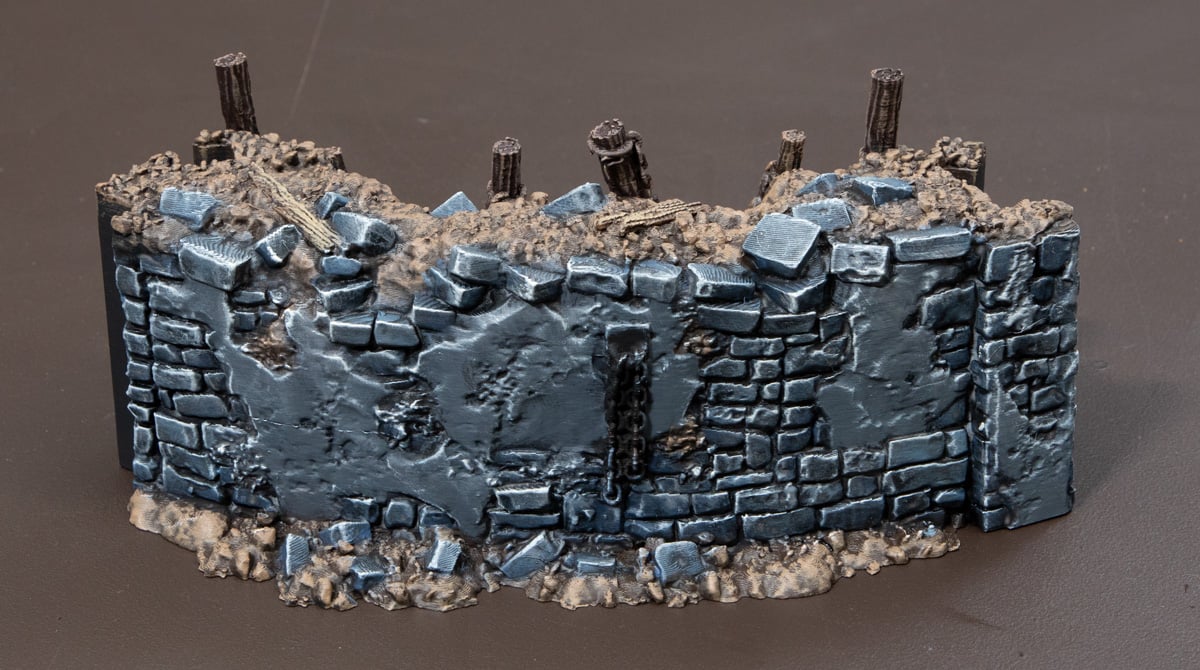
Finally, give the bricks and concrete a drybrush with the Light Sand drybrush paint. Do this delicately so as not to overdo it or overtake the work done so far, as it can easily make the model look very bright, and we want to keep it mostly grim.
Steel and Ropes
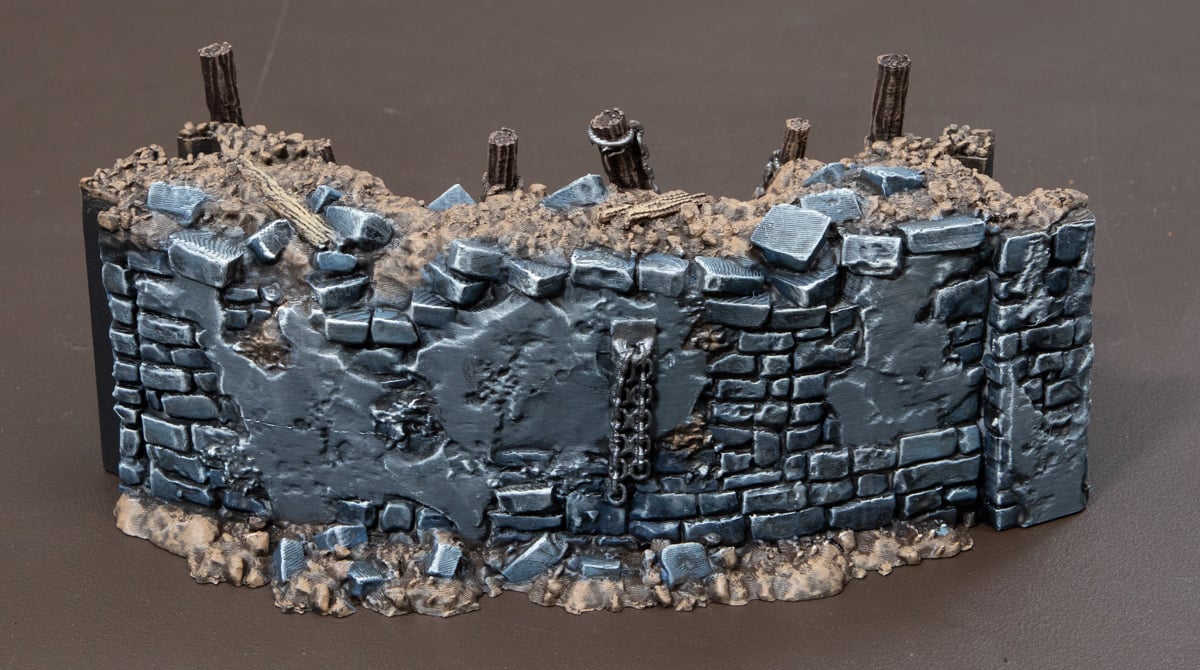
Basecoat all the steel chains with Chainmail.
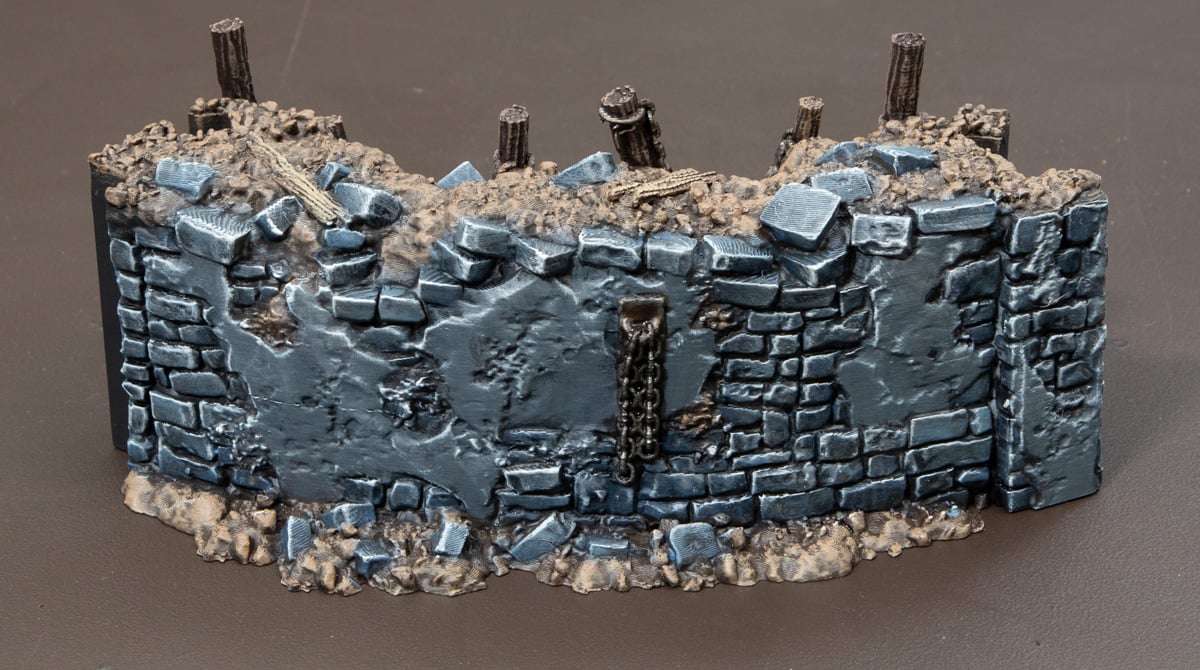
Then give the chains a wash with Agrax Earthshade, being generous enough to let the wash spill out and into the recess between the chains and the surface they’re on.
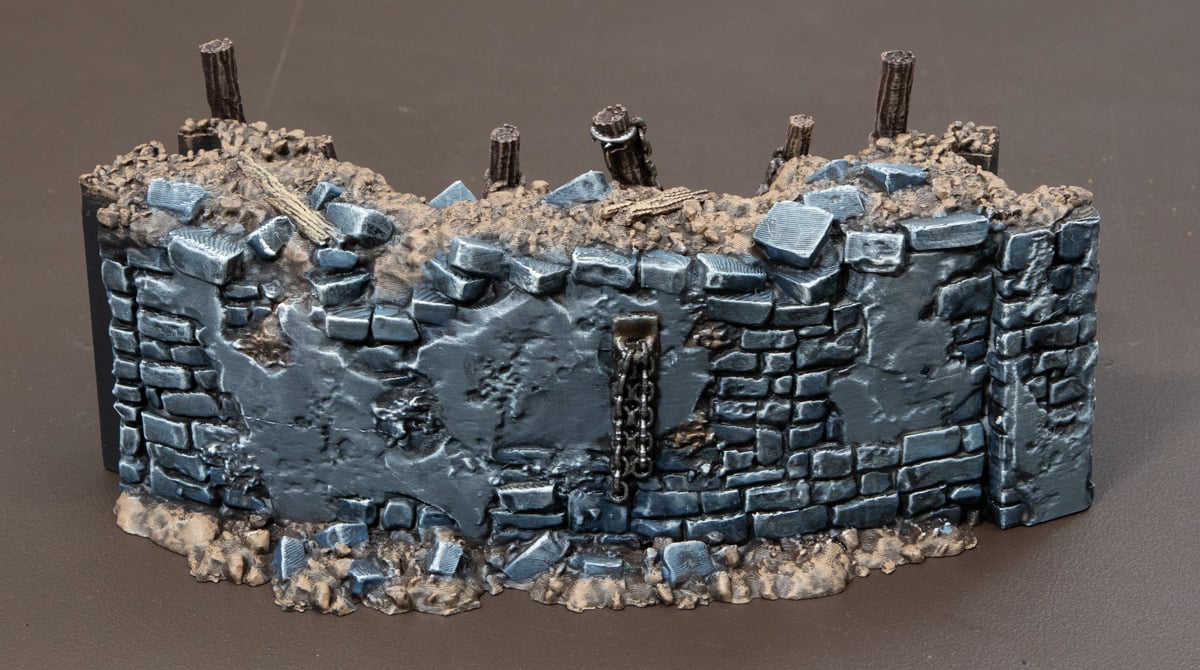
Then, a quick highlight with the chainmail just on the raised parts of the chain finishes them off.
The last detail is to highlight the ropes with Banshee Brown. You can carefully drybrush these ropes or simply brush over them, letting the rope texture do the work for you, leaving the brown in the recesses of the rope texture.
And there you have it, a finished Trench Wall. Like us, you’ll probably want to do a lot of these to build out your table with, so you could cut corners by removing a few steps, like the Agrax Glaze or some washes, and sticking to just drybrushing. But doing them in a big batch will save you a lot of time.