
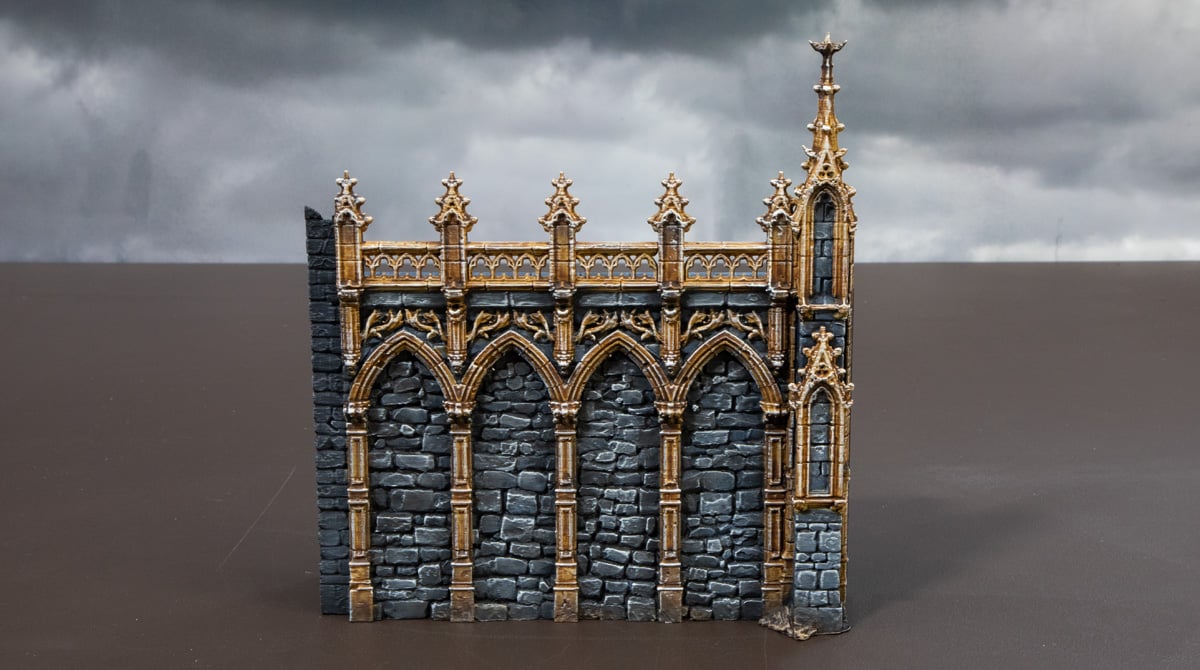
How to Paint the 3D Printed Gothic Walls from Darkness & Desolation
In this article, we’ll show you how to paint the 3D printed Gothic Walls from our Darkness & Desolation campaign. We’ll cover the paints needed, the techniques we used, and any tips along the way to get your Gothic Walls ready for the tabletop. The methods in this guide can be used on all of your Gothic buildings from Darkness & Desolation.
In this guide, we use an airbrush, but if you don’t have one, you can easily replicate the result with some drybrushing.
To paint the Gothic Walls, you’ll need the following paints:
- Black Primer
- The Fang (Citadel)
- Russ Grey (Citadel)
- Black Wash (Vallejo)
- Dawnstone (Citadel)
- Morghast Bone (Citadel)
- Sepia Wash (Vallejo)
- Ratling Grime (Citadel)
- Light Sand (Ammo)
- Woodbark interior paint (or Dryad Bark from Citadel or similar)
- Earth drybrush paint (Ammo)
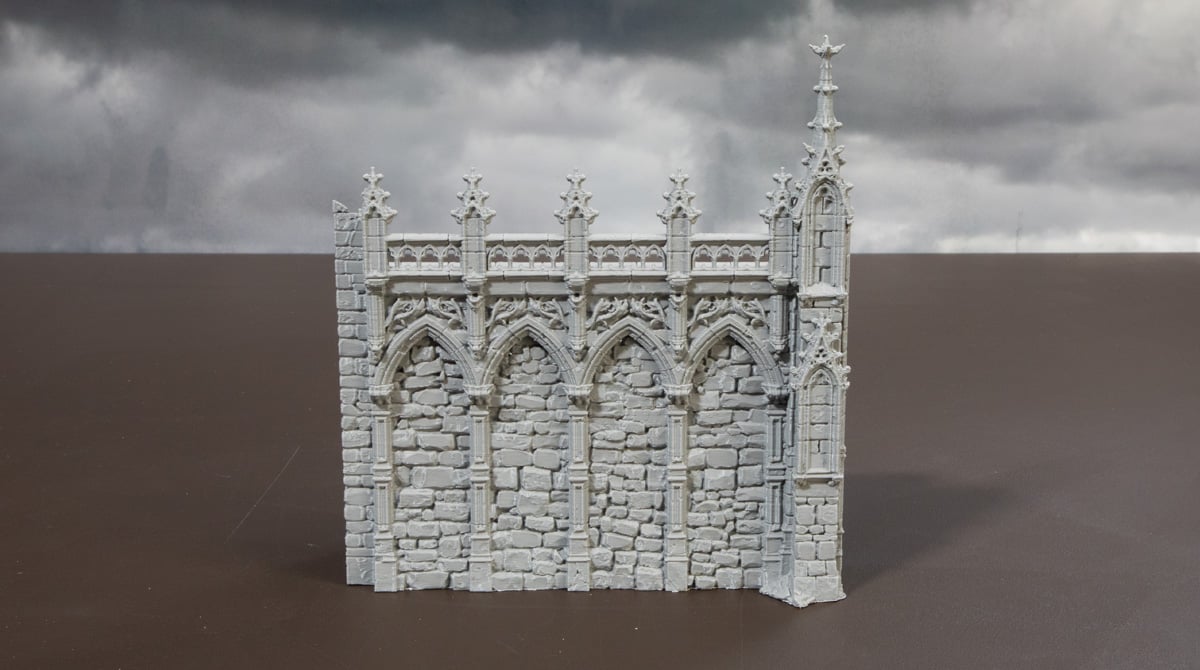
There is a lot of detail along the tops of the wall, especially, so some stringing can happen, so we recommend beginning by safely taking to the print with a lighter or a blowtorch.
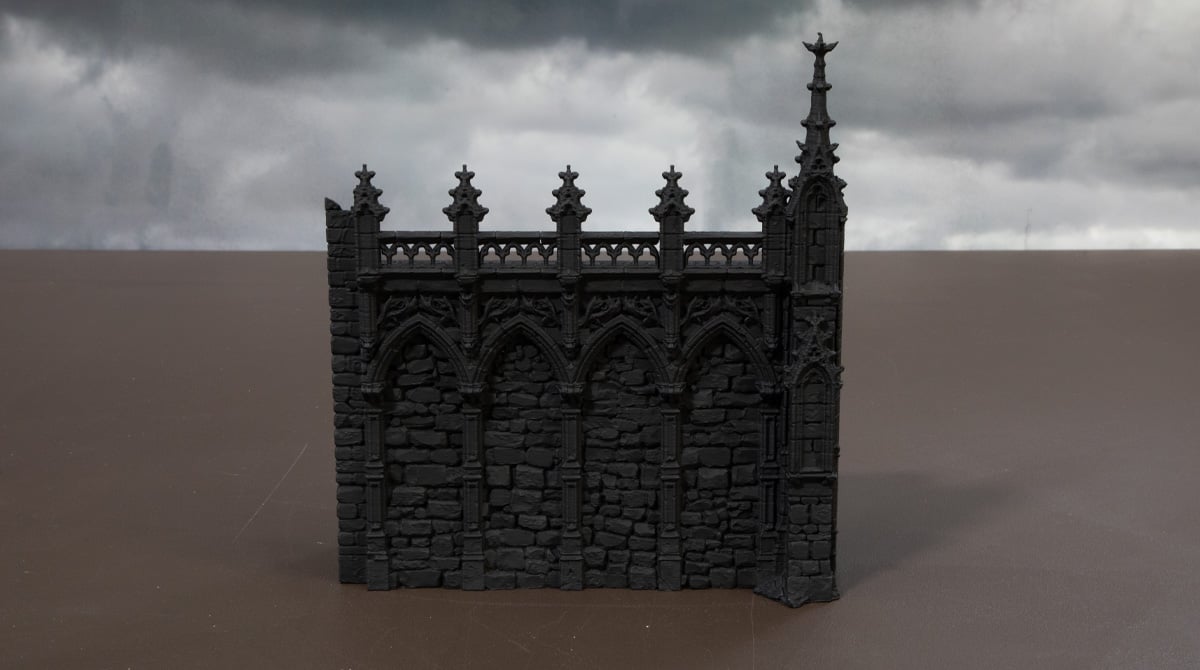
The first step of painting is to prime the Gothic Wall black after cleaning up the 3D-printed model.
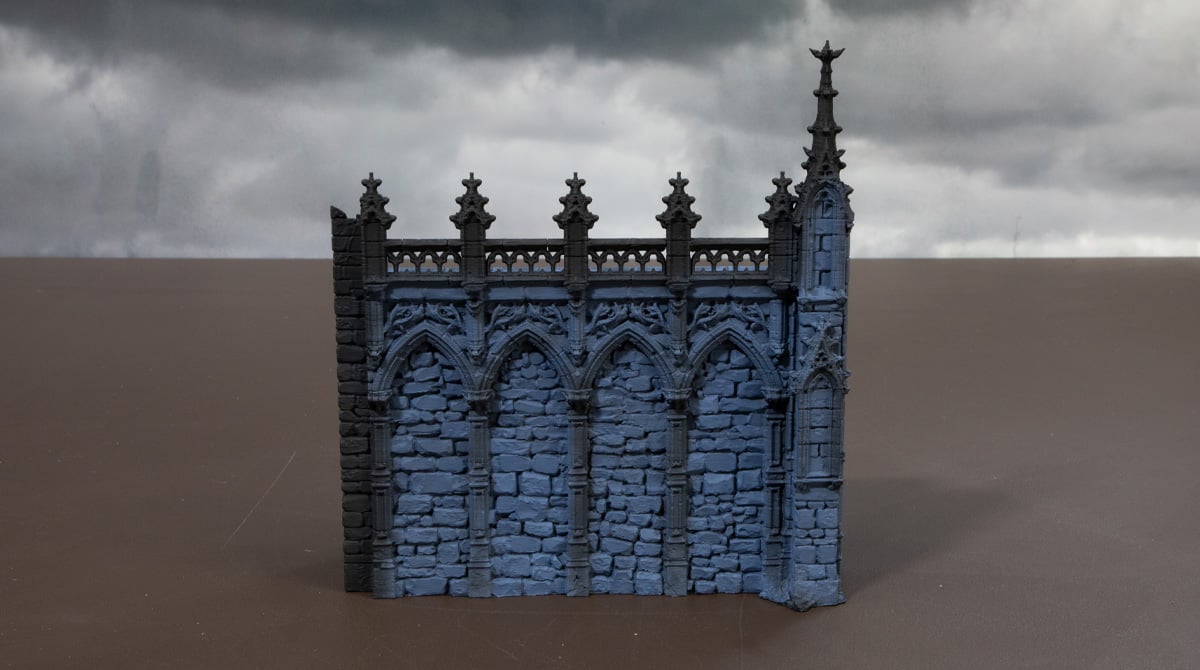
Next, give the brick areas two thin coats of the Fang with the airbrush. We’re covering the bricks in the fang, so you can be quite liberal in your coverage. We thin the paint roughly 1:1 with water through the airbrush.
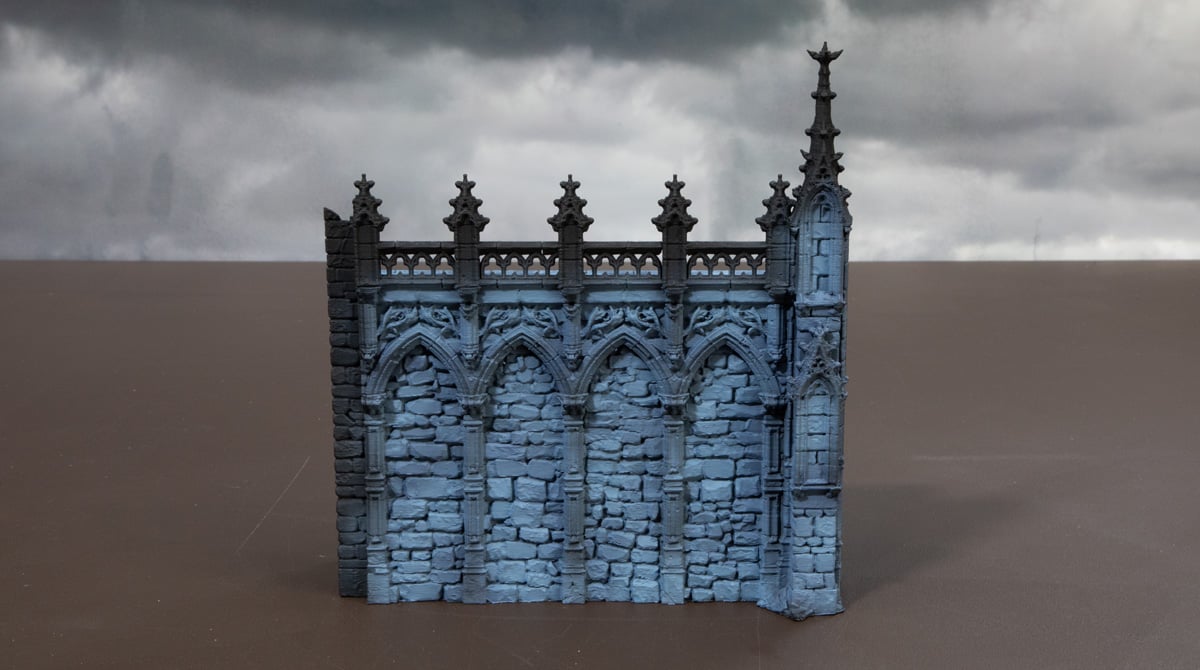
After the Fang, we airbrush the Russ Grey over the bricks. We aim to be a bit patchy here, so the tone isn’t uniform. This will give us a more realistic look when it’s all done. Again, we do two thin coats, thinned 1:1 with water.
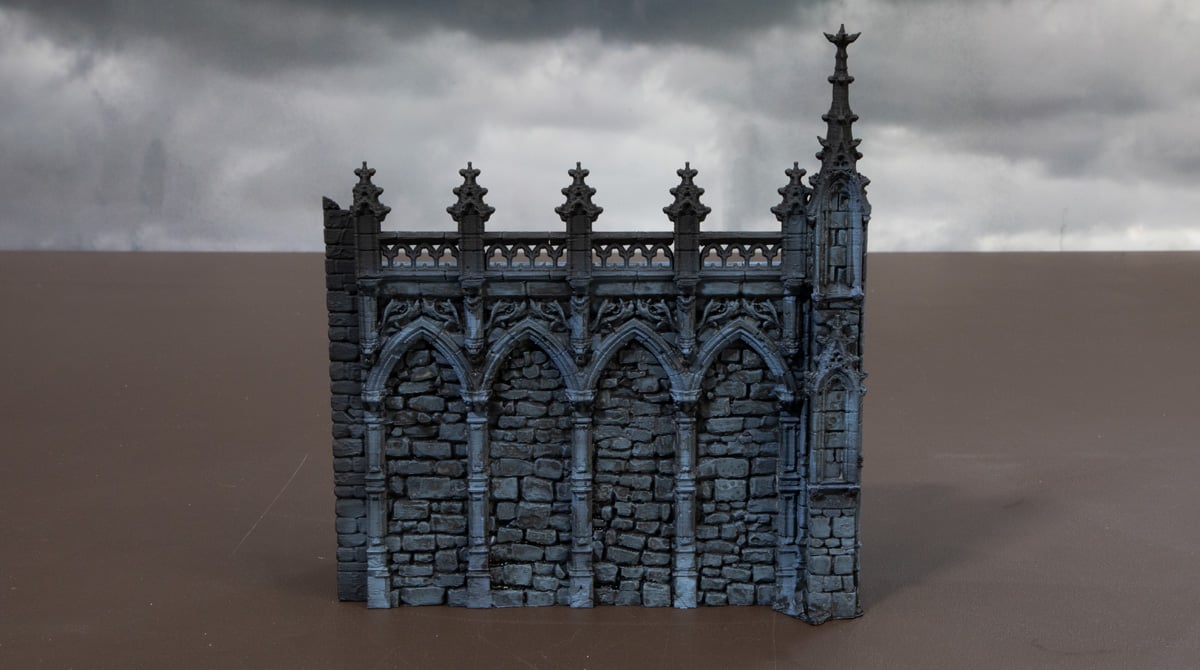
We then give the bricks an all-over wash with the black wash, thinned 2 parts wash to 1 part water. This is just to reduce the amount of tinting the wash does, but we still want some dark patchiness.
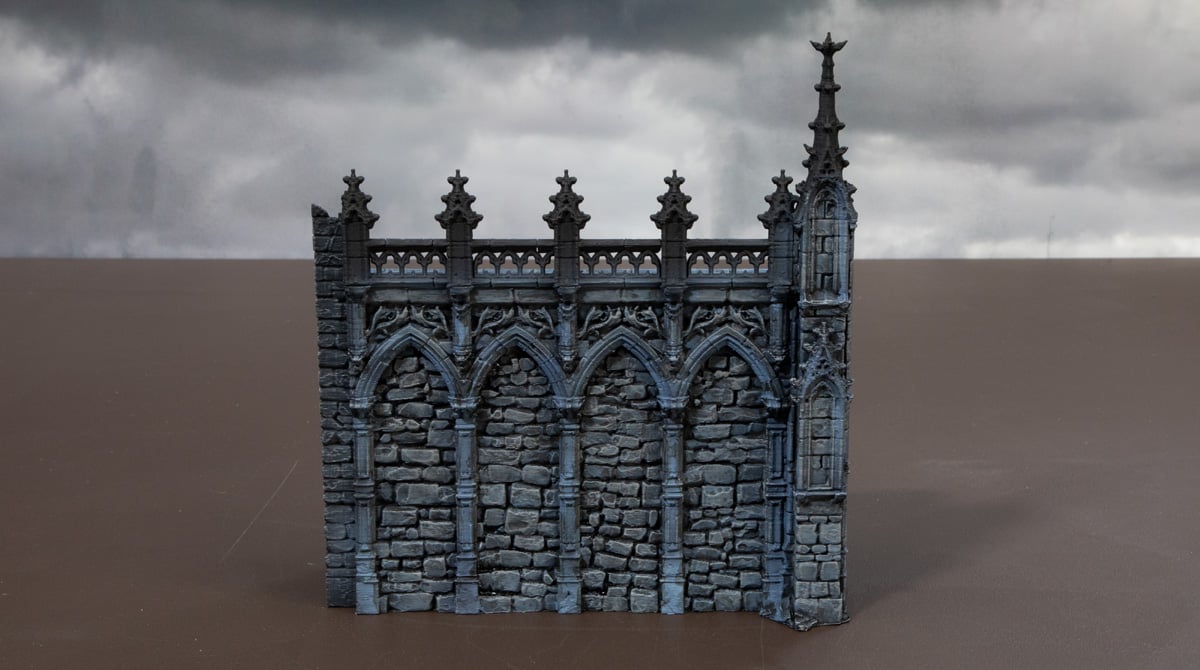
After the wash has fully dried, we can give the bricks a drybrush with Dawnstone. This helps desaturate the tone and avoid it looking too blue overall.
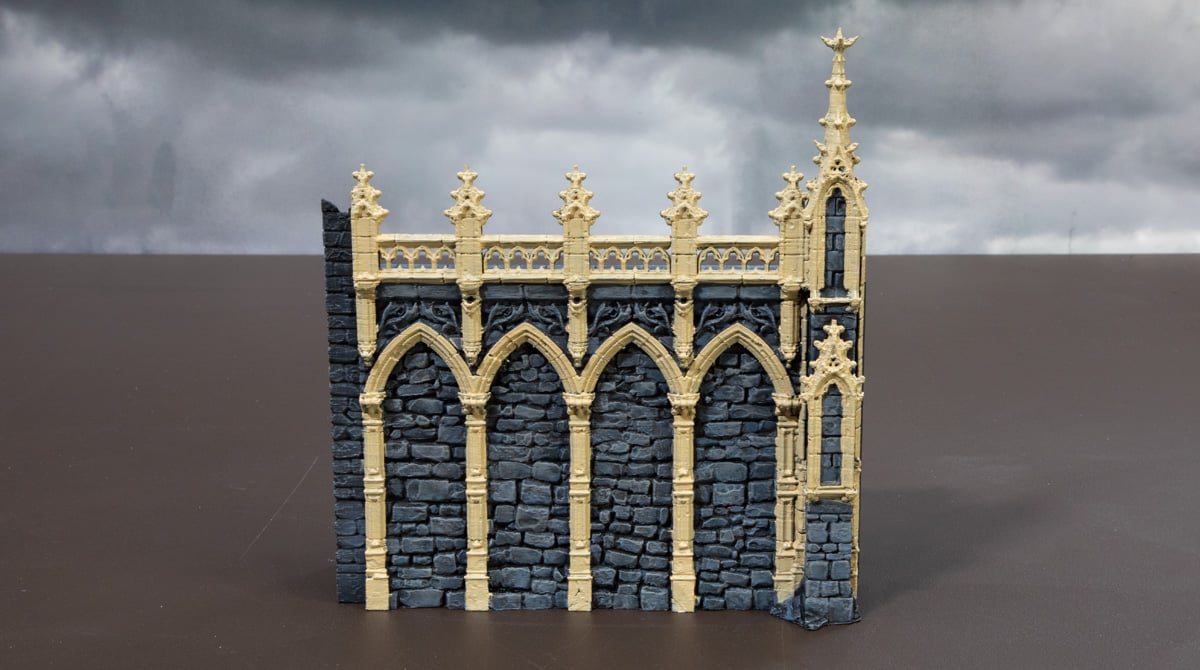
We then move on to the base coating of all of the other details with the Morghast Bone. This is a time-consuming step that requires 2 coats for good coverage over the black and blue.
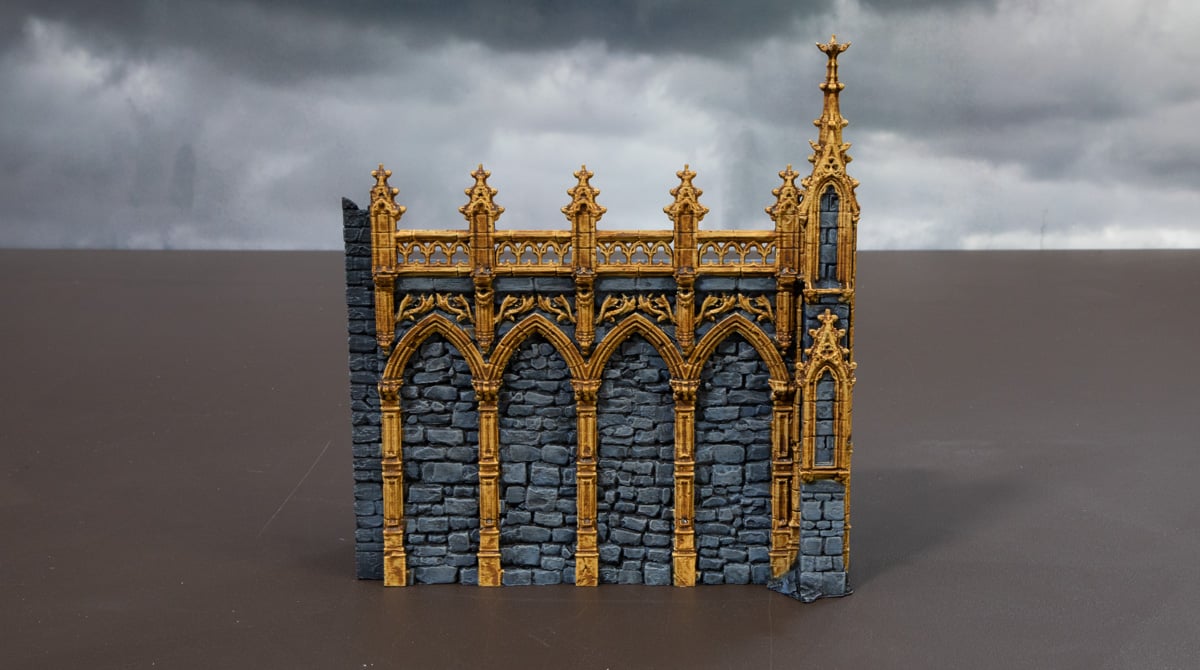
We then wash the areas we just base-coated with the Sepia wash straight from the pot. Try to avoid getting sepia on the bricks unless you want a bit more of a grimy look, as the sepia’s yellow will blend with the bricks’ blue.
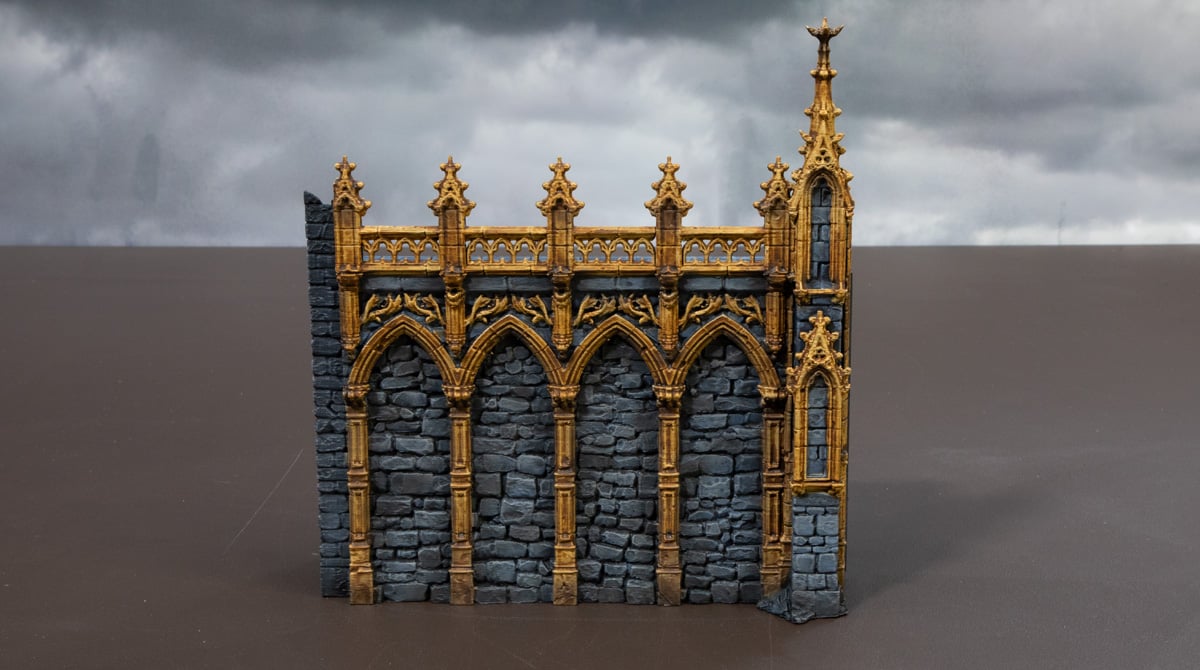
We then return to the airbrush to spray on some thinned Ratling Grime into the recesses and shadowed areas. This step helps blend the blue-ish bricks and golden yellow details. You can also use the airbrushed Ratling Grime to pick out some bricks here and there to tint them darker. It’s a subtle step but adds a lot of depth. If you don’t have an airbrush, you could wash the ratling grime in those areas, or drybrush black very lightly.
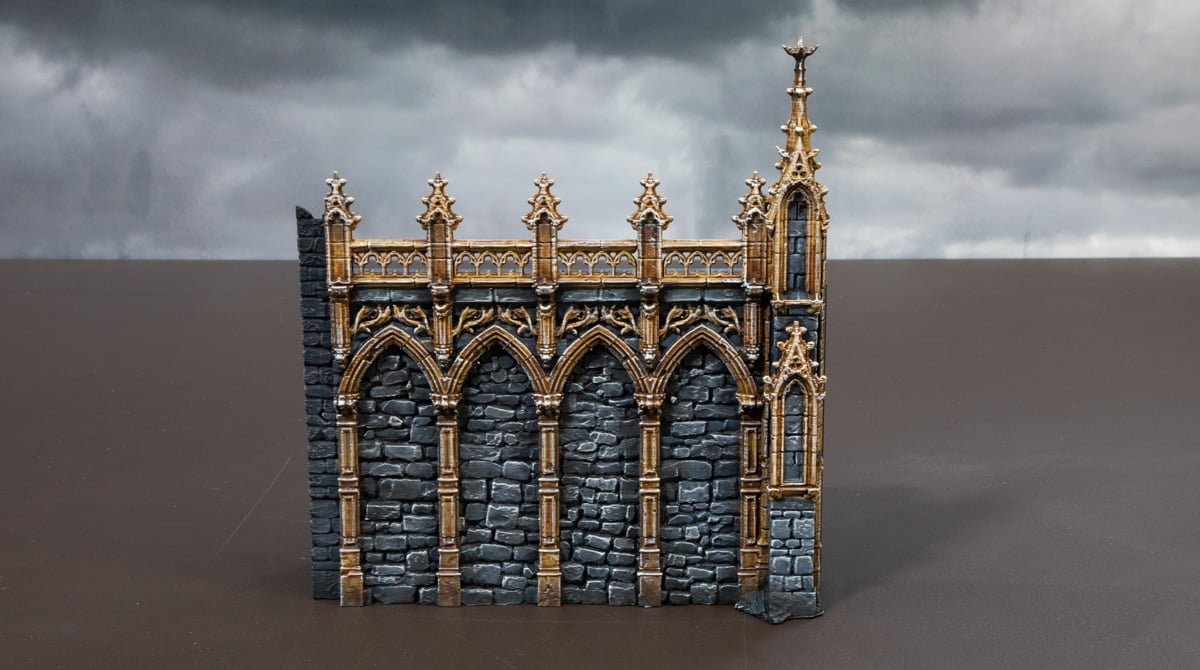
The next step is to dry-brush the entire surface with the Light Sand paint. We do this delicately so as not to overdo it and overtake all the work we’ve done so far, but just try to highlight the top edges of the bricks and the golden details. This also helps tie everything together.
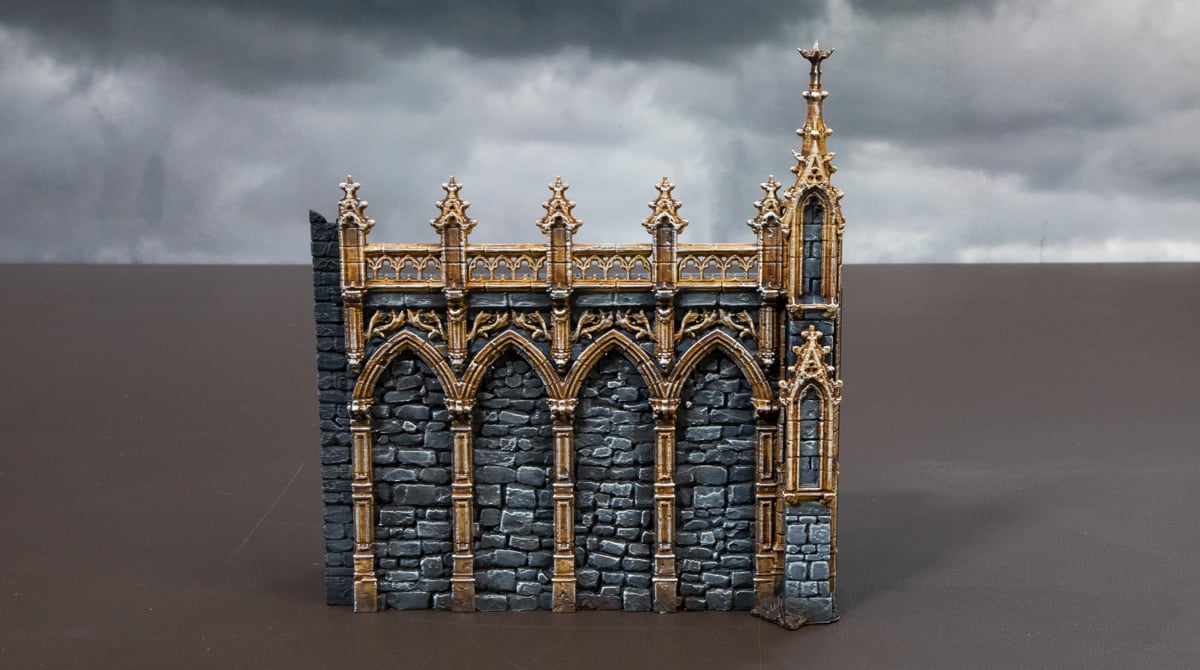
The last detail to be found on the Gothic Walls is the dirt and rubble at the bottom. Base coat these piles with the Woodbark paint, or Dryad Bark, or a similar dark brown.
Lastly, drybrush those dirt areas with the Earth drybrush paint from Ammo. This will take 2 coats for a fully opaque colour, but be careful not to remove too much of the dark brown in doing so.
And there you have it, a fully painted Gothic Wall section. You’ll no doubt have many of these walls and towers to paint like this, so techniques like washes and drybrushes go a long way to save time, and so does using an airbrush if you have the capacity for it.