
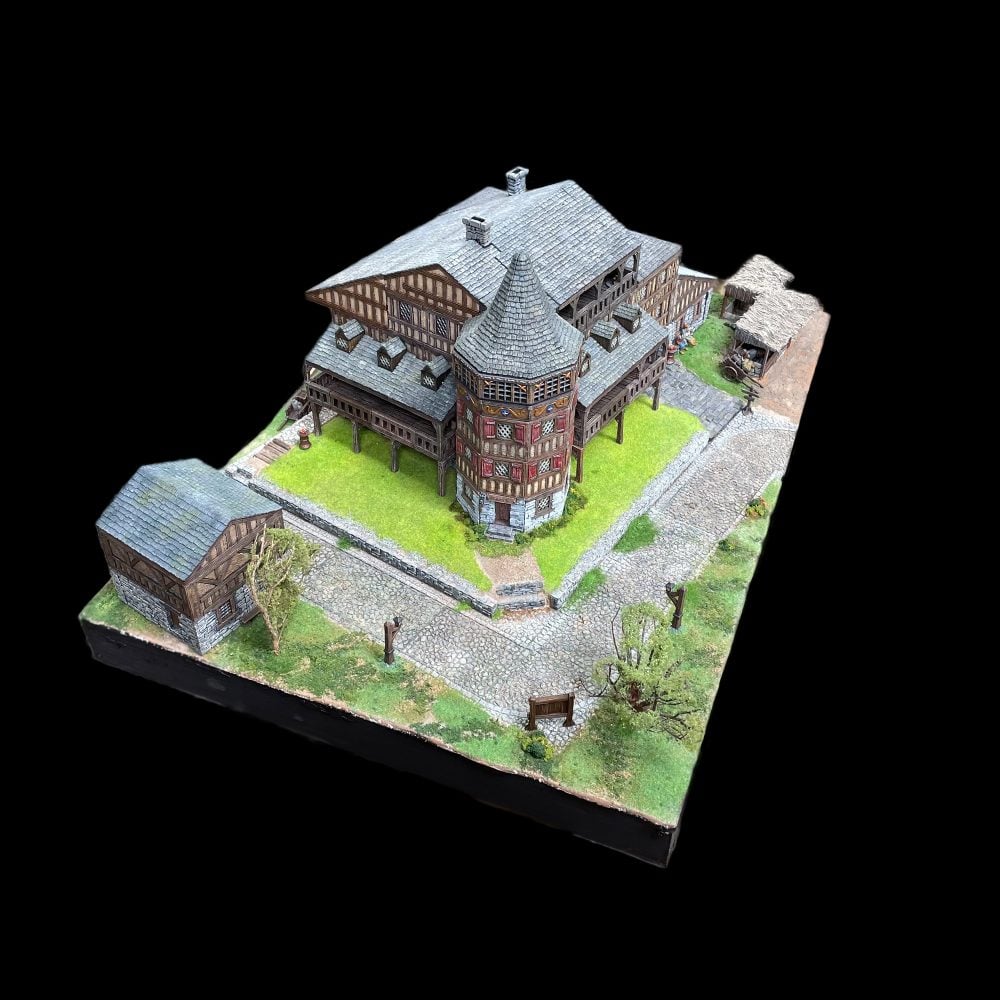
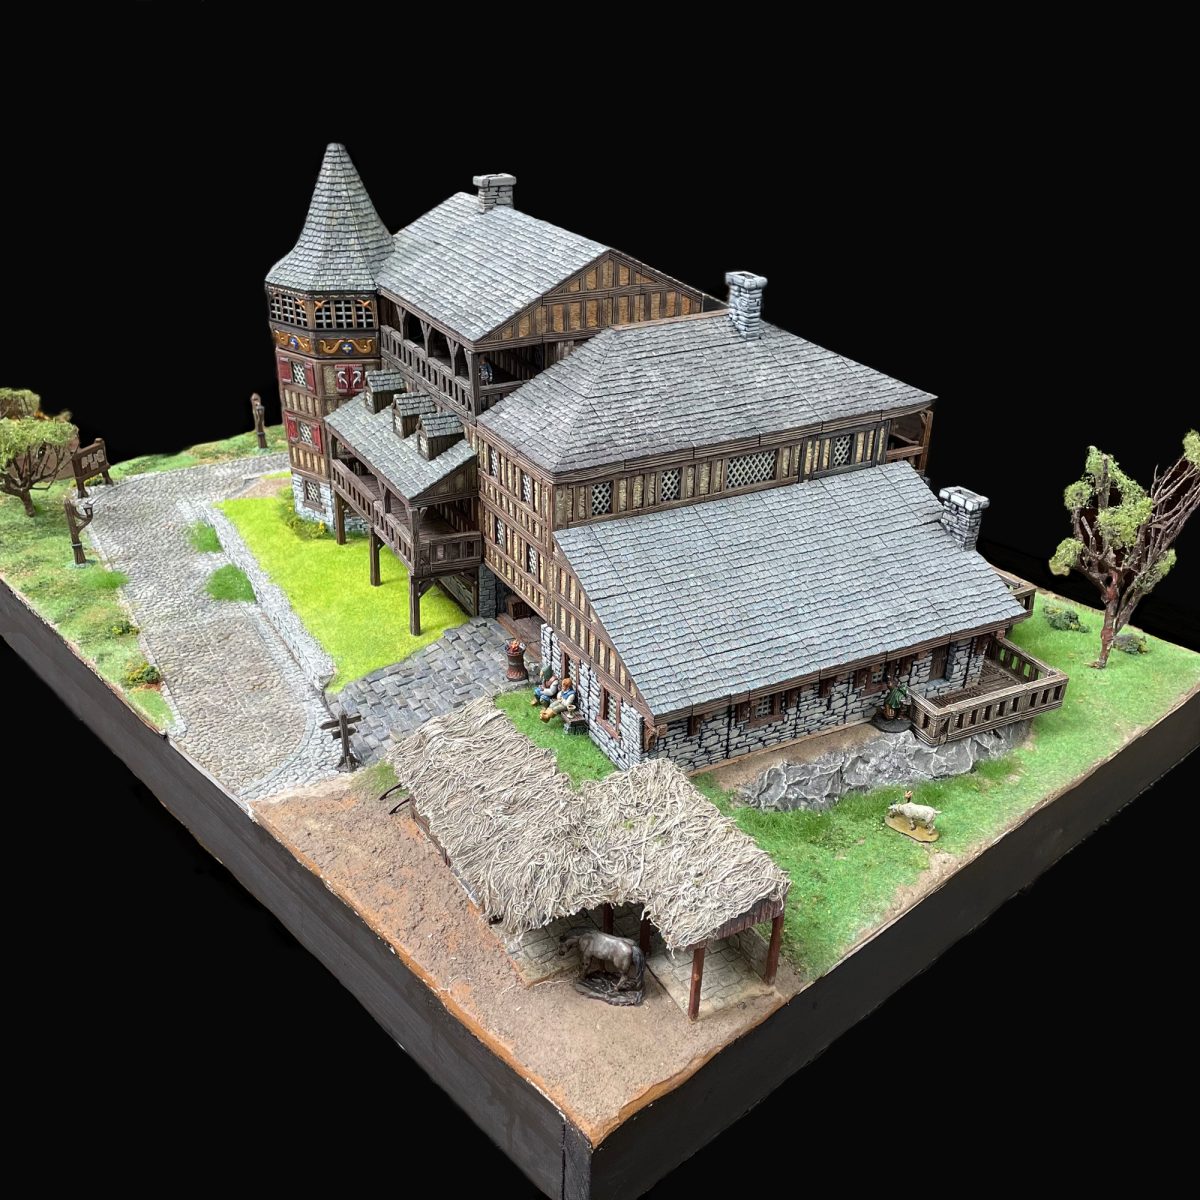

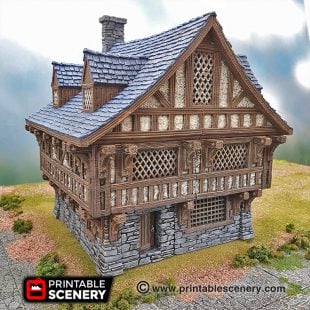
Description
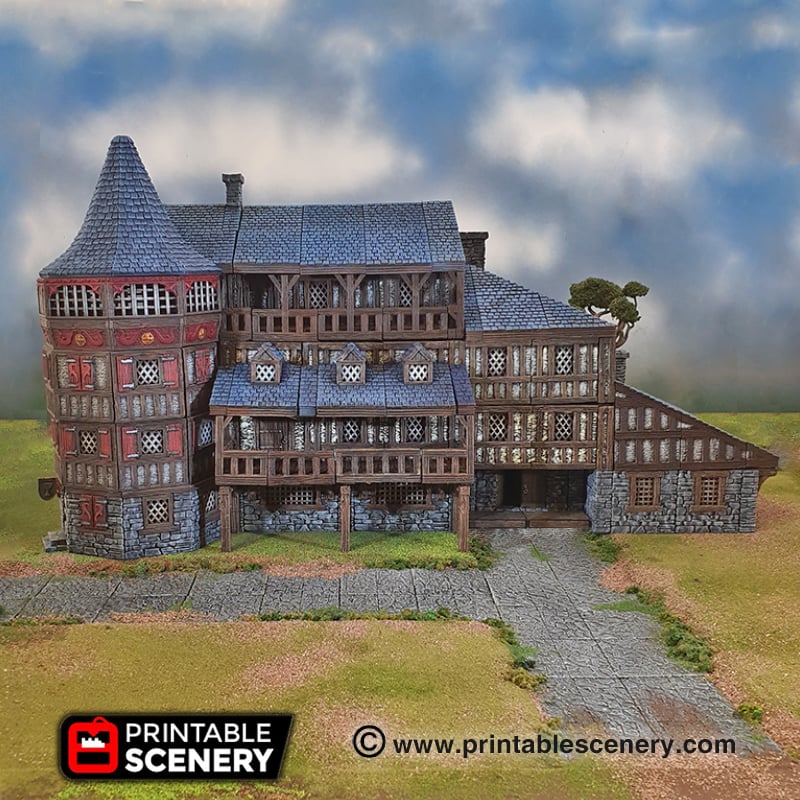
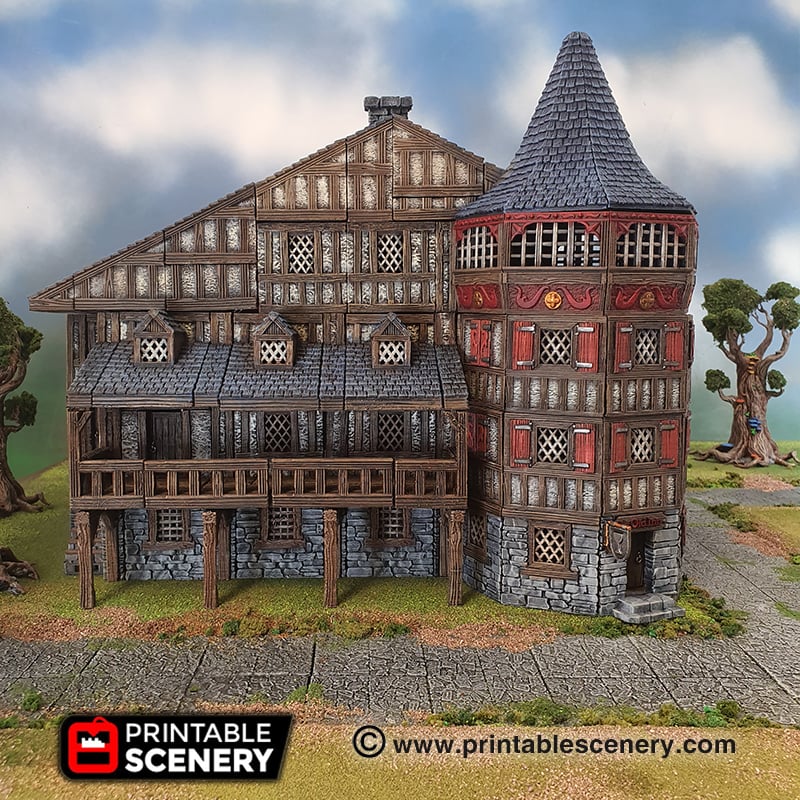
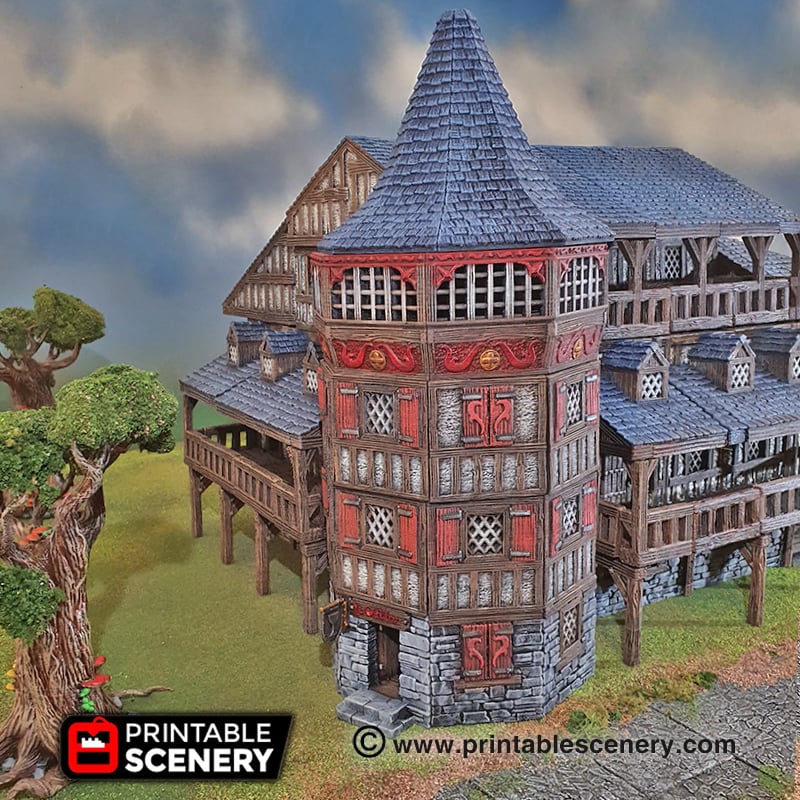
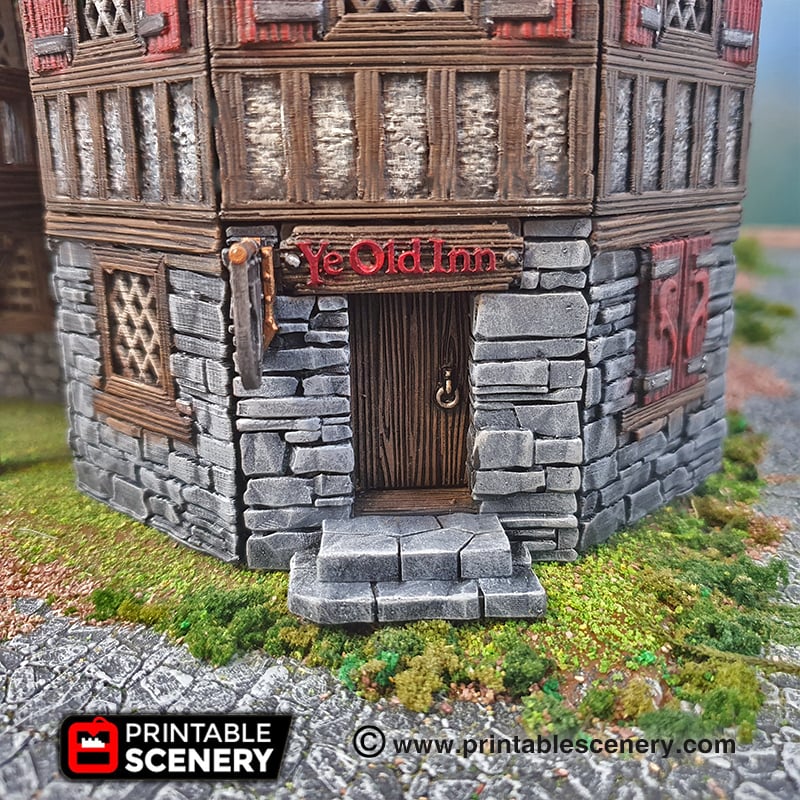
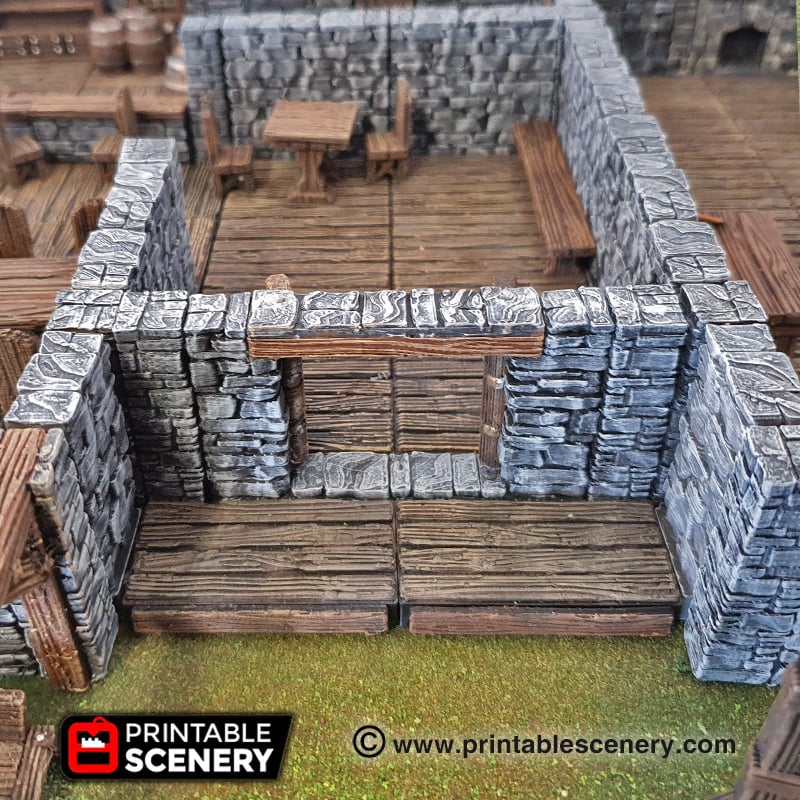
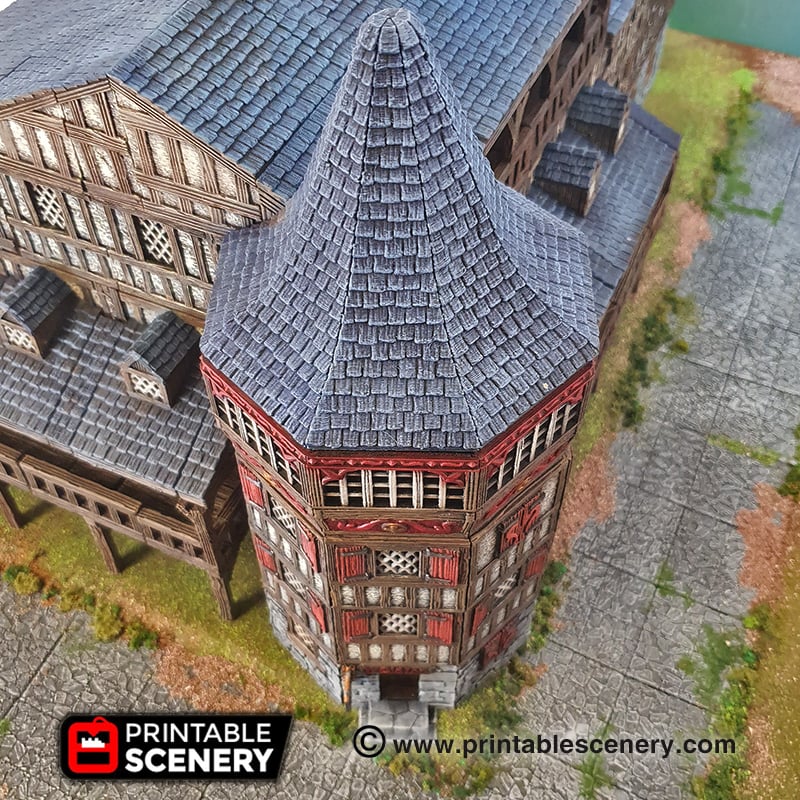
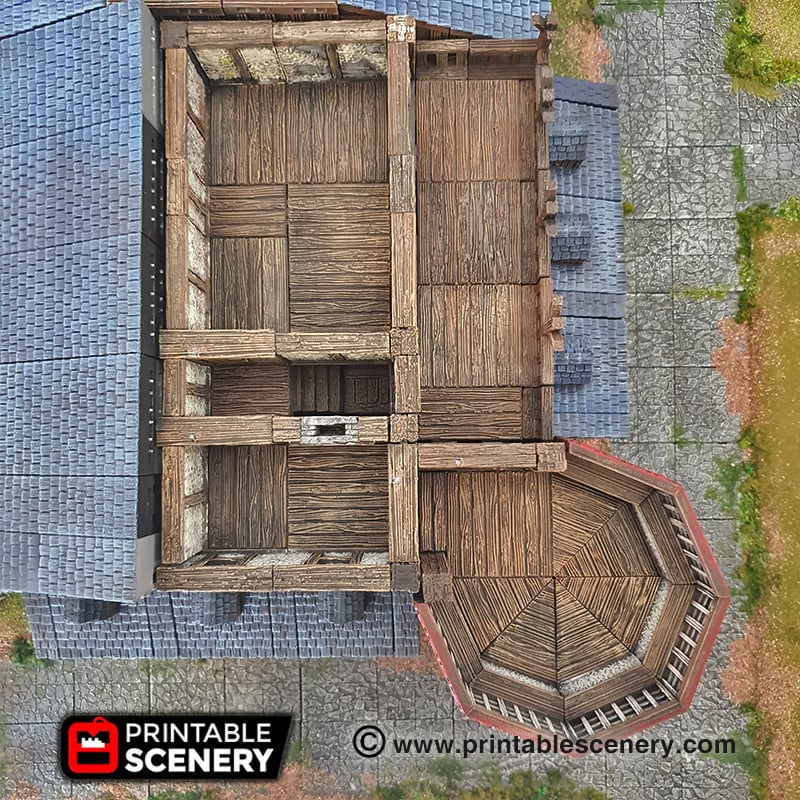
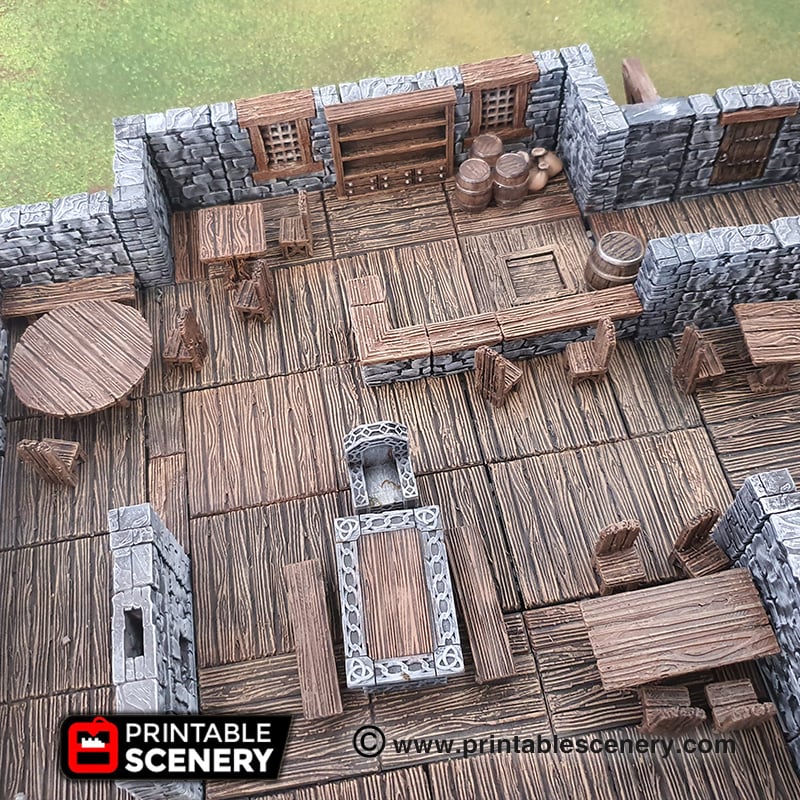
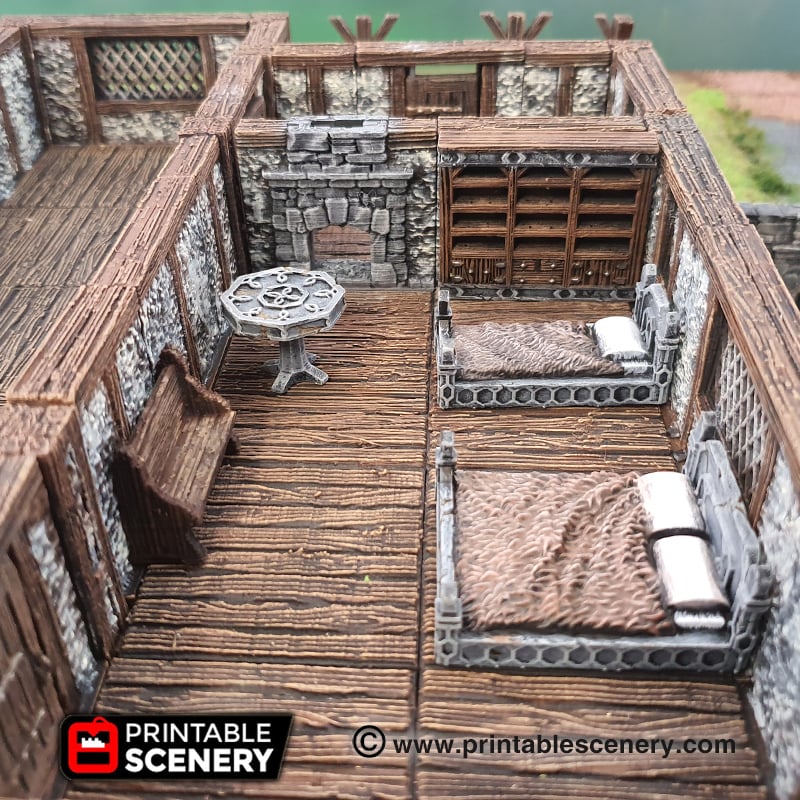
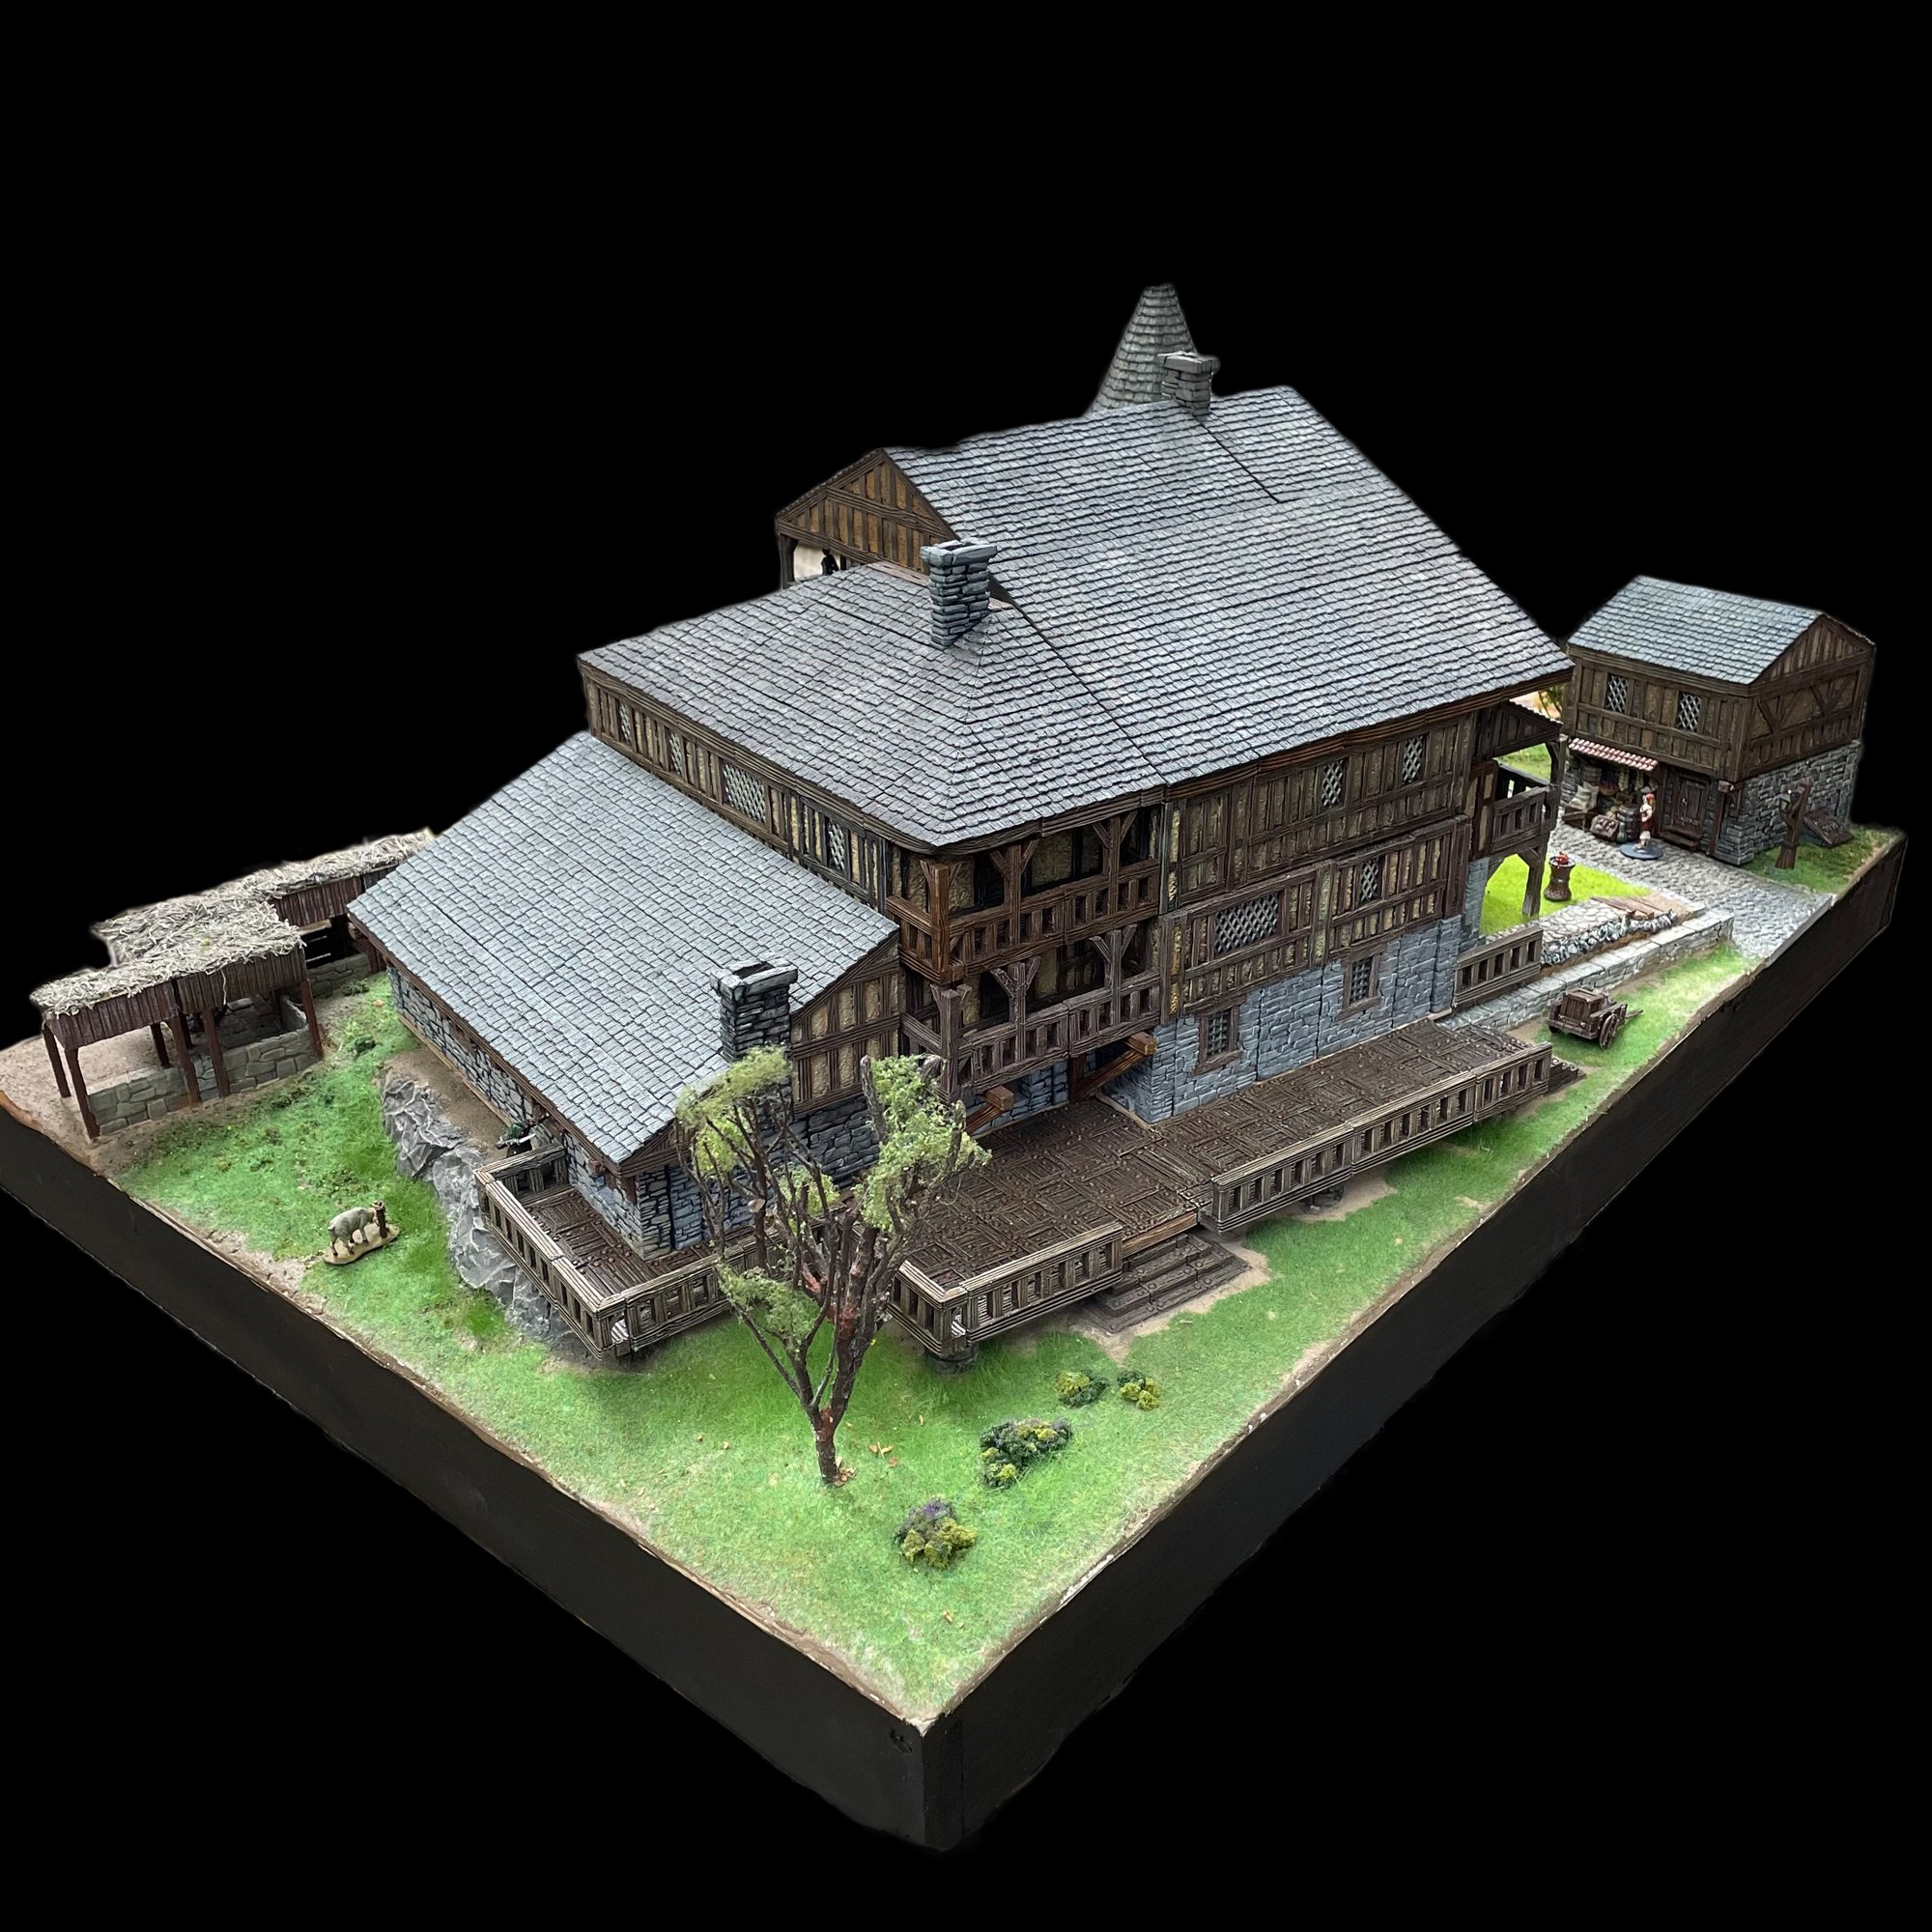
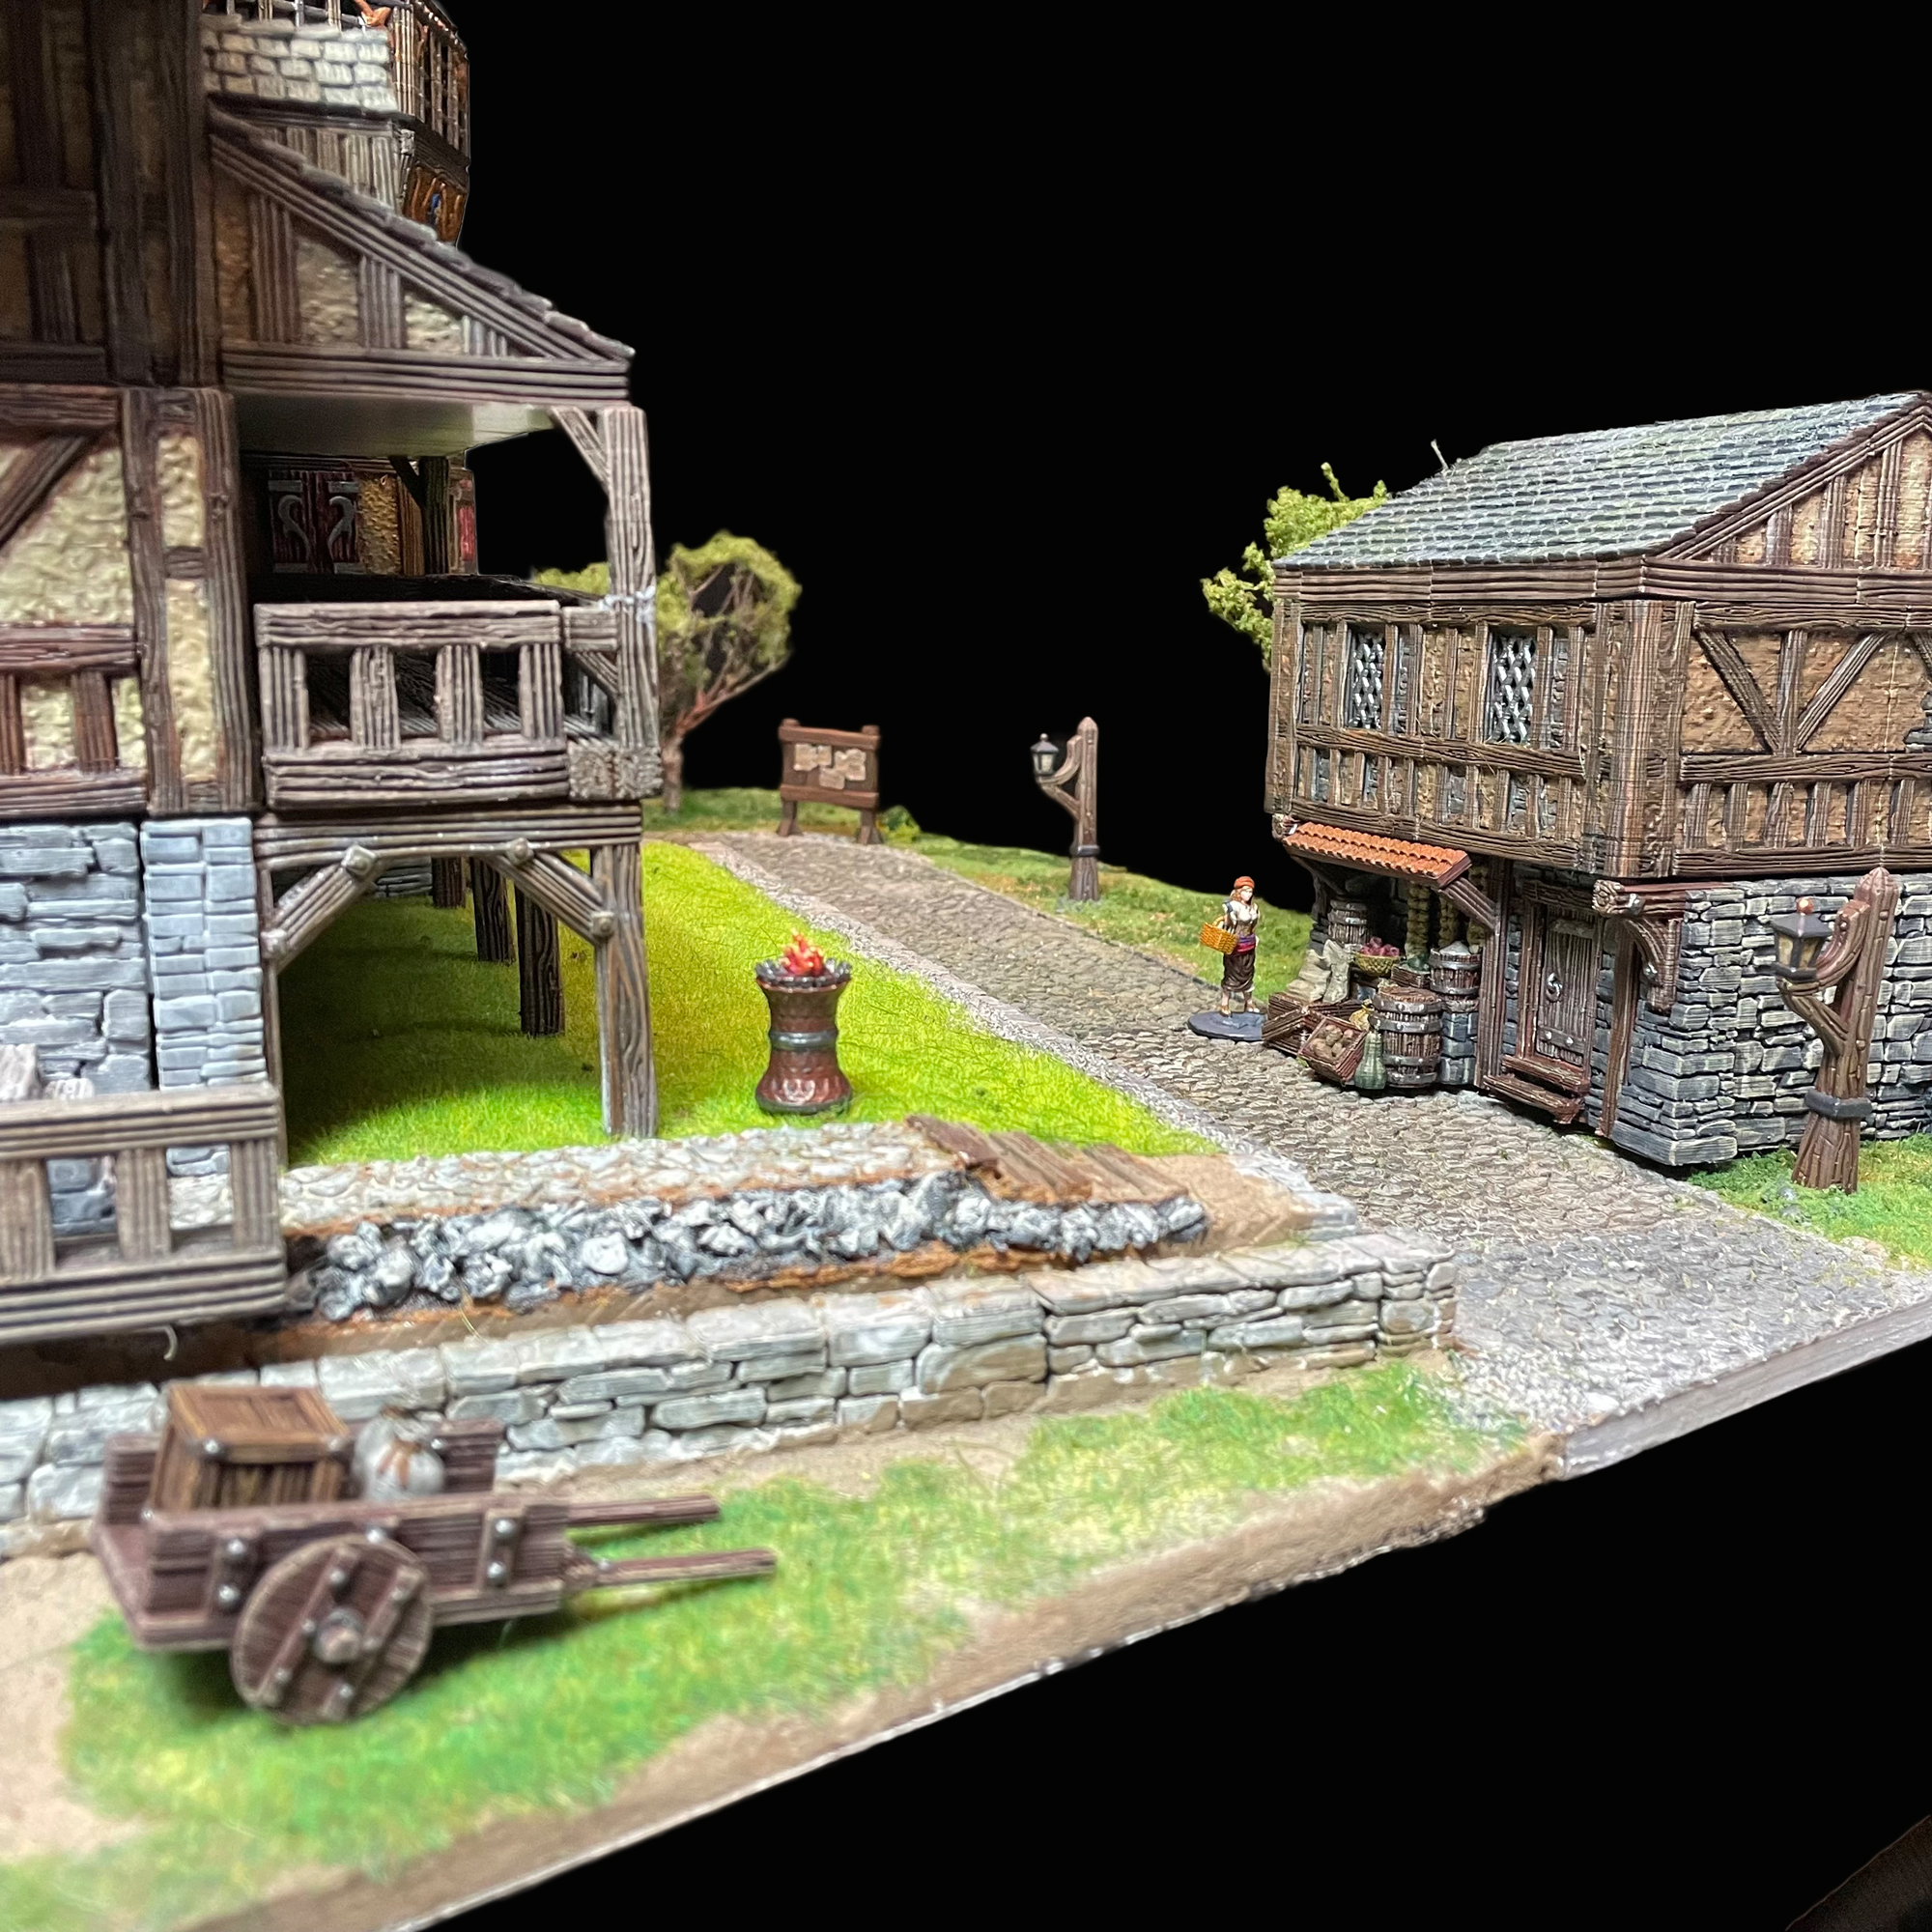
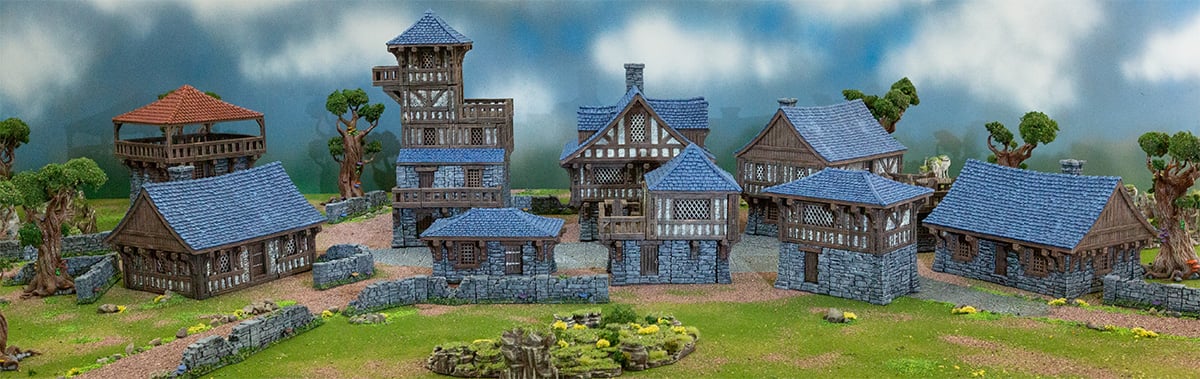
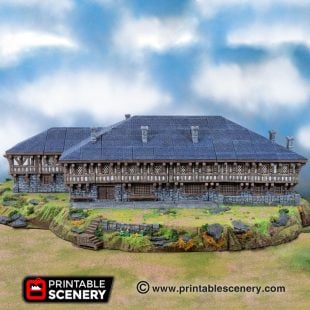
After exploring the vast dungeons beneath the city the exhausted party settled at the Manor Inn for some hot food and rest. Rumor had it that it was once haunted and that a band of adventurers restored it after finding a treasure hoard deep beneath the city. Little can be seen of it’s former ruin, which has been repaired and painted. The floating steins of ale and plates of steaming food looks somewhat weird at first. It seems the adventures did not rid the inn of it’s former occupants but persuaded them into service. The patrons don’t seem to mind though as there is a lively crowd in good spirits.
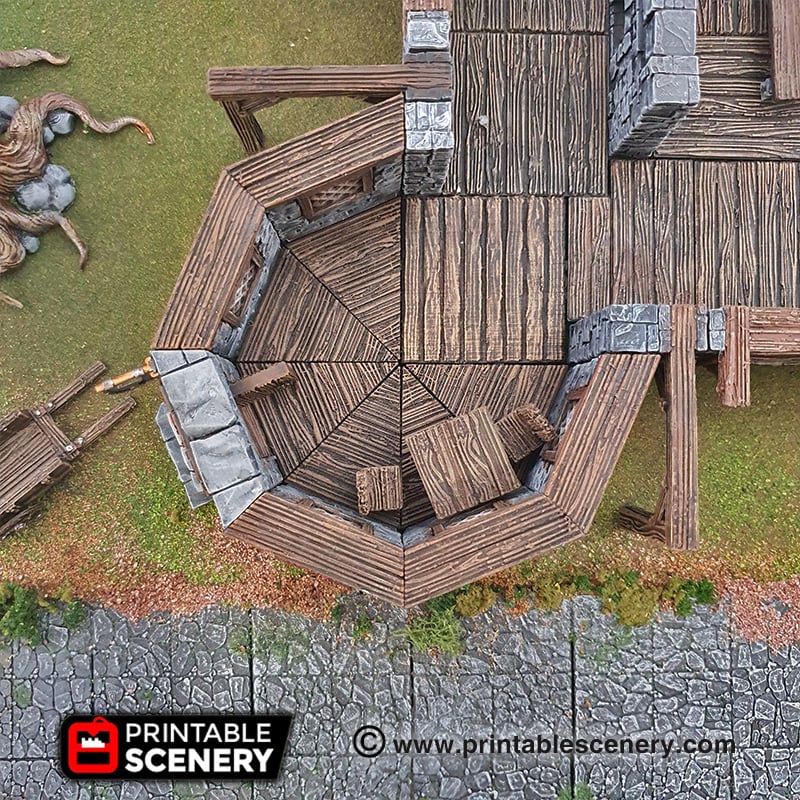
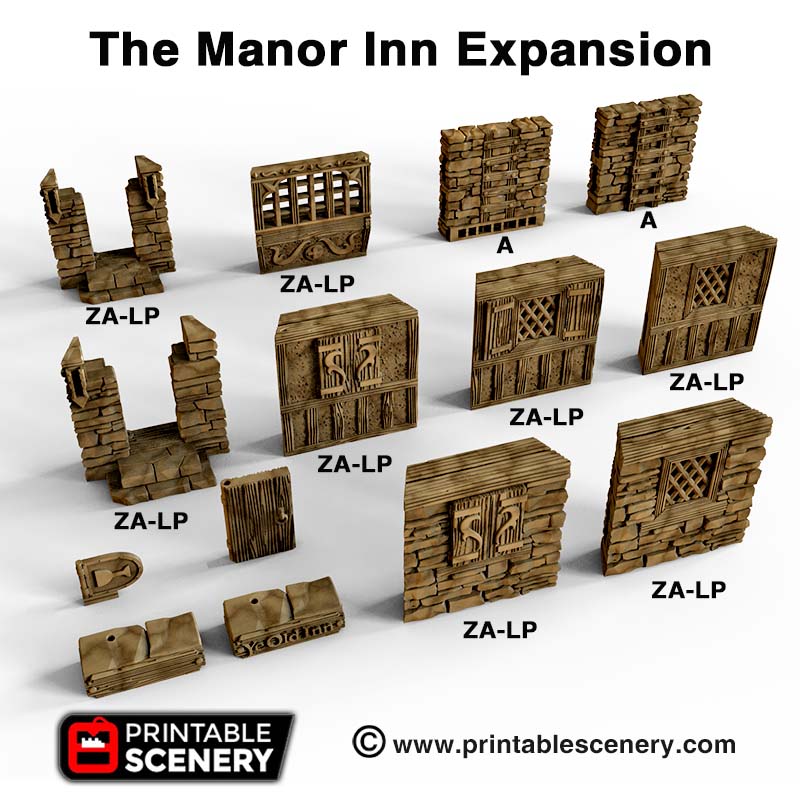
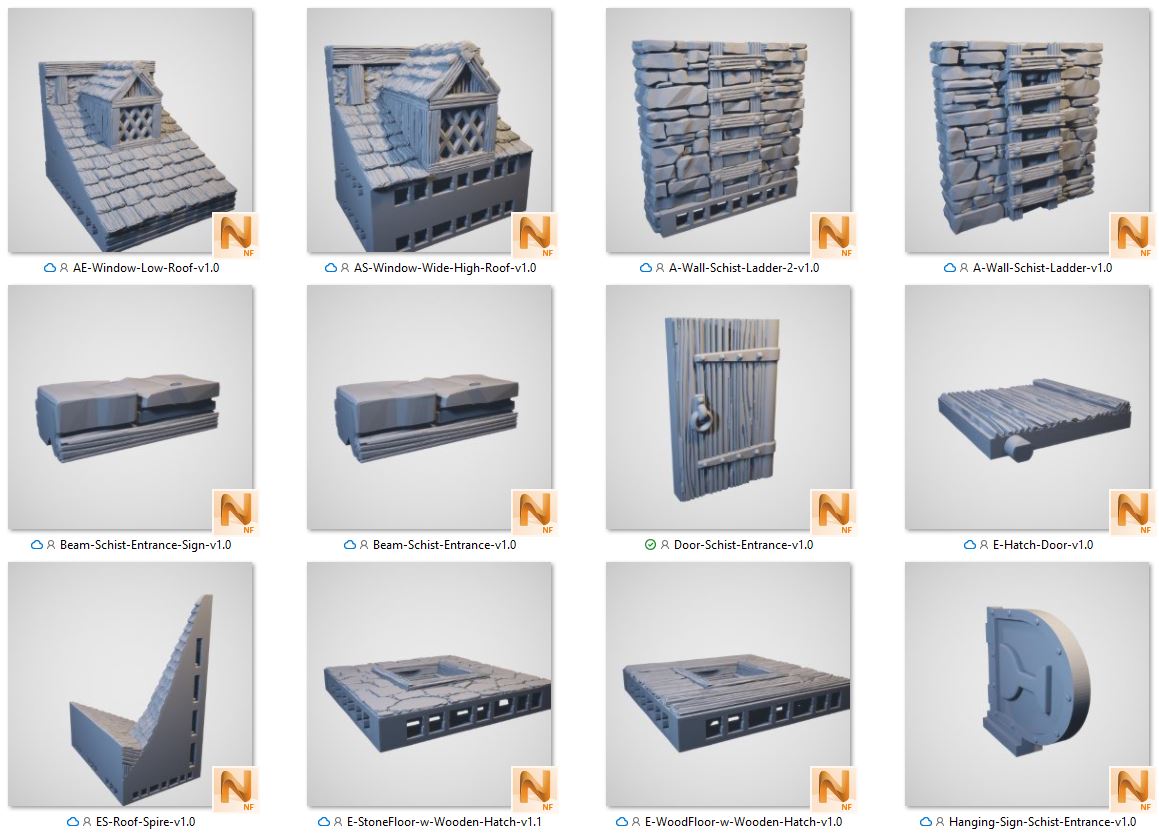
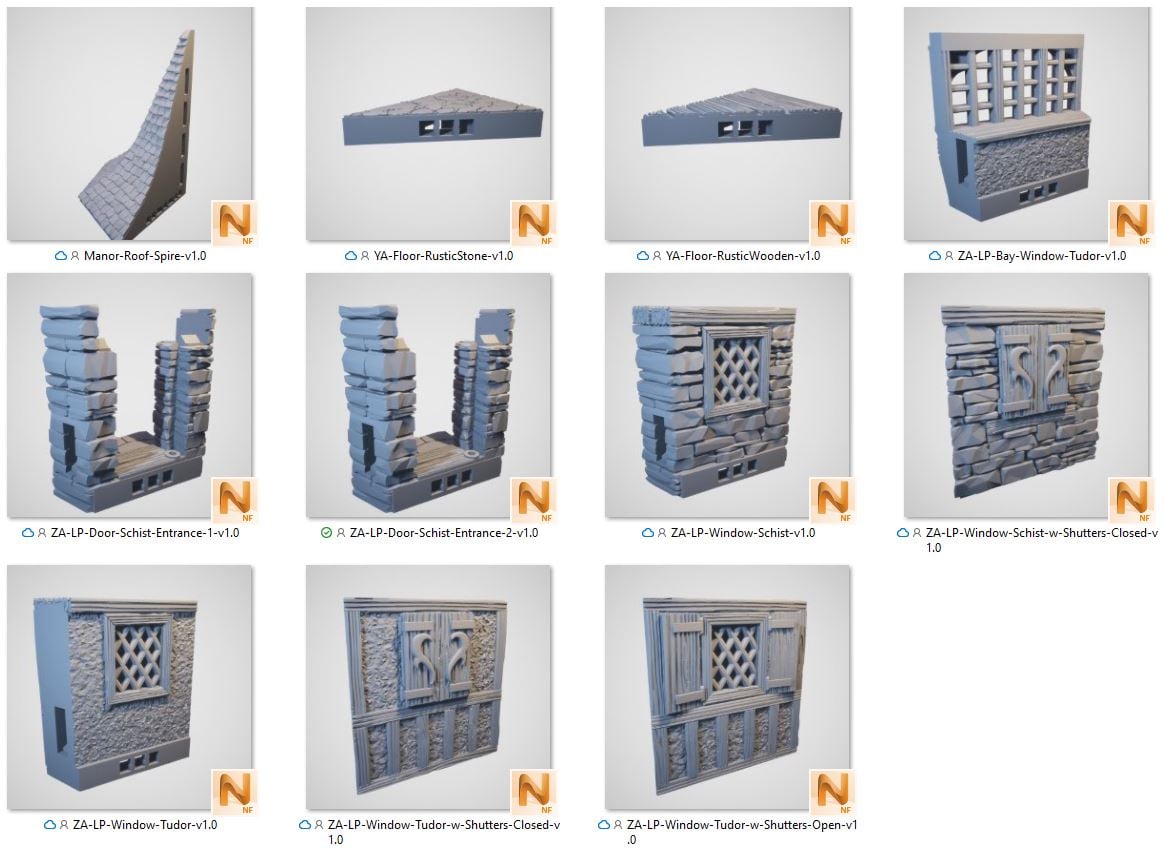
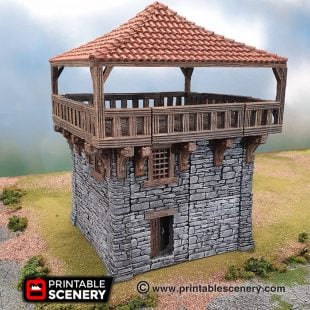
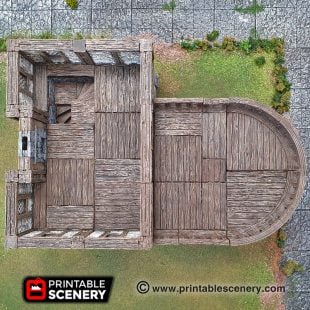
To build the Manor Inn as pictured you will require pieces from other sets including Rustic Stone Floors, Rustic Stone and Wood Stairs, Schist Walls, Tudor Walls, Modular Shingle Roof, Schist Street Support, Wooden Balcony Walls, Clip Caps, Rustic Wooden and Rustic Stone floors. To assemble the Manor Inn and other buildings of Clorehaven you can download the Assembly Guides.
Link to Door Assembly Guide.

Updates:
- 30 March 2020 (version 1.1) E-StoneFloor-w-Wooden-Hatch had texture removed from underneath.
- 19 May 2022 (version 1.2) Doors added to the Schist and Tudor Door and Column Mashup folders.
Notes:
- Right-click on the image below and “Save As” to download the reference sheet for this pack.
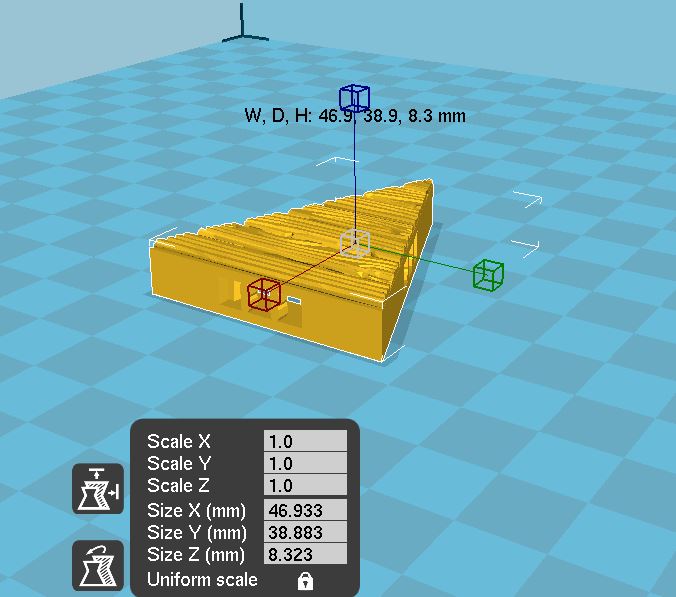
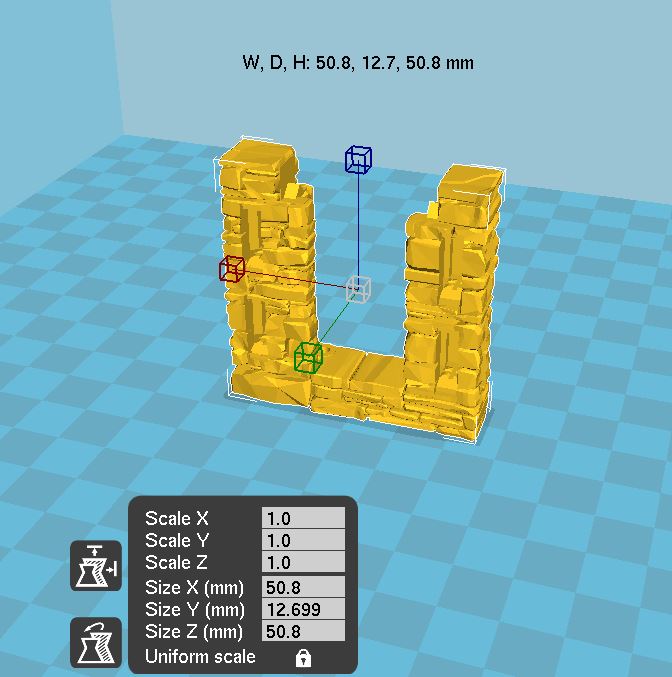
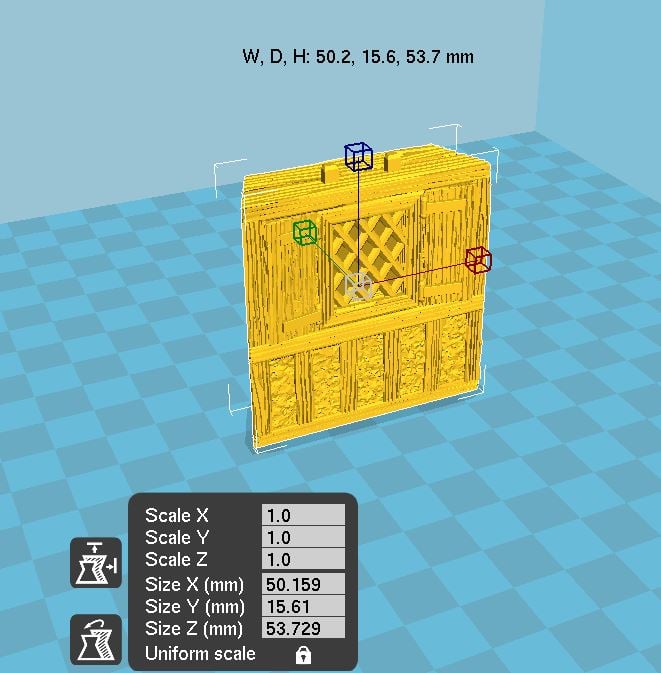
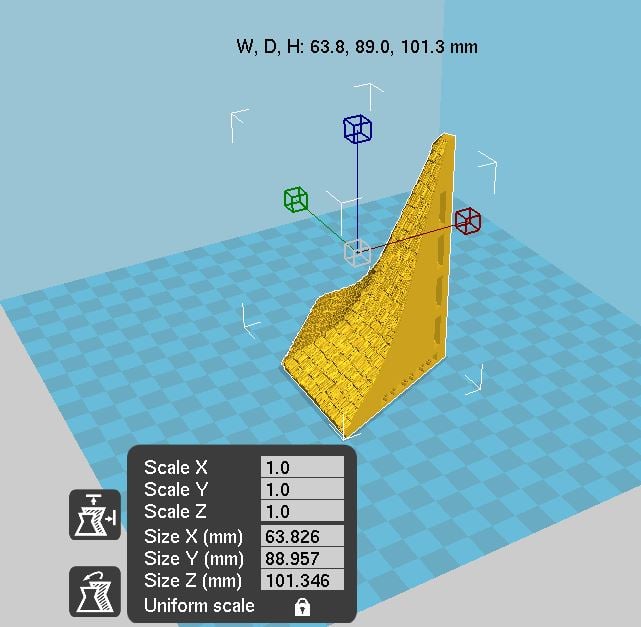
- Product measurements can be found in the image gallery.
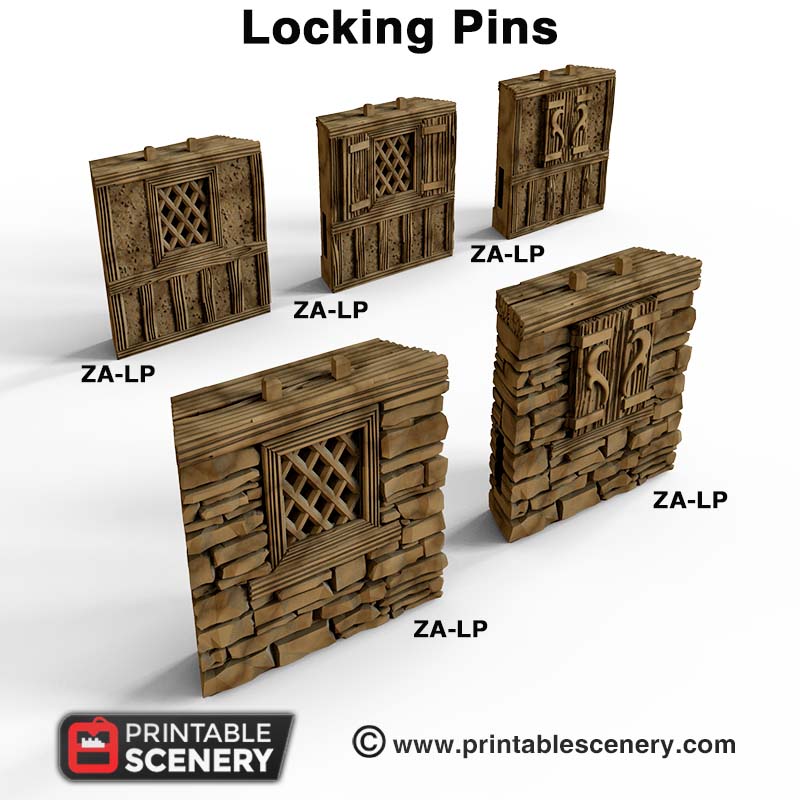
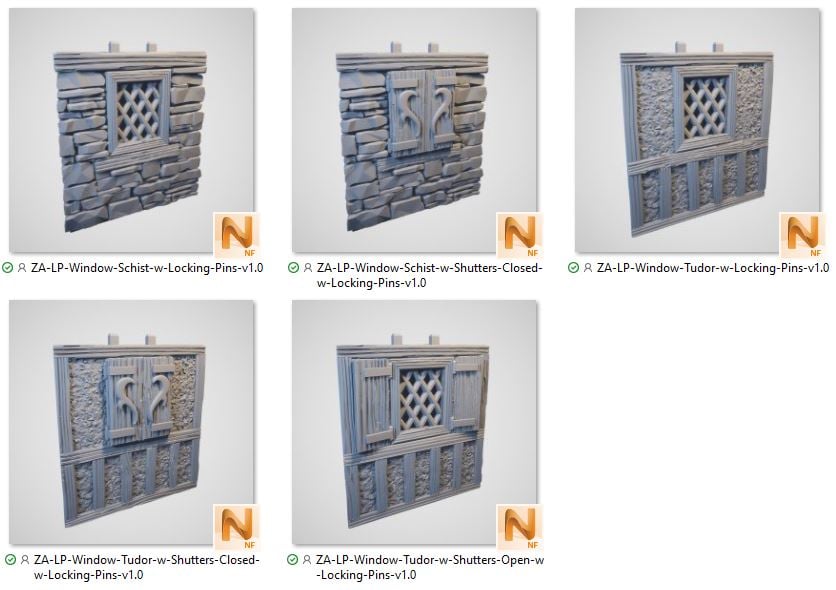
Locking Pins Reference
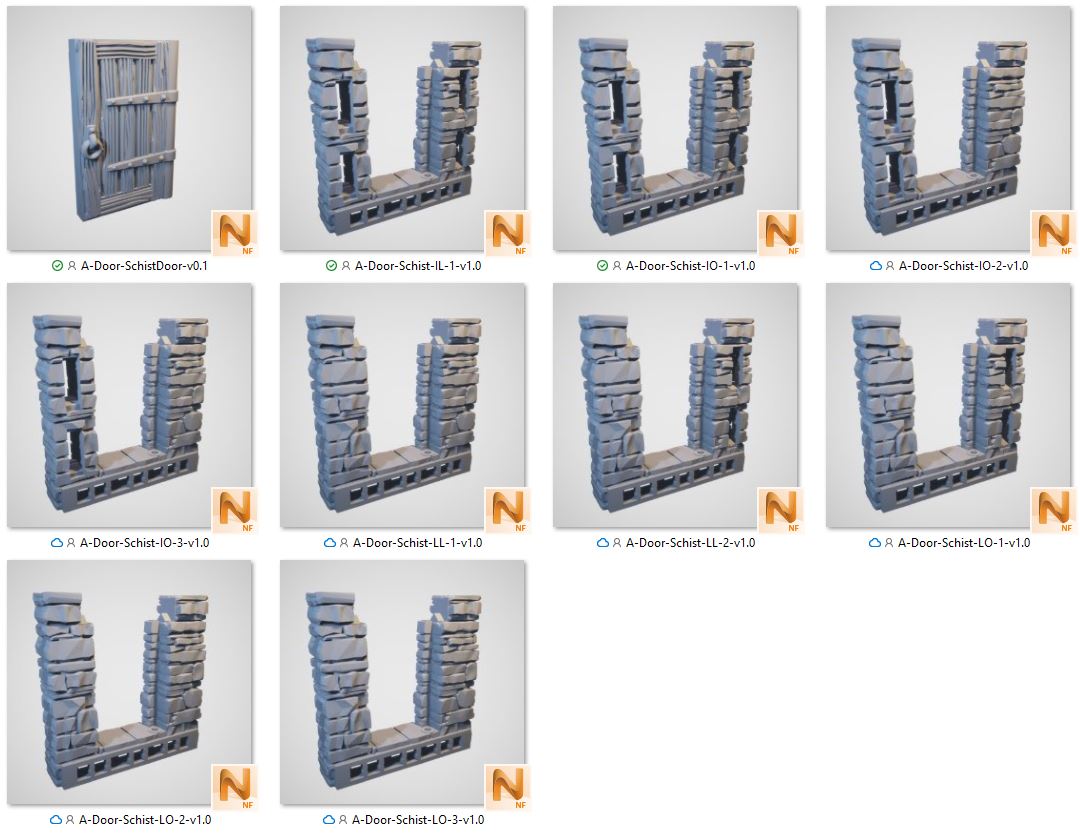
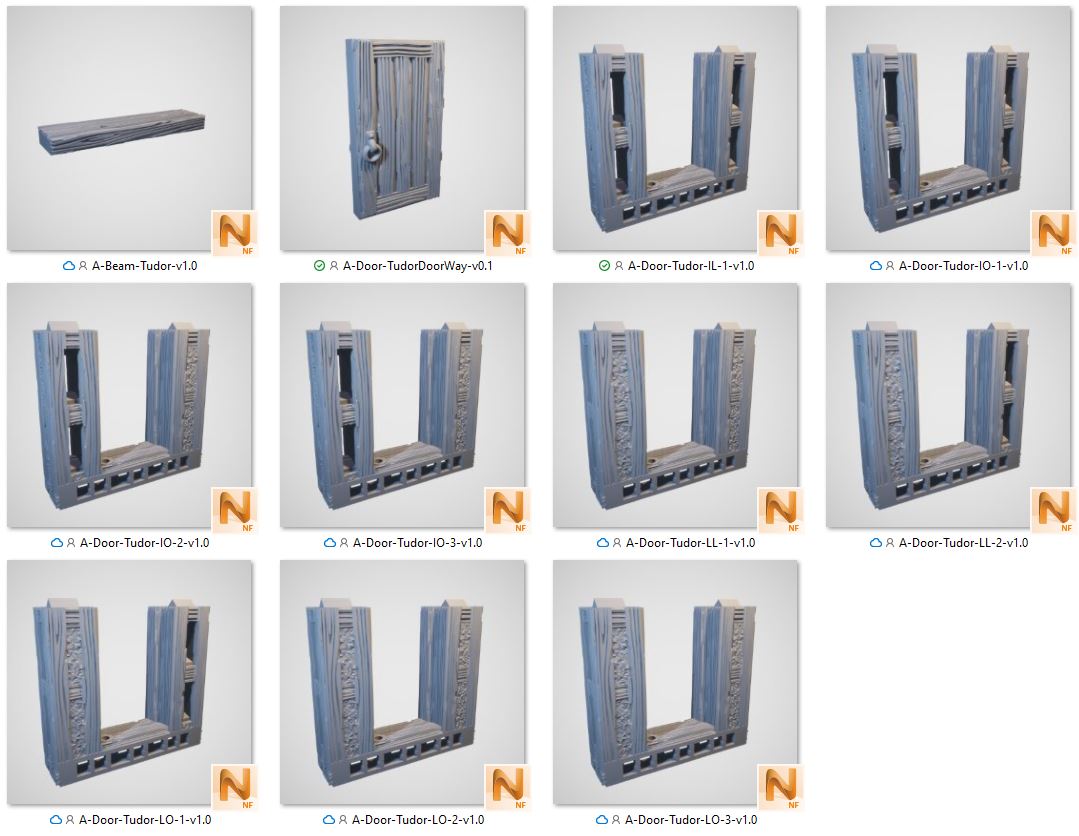
Schist Door Column Mashups Reference
Tudor Door Column Mashups Reference


Tom Tumbusch (verified owner) –
Would it be possible to have a blank version of the hanging sign added to this set? Thanks!
Sam Campbell (verified owner) –
There is a selection of signs including a blank one in https://www.printablescenery.com/product/hanging-signs/
mowskiller (verified owner) –
Did you happen to keep track of how much filament you used in making this Inn? I am just asking to know how much I can plan on getting. Thanks.
Sam Campbell (verified owner) –
We did not keep track of how much filament was used in this build.
paso_fabri (verified owner) –
E-StoneFloor-w-Wooden-Hatch-v1.0
I think it has an error ….. it does not rest on the print bed
Nicholas Jebson –
Hey Passo, I just put it in Meshmixer and see that the bottom hatch lip sits just below the level. We will get it fixed on monday.
Cratesbane (verified owner) –
Bit of a headache I understand, but is there any chance to get those Door Column mashups in an AS variant?
Sam Campbell (verified owner) –
Yes we can get this done soon.
Erik Corona (verified owner) –
In general, any instructions on how to assemble…
A-SchistDoor-v0.1
A-Door-SchistDoor-v0.1
A-SchistDoor-Beam-v0.1
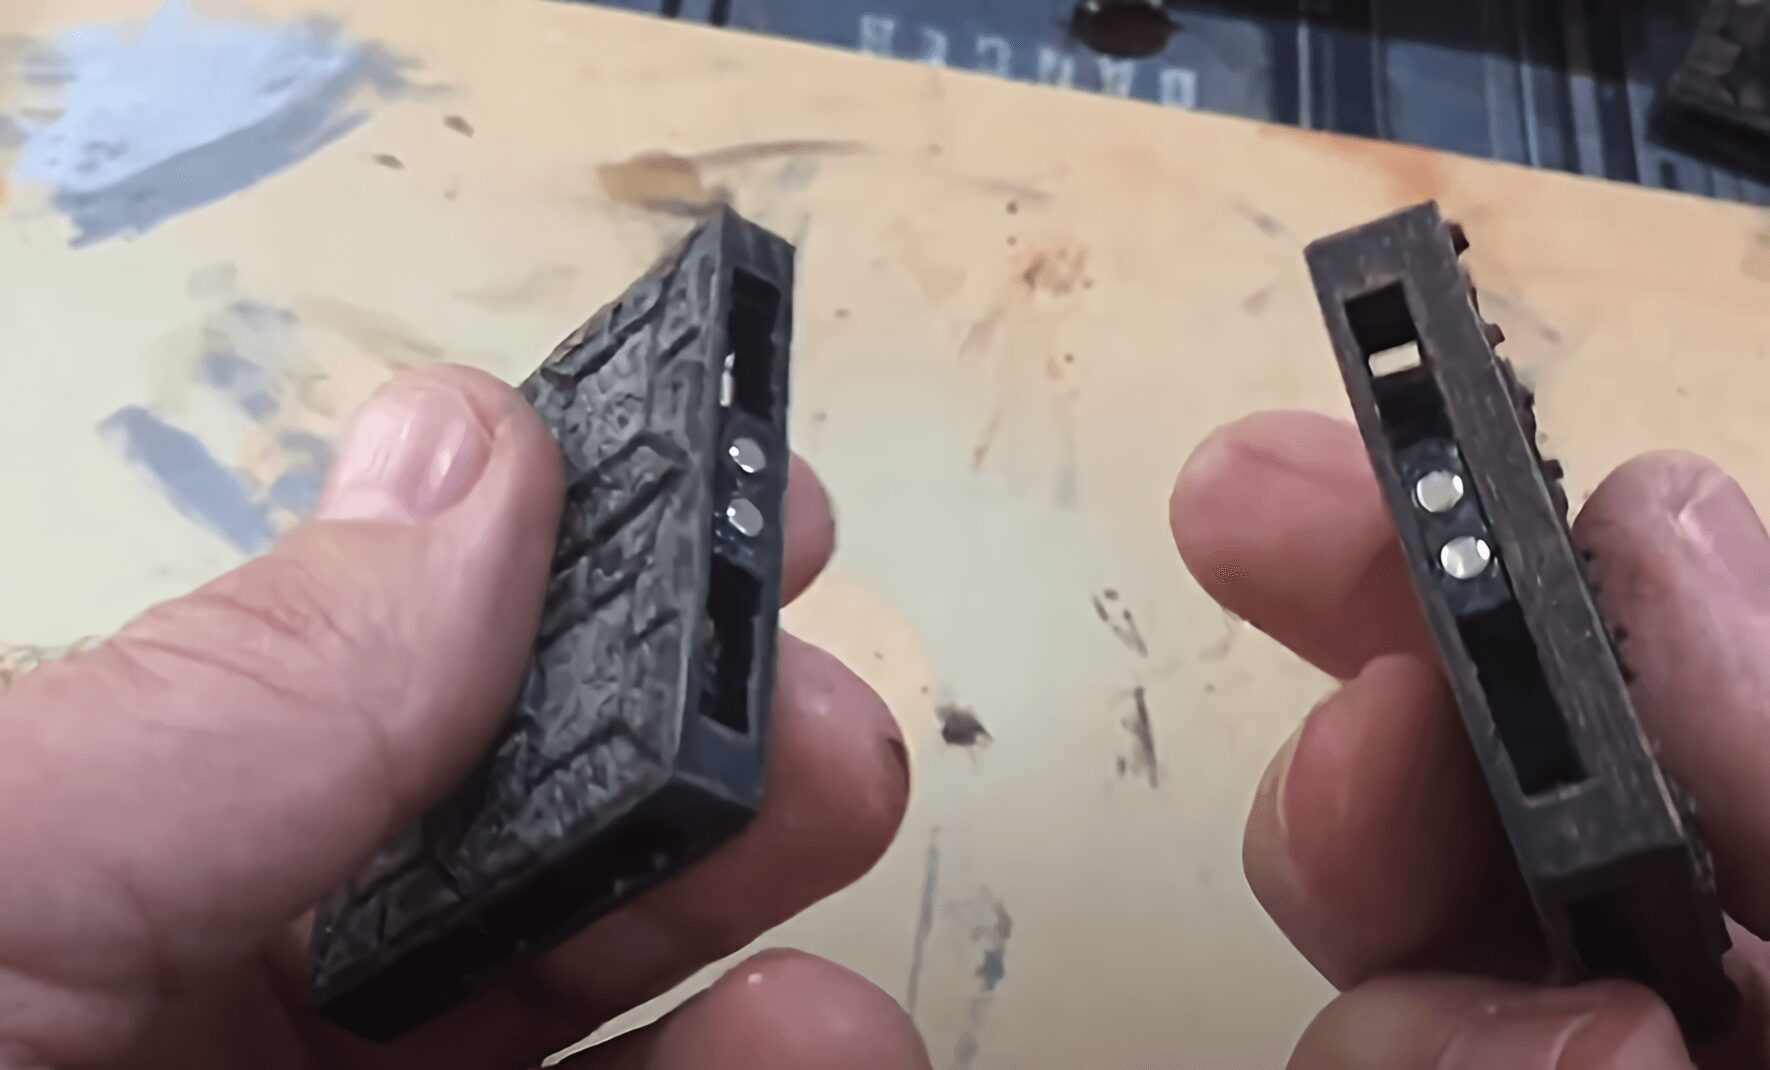
I stuck filament into the holes to be used as a hinge but I can’t figure out why this is in 3 pieces instead of 2. Any reason why the top part was meant to be printed separately? I want to make sure I’m putting it together correctly.
Sam Campbell (verified owner) –
The beam was designed to be printed separately and neatly without stringing.
Erik Corona (verified owner) –
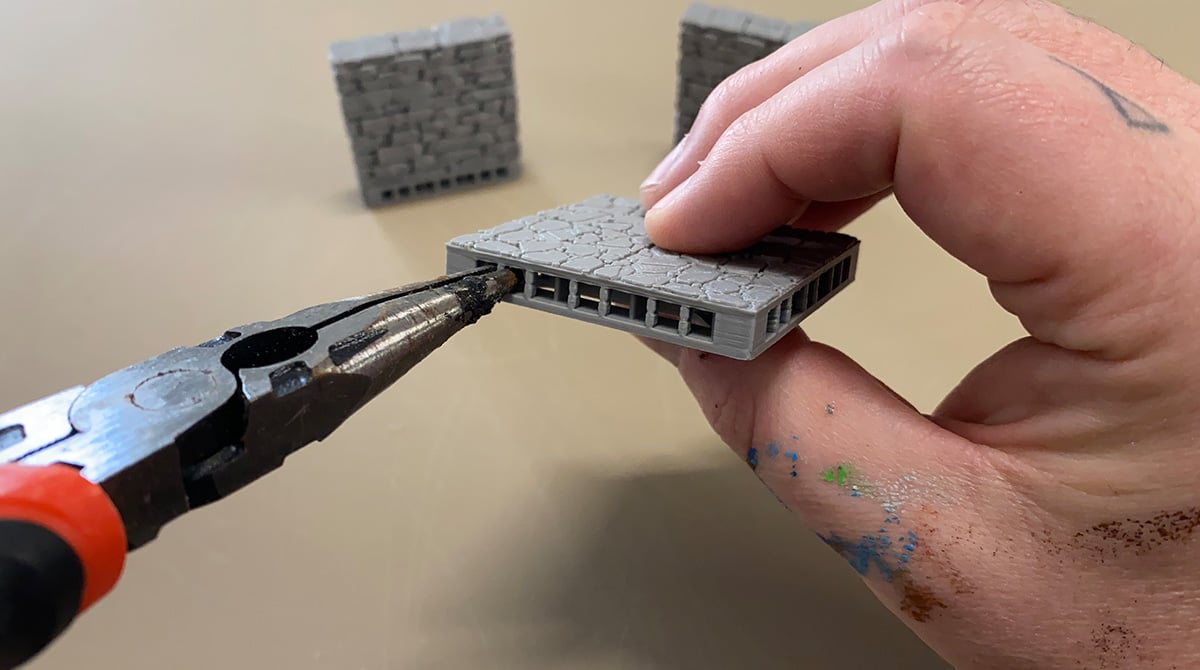
How do you connect corners? Trying to figure out how to connect walls using this column: L-Column-Schlist-v1.0.stl. Should 4 clips (2 coming from each wall in the corner) be used or a total of 2 clips (1 coming from each wall in the corner)?
Sam Campbell (verified owner) –
Only 2 clips can go into a column, one high and one low. The Extra ports are there for if you want to switch.
tamarack928 (verified owner) –
i must be blind but for level 1 part 2 I cannot find AS-Schist-fireplace-v1.1 (i see a 1.0), or S-full-schist-wood-stair-v1.0. It says they are in the manor inn expansion but I can’t find them in there or in the schist files. Thanks.
Sam Campbell (verified owner) –
Fire place is in the Schist Walls and stairs are in the Rustic Stone and Wood Stairs sets.
https://www.printablescenery.com/product/schist-walls/
https://www.printablescenery.com/product/rustic-stone-and-wood-stairs/
tamarack928 (verified owner) –
Thank you Sam. I guess i had an outdated version of the schist walls and was confused by “full stair” which makes sense now. Appreciate it!
IanSomeRandomNumber (verified owner) –
Are there any plans to add plain wall ZA-LP tiles?
In particular a ZA-LP-Wall-Schist would be really helpful to me!
Also, purely for the sake of completeness, there’s no corresponding ZA-LP-Window-Schist-w-shutters-open.
Thanks!
Sam Campbell (verified owner) –
Thanks for the great suggestion, we’ll see if we can add these in at some point. I’ve added them to ideas for development.
kenneth.holdorf (verified owner) –
I’m preparing to print this, and in Basement I see a reference to A-Wall-Schist-v1.0, but I can’t find this file anywhere. Is it the same as A-Wall-Schist-v0.2, which I do have?
Also, DS-SchistDoubleDoorway-v1.0 in level 1-1 doesn’t seem to have a beam, at least not in the instructions?
Mike –
Hi Kenneth!
Thanks for bringing this to our attention! It is the same as A-Wall-Schist-v0.2, which is the most current version of that wall.
And thank you for pointing out the missing beam in the instructions! I will add that, as it should be in there to cap the doorway.
Its a big set but well worth it! Can’t wait to see how you go
Happy Printing!
kenneth.holdorf (verified owner) –
Still working on printing this, and I think there has to be something wrong with the diagram of level 2. Up by the “round” room in the upper right, it says to use #12 (AS-Floor-RusticWooden-v1.0) vertically and #13 (IA-Floor-RusticWooden-v1.0) horizontally , but the sizes don’t match and neither does the amount needed for these two in the table (it says to print 6 of #12 and 3 of #13, and these are already used elsewhere). Which floors should I be using here? Thanks in advance!
Mike –
Hi Kenneth!
Thanks so much for pointing this out. We’ve looked at the physical model and updated the assembly guide to have the correct floor pieces for level 2.
If you come across any other discrepancies please get in touch!
Michael Potter (verified owner) –
Where is the build plan for the famous manor? I don’t see it in the forum thread or the download?
extinctfigment –
Is there an option to purchase a complete and painted model of this? I don’t have a 3D printer and my art skills are limited to marginally understandable stick figures, but i LOVE this build. My players look to be setting up TrollSkull Manor as a base of operations that will last for years, so it would be worth the investment for something this gorgeous.
kenneth.holdorf (verified owner) –
I took a break printing this, but I’m back at it. I’m pleased with the way it’s turning out, but I must say it’s a bit frustrating that I keep running into errors in the assembly instruction. For Roof A, 15 is twice as tall as it should be, and 16 is one “layer” too tall as well. In addition, 16 is mirrored so that the slots are facing out, so is 17. Also, four #14 are needed, the table lists only 3.
I’d appreciate it if someone could give me a corrected version of this level so I can finish this part of the roof!
Mike (Printable Scenery) –
Hi Kenneth,
Thanks for letting us know. Its quite the build! I’ll correct those errors in the instructions and have a look for any potential other errors. If in doubt, try building the section in Terrain Tinker first, you could even combine pieces in there to make the whole thing easier to assemble too!
Soon there will be the function to share designs which will make large kits like this a breeze to do!
kenneth.holdorf (verified owner) –
Thanks for the updated pdf file! I thought I would try building Roof B in Terrain tinker, but hit a few snags early on – I couldn’t find S-Roof-Wide-Low, and I can’t find any risers. Instead of a riser I figured I would try putting a floor there instead and put the roof tile on top of it, but I can’t find a way to do that, or how to raise the roof one floor’s height off the plate by itself.
I will definitely be trying Terrain Tinker in the future for builds without risers, though!
nathan.anderson311 (verified owner) –
You might want to add in the description that you need the Schist Street Support, Wooden Balcony Walls, and Clip Caps. It is kind of frustrating getting all the necessary products that are listed only to find out that I have to buy more.
Mike (Printable Scenery) –
Hi Nathan,
Thanks for your feedback, those products have been added to the list of necessary products to assemble the Manor Inn.
Doc Webb (verified owner) –
Should I be using different doors for the column/doorway mashups? The conventional doors don’t seem to be wide enough — they swing both ways through the door way.
Jo Boorer (verified owner) –
Hi Doc
The doors for the column/doorway are included in the Schist Walls and Tudor walls. The door included in this expansion pack is for the ZA-LP-Schist-Entrance.
redbjork (verified owner) –
Hi
Instructions are missing on level 1 part 1
Number 12, 1x D-Beam-SchistDoubleDoorway-v1.0
The top part of the double door.
Jo Boorer (verified owner) –
Thanks for pointing this out. This guide has now been updated.
redbjork (verified owner) –
Instructions on Floor 2-3 states that you should use
ZA-LP-Window-Tudor
However on the picture it´s a use between
ZA-LP-Window-Tudor-w-Shutters-Open-v1.0
ZA-LP-Window-Tudor-w-Shutters-Closed-v1.0
(same on floor 1 but with stone)
would be nice if it said to use these options as see fit. Would be even nicer if you could open and close the shutters so you did not have to chose. 🙂
Still printing 🙂
If I remember I will weigh the model when done.
Jo Boorer (verified owner) –
I have updated the Assembly guide so customers know they have the choice to use either with shutter open or closed.
I have also added your suggestion of shutters that can open and close to our list of possible future updates.
redbjork (verified owner) –
Some errors in the instructions
Level 1 Part1
It lists that you should print 13# 2x IA-SchistSupport-2-v1.0. However, when you add Floor 2 they stick out far to long
It should be 2x IA-SchistSupport-1-v1.0.stl
Level 2:
In corridor bellow tower you need to add a BA-AS-Floor-RusticWooden-v1.0, and to the wall to the left you need to add a I-Column-Tudor-v1.1. Otherwise it won´t fit.
Level3
tiles labeled 25 (A-RoofEnd-Sloped-Low-v1.0), one is missing and to the left of the tower and should be mirrored. The one to the right that is closest to the tower should also be mirrored.
On the drawing a tile is missing a number
Level4:
A-Door-Tudor-IO-2-v1.0
A-Door-Tudor-LO-2-v1.0
Are missing doors
Why are we using a AS-TudorFireplace-v1.1? It´s open to the stairways. Make no sense, should be A-TudorFireplace-v1.1.
Number 1 labeled: BA-Balcony-Cnr-wSupport-MIR-v1.0 is incorrect, it should be BA-Balcony-Cnr-wSupport-v1.0.stl (not mirrored).
Two AS-Window-Tudor-v1.0.stl is labeled “28” in the drawing, however it´s not listed to be printed
Roof A
#21 is floating 🙁
Roof B
#16 cant be connected to anything very unsatisfying. I will glue them in place, wish for better solution.
Last, you should link to this as it´s very helpful in figuring out how it is put together.
https://youtu.be/QcHF41HVZ24
https://youtu.be/Rv1lj4q68NQ
Would also help if you posted high resolution images.
Jo Boorer (verified owner) –
Thanks for your feedback. It is unclear which tiles and places you are referring to. Can you please send me pictures of these areas of issue to [email protected] so that we can make the right corrections.
Jonathan Lambert –
Are these parts included in the purchased version of Terrain Tinker?
Jo Boorer (verified owner) –
Hi
If you have purchased the Clorehaven Add-On from Terrain tinker then this is already part of your set.
https://www.terraintinker.com/shop/clorehaven
Daniel Clugston (verified owner) –
I recently purchased the Manor Inn Expansion STL file pack and encountered an issue when attempting to slice some of the files using my slicer software. Specifically, I am experiencing an “unknown error” when slicing the following files:
ZA-LP-Window-Schist-v1.0 (both with shutters open and closed)
ZA-LP-Window-Tudor-v1.0 (both with shutters open and closed)
I have tried the following steps to resolve the issue, but without success:
Re-downloaded the files to ensure they were not corrupted during the initial download.
Tested the files in two different slicer programs (Cura and another slicer), both of which resulted in the same error.
Sliced other STL files from different packs without any issues, confirming that the problem is specific to these files.
Given that these specific files are causing issues across multiple slicers, there may be a problem with the file integrity or compatibility. Could you please assist in troubleshooting this issue or provide corrected versions of the files?
Thank you for your assistance.
elunde01 (verified owner) –
How do I use the ZA-LP walls while following the assembly? It suggests using an L-column to connect it to a standard A-Wall but the angles don’t seem to line up in practice.