


Description
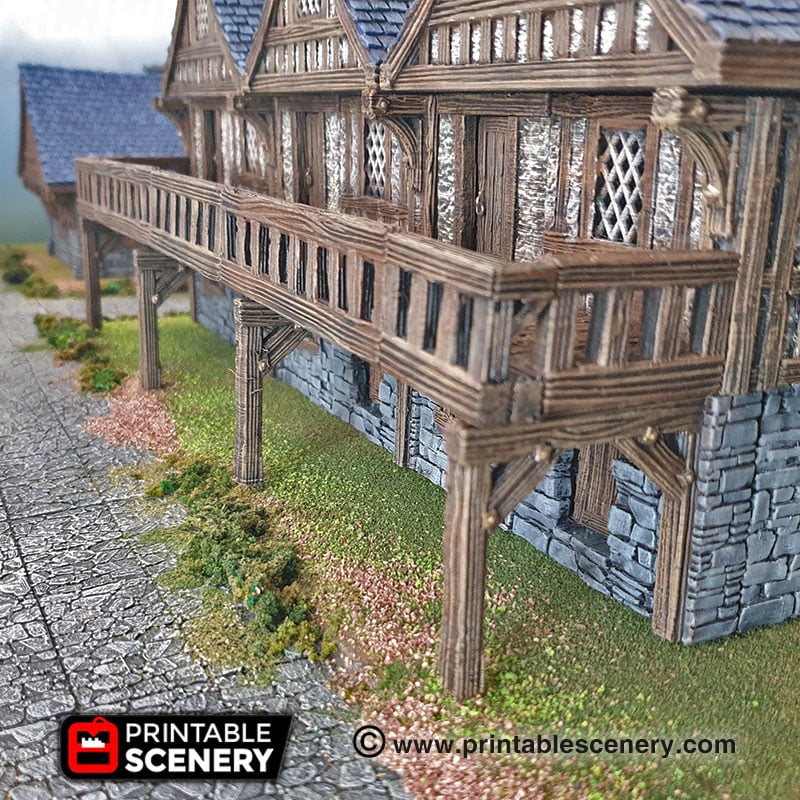
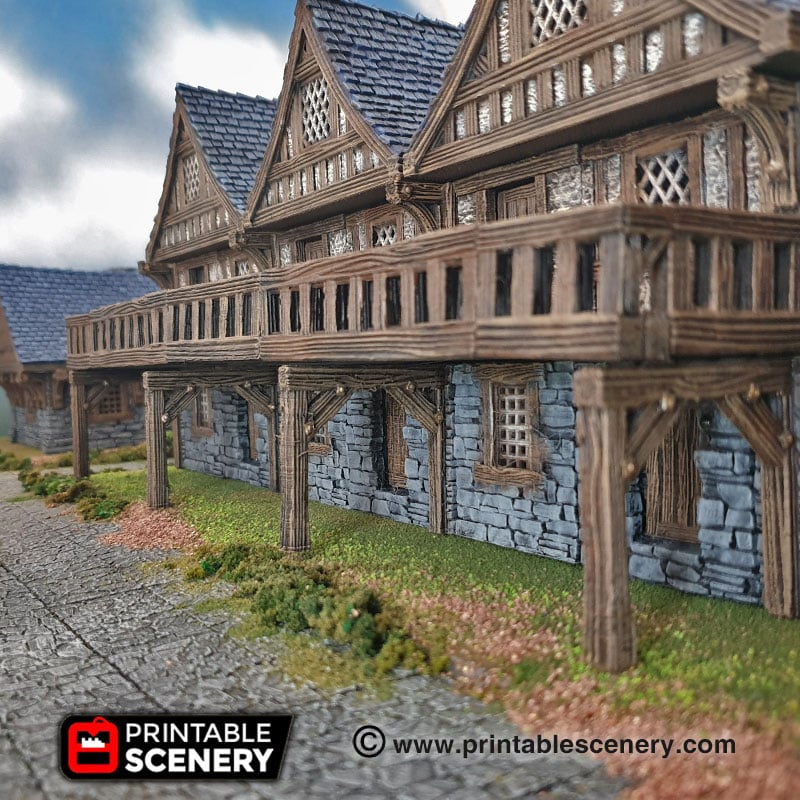
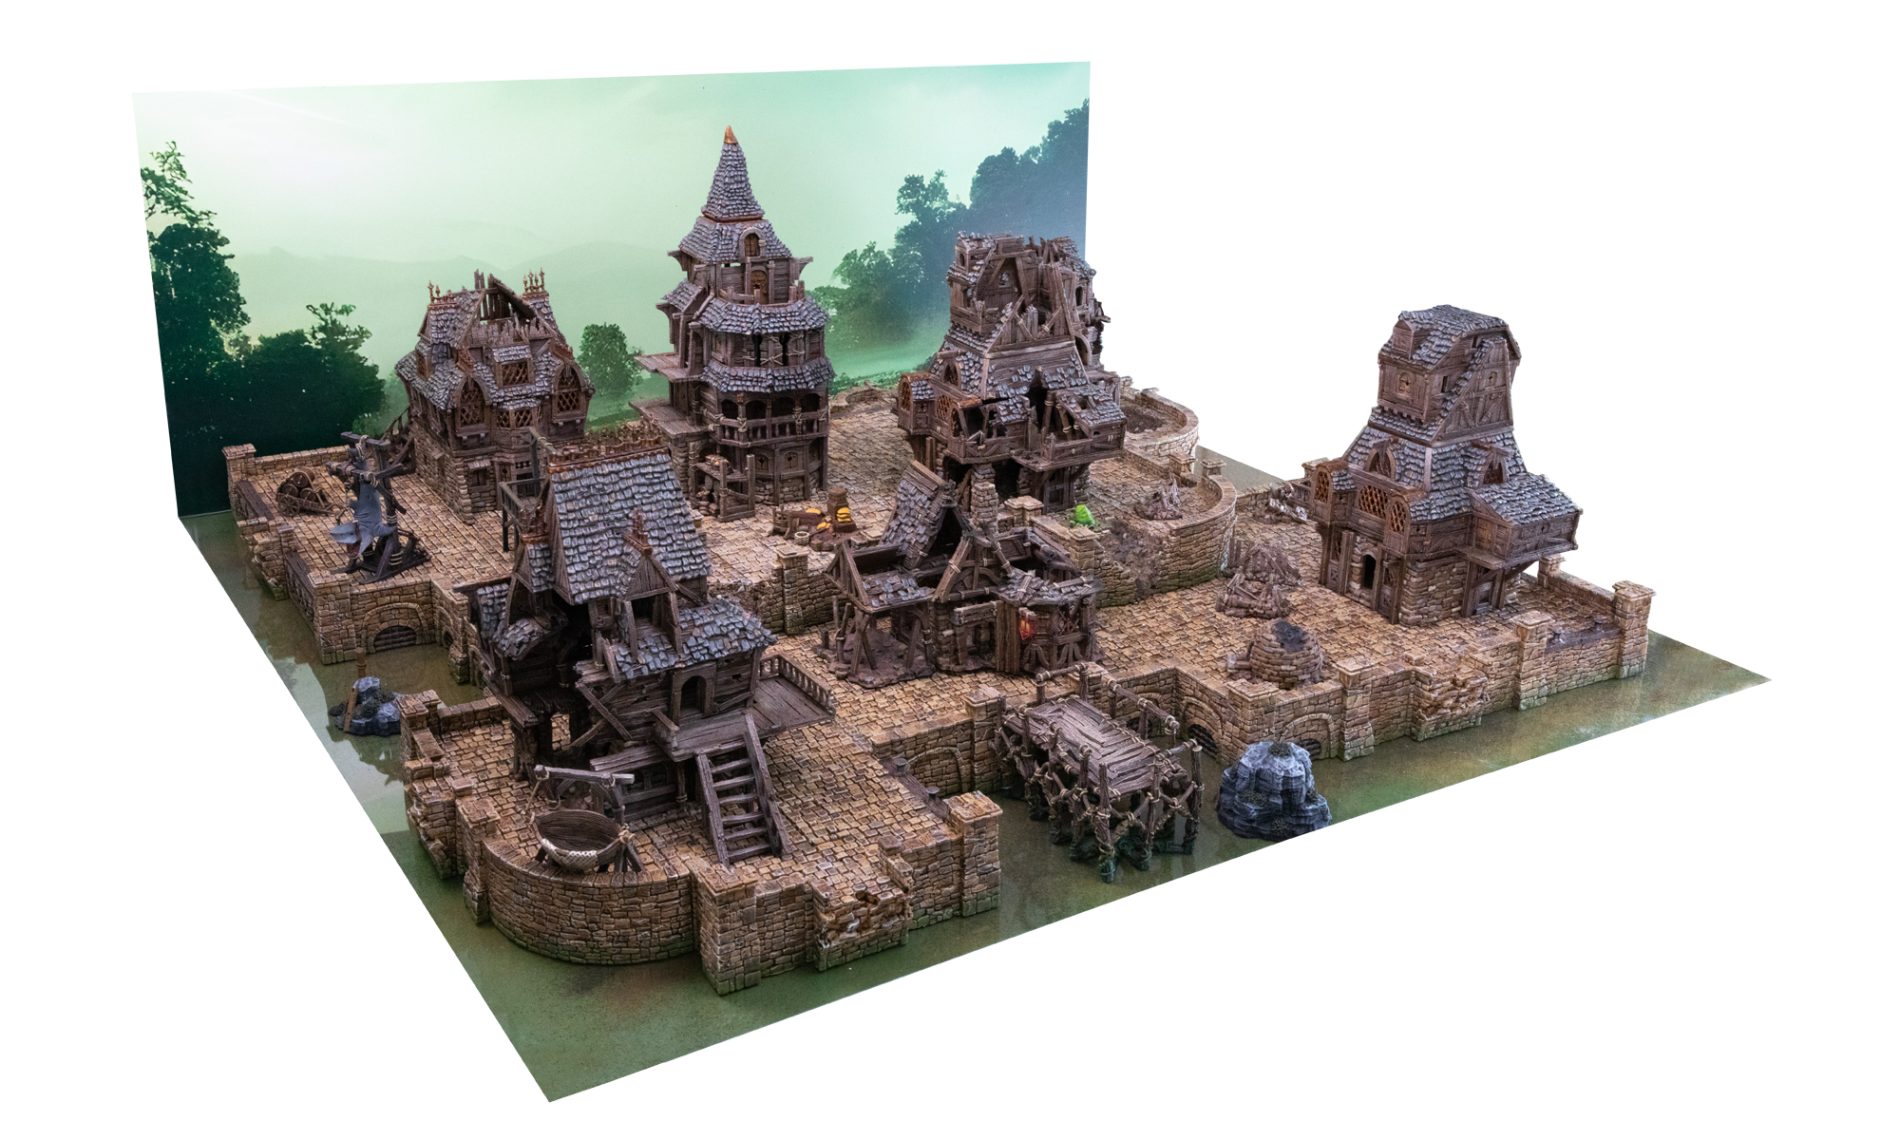
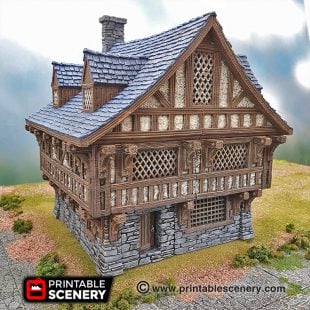
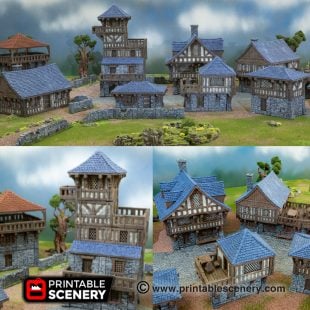
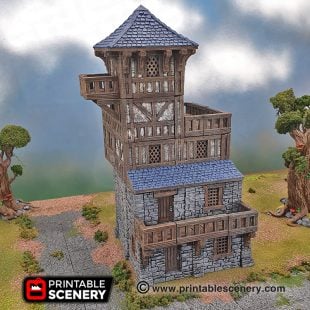
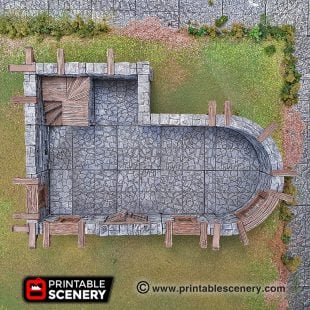
In the centre of Clorehaven the need for more living space has meant street supports have to be built to support a greater amount of balconies and overhanging 2nd floors.
Notes for Schist Street Supports:
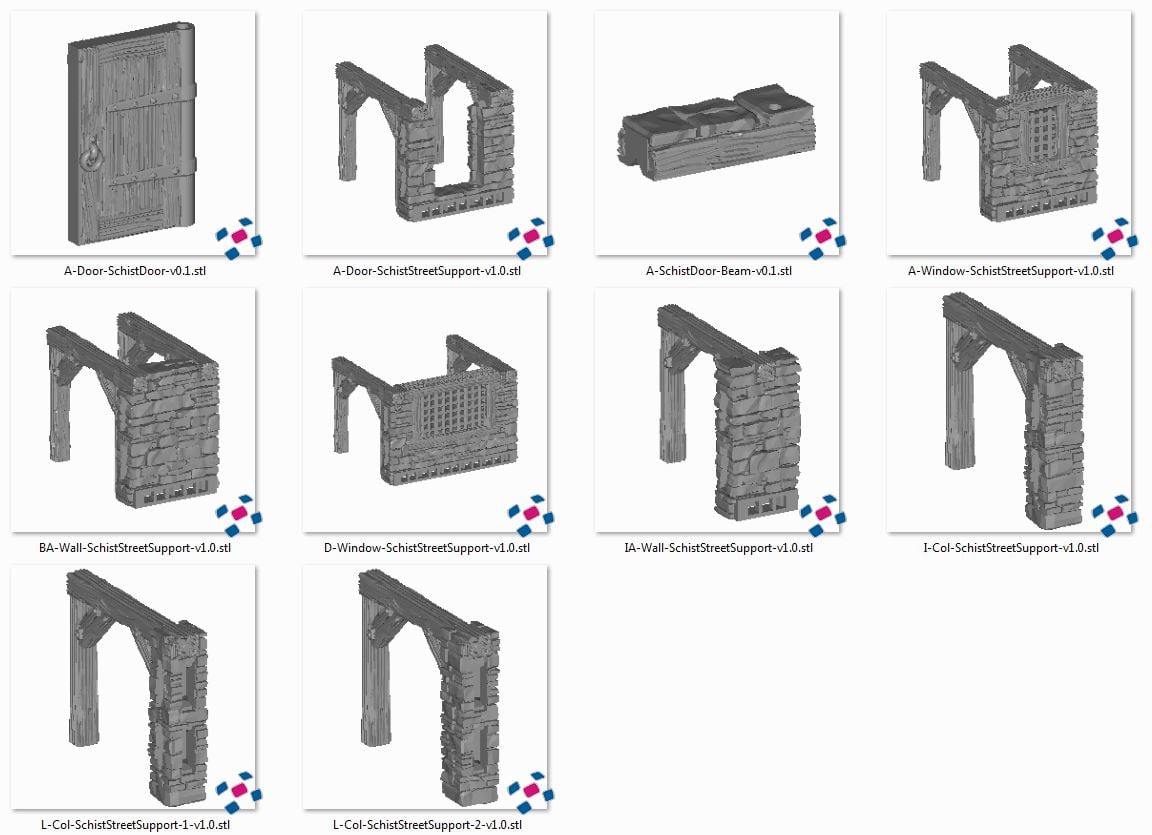
- Right-click on the image below and “Save As” to download the reference sheet for this pack.
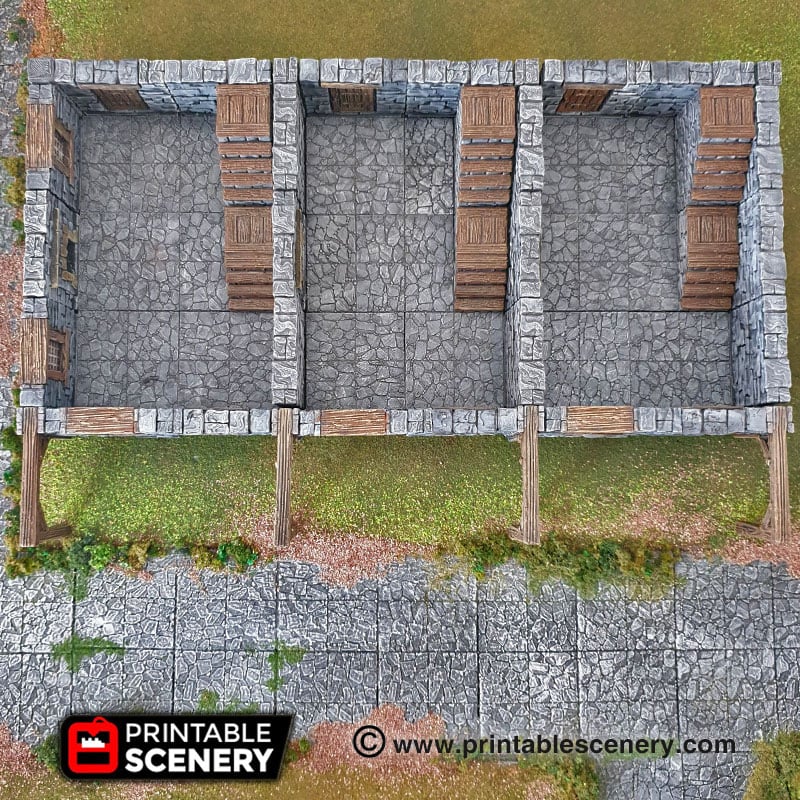
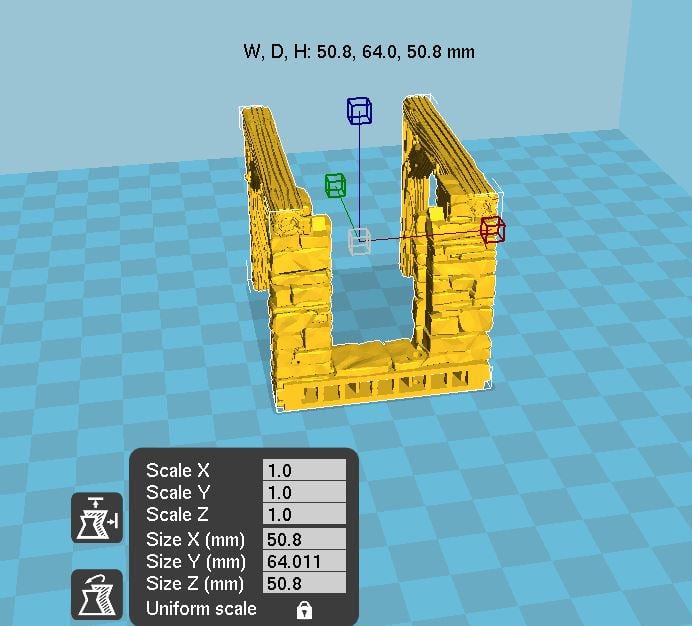
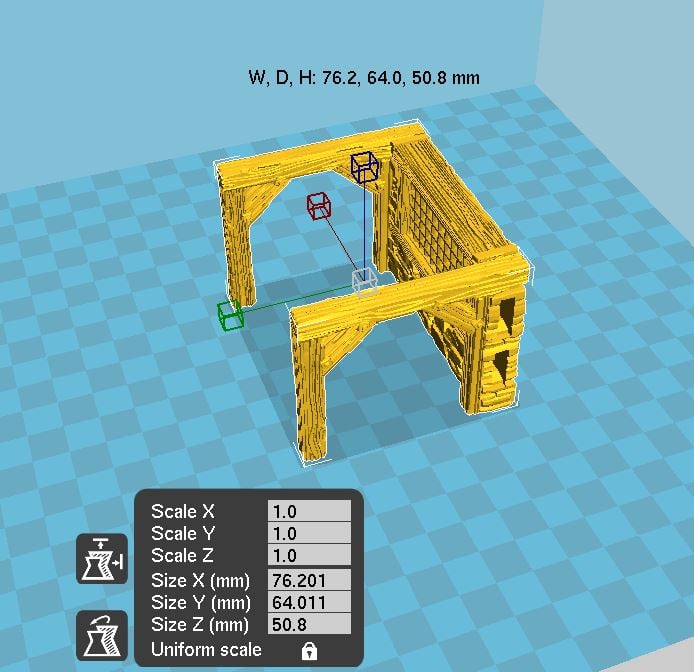
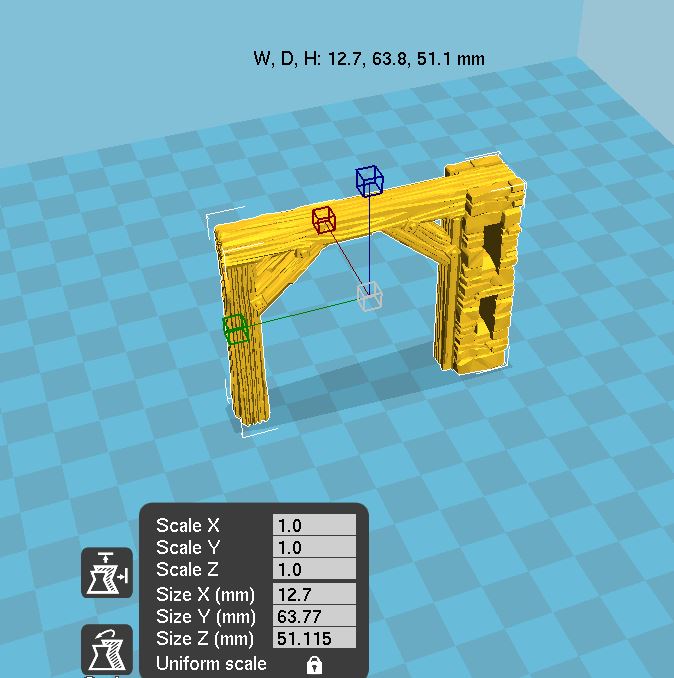
- Product measurements can be found in the image gallery.


Kayo de Bakker (verified owner) –
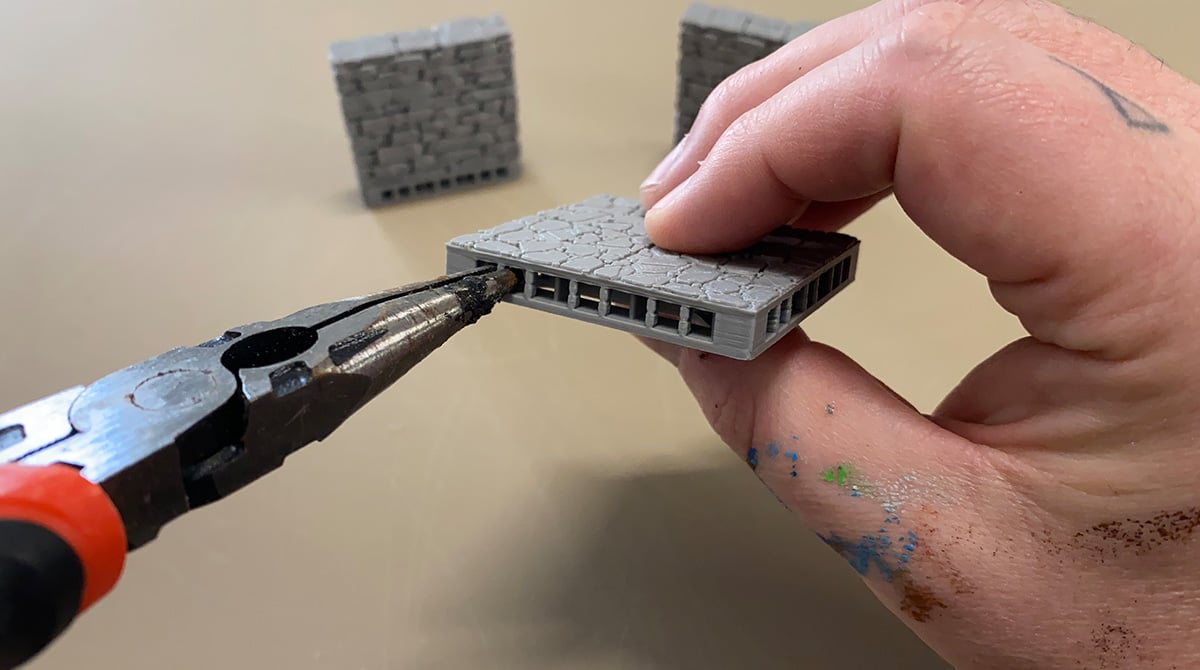
Hi while printing the I-Col-SchistStreetSupport-v1.0, one of the pillars eventually fell over due to the nozzle touching it. This happened a couple of times now and I tried printing without supports as per the additional information.
I’m going to try something else but was wondering if you’d recommend flipping the model or adding supports to it.
Sam Campbell (verified owner) –
It sounds like you might be over-extruding or your Z is adjust too low and it’s clipping. You can try printing with a raft or brim to maintain adhesion on the printer bed.
Madalyn Miller (verified owner) –
I’m having the same issue, printing with brim even, glass plate with PEI.
Sam Campbell (verified owner) –
Usually there is some sort of issue with bed adhesion, z-Layer height and slowing down your print speed for columns.
Nikole Courtney (verified owner) –
I too am having the same trouble with I-Col-SchistStreetSupport-v1.0. I always print with a raft and the other supports have been fine. I have had 4 failures and only one that printed correctly so far. I need 5 of the things for the manor. I have lowered my Z axis slightly and restarted for try number 6. Came here to see if anyone else had the same issue and am honestly a little relieved that isn’t just me but disappointed that there is no fix.
Mike (Printable Scenery) –
Hi Nikole,
Thanks for letting us know and I hope number 6 prints off well. I’ll put this in for a model update, potentially adding a small support to the base of the column will strengthen it a bit. I’m sure you’ve seen the suggested troubleshoot solutions of slowing down the print speed and adjusting the Z layer height. Let me know how the print goes 🙂
Nikole Courtney (verified owner) –
It still caught again and failed on print number 6 so for print 7, I flipped it over, changed to a brim and added support just for the tiny bit of lift on the horizontal beam and the print came out fine. I do not know how I managed to get one pristine print and 5 fails doing it the “correct” way.
It is definitely catching for some reason. It is occurring on the widest support beam just when it starts to expand and begin the horizontal beam. Even slowing and lowering the Z axis did not help. I can’t figure it out. As I said, I use a raft and I do a thin coat of PVA glue on a glass bed. But as the extruder moves back from the thin beam to the thicker one, it catches the little bit that has begun to build the horizontal beam and pushes the beam so it is at an angle. It then extrudes filament as though it is adding the next layer (a little might catch on the edge of the beam) before moving back, the beam sets back where it should be but is pushed again. If the raft is not glued, it pops the raft from the bed. If the raft is glued, it pops the beam off the raft.
I had a fail on my first print, my second was the success, then all fails again until I flipped it over. Just trying to give you as much information as possible. Not sure it helps!
Thanks for the response!
Mike (Printable Scenery) –
Your level of detail is super helpful thanks so much Nikole.
My next suggestion was going to be to flip it over and print it that way. I think we’ll recommend this to people from now on. Thanks again for your feedback.