7 Ways to Improve Your Terrain Painting
Whether you’re a beginner to painting 3D-printed terrain or a seasoned pro, there are always ways you can improve your terrain painting. In this article, we’ll go over 7 basics you can start incorporating into your techniques right away, and these are all methods we use at Printable Scenery.
1. Drybrush is the terrain painting cornerstone
The most basic technique you can master in terrain painting is drybrushing. This involves using a brush that has had most of the paint dried off it on some tissue paper or a piece of textured plate. Then you build up paint in layers, progressively building up colour and opacity only on the raised details of the model.
The key parts to focus on when improving your drybrush technique are the amount of paint you have on your brush and the brush strokes themselves. It’s better to remove too much paint and build up slowly than to go too heavy with paint and overload the model’s details. You can thin your paint before drybrushing to reduce opacity, too, but most times we use it straight from the bottle.
When it comes to the brush strokes, knowing the model is key. For bricks, you want to keep your brush strokes only going down and along the sides to reinforce lighting, whereas for dirt, you can drybrush in a 360 motion to catch all the raised bits. Some textures like wood prefer a more delicate approach of keeping the brush bristles parallel with the wood so as to only catch the raised grooves.
Check out this video for a guide on the technique.
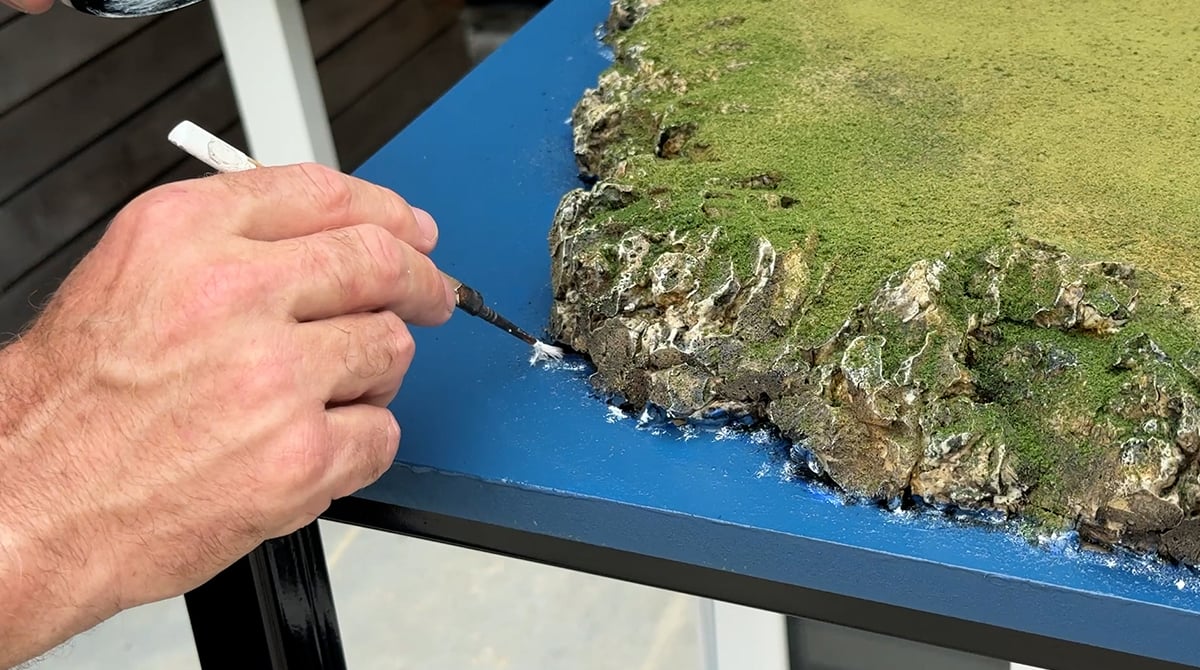
2. Washes are talent in a pottle
A lot of 3D printed models are designed to have textures with recesses and raised areas. These are perfect for adding a wash to instantly achieve contrast and alter the tone of the painting as well. Washes are also great for doing selective work, like picking out bricks to get some variance in tone.
Washes can also easily shift the hue of what you’re working on. A purple wash over a pale green makes something that looks alien and sickly, while a purple wash over red can achieve a regal-looking red perfect for curtains or upholstery.
Focus on getting the amount of wash you use right for the best results. Use too little, and you won’t get the satisfying build-up in the recess, but use too much, and the wash will pool in the deepest parts and trickle down, creating streaks and drips. This can be used to your advantage as well, which is all part of the mastery.
Check out this guide, which uses washes on bricks to get a realistic look, quick and easy.
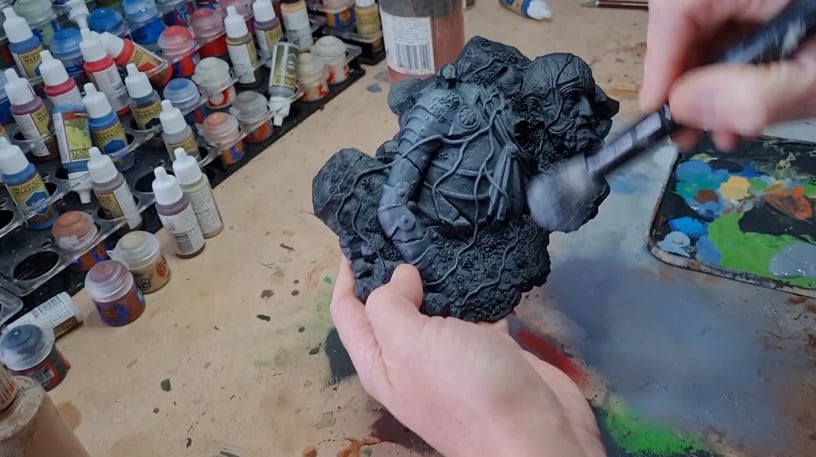
3. Primers make our lives easy
Choosing the right primer colour can make or break your painting process. Choosing a dark primer but needing to paint a lot of lightly coloured parts can be back-breaking, and vice versa with a light coloured primer. Rattle can primers are easy to use, and plenty of colours are available, but don’t be afraid to try brush-on primers from places like hardware stores. You can get a much wider variety of colours and finishes to suit your project.
For a model you intend to drybrush primarily, we recommend a darker primer, grey/black/brown, for example. This is so the darker tones can be used to your advantage as shadows in the recesses. For a model you intend to use washes or speed paints on, a lighter primer is best. Something like an off-white/bone/light grey is ideal.
Sometimes a primer can be used to change the look and feel of your model. A warm vs a cold colour primer can change the look and feel after applying washes. Brown primers before drybrushing stone textures, for example, can look like dirt built up between stones.
Check out this tutorial on painting Shadowfey Ruins, which uses a red/brown primer which dramtacially changes the overall look & feel of the finished model.
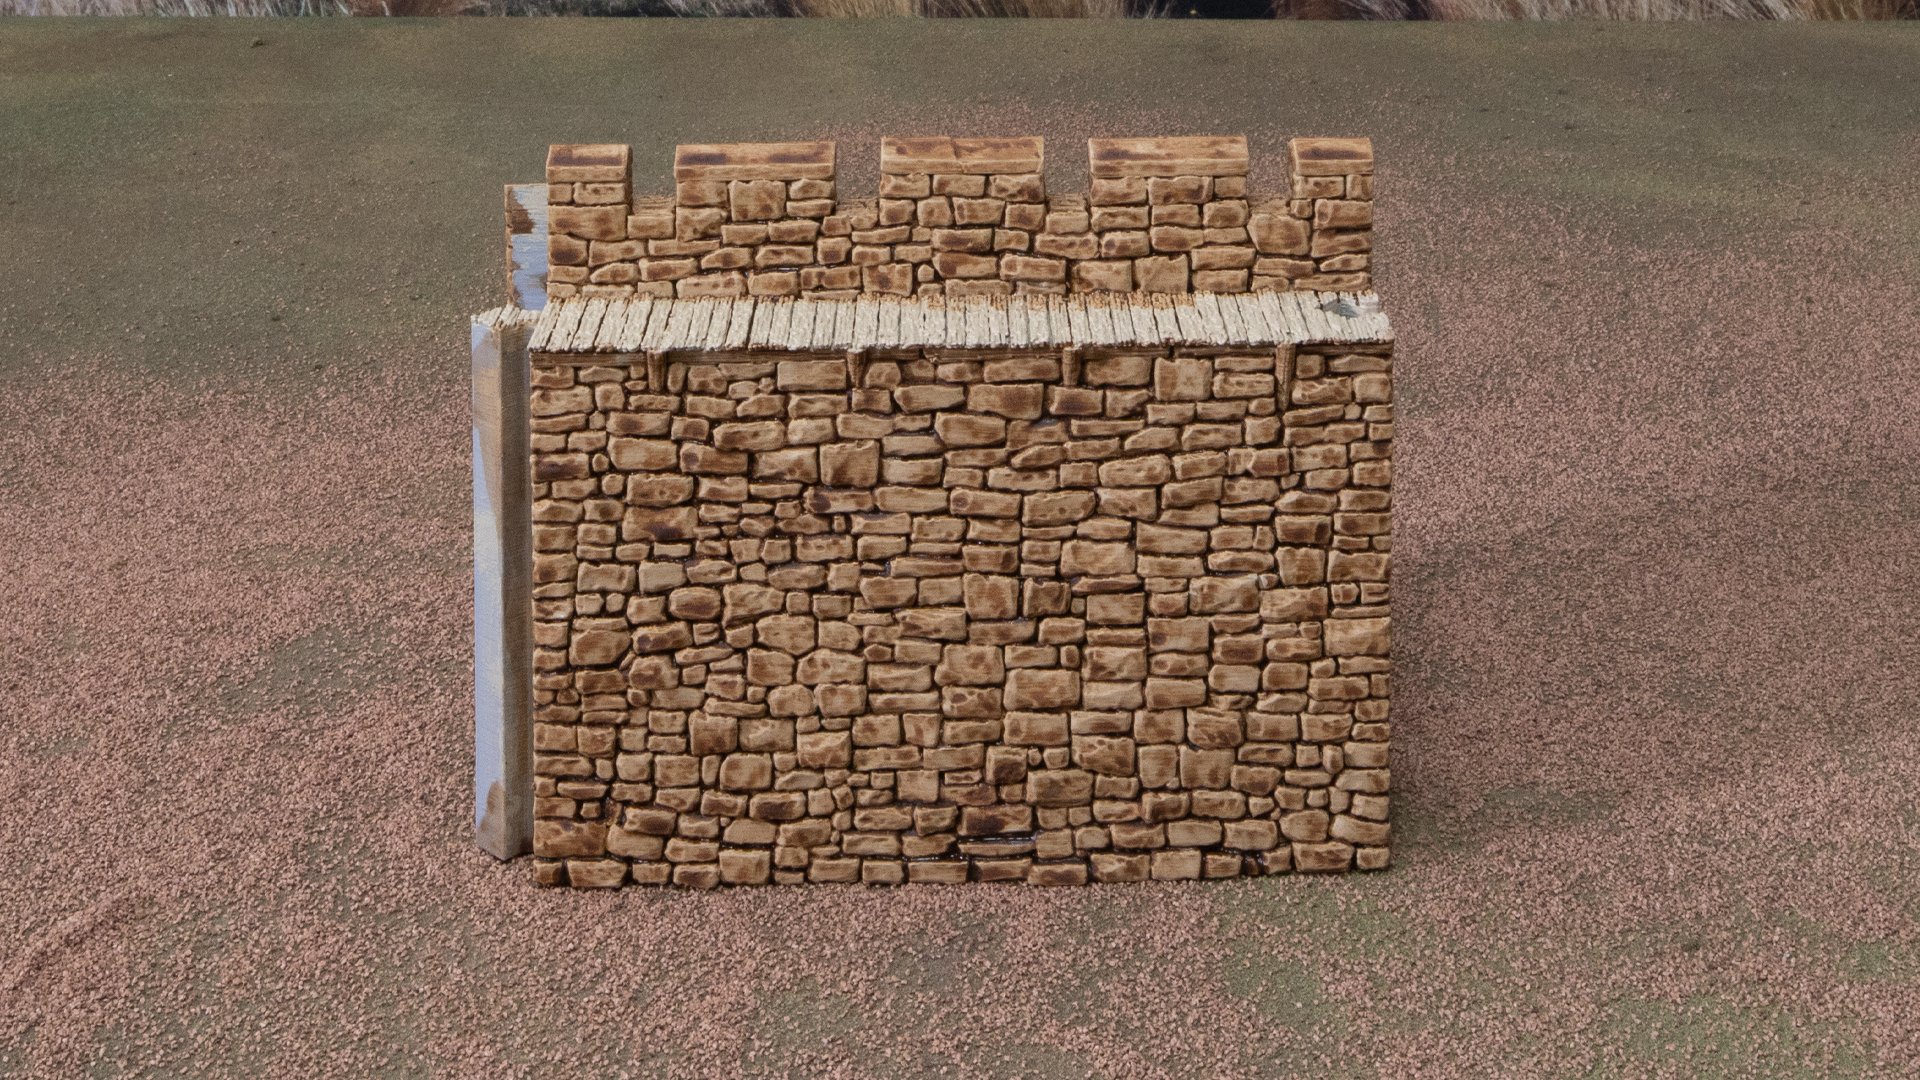
4. Colour variation turns heads
When painting a large amount of the same terrain, like walls or floor tiles, it can be easy to get lost in the monotony of it all. Using some other colours to mix it up can really turn a wall of grey into a wall of realistic stone.
There are many ways to do this, but we like to do it the old-fashioned way by spending a bit of extra time to pick out parts bit by bit. You can use acrylic paint or a wash to do it, and we just use a brush. But you can also use a sponge or airbrush to do this if you really want to save some time. It brings a lot of character and realism to the model with little effort.
Doing some research on the type of texture or object you’re painting will help get some direction on what colours to sprinkle into your terrain. Grey bricks will often have variations in grey from dark ot light, but also some might have a reddish or greenish tone to them, so a thin wash can achieve that.
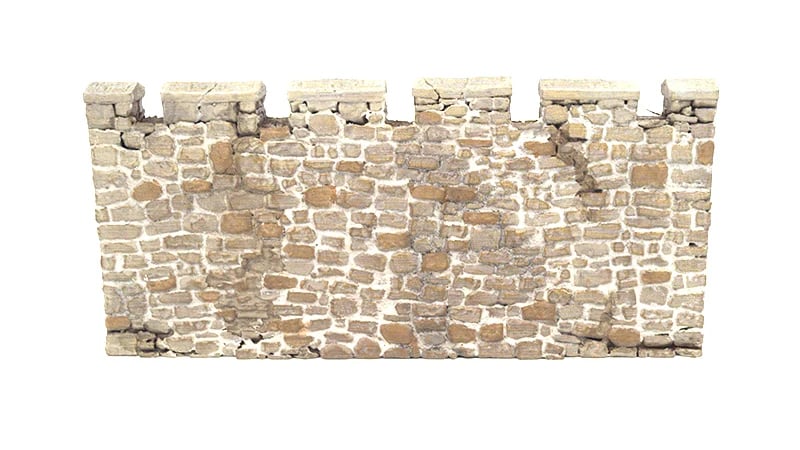
Check out this guide on painting realistic stone walls that utilises brick variations to great effect.
5. Details are what catch the eye
Much like picking out some textures with other colours, spending some time to pick out other details can create really eye-catching terrain paint-jobs.
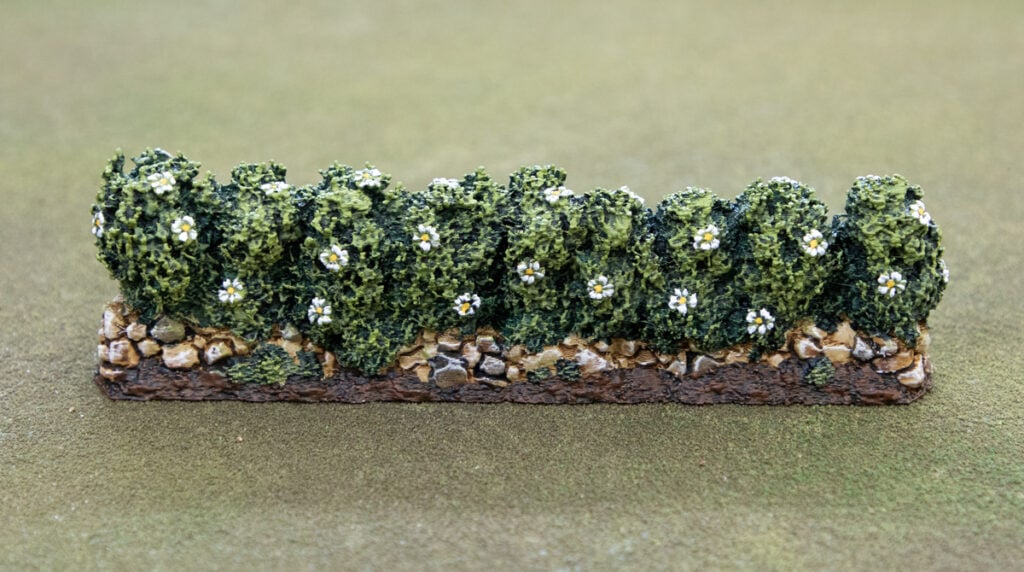
A lot of our terrain has subtle details that, when painted up, make the whole piece pop. Take the Castle Hedges; they could be left as just hedges, and the flowers can be ignored. But when you take the time to paint those flowers, the hedges stand out from the terrain.
There’s no art to this as a whole, except to be on the lookout for those moments on your terrain that you can use to really elevate the paint job. Maybe vines are growing over some terrain with leaves, painting them red could tell a story. Or maybe a building has a lamp, and instead of leaving it as a burnt-out lamp, painting the fire inside and a glow on the surrounding wall makes that piece really eye-catching. Maybe the window frames are painted in a different colour to the door frames for an eclectic cottage. Simply finding those little moments will improve your terrain painting a lot.
Here’s a guide on painting the Castle Hedges that shows the process of picking out the flowers.
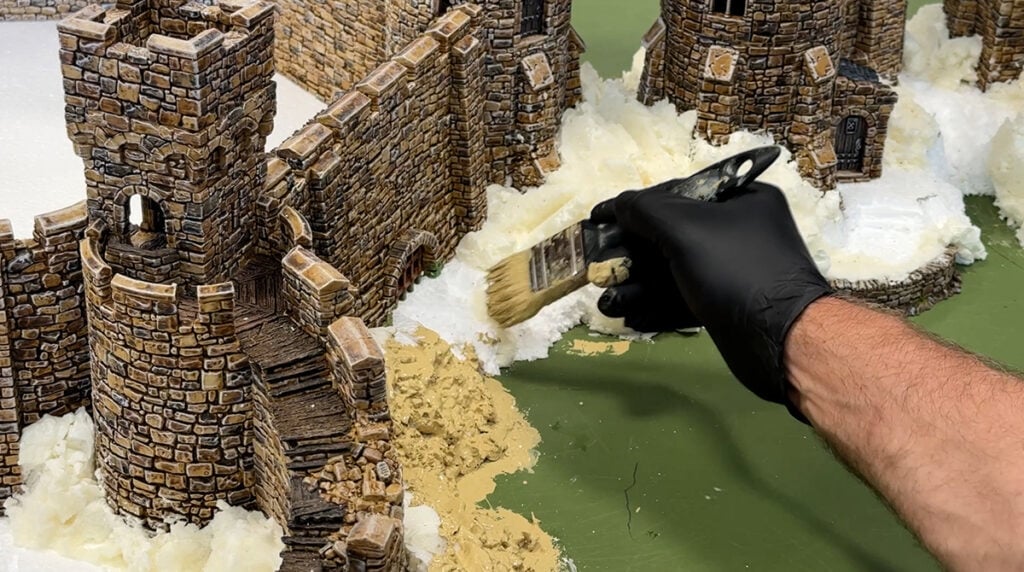
6. Realistic Effects cause double-takes
Ever seen some pictures of terrain that looked so realistic you had to do a double-take to check it wasn’t real or AI? Mastering this technique is how you get that kind of reaction from your admirers.
You can use acrylics for this technique by either drybrushing dust and dirt in the terrain’s recess areas, or letting a wash drip down the side of a building to achieve a grimy look, or thinning paint enough to create your own washes to simulate rust or moss build-up.
There are also weathering products you can try, like powders, oils and enamels, which, when mastered, can really take your terrain painting to a new level. But when getting started, we recommend sticking with acrylics.
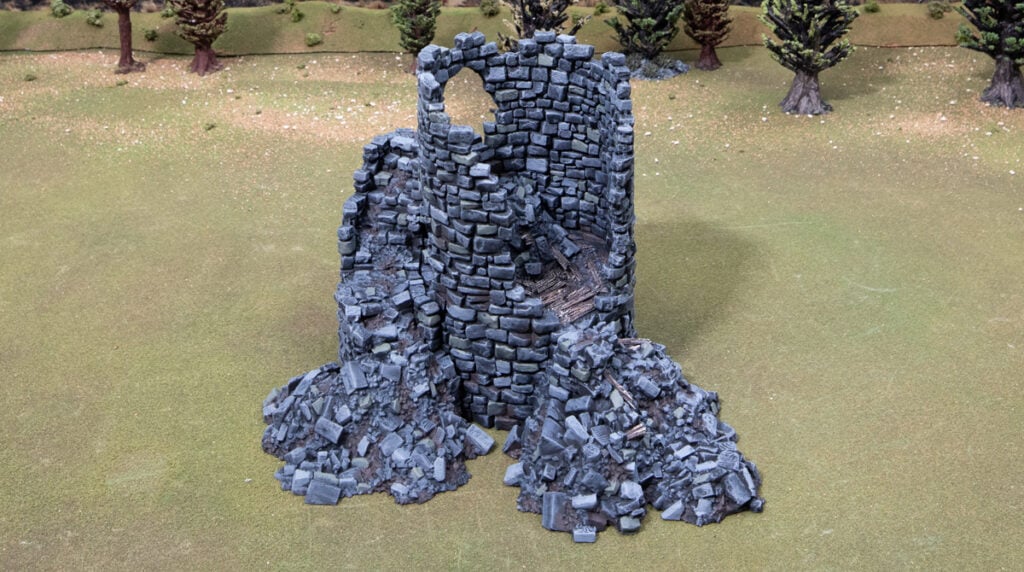
Here’s a guide on painting medieval textures, which uses several realism hobby techniques with simple acrylics.
7. Highlights bring it all together
It can be tempting to get your washes and drybrushing done and call it a day, and for a lot of terrain projects, that is all you’ll need. But some models have details and features that deserve a little bit more. That’s when it’s time to whip out the detail brushes and get stuck in with highlights.
Some highlights can be done with a drybrush, by just repeating the step with a lighter paint and not covering the entire model with the brightest colour, leaving some of the shadows and midtones. Being too heavy with the highlight drybrush can create models that look way too bright and over-saturated.
But some details, especially ones that want to be picked out in another colour, will need the finer detail brushes. We usually get a lighter colour paint to the base coat we want to highlight, thin it slightly (3:1 paint to water) and pick out the raised edges and details from there, with more emphasis on details further up the model to simulate the light. We sometimes will also mix in a white or ivory to a colour to get a lighter colour to our base tone.
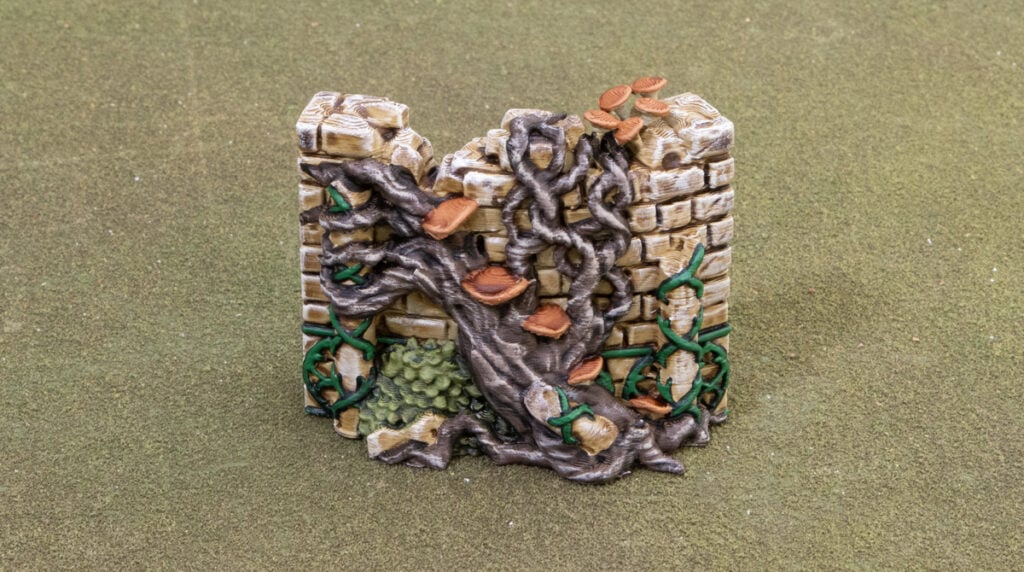
Here’s a tutorial for painting the Elven Groves that has a lot of details that get picked out and highlighted for a very striking scheme.
Improving your terrain painting is a lifelong process of trying new techniques and mastering old ones. We hope this article served as a refresher or inspiration to try some new things.