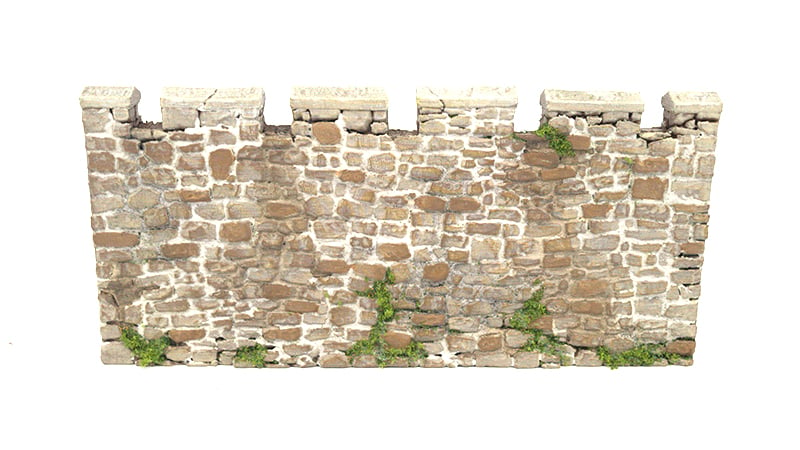
How to paint realistic Stone Walls
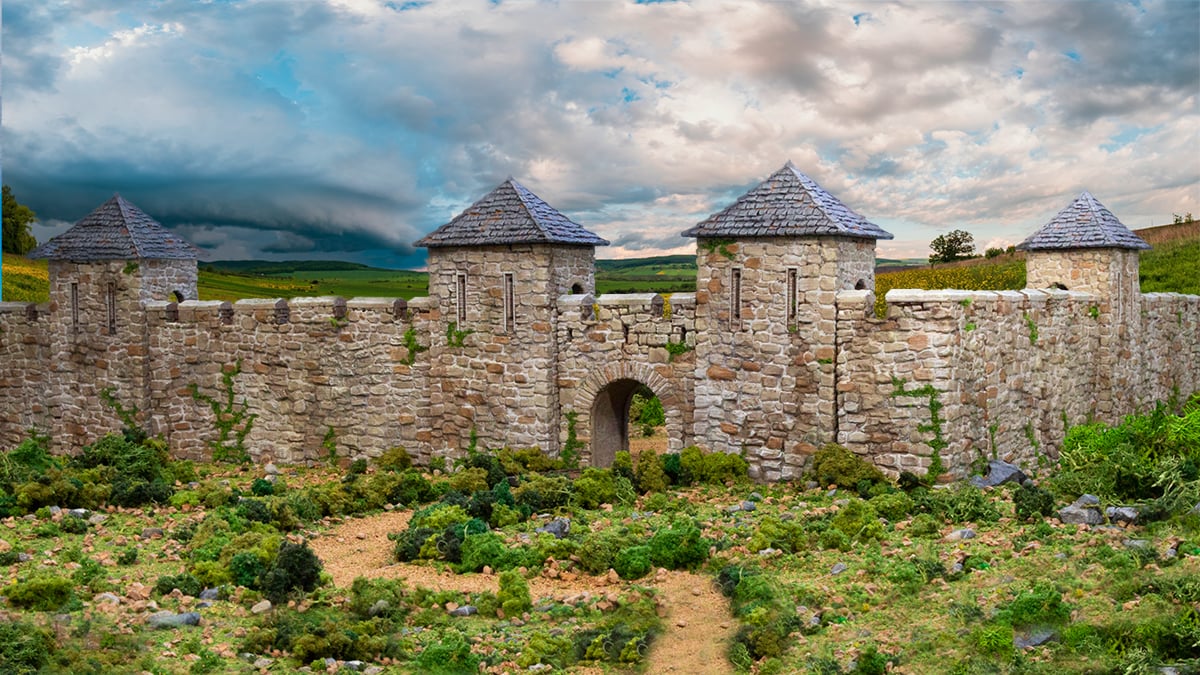
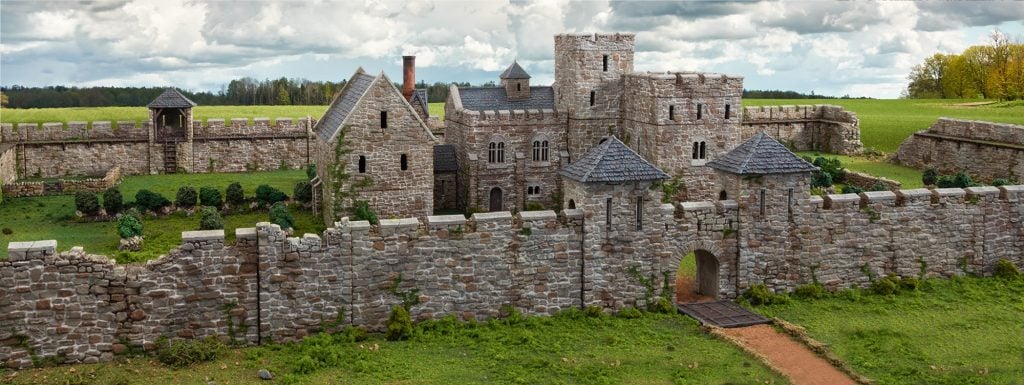
In this article, we’re going to show you how to paint the realistic looking stone walls from Country and King, and its easier to achieve than you might think. After doing plenty of research, and trial & error, we’ve come up with an effective method to recreate the pale stone look of medieval Europe.
You’ll find a list of all the materials required at the bottom of this article.
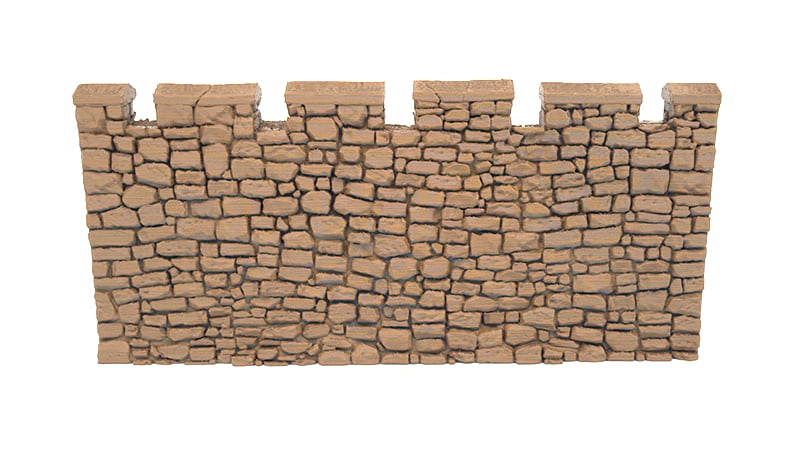
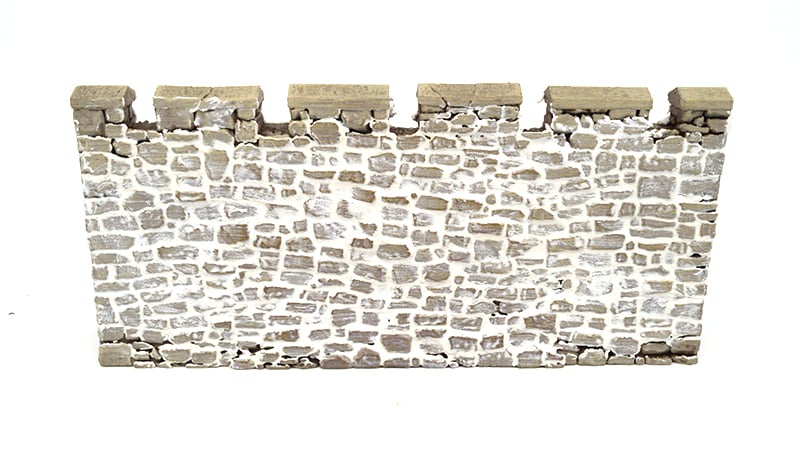
Step 1)
After cleaning up your model, give it a spray undercoat with Leather Brown. Ensure this is fully dry before proceeding to the next stage. (HINT: If it still smells like aerosol, then give it more time)
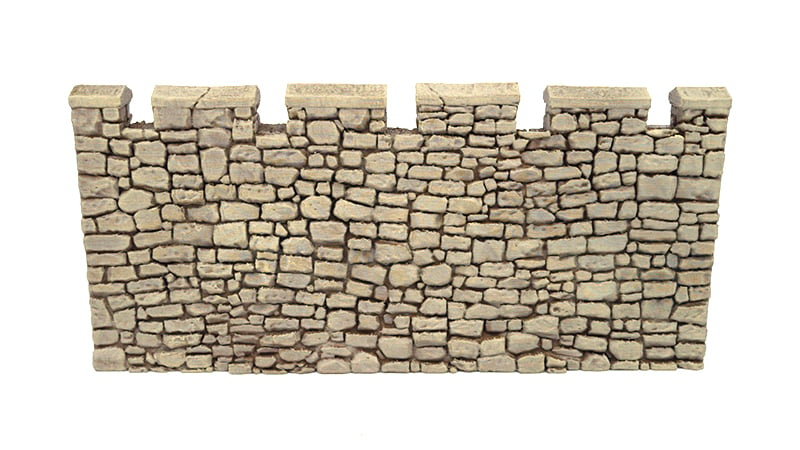
Step 2)
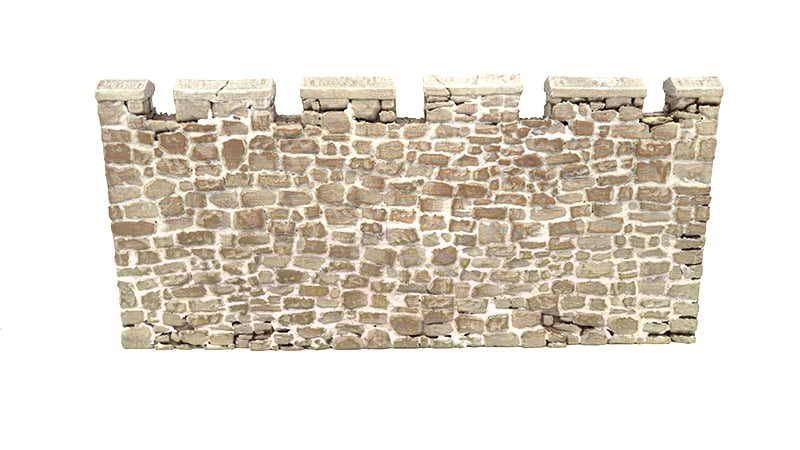
Give the Stones a heavy drybrush with Skeleton Bone.
Step 3)
We’re now going to take a bit of an unorthodox step for miniature painting, and fill in between the bricks using ready-mixed filler, found in most hardware stores.
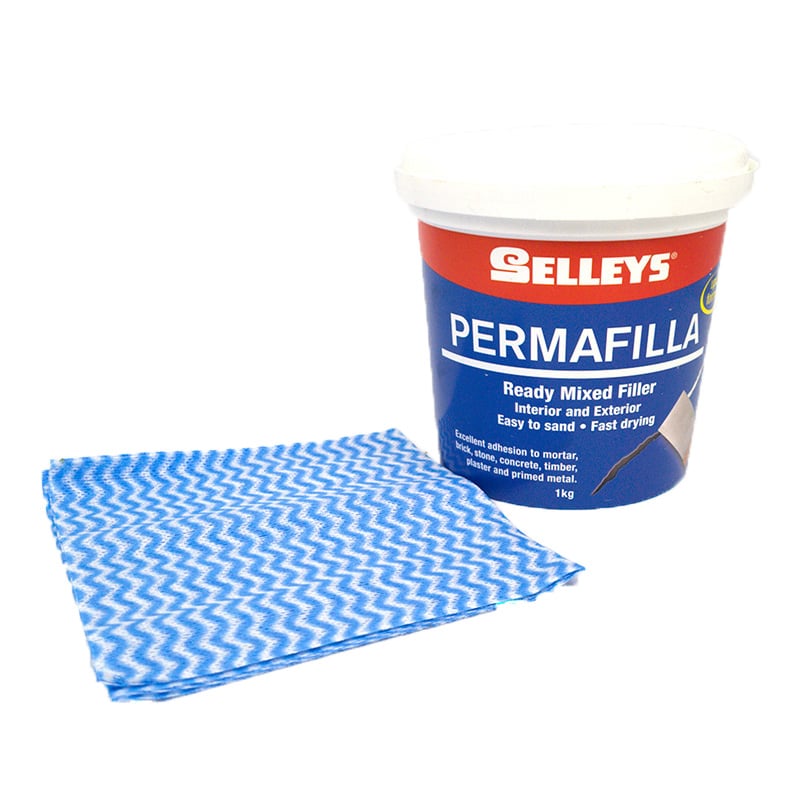
Smear it into the stonework using your fingers or a soft spatula. Avoid areas that are hard to get to, like corners and near woodwork. For ruined Country and King pieces, avoid using the filler near broken areas or in the rubble. The mortar is the first thing to go when stonework collapses!
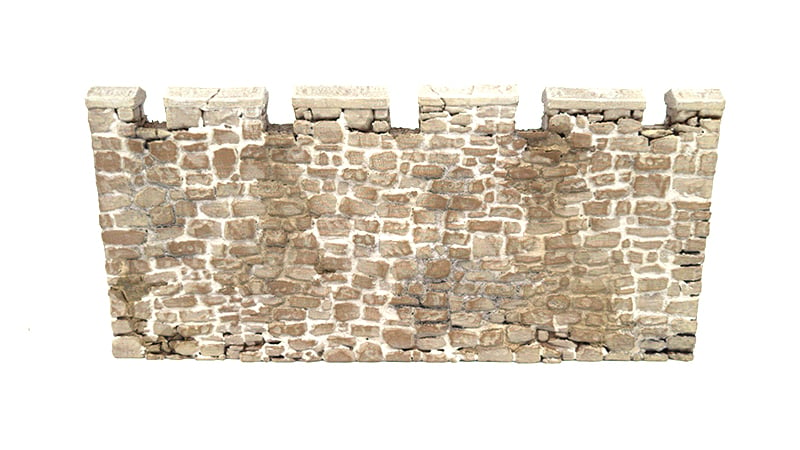
Using a wet cloth, wipe away at the filler so that it sits just in the recesses between the stones. Because it is mortar it shouldnt be in front of the stones.
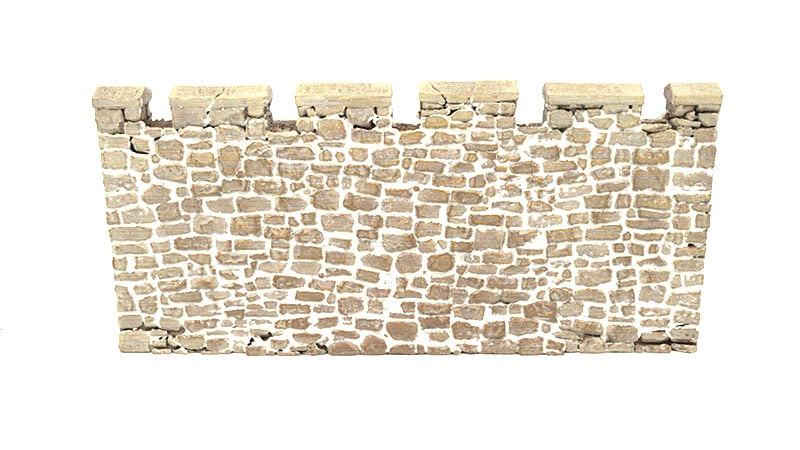
Notice how this has also rubbed off some of the Skeleton Bone from Step 2. This helps to create a natural, worn look that would be difficult to replicate with a brush.
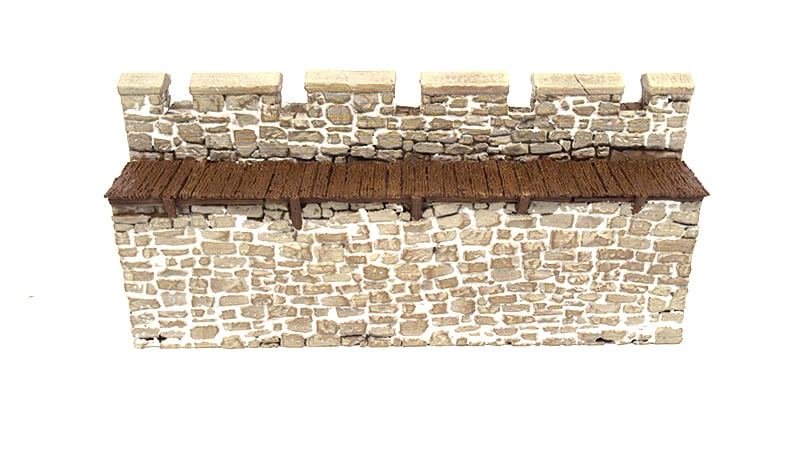
Step 4
Next any wooden areas basecoat with Oak Brown, before giving them a drybrush with Ash Grey.
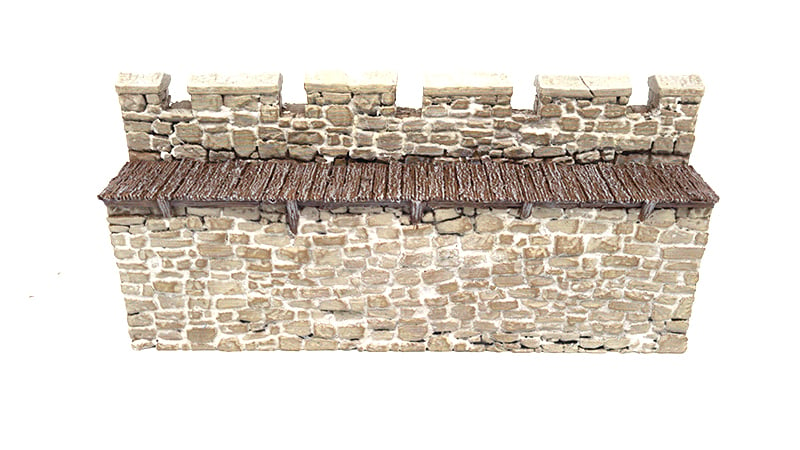
Step 5
Give the entire model a glaze of 50/50 Water/Light Grey Wash. It only needs to be a thin coat, not one that pools up in the recesses as you normally would. This tones down the white out of the mortar and ages the stone lightly.
The effect is subtle but important. As the grout will absorb liquid, if you do this step after your other washes they will dry differently, looking cloudy.
Step 6)
Next we add grime and dirt using Strong Tone Wash and straight Light Grey Wash. Apply a drop of the wash towards the top of your piece and let it naturally run down and soak into the model. Use a brush tip to guide the run of paint where you want it to go, and absorb up any large spot stains once the wash has settled in.
Strong Tone can be a bit viscous for this technique, so add a little water so it runs smoothly, and let gravity do the work for you. As always, less is more, make sure you leave some areas without stains on it, you can always add more later!
Step 7)
The last painting step is to pick out some individual stones with some watered-down Leather Brown.
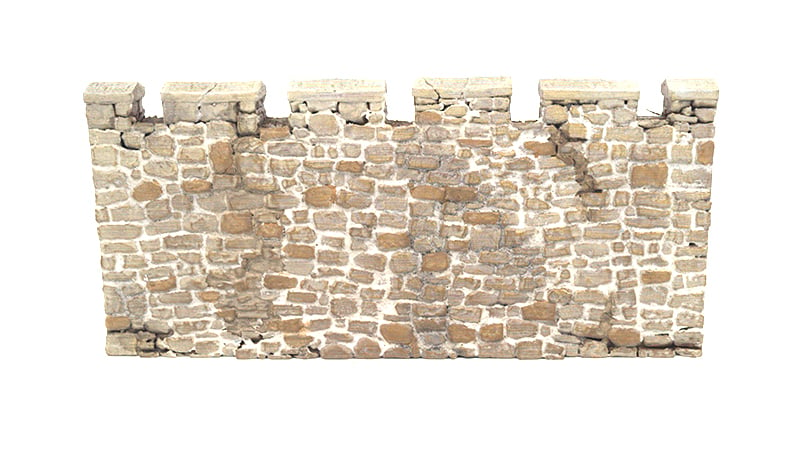
This tidies up the overall look and adds another tone. Using watered-down paint will give a translucent finish, adding to the realistic look of the stones.
Step 8
The final step is to glue on some flock to represent weeds, moss, and climbers using PVA glue.
The green adds a nice little bit of contrast to the stones. As with the wash, start with a little bit and add more as you see fit.
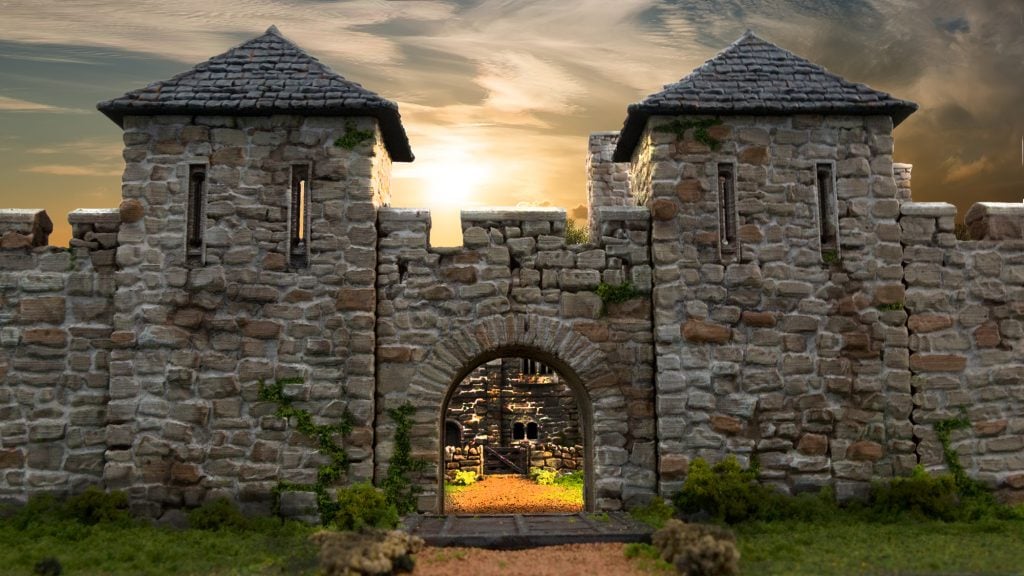
Finished!
We hope you enjoyed this guide on how to paint realistic stone walls. When you’ve painted yours make sure you share them in our Facebook Group
Have a look at some of our other Knowledgebase articles to get the hobby juices flowing!
Materials Used
Leather Brown Spray (The Army Painter)
Skeleton Bone (The Army Painter)
Ready-mixed Filler
Spare Cloth or Clean Rag
Oak Brown (The Army Painter)
Ash Grey (The Army Painter)
Light Grey Model Wash (Vallejo)
Strong Tone Wash (The Army Painter)
Leather Brown (The Army Painter)
PVA Glue
Green Flock
This is a fantastic tutorial! Much appreciated. I will definitely replicate this myself.
Thank you
This is a great tutorial, thanks. What is the Selley’s product? Trying to find an equivalent in the US, but not sure what it is. Is it a pre-mixed grout? The product description is so vague on the Selley’s website, I don’t know what to look for.
It is a pre-mixed grout in white. Everbuild All Purpose Ready-mixed Filler or Tetrion all-purpose filler should do the trick too.
How’s the consistency? I have something called pollyfilla here and it’s white, very lightweight and fluffy.
That should do the trick. The Permafilla we use is a paste you can smear into the cracks and wipe away, much like tile grout.
If in doubt do a test on a small area or spare model
Would straight up “spackle” work? I’ve used this stuff for modeling before…
Like this:
https://www.homedepot.com/p/DAP-Patch-N-Paint-8-oz-White-Premium-Grade-Lightweight-Spackling-Paste-01602/100211455
Hey AstroCat (love the username btw).
Spackle should do the job nicely, they key is to wipe off as much as you can.
Let us know how you go with it so we can recommend to others
What is your choice for flocking? Foam? Color?
We’ve been using a Medium Mid-green flock from Scenic Textures on the buildings. Woodland Scenics is another brand we use for flocks on our model sets.
Some of the background scenics & flocking around the King & Country buildings has really been ramped up a level. We’d love it if you could convince the unsuspecting artiste in question to give us a small run-down on how he made it all look so good!(Youtube? References etc?)
Hi Justin,
Thanks for the feedback, we’re always finding new ways to improve.
To get the look for the Country and King range I spent time doing a bunch of photography, lighting and photoshop tutorials, mostly from here. One or two tutorials a day (they usually take 15-20mins each) and you’ll find your skills and confidence increase rapidly.
Love this color scheme! Thinking about retouching my Clorehaven and Castle sets to match! Is there a craft paint equivalent of the AP Skeleton Bone? It’s a bit expensive to use on large swathes of terrain for my hobby budget, but I’m finding it devilishly hard to match in other acrylics and hoping you might have some suggestions. Thanks!
Your best bet is to take a sample of Skeleton Bone to your local hardware store or paint shop and get it color matched with an equivalent acrylic paint. Thats what we do 🙂
Oh, wow, what a fantastic idea! Thank you so much!
One follow up, if I may: any similar suggestions for the leather brown spray? It also is a tough shade to match, especially as an aerosol. I could color match acrylic and airbrush, but that seems like it would just overly complicate the process.
We used the Army Painter spray for this which saved alot of time. Occasionally I’d run out and base-coated them by hand with store-matched acrylic paint. You’ll want some leather brown made up anyway for the bricks. I found however using the paint as an undercoat, you’ll want to give it a full 24hrs to dry properly before drybrushing and wiping off the grout. Otherwise, it’ll come off as you wipe (as opposed to with the spray where it’ll stay on).
Once again, thank you very, very much for the advice! This is really useful stuff. One of many reasons I am so happy to have found your company — you all are always so quick to respond and super helpful. 🙂
No need to prime the model before applying the leather brown paint?
These primed in leather brown spray
How do you remove most of the grout without removing all of the top coat of paint? As soon as I start wiping away the grout the paint starts coming off. By the time I’ve wiped the grout, I’m down to the base coat. Seams like the sand in the tile grout is rubbing the paint off.
Oh, I can’t get Permafilla in the US so I used ready to use Simply Grout from Home Depot.
Update: I had some drywall joint compound and tried that with great results so far. Wipes out easily and does not remove the paint as much, like described in the tutorial. Hopefully nobody has had problems using drywall mud.
Thanks for the follow-up info!