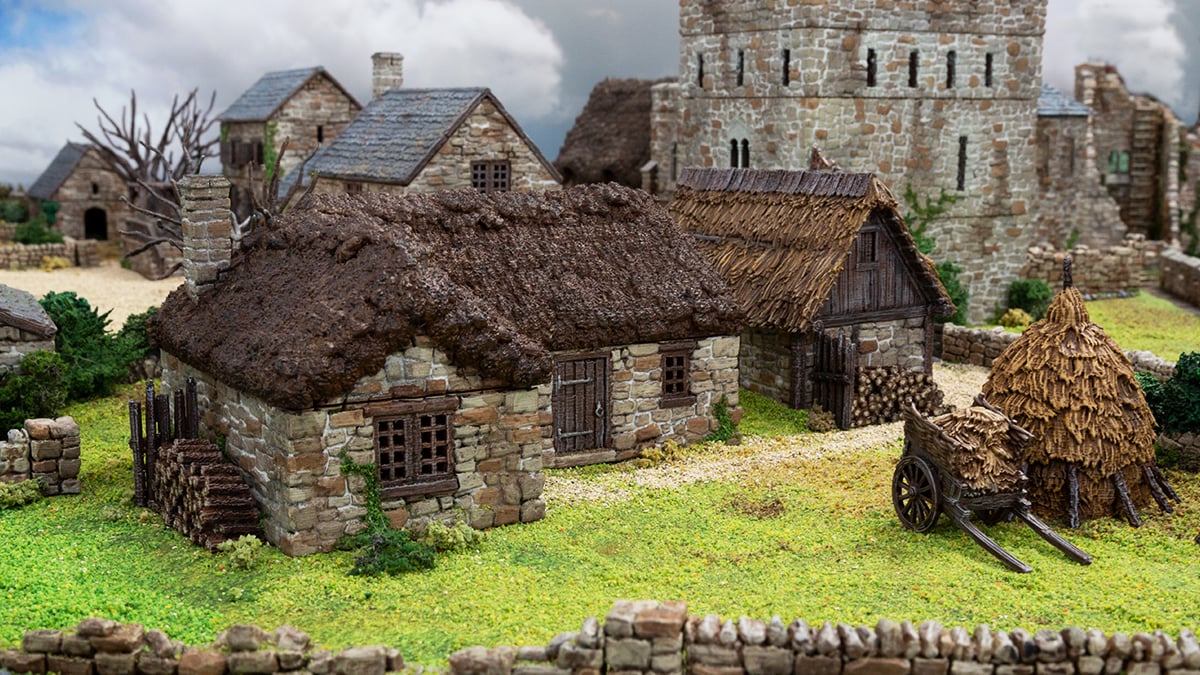
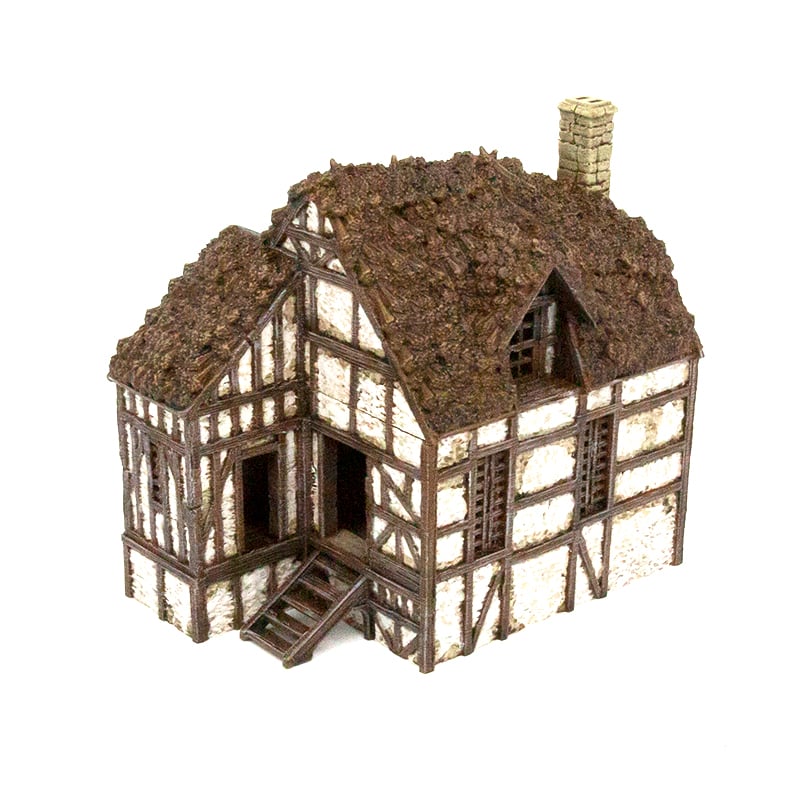
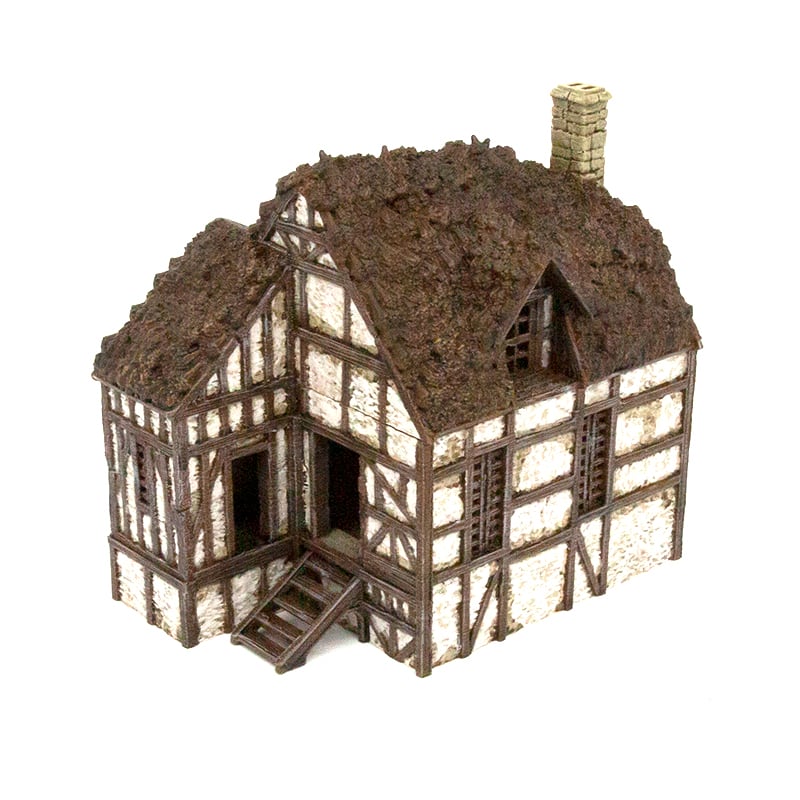
How to paint Medieval Textures
In a previous post we covered how to paint the stone walls from the Country and King buildings. This article shows you how to paint medieval textures used on the terrain. In particular, the wood, roof tiles, wattle & daub, and hay.
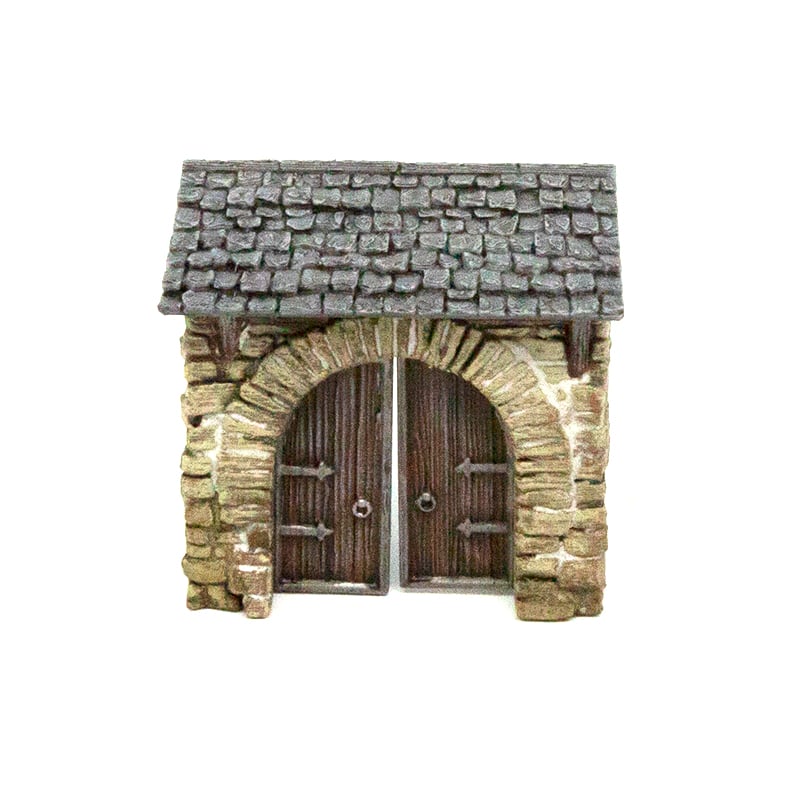
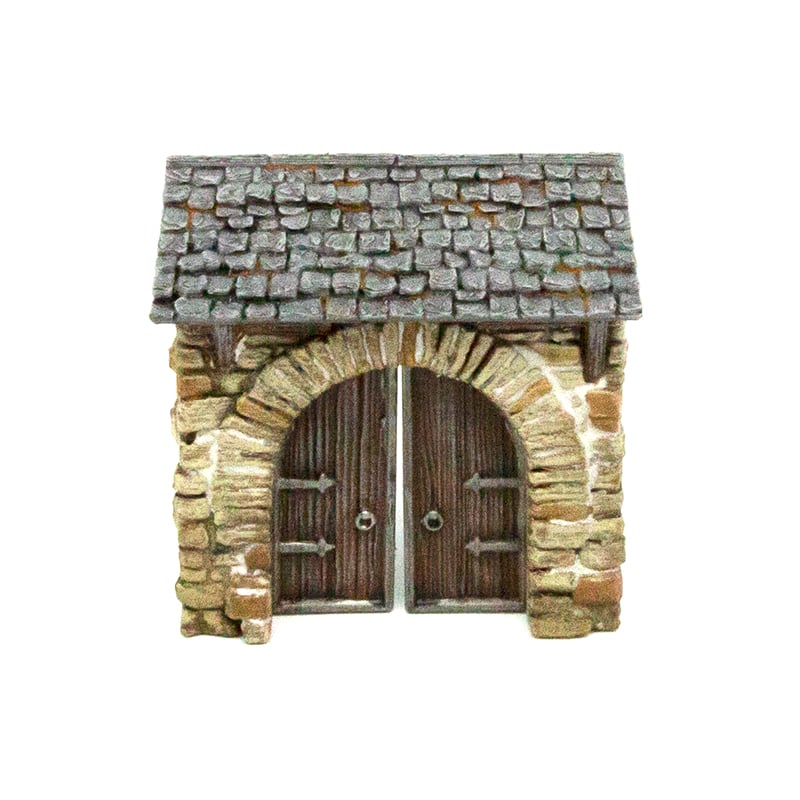
Wood & Roof Tiles
After undercoating, basecoat the Wood with Oak Brown and the Roof Tiles with Dungeon Grey. You might need to apply two coats to get an even basecoat. This is followed up by a drybrush of Ash Grey over both textures.
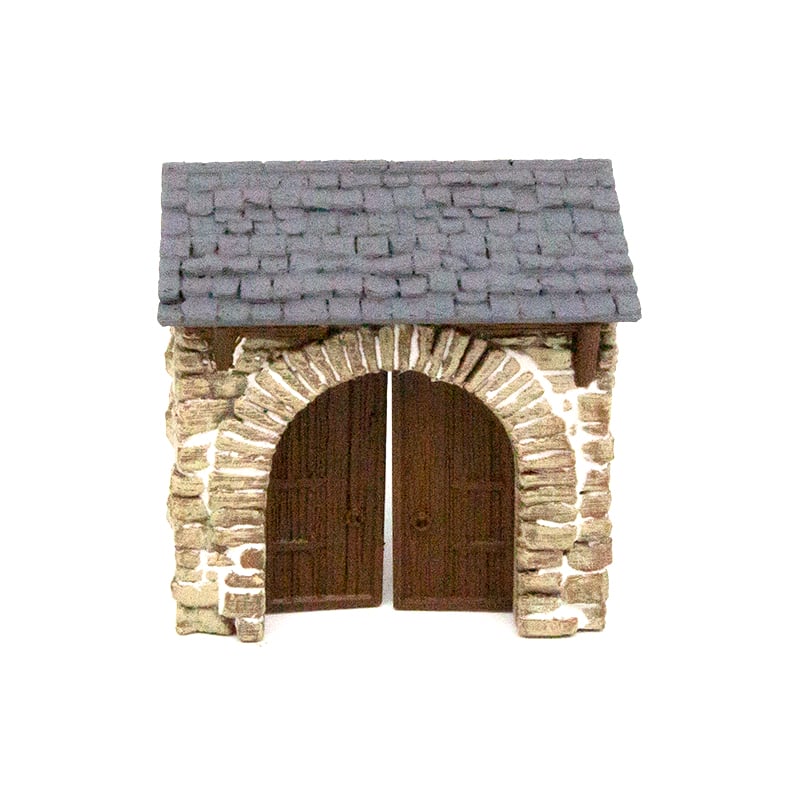
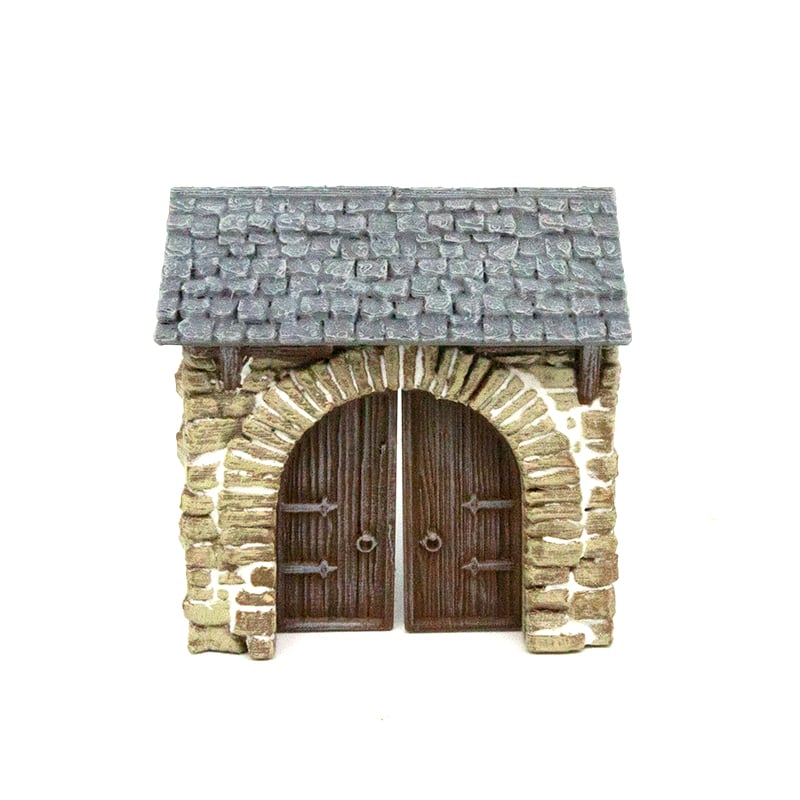
Next both areas are given a wash of Nuln Oil (NOTE: the metal frame on the door is basecoated with silver before this step). Finally, to represent rust, watered-down Skrag Brown is applied between some of the Roof Tiles. Paint this on in a random fashion, doing as much as you see fit.
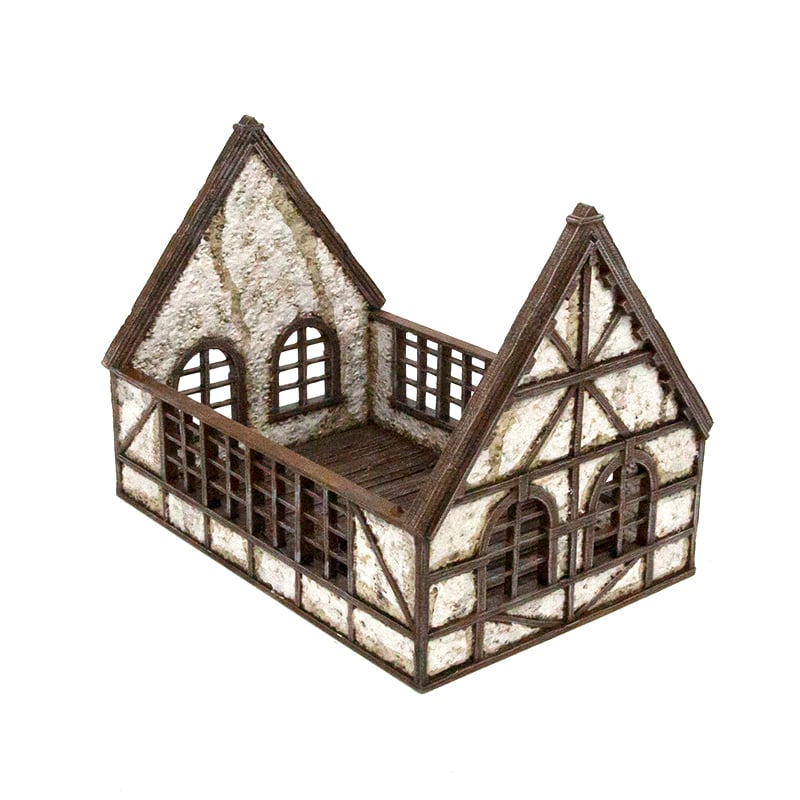
Wattle & Daub
One of the most commonly used medieval textures for building houses with, our Wattle & Daub begins with a basecoat of Oak Brown before being given a heavy stipple of Banshee Brown.


Once dry, stipple on Mummy Robes, leaving the Banshee brown in some of the deeper recesses. The final step is to add some medieval grime with a wash of Strong Tone in random spots. A good tip is to thin it down slightly so it runs down the model. Then just drip it in a few spots and let gravity do the work!

Roof Thatch
Like the other medieval textures presented so far, we’re starting off with a basecoat of Oak Brown. This is then drybrushed in succession with Mournfang Brown, XV-88, then XV-88 with a little Skeleton Bone mixed in.
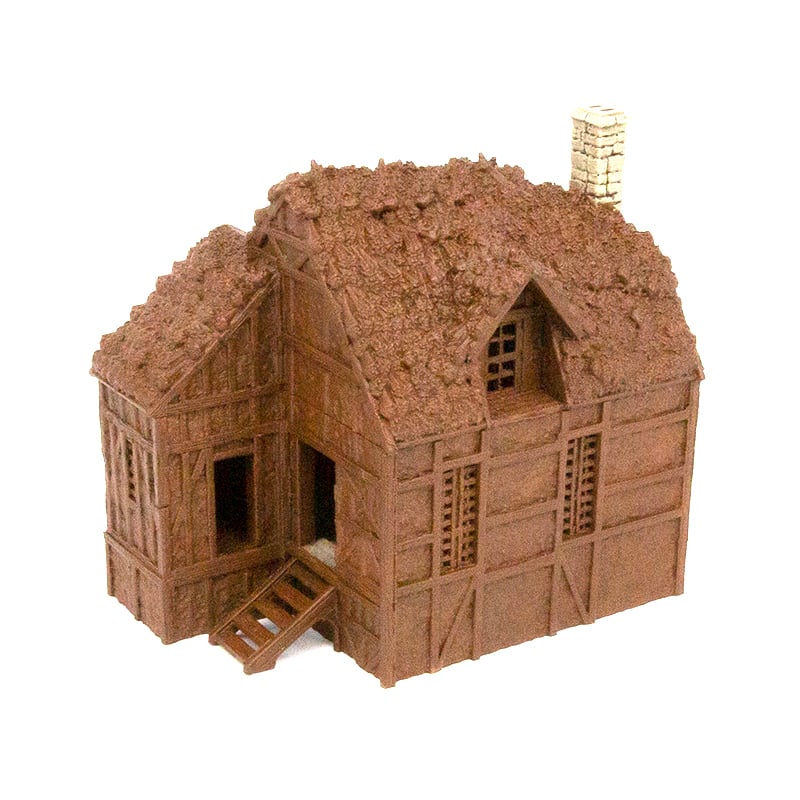
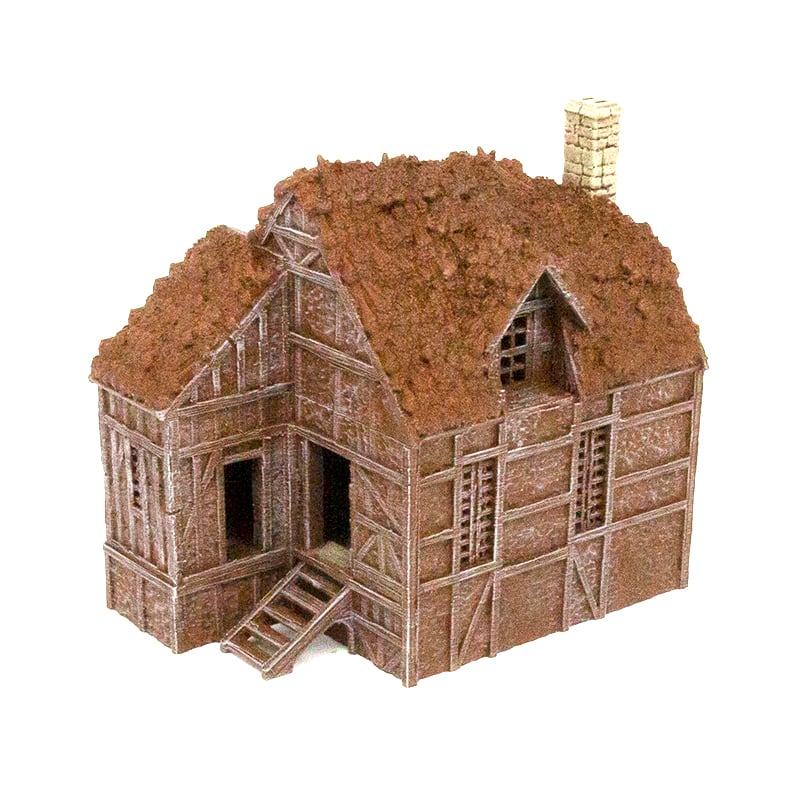
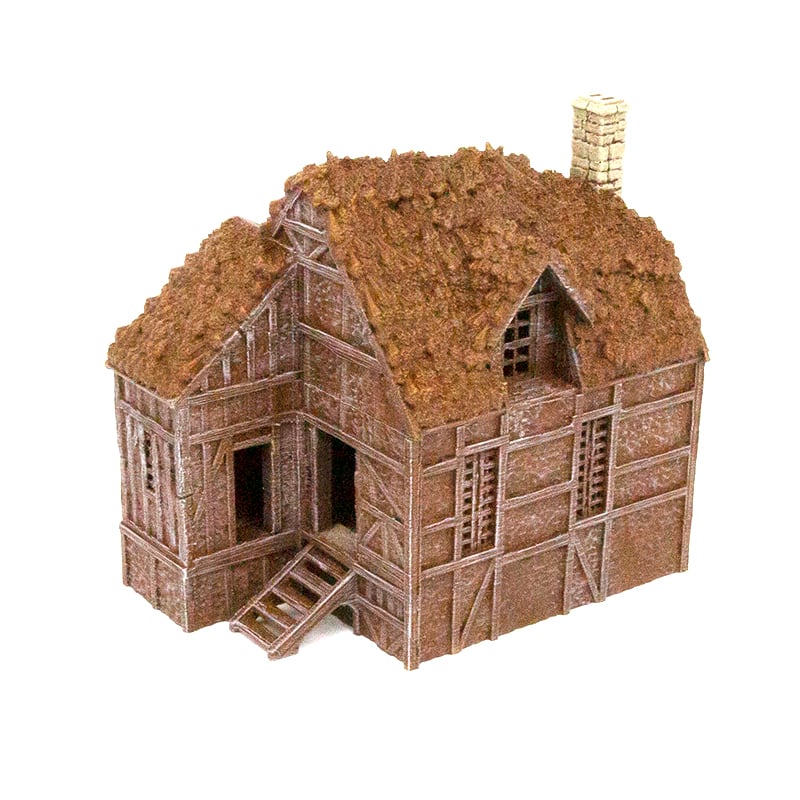
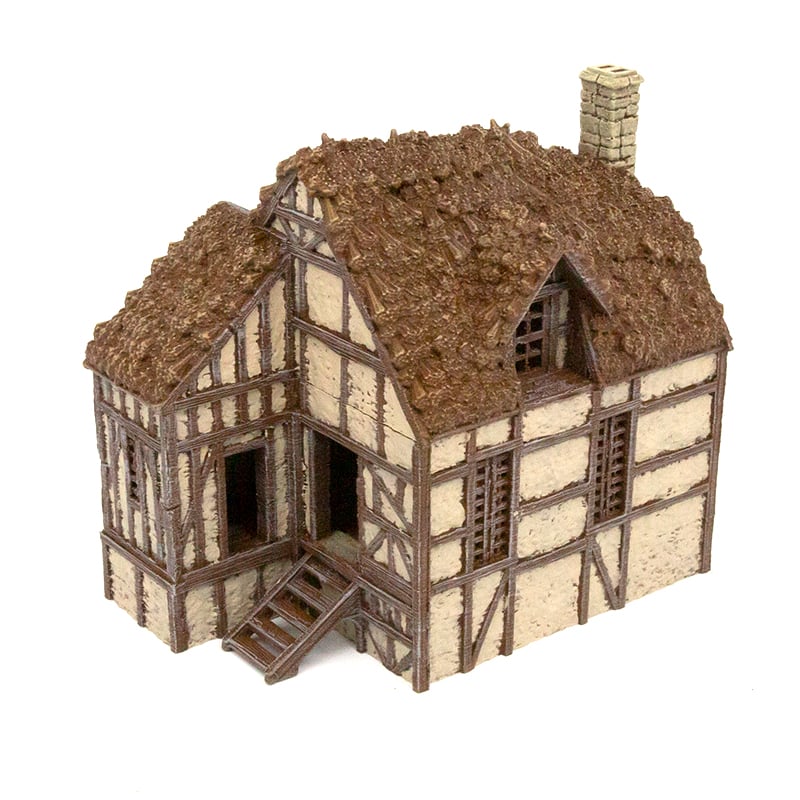
With the colors built up, now its time to give it some good old, medieval treatment with a wash of Nuln Oil. Once this is dry, give it a light drybrush of Matt Black to finish it off.
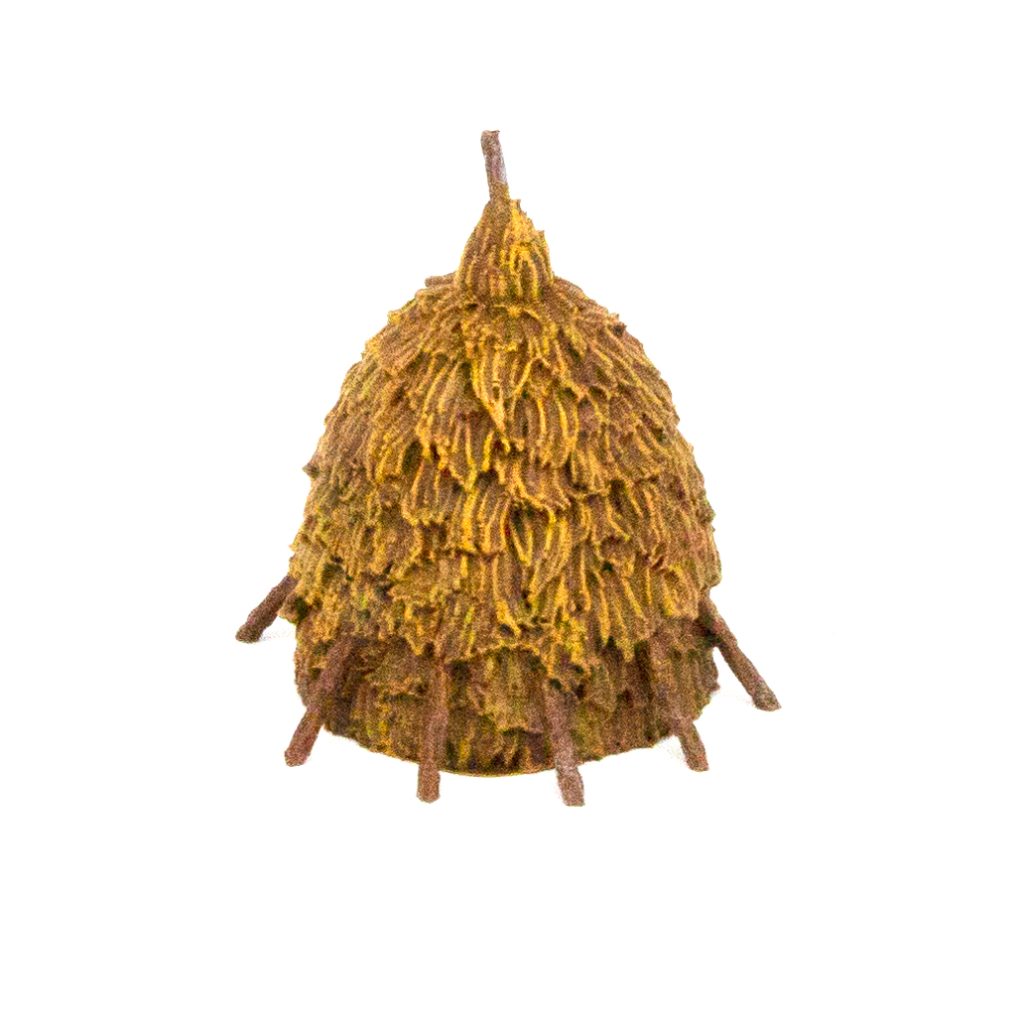
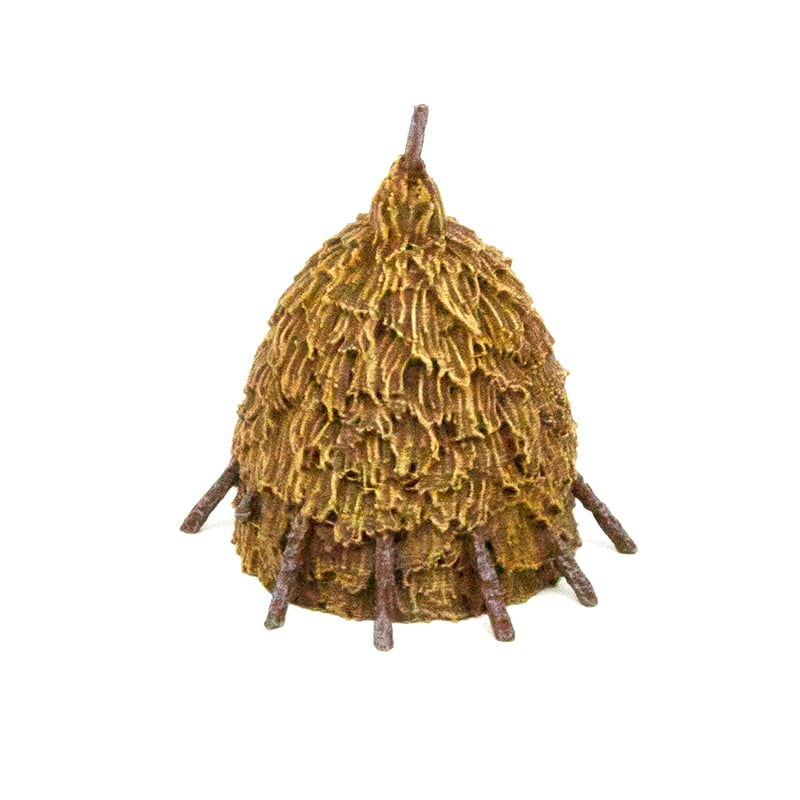
Haystacks/Straw
To final texture covered in this How To article is for the Haystacks, which is also used for some of the roof textures. To begin, you guessed it, we start with a basecoat of Oak Brown. Like the roof thatch, this is followed by a heavy drybrush of Mournfang Brown then XV-88.
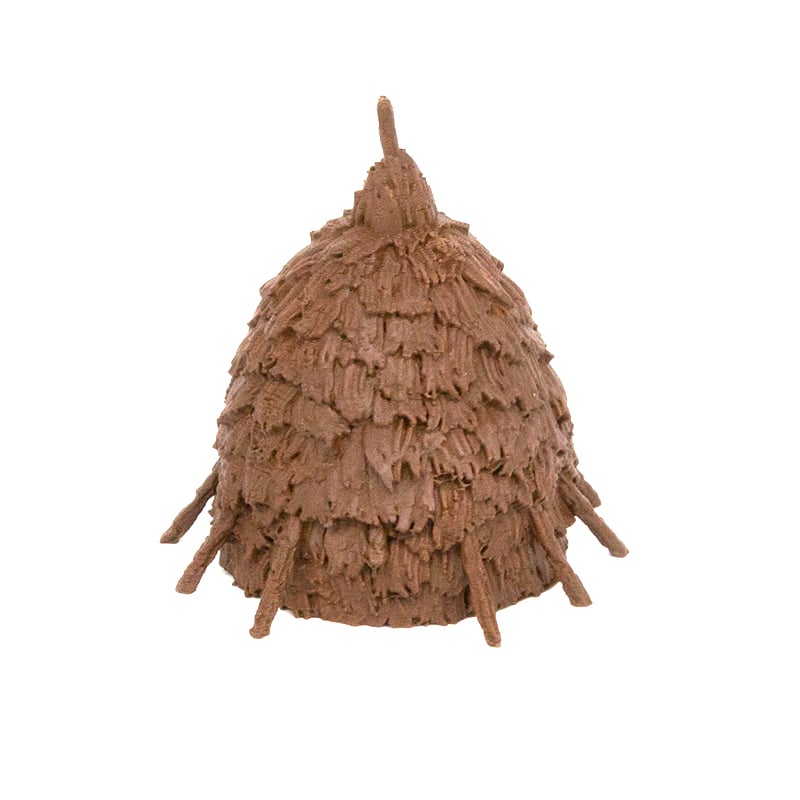
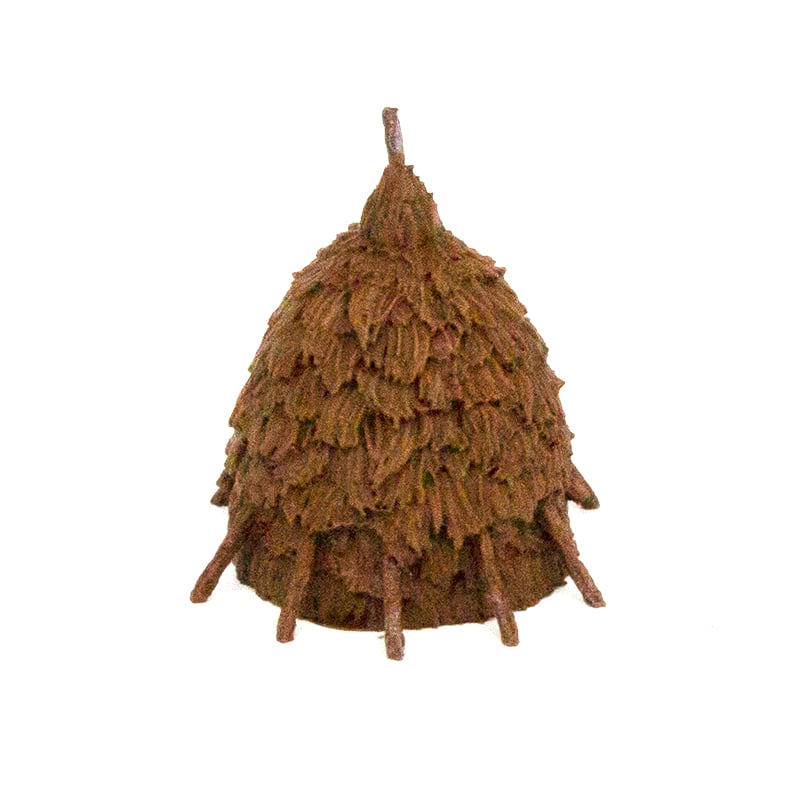
To give it a yellow, straw-look, drybrush with Plague Brown then lightly with Skeleton Bone. Finally it is aged in spots by washing some selective places with Strong Tone.

And there you have it! How to paint Medieval Textures for Country and King. If you found this guide useful let us know. We’re always keen to hear your feedback, including what sort of guide you’d like us to cover next.
Paint List
Oak Brown (The Army Painter)
Dungeon Grey (The Army Painter)
Ash Grey (The Army Painter)
Nuln Oil (Citadel)
Skrag Brown (Citadel)
Banshee Brown (The Army Painter)
Mummy Robes (The Army Painter)
Strong Tone (The Army Painter)
Mournfang Brown (Citadel)
XV-88 (Citadel)
Skeleton Bone (The Army Painter)
Matt Black (The Army Painter)
Plague Brown (Game Color)
Quick question: you note that for all of the wattle and daub and thatched roof pieces, you are using Army Painter Oak Brown as a primer/undercoat. In the initial pictures in the painting sequence, it looks to me more like AP Leather Brown, especially in the daub and wattle pictures. Yours look great; I am just trying to make sure I don’t get them too dark using the wrong primer. It is actually oak brown, correct?
Yes, Oak Brown is correct.
Hi, I have been reading this article with great interest as I have a number of 6mm buildings to paint a number of which are earl medieval wattle and daub and thatch and a number of timber framed buildings for the ECW..
Would the same colours be good for 6mm scale ?