Painting Shadowfey: Wild Rivers
We have had several requests for a how-to-use clear-resin water effect, so here is a painting guide on how to make awesome-looking water using the Wild Rivers.
This guide is going to focus on painting the water for your river. For the bank, rocks and bushes we have followed the techniques in the Dragons Graveyard (rocks and ground) and Ruined Church (foliage).
A major technique that was used on the river is stippling. This requires the use of a brush with stiff, dry bristles. Rather than swiping across the model like when dry-brushing; stippling requires you to jab with the brush instead to cause a more spotty finish. It’s easy to do and is a cheeky way to blend colors together
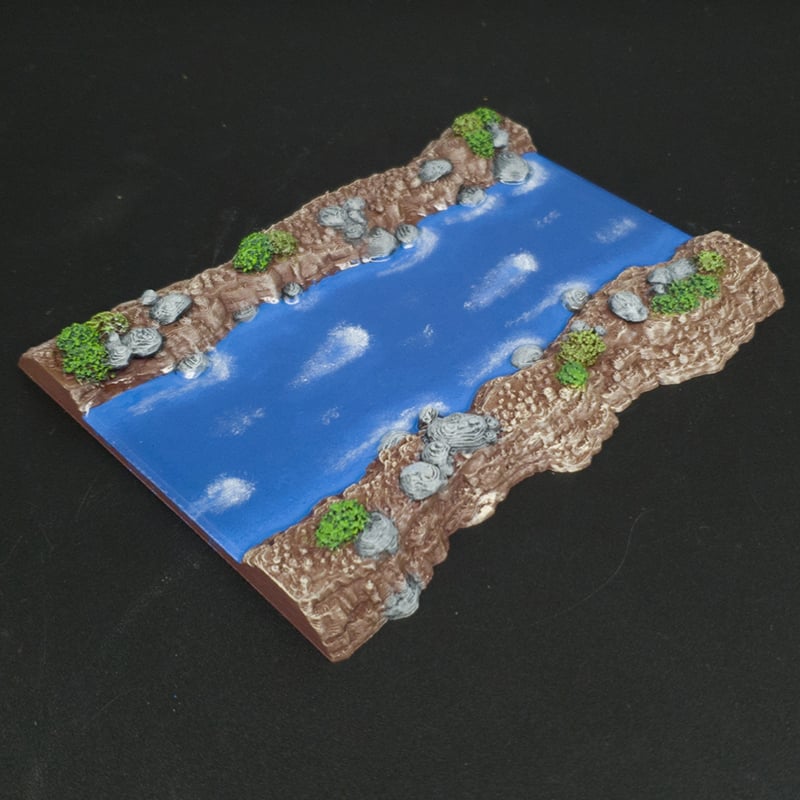
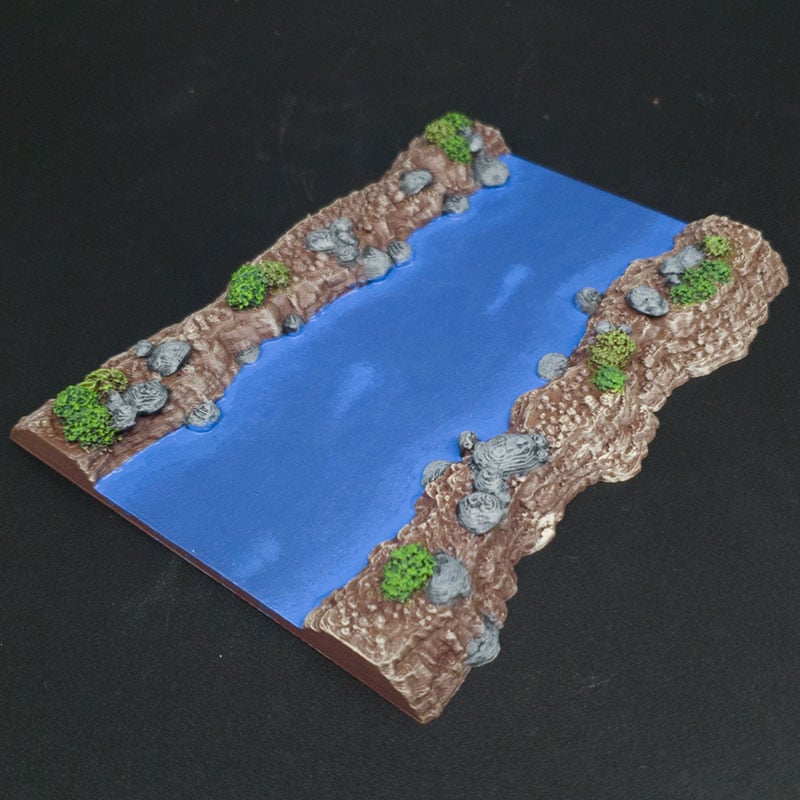
Step 1) Build up a solid basecoat of Caledor Sky, then do a coat of Deep Blue in the center of the river, leaving a rough 4-5mm gap of Caledor Sky along the river bank. Once dry, go back with Caledor Sky and stipple along where the blues meet to achieve a blended look. If you’re enjoying it you can even mix in a bit of deep blue to provide some color graduation. Finally, if you’d like to represent some rocks just beneath the surface stipple some Caledor Sky in spots around the center. Pick a ‘direction’ you’d like the river to be flowing and stipple down that way!
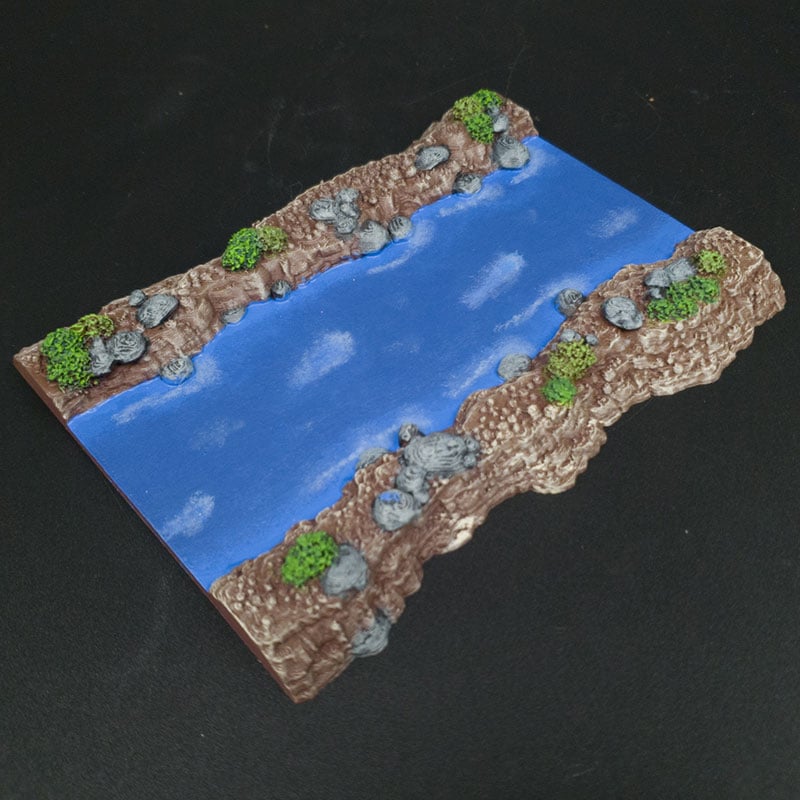
Step 2) Next, we’re creating some more movement by stippling Wolf Grey at the wide end of the teardrops and at the leading edge of any rocks in the rivers flow, stippling in the same direction as the flow of the river. With some Ash Grey paint a small spot at the round part of the stippling to show the rock just beneath the surface. The last part of painting is to stipple some small spots of Matt White at the apex of where the water is flowing.
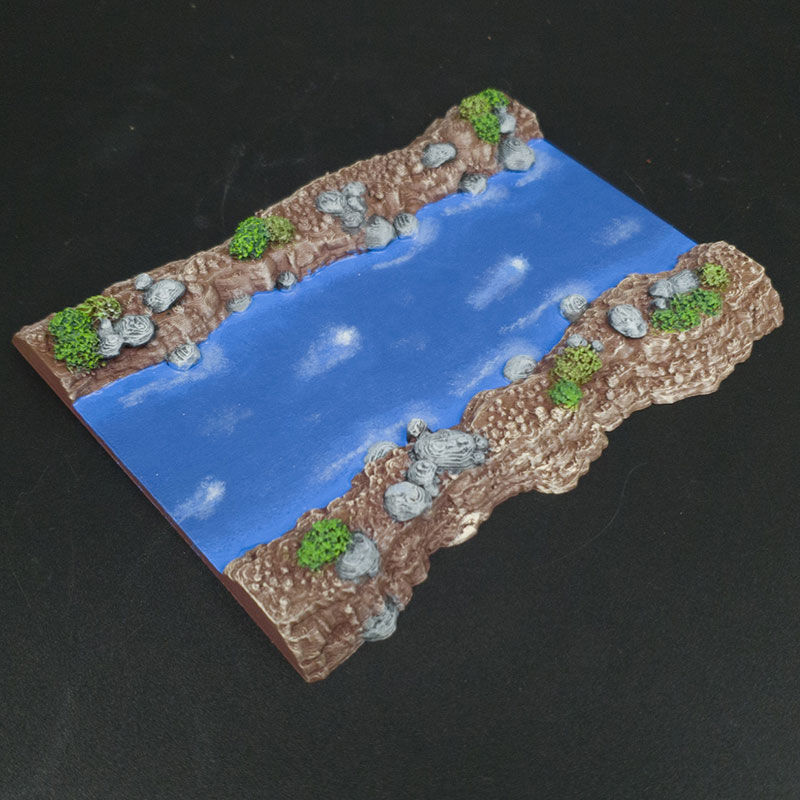
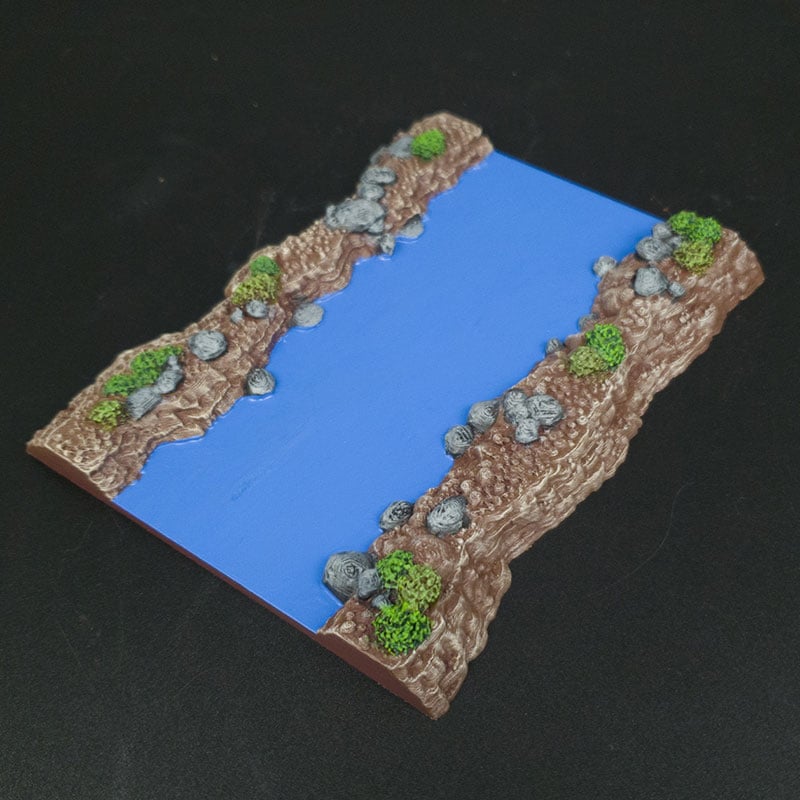
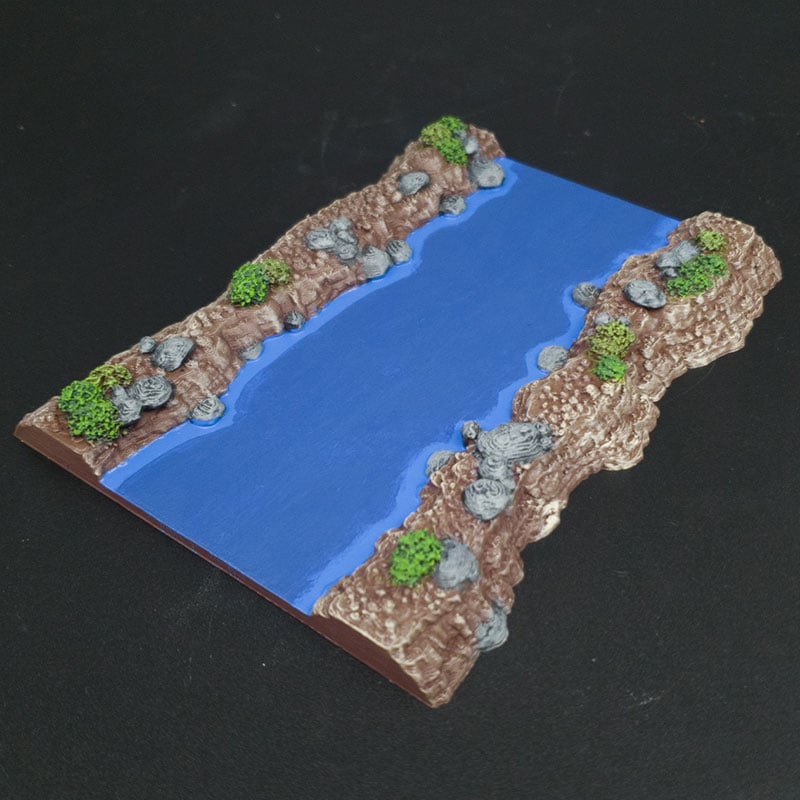
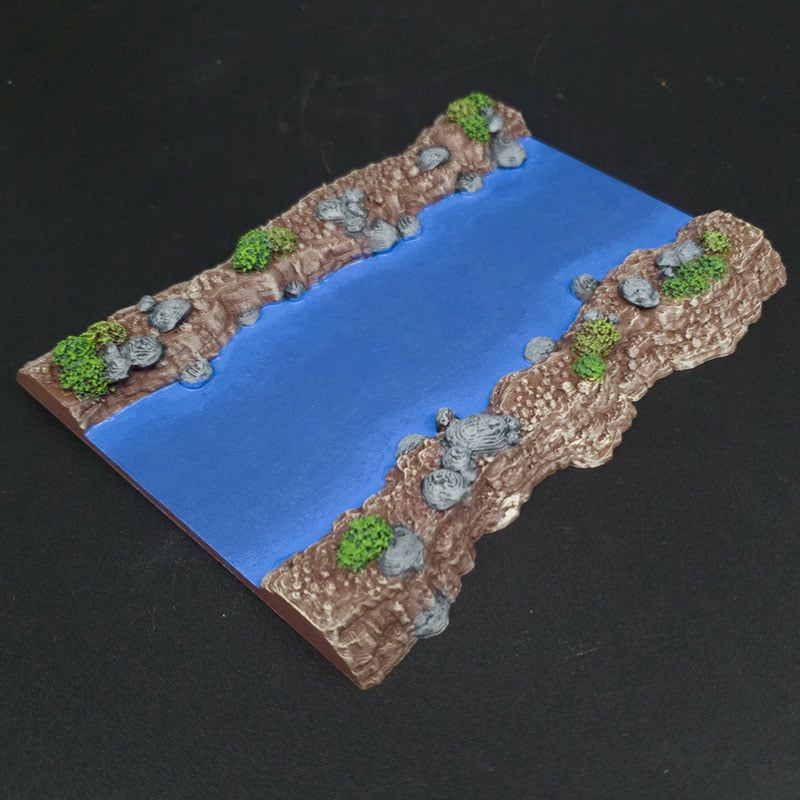
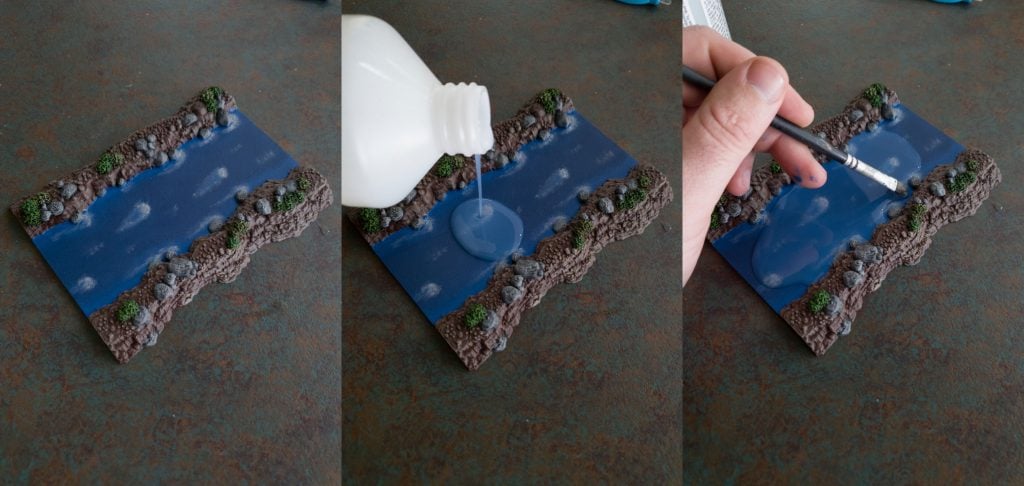
Step 3) The step you’ve been waiting for! Time to pour the resin!
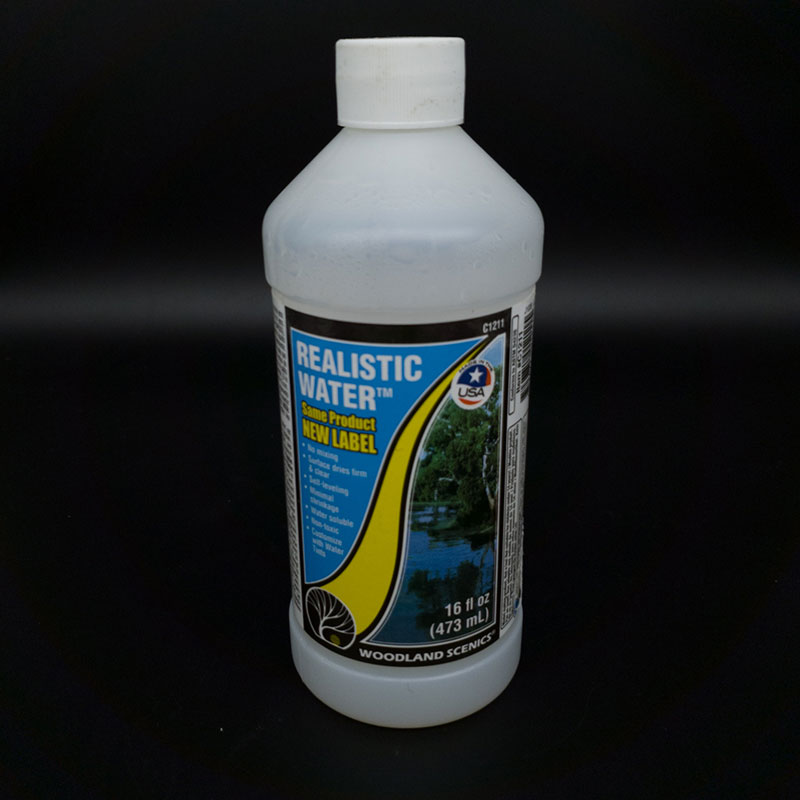
Using Woodland Scenic’s Realistic Water Effects, we poured the resin near the center of the river, allowing it to flow out towards the edges. Once it had flowed to around 3/4 of the model, we stopped and used an old brush to tease the resin out towards the edges and into nooks on the banks.
As long as you are not too aggressive or deep with your pour the surface tension of the resin should hold it at the edge of the model and not spill over. We recommend putting the model on a non-stick surface just in case it does!
Once it has set for a few minutes check for any small air bubbles. You can poke them out with a toothpick or paint brush. The resin should take approximately 24 hours to set.
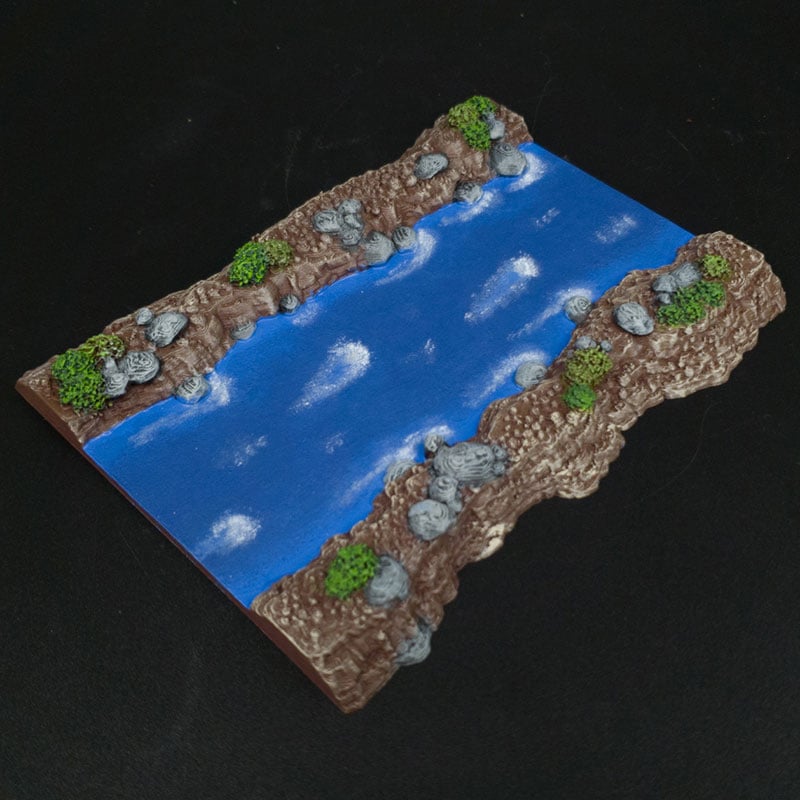
And that is how to make a great-looking river fairly easily! Woodland Scenics has more products that can be used to add ripples and eddies to the surface of your river, so you can make it as wild as you could possibly want. Here is how it looks after the resin has cured.
Cool tutorial, thanks!
Would you recommend mixing the water effect with blue color (Vallejo?)?
Also how do you make sure that the water level is the same on all segments? If they are not, your water looks very weird with steps in it.
Hi Stefan,
It is better to get the specialized water effect inks, as some paints can separate from the resin or change the viscosity. Failing that we’d suggest using a wash or ink so that the water stays translucent.
For the levels, as long as you keep it in thin layers you’ll barely notice any difference. If you prefer to do one, deep pour we’d suggest blocking over the ends, in which case you could measure out the water effects or just eyeball it.
With a decent drying time, you can usually spot any discrepancies in the water level before it’s set and remove/add some if you need.
Hope that helps!
This is really helpful, thanks so much. Any tips to allow the best seamless transition from river segment to segment? I worry the resin will make the gaps more obvious.
Hey Ryan,
Thanks! Seamless transition is tricky, the only sure-fire way to be rid of it would be to glue the river pieces together before pouring your resin (losing modularity in the process). You could try temporarily sticking on an edge to the river section so you can pour the resin right up against it which might fill a bit better. Then once the resin is try take it off. We’ve tried this unsuccessfully with tape but you could experiment with different materials and see