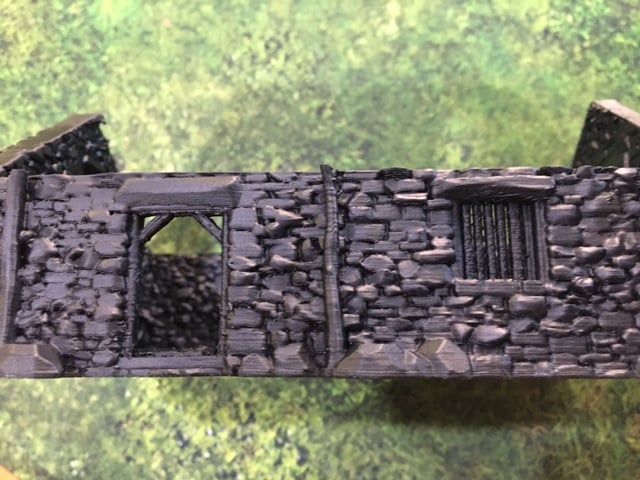
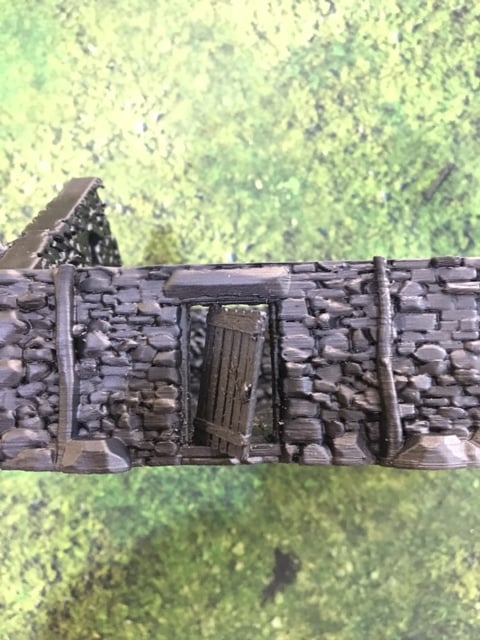
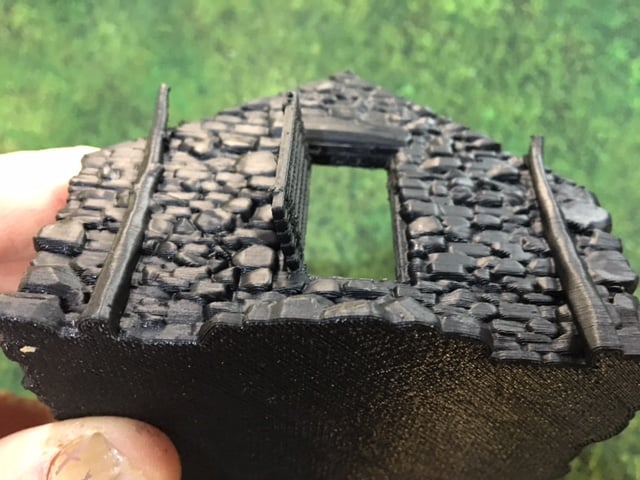
1. Print the stone barn and roof with supports switched off at 0.2. The doors should be printed on a raft at 0.1.3. Spray a good layer of black matt primer covering the whole model. Primer is important because it sticks to the plastic and creates a surface that paint can stick to.4. Scrape around door frames to clean any flashing or stringy plastic. We design many of our models with built-in with supports; these can be cut out. You can also leave them in, as they look like wooden beams. (For this example they will need to be cut out so you can use the clip-in doors.)5. Windows can be left in or cut out.6. The doors will click into place by putting the bottom in first and then sliding the top until it slots into place. (The holes for the door hinges need to be clear first. Use a 2mm drill to do this.)With the door in place, the barn is now ready to paint
Part 2: Dry-brushing the stone barn
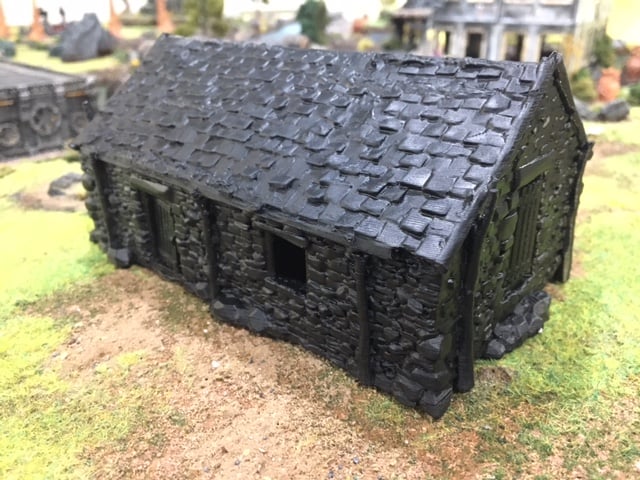
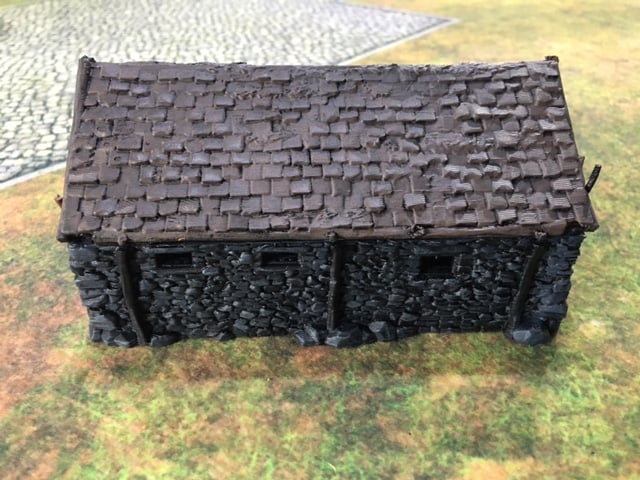
We used The Army Painter Warpaints to dry-brush the stone barn, as pictured here.
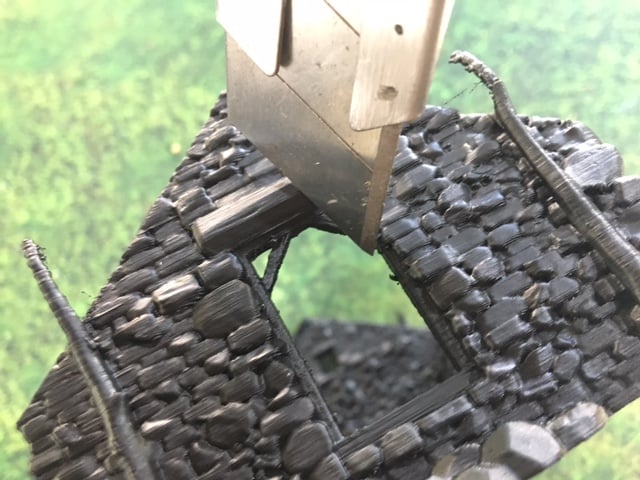
The stones of the barn are dry-brushed with the following colours:
Dungeon Grey as a base
Castle Grey highlight
Ash Grey additional highlight
The stone roof is dry-brushed with the following colours:
Werewolf as a base
Banshee Brown highlight
Dry-brushing is a painting technique in which a paint brush is relatively dry, but still holds paint.
To dry-brush:
Dip the brush into the paint and then wipe off excess paint onto a paper towel till the brush is nearly dry.
Brush quickly over the model, this will add highlights and texture.
Repeat the process with a lighter different color to add more highlights.
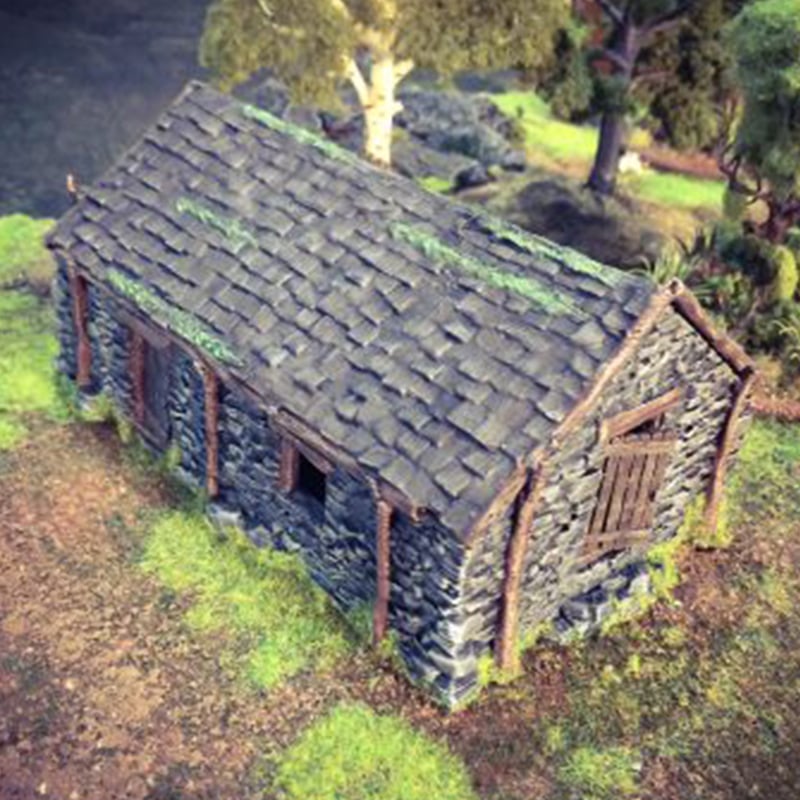
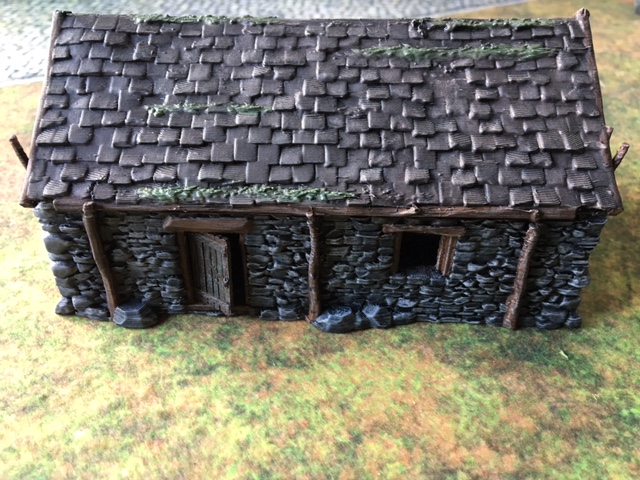
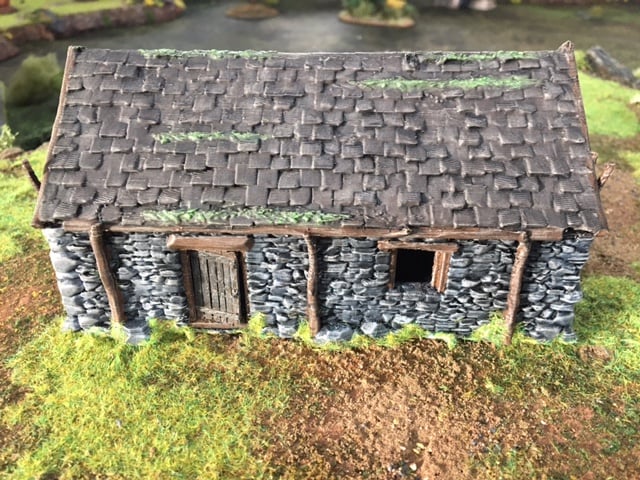
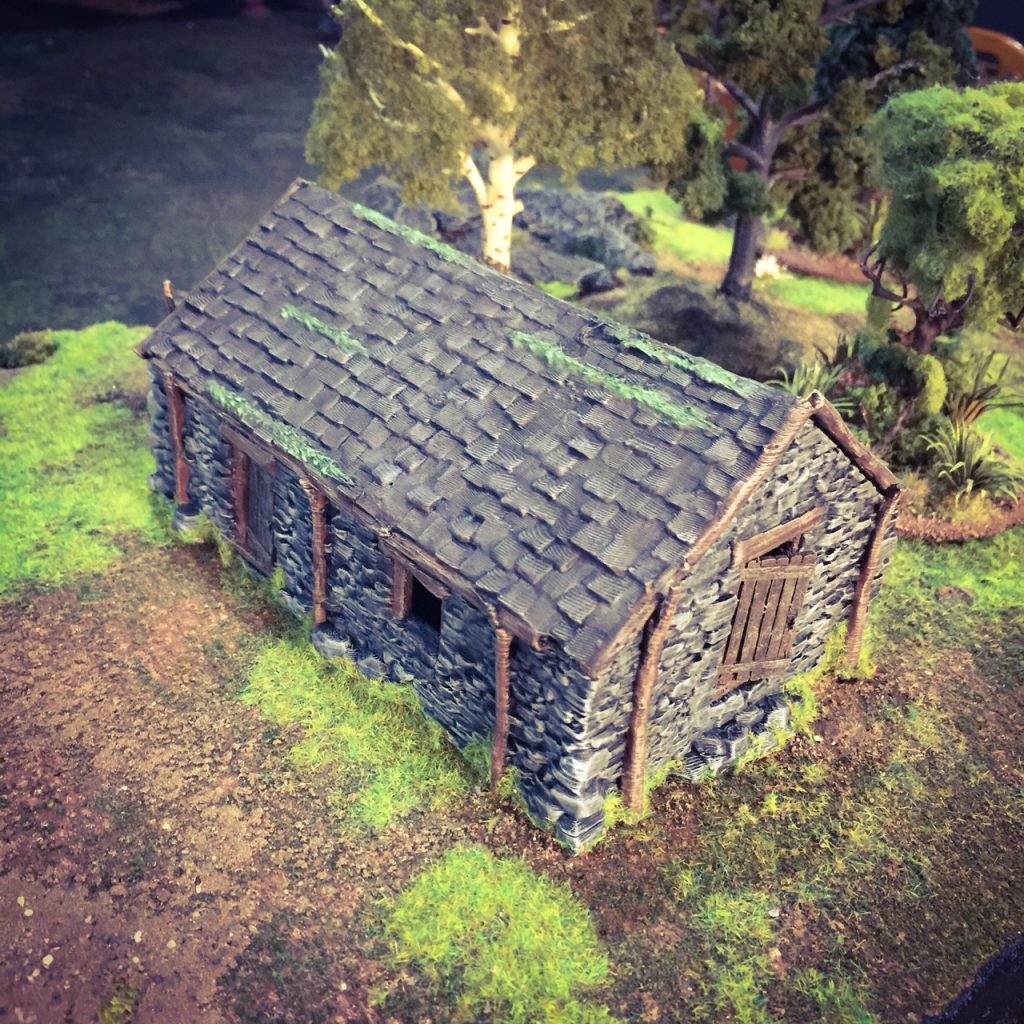
Please see the below images to see the results of this dry-brushing process on the stone barn.
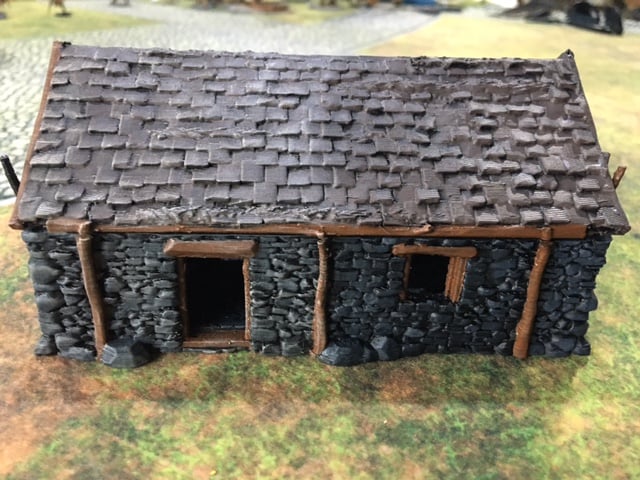
As a finishing touch after dry-brushing, we added PVA glue around the bottom edges of the stone barn, then flock to finish the effect of added moss and grass.
Doors, windows and wooden support poles around the stone barn are dry-brushed in ‘Dirt Spatter’, then highlighted in ‘Banshee Brown’. You can see in the picture the distinction between the base and highlighted parts.Moss on the stone barn roof is dry-brushed with ‘Goblin Green’, then highlighted with ‘Snake Scales’.The finished stone barn with added flock around the bottom edges.
2 thoughts on “Preparing and dry-brushing the stone barn”
Hi, what type of primer should be used a brand name would be useful, even if not available in the UK. I can checkout the constituents and get a match.
thanks
Graham


Hi, what type of primer should be used a brand name would be useful, even if not available in the UK. I can checkout the constituents and get a match.
thanks
Graham
We typically use rustoleum matt primer or any other Army Painter or GW matt primer will do the trick.