Speed Painting 3D Printed Dungeon Tiles (Dry-Brushing)
When printing out your dungeon tiles, such as those from the Rampage System, you will likely want a speedy way to paint them all. This article will cover our recommended process of ‘dry-brushing’. This method will allow you to paint a lot of tiles in a very short time frame, once you have your paints picked out.
Step One
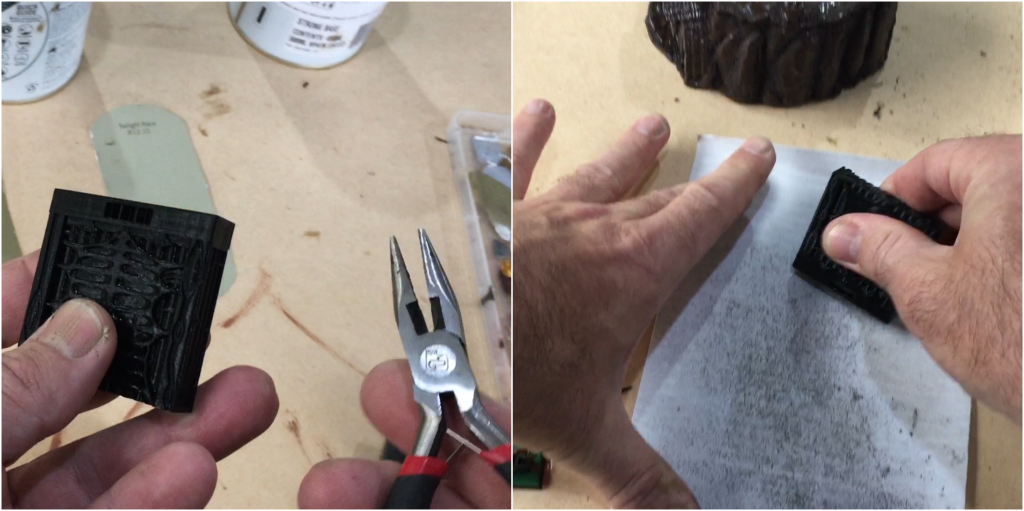
Once your tile has come out of the printer, it will still have its supports attached. In terms of our Rampage System tiles, there are support infills where the OpenLOCK clips are inserted. You can remove these just by pulling them out with some pliers or similar tool. If you print with a brim, you should sand this off so that tiles will connect squarely without tilt.

Step Two
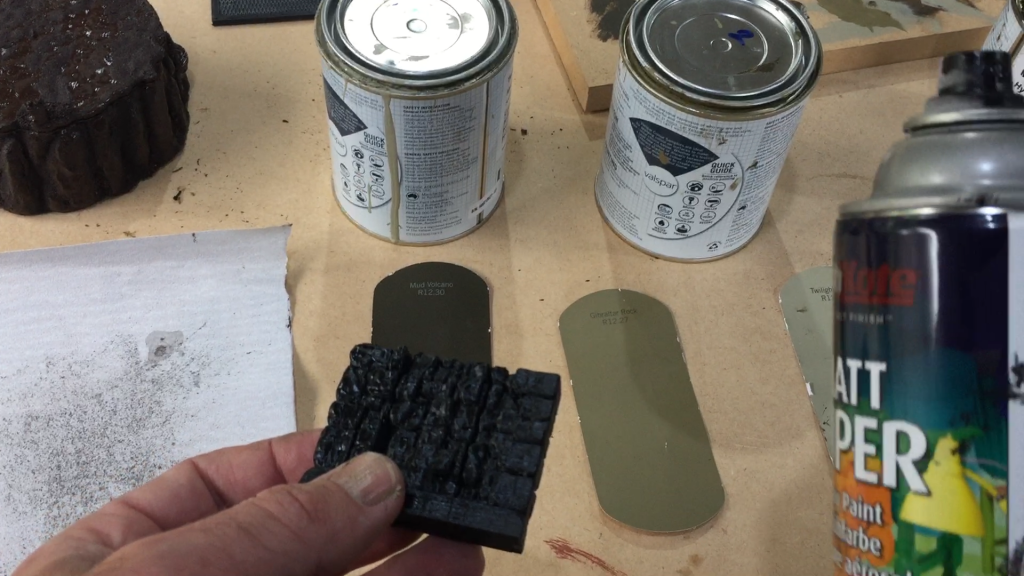
Apply some primer to your tile, preparing it for painting.

Step Three
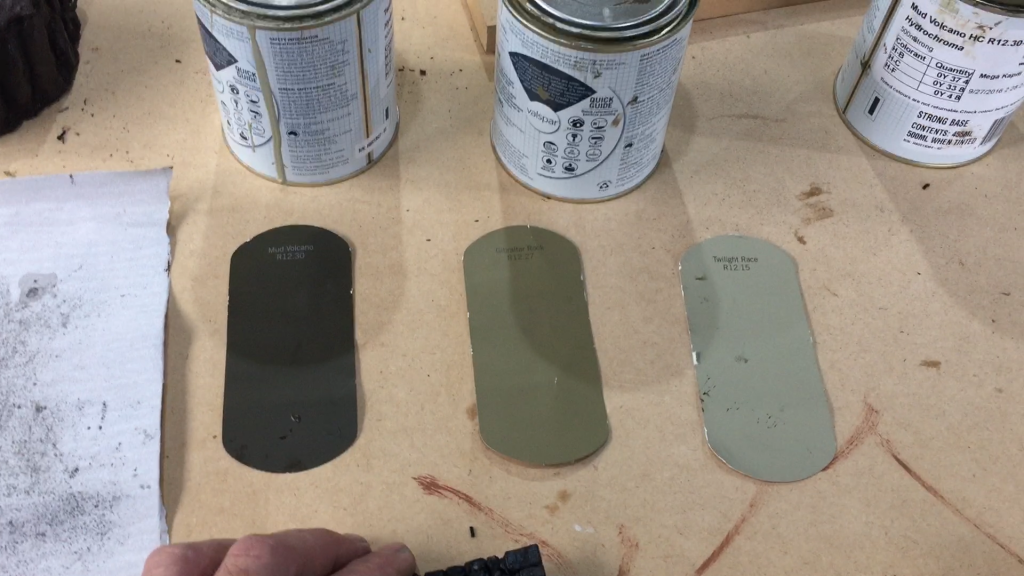
Pick out at least 3 colours. You need 1 in a light shade, 1 medium shade, and 1 dark shade. What colours you choose will determine what sort of look you can achieve, for example your stone walls. In our example we used colours that will give a dark, sandy look to our walls. However you could go with grey, blue and white for a dark stone colour, or black with white highlights for an aberdeen stone look.
We use Matte or satin house paints. If you just pick up testing pots then you’ll get a lot of use out of them and will have a nice consistency between your tiles.

Dry-brushing is a technique where you will apply each paint colour to the surface of your stones in varying degrees to create a textured look to your walls. This process works by painting in coats working from the darkest paint to the lightest.
Step Four
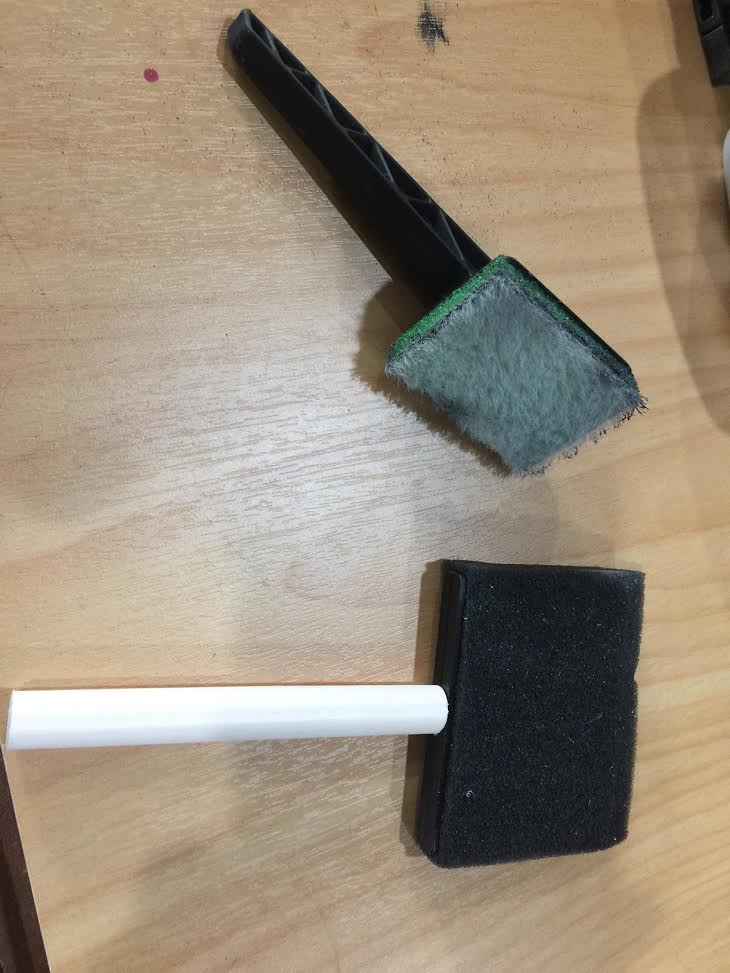
While we recommend a ‘speed-brush’ for the painting, small normal brushes will also work. For this first coat use your darkest paint. When applying paint to your brush, you want to dry it off before painting. This should result with there being as little paint as possible on the brush. The base coat you will want to be quite intense, as this will form the colour for the majority of stone bricks on the tile.

The advantage of using a speed brush here is that paint will only be spread on the faces of the bricks, not in the grooves. This gives a more textured look. This same effect can be achieved with a standard brush, but you will need to take more care.

Step Five
Repeat step four for each paint you have chosen, working darkest to lightest. With each coat you will want to use lighter and lighter strokes, so that not all of the bricks will have the lighter coatings on. This is because your lighter colours are there to serve as highlights on the bricks, and to be complementary to your base colour.
Step Six
Once all of your coats have been applied, you can dry the tile quickly with just a hairdryer or similar, and your tile will be ready to use!
The dry-brushing process isn’t perhaps the most detailed method you could paint your walls with. It is intended for painting a batch of walls or floor tiles quickly, as you should be printing them in batches of 10-20 and so probably don’t want to be taking too long to paint each one. Per tile this process should really take you less than a minute, which makes it great to get through a bunch at once.
 My Account


