
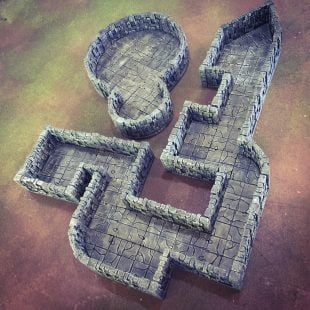
Description
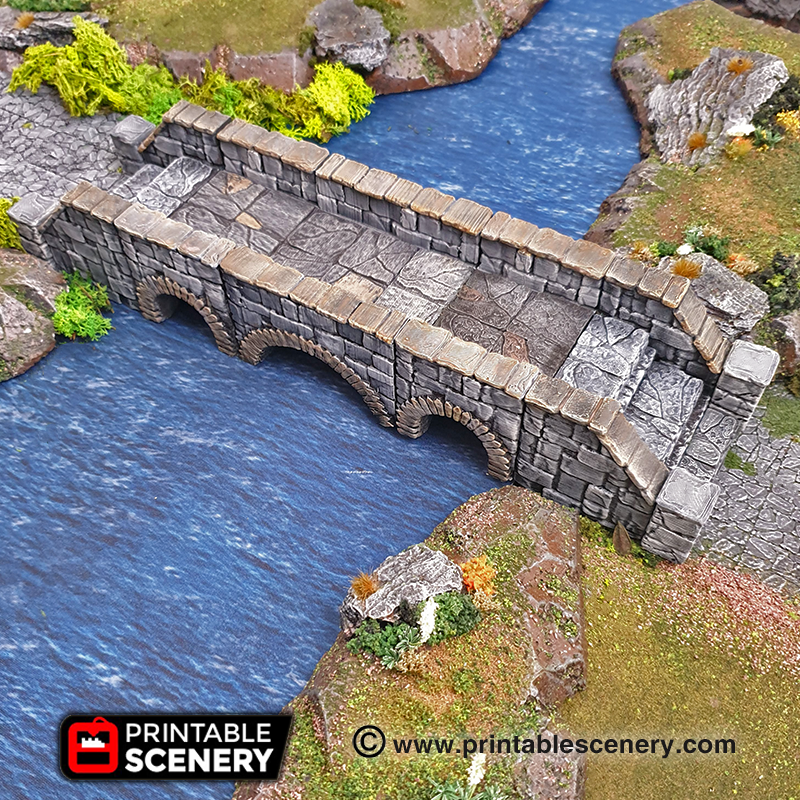
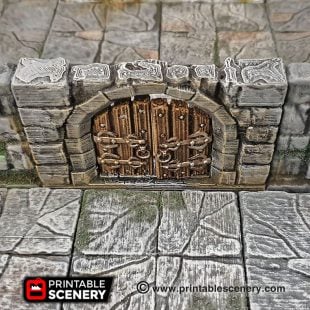
An old man stands before the stone bridge spanning the flowing river. He holds his palm out and smiles at you with most of his teeth missing. “Pay the toll so I can buy food for the troll who lives underneath so he doesn’t eat you”.

Update:
- 27 September 2019 (version 1.2) E and S-Floor tiles added.
- 24 October 2019 (version 1.3) Ramp has been added.
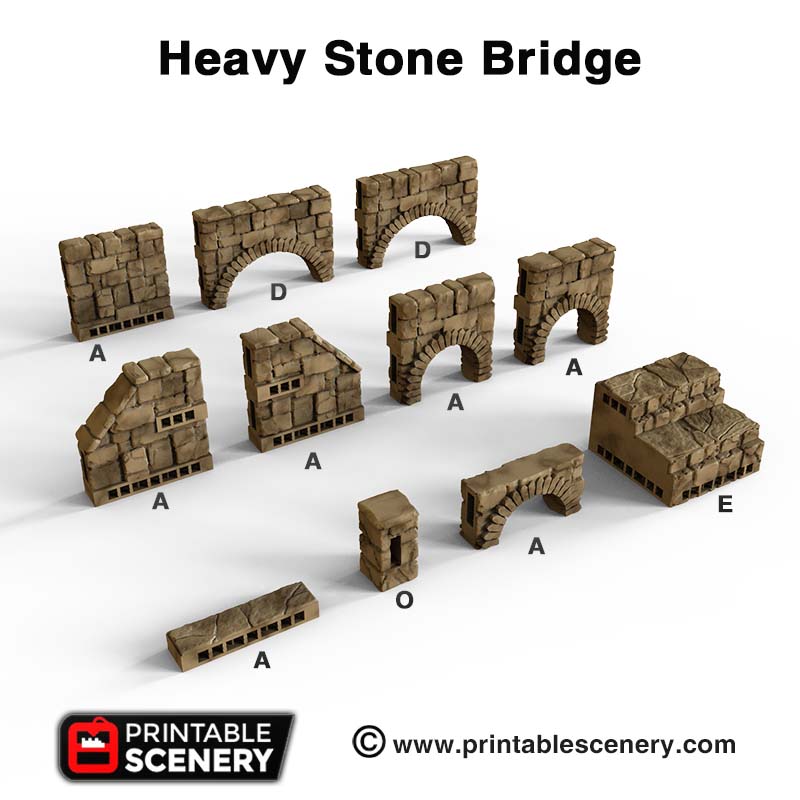
Notes for Heavy Stone Bridge:
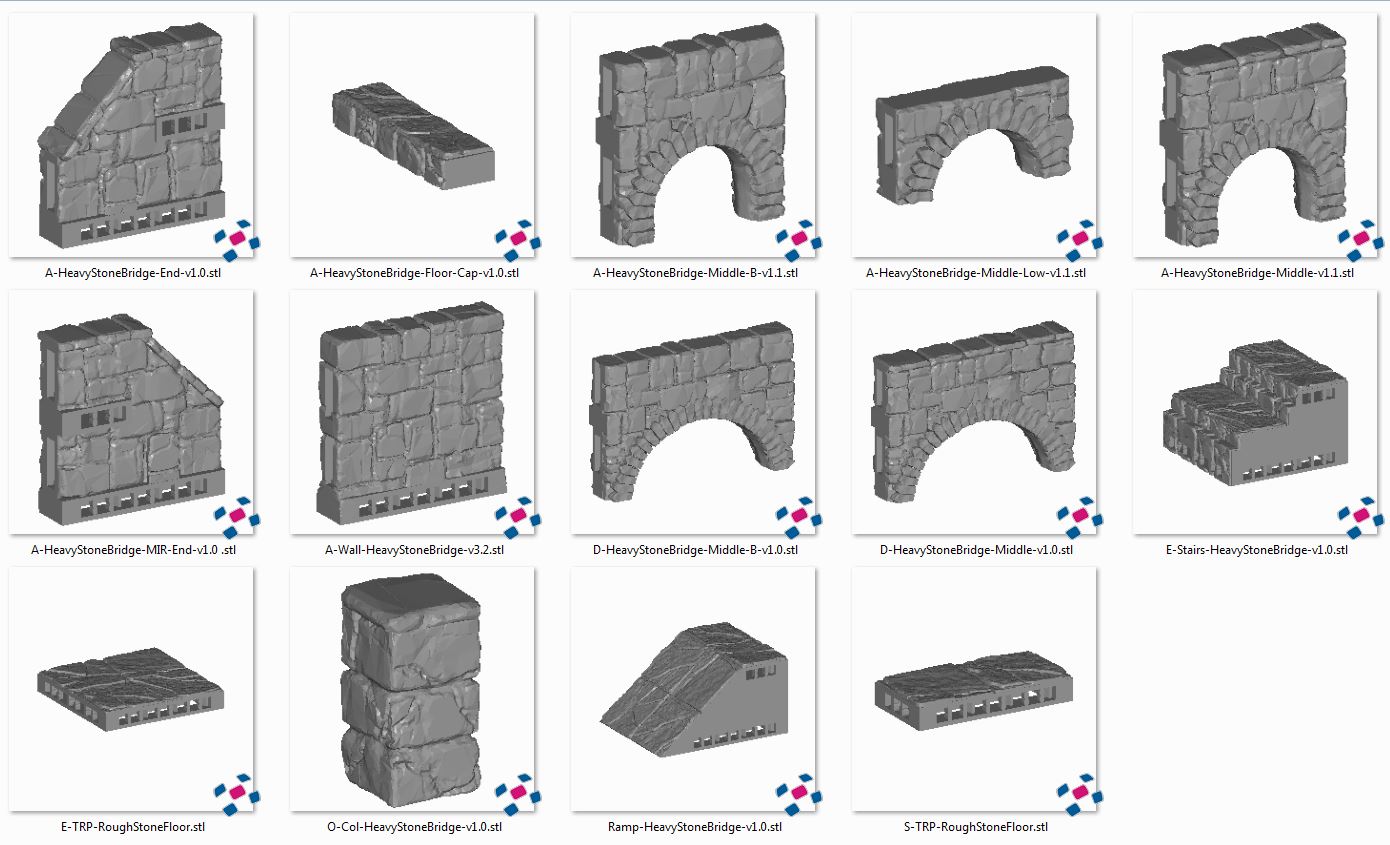
- Right-click on the image below and “Save As” to download the reference sheet for this pack.
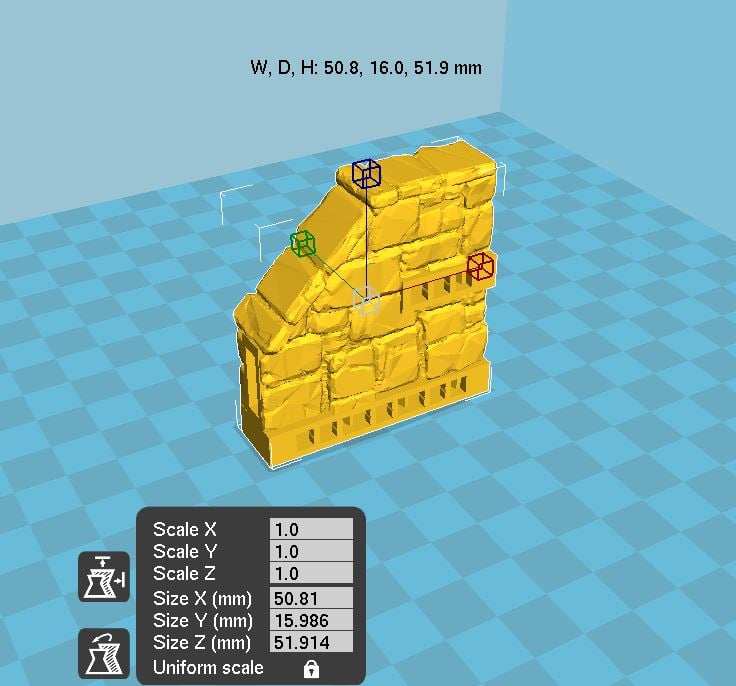
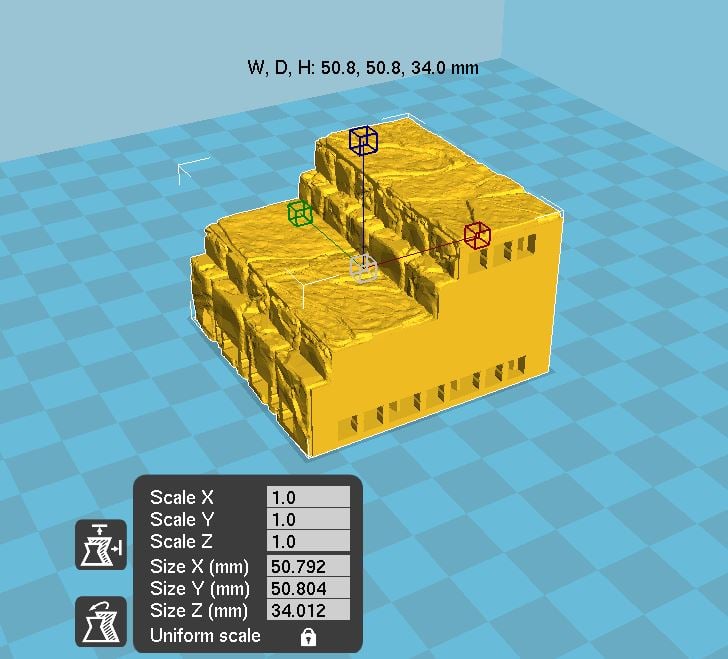
- Product measurements can be found in the image gallery.


James Gordon (verified owner) –
With the set (and a floors pack), can I widen my bridge?
Sam Campbell (verified owner) –
Yes, you can build it in width increments of 2″, 4″ etc.
christian.schepers.1975 (verified owner) –
Hey, I just printed the bridge and it looks awesome, thanks a lot!
If I could make a wish: it would make the bridge even more versatile, if there were arcs with prolonged pillars on the underside. This way the bridge could be built over a river that lies below, ideally the height of a standard OpenLock wall. Know what I mean? I think this should be quite easy to make…
Sam Campbell (verified owner) –
A great suggestion, we’ll add it to the sugggestion list.
Thirtybird (verified owner) –
Should this product contain the necessary floors to build it? My zip file has no floors
Sam Campbell (verified owner) –
We’ll get this updated. You will be notified by email when this is updated to re-download the file.
Voodoo (verified owner) –
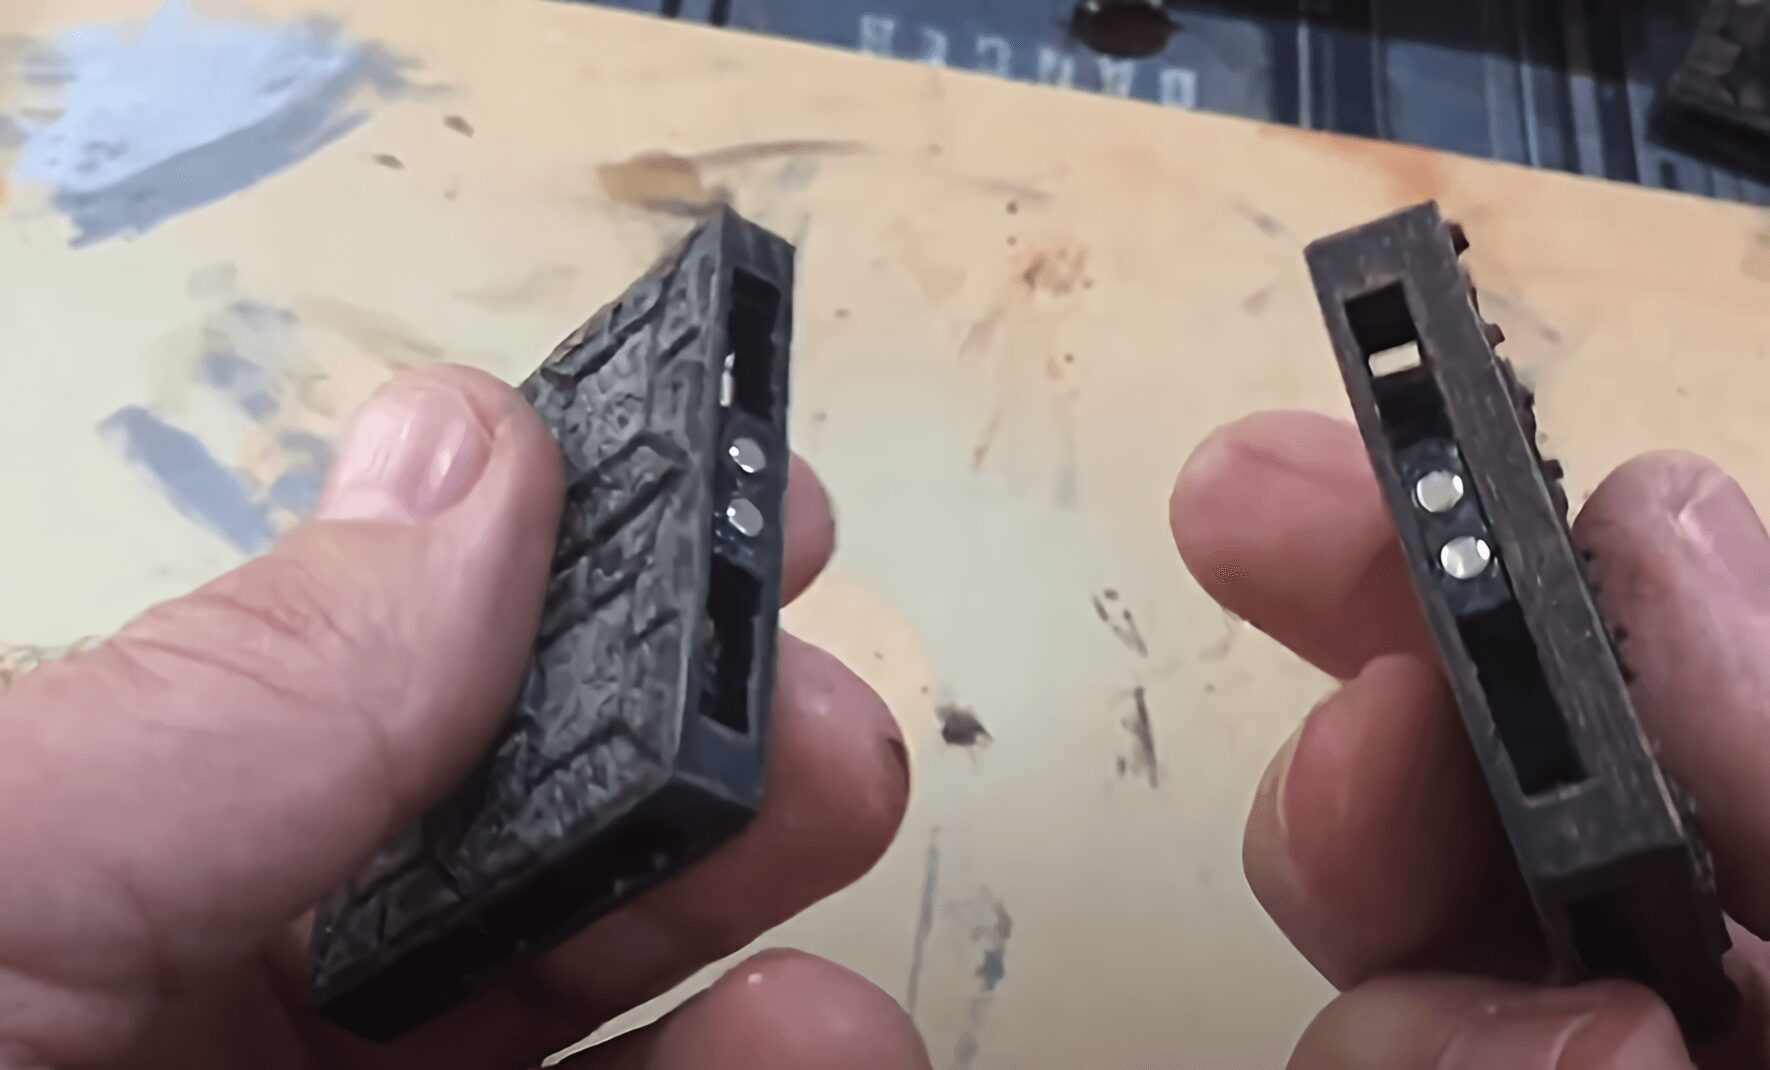
Love this bridge. The opening for the column is left of centre. When I attach them to the end piece one side is flush with the inside wall and one is not. Make sure you print out 2 columns as presented and mirror two columns along the X axis so everything is flush. Printable scenery could also make a column with the opening to the right of centre to make it easier for folks new to 3d printing.
Alexander Wilhelm (verified owner) –
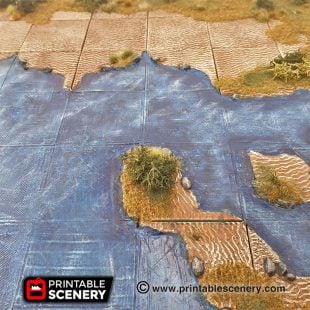
Hi! Is it possible to combine this bridge with the “Wild River” tiles in some way? I printed the Wild River with a scale of 87,5% to fit them right for my printer (A1 Mini) and my tabletop terrain.
Second question: Does the bridge also fit to the “Ruined Roads” tiles?
THX! Alex
Joanne Boorer (verified owner) –
Thanks for your great idea. Currently we only have the Hagglethorn Bridge version used with the Wild River. Will get this added to our update list.