Tips for Assembling
You’ve downloaded your STLs, put them through a slicer, and patiently waited for them to print. Now, it’s time to take them off the printer and assemble them for painting. To help with this next stage, we’ve put together a range of tips for assembling 3D-printed models, both FDM and Resin models.
3D-printed models are easier to assemble than traditional plastic or metal molded miniatures. Often, 3D prints come in one piece and are ready to go! However, there are a few easy steps you can take to make your models pop and to clean up any small faults with your print.
Whilst FDM and Resin have many differences, there are a few tips that are the same;
Safety
We’ll get this out of the way early. Please use caution and appropriate safety gear when preparing your models. Wear a safety mask and work in a well-ventilated room if you’re doing anything that produces fumes (like heating and bending FDM), and wear safety glasses and gloves when washing resin models.
Otherwise, use your common sense. Cut away from yourself with craft knives and use a cutting board to protect surfaces. Make sure you clean up the excess small parts of plastic and resin. They can be a choking hazard to children and pets!
Glues
For our models, we glue parts with Super Glue in either liquid or gel form. Sometimes, epoxy adhesive (Araldite) is also useful for large surface areas on big models. PVA or woodworking glue is useful for gluing down grass tufts and flock, and even for small bits of gap filling.
Plastic glue or polystyrene cement isn’t ideal for FDM models, as the plastic compound is different and won’t bond very well compared to traditional plastic models.

Assembling Resin Models
Presented here are a few tips and tricks we’ve learnt for assembling resin models
Bathing
Because Resin models are printed from liquid resin, they’ll need the excess liquid cleaned before they can be fully set and painted.
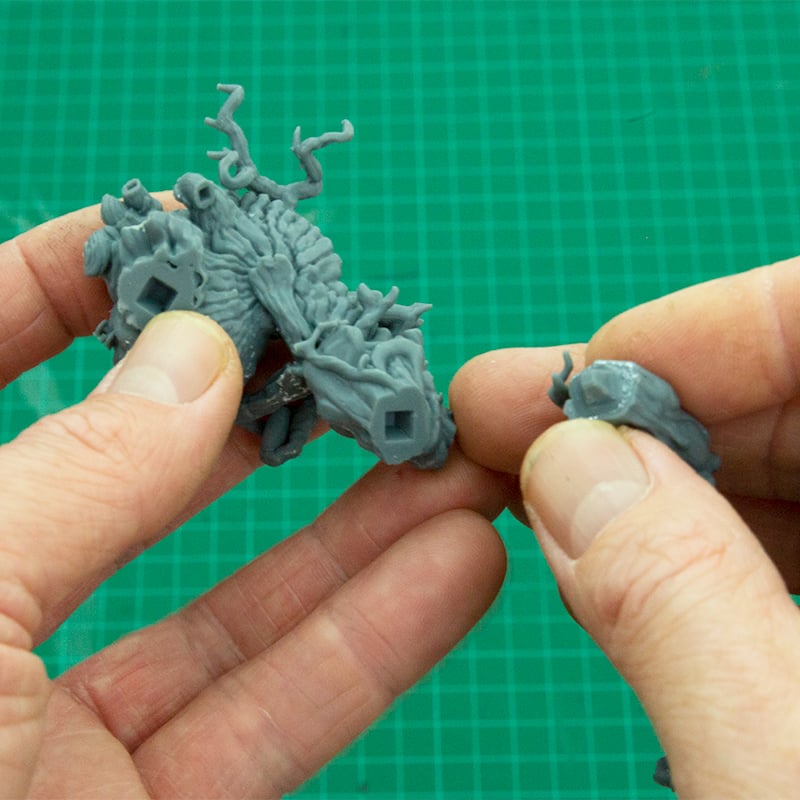
With protective gloves, carefully remove the model from the build plate with a scraper and pop it into a ‘bath’ (container) of Isopropyl Alcohol. You should be able to submerge the model in it, but if it’s too large, just turn it over a few times. With an old brush, you can wipe it to assist in cleaning off any excess resin. While the model is bathing, it’s a good time to remove any supports it was printed with. Carefully cut and twist the supports free from the model and leave them in the bath for approximately 30 minutes. Drain it off on some paper towel and place it in a curing station to fully harden, or in sunlight for 1-2 hours.
Clean Up
With the model cured and supports removed, it’s time to go over each component and carefully clean up any marks or stray bits of support left on the model. For this, we use a craft knife, but you could use files or a scraping tool. Often, you’ll want to sand flat the bottom of the model—just ensure you don’t inhale the dust!
Once you’ve cleaned up all the components, you can glue them together!
Gluing
As previously mentioned, we use super glue to assemble 3D-printed models. To do so, put a small amount on one side only of the pieces being glued and gently press them together. Hold this for 30-60 seconds.
If it doesn’t initially hold, just be patient and hold it for another 30-60 seconds. You don’t need to apply force when doing so, as it could risk breaking the model. One temptation is to add more glue; resist this! Adding more glue will only increase the drying time.
Gap Filling
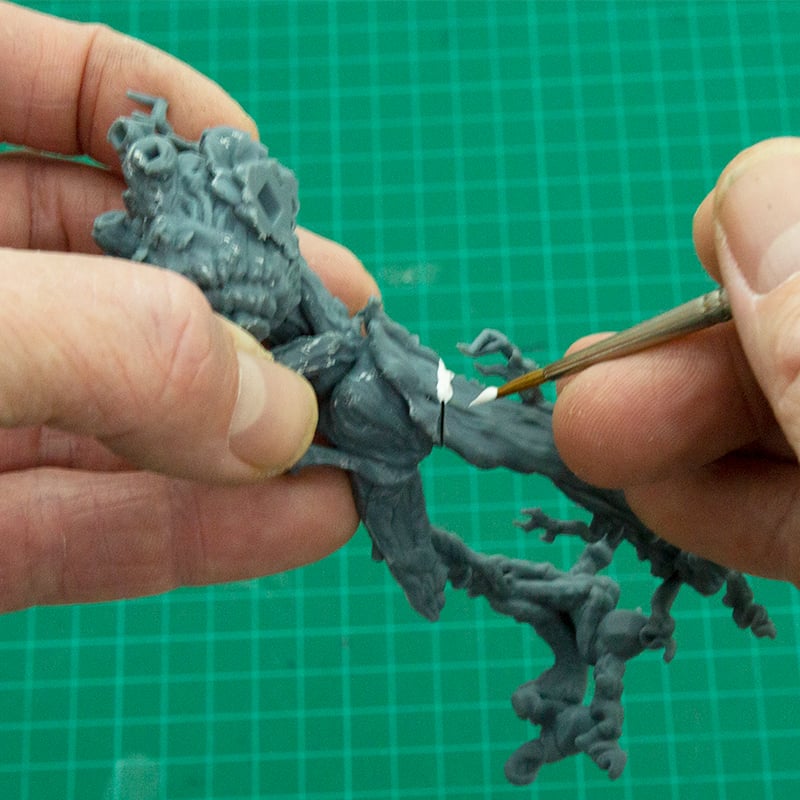
Sometimes, where two components meet, there will be a small seam line between them. If you’re going for a high-end finish, it’s a good idea to fill in these tiny lines. There are three main ways to fill in gaps: Plastic Putty, Green Stuff, or PVA.
If the seam is less than 1mm, plastic putty (a.k.a. liquid green stuff) is ideal. Simply paint it in the gap with some overflow, let it fully dry, and trim/sand away the excess. Because they shrink as they dry, you may need to do a second coat, but this is rare.
For larger gaps, mix a small amount of green stuff, roll it into a sausage, and press it into the gap. With a sculpting tool, scrape away any excess until you are satisfied with the fill. Green stuff can be a bit trickier to use than the liquid fillers, but it gives you greater control over the result.
Assembling FDM models
FDM models have their own tips when it comes to assembly. However, gluing and gap filling are the same as for resin models.
Support Removal
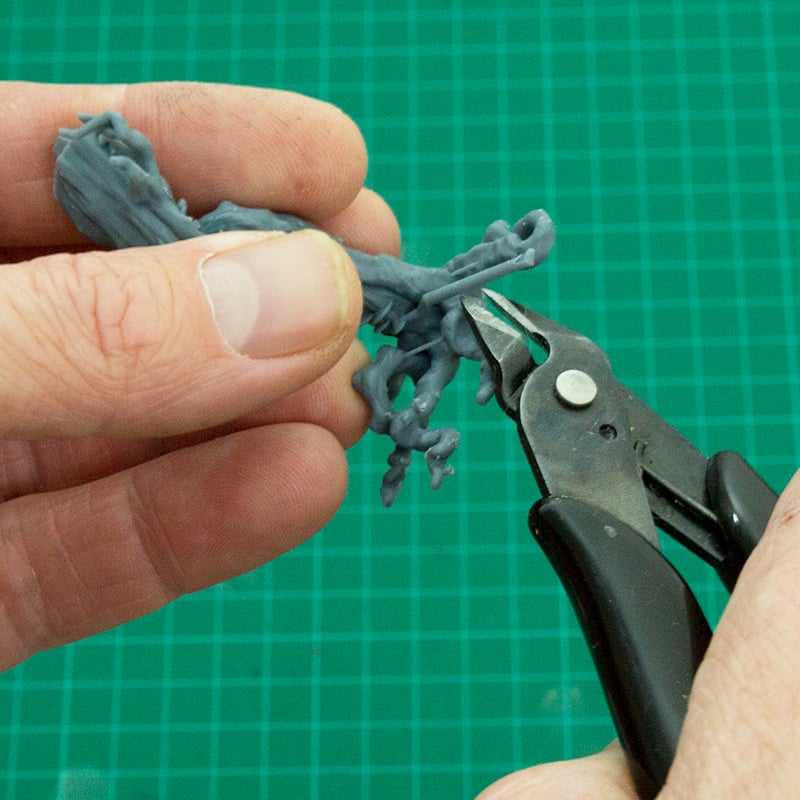
Most Printable Scenery FDM models don’t require supports to print, and others have some built into the design. If you need to remove supports, we suggest cutting them away from the model using model cutters. Then, using a pair of pliers from the bottom, grip a section of support and pull it away from the model. Be careful and remember the design, as you don’t want to yank off a model component.
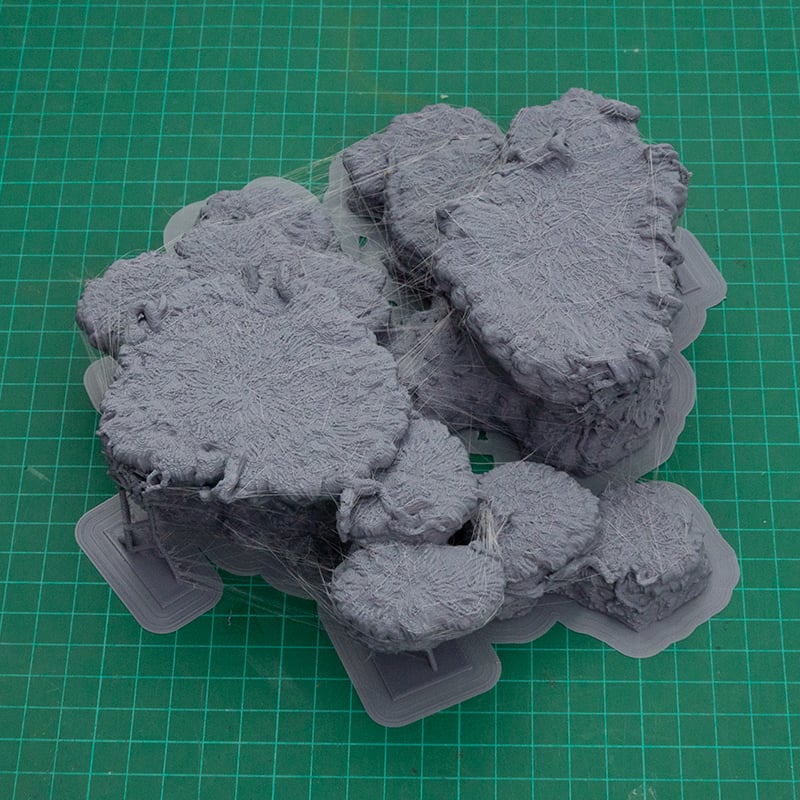
Stringing and Webbing
Sometimes, due to temperature and humidity, small webs can form between parts of your model. This is okay; typically, the print itself will still be perfect; just those thin webs need to be taken care of. The primary way we clean up webbing is with a small blowtorch. On its lowest setting, ignite the torch and gently wave it near the webs—watch them disappear! Ensure you take appropriate safety measures and do this in a well-ventilated area.
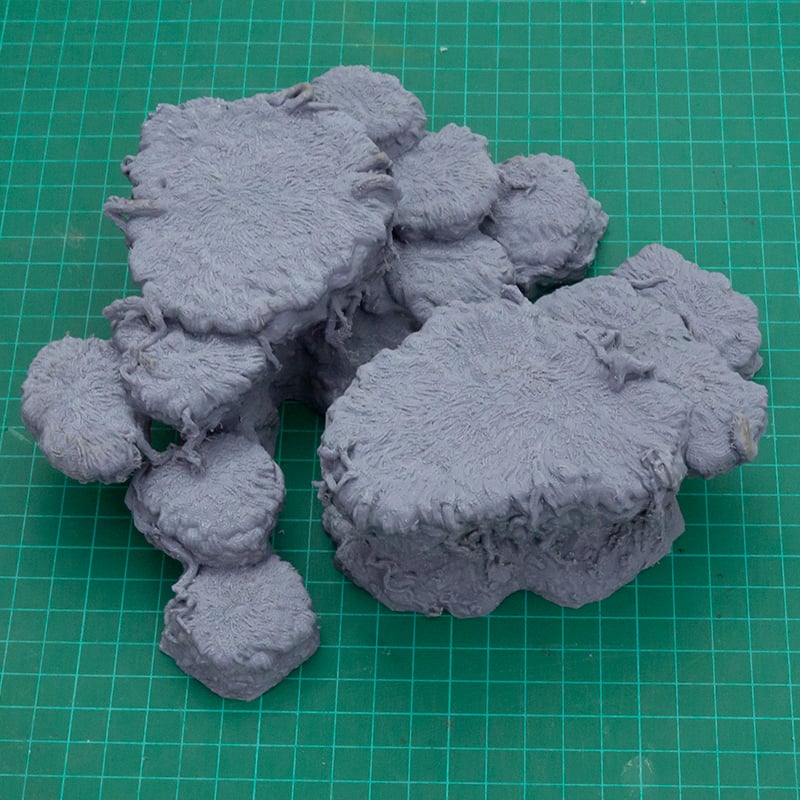
If you prefer not to use heat, you can remove them with a craft knife and sandpaper, scraping away at the base of the webbing to free them from the model.
Sometimes, a small amount of stray filament on a model, known as stringing, might occur. Like webbing, this is easy to melt away or trim off with a knife where necessary.
Bending, Shaping and Morphing
For some models, you may want to reshape them into new poses. With most models, you need to chop off a part, glue it in a new position, and fill in the gap left behind. FDM models have it way easier thanks to their low melting temperature. With a blow torch, or even a lighter, apply heat to the part you want to move in a slow and gentle approach. After a few seconds, it will be soft and can be moved. Repose the model as you wish and hold it in place for 10-30 seconds while it cools down and resets. Easy!
We strongly recommend that you test some spare filament before heating your models. Some filament brands don’t react well to heat and can even catch fire, so please use caution.
Drilling Alignment Holes
When a model is too large to be printed in one piece, the components often have small alignment holes to ensure they fit together nicely.
They are made at 1.75mm, conveniently the same diameter as standard PLA filament. It’s helpful to drill out the holes slightly with a 2mm drill bit. Once complete, cut a short length of spare filament and glue it into the hole. When the two components are glued together, the filament will align the two pieces perfectly.
Many doors on our models also come with the option to be assembled on a hinge to open and close. AS with alignment holes, drill out the hole to clear the way and use a spare piece of filament as the axle for the door to turn on.
Summary
Well that should be just about all you need to know to get your models from the printer ready to be painted. Remember to use safety and to be patient, extra time spent in preparation will ensure you are proud of your collection for years to come.
Check out our Tips for painting 3D printed models.
If you have any questions or other tips for assembling 3D-printed models, please leave a comment below or on our Facebook page.
Always remember the most important tip:
HAVE FUN!
I am new to printing noticed there are a lot of options. Are there guidelines for your models like “use a 0.2 mm nozzle”, or “use a 0.1 mm layer height” as a starting place for those who don’t know what they are doing?
We’ve got this article on printer settings for the Ender 5 though many of the options to select are the same. It details some of the ideal settings to put into your slicer to get the best prints.
Over the next few weeks I can put together a post about starting 3D printing with our models. In the meantime our facebook group has a very helpful community too
The setting for each product is on the ‘Additional Information’ Tab. We normally print the Terrain at .2, using the standard.4mm nozzle