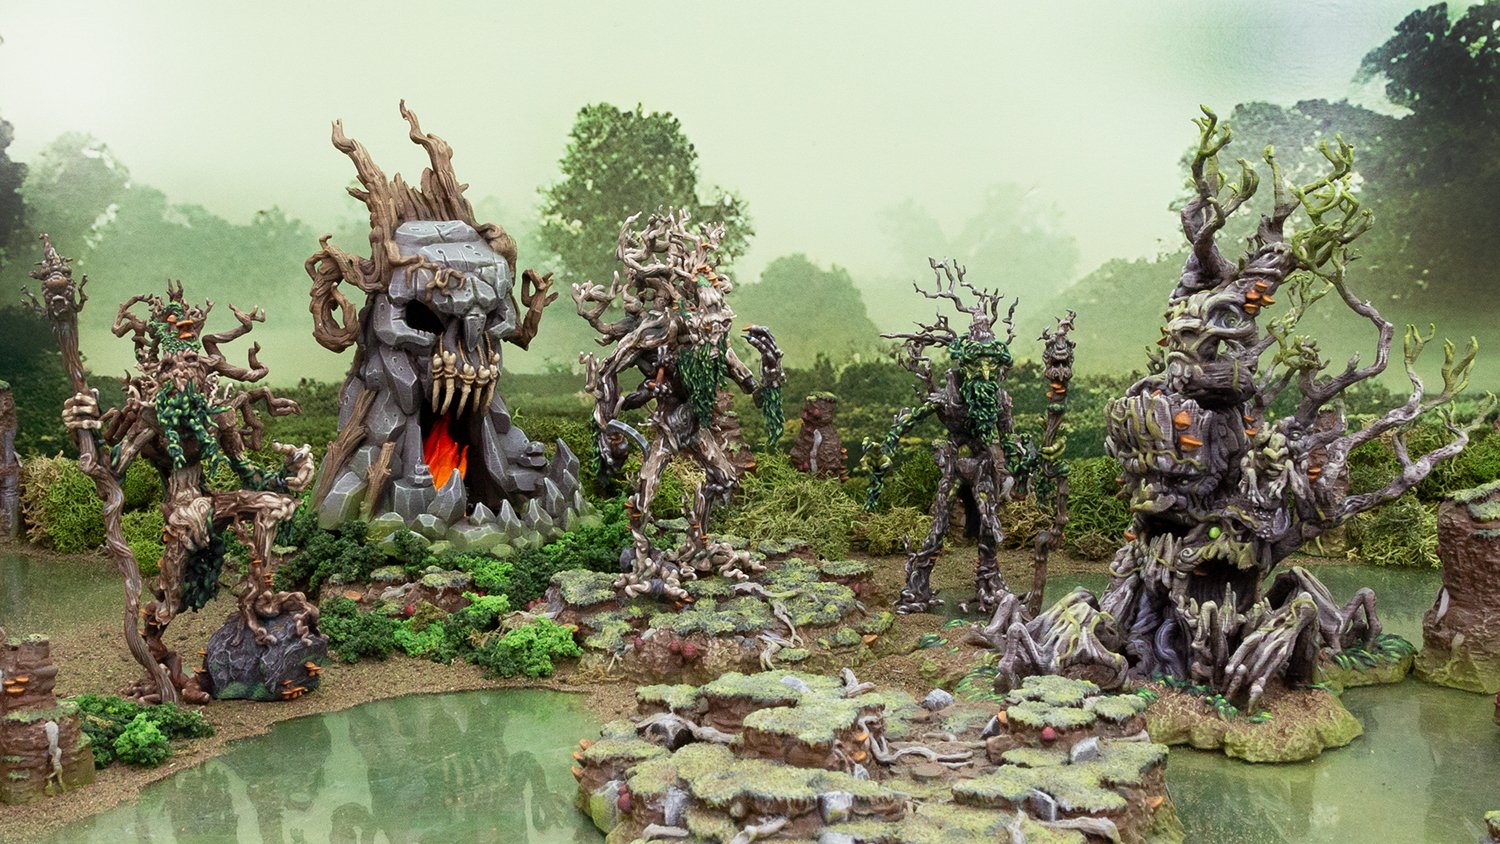
The Gloaming Swamps 3D Printer Model Painting Guides
All of the 3D printer models from the Gloaming Swamps and Wilderness Kickstarter are now available to download and print. Throughout the campaign, we have been creating painting panels for each 3D printer model as it became available.
We are pleased to present them all to you here in one place, along with a few other hints and tips.
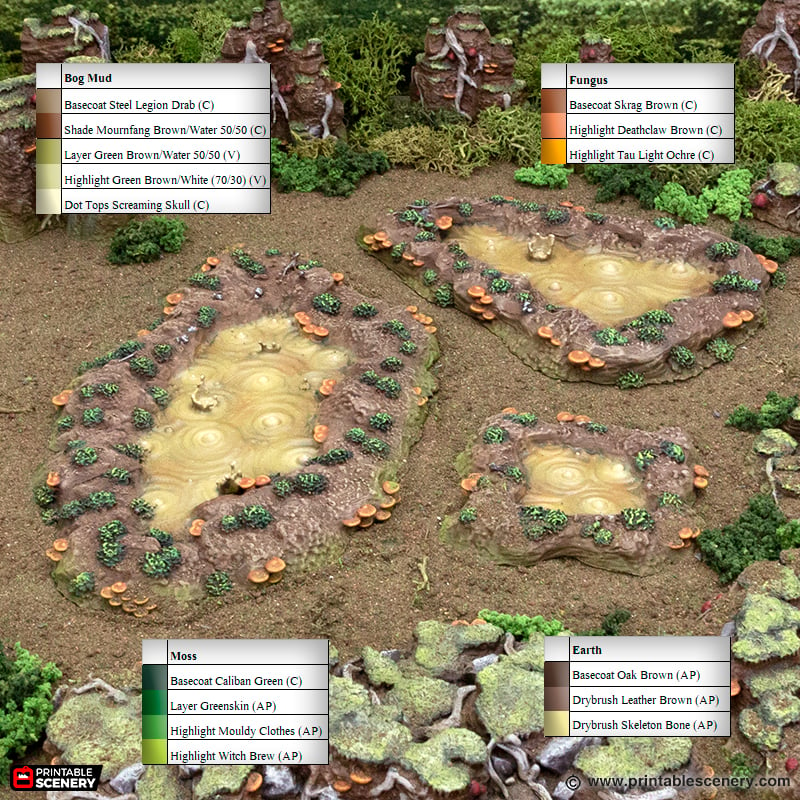
Understanding the Painting Guides
Each painting guide is a single image with a breakdown of the major areas on the model. Each box has the technique used, the paint color and in brackets the brand of paint.
Each brand of paint is abbreviated as follows: Citadel (C), Army Painter (AP), Vallejo (V)
Occasionally a color is mixed, in which case it will also have a ratio between the two colors.
Extra Painting Tips
Green Slime
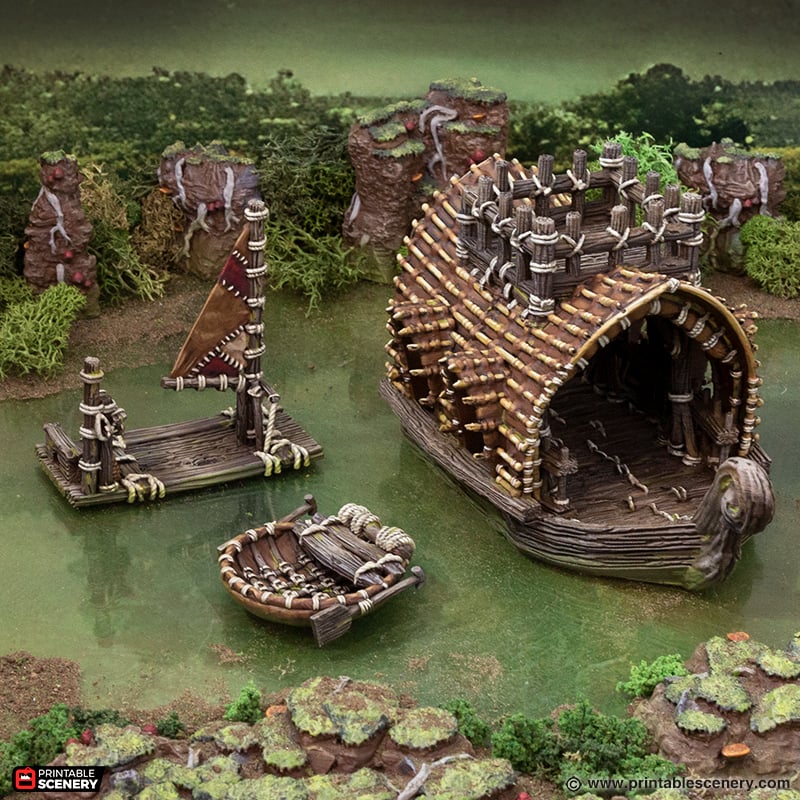
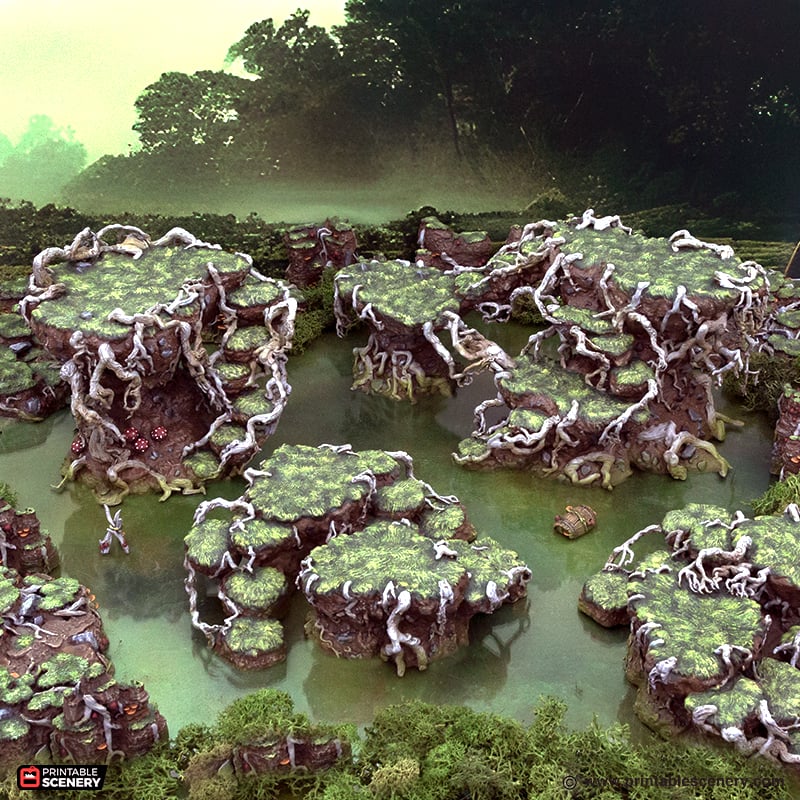
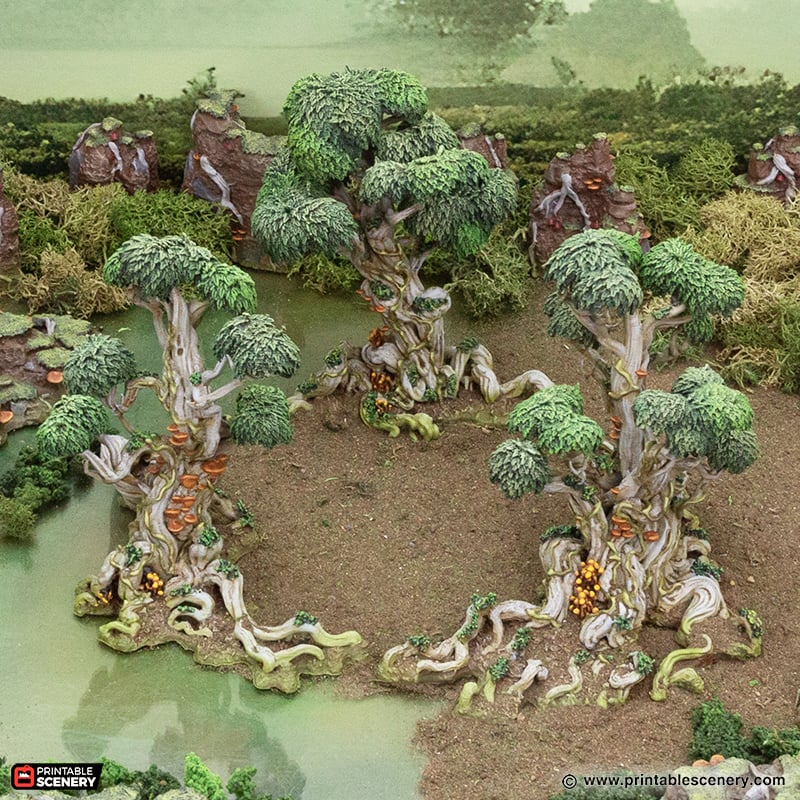
One feature you might’ve noticed on the models but that isn’t listed in the painting guides, is the thin layer of green slime along the bottom of just about every model. This slime from the swamp that accumulates from the tides going out in the Gloaming.
This was achieved by spraying Commando Green around the bottom of each 3D printer model through an airbrush. You could achieve a similar effect by drybrushing instead.
Batch Painting
If you’re doing a large collection of models that are similar, make it easy by doing it all at once. For example if you were creating a table using the Bamboo pieces, wait until you’ve printed all the pieces you want before you start painting them and do them all at the same time. It’ll make all your terrain consistent and saves time!
Tips for Painting and Assembling 3D Printer Models
Make sure you check out our articles on assembly and painting. Each provides you with some of the basics that are good to know if you’re starting out.
The Gloaming Swamps Painting Guides
Each link here will take you to the painting guide for each 3D Printer Model:
The Gloaming Wilderness Painting Guides
Each link here will take you to the painting guide for each 3D Printer Model:
 My Account


Hi quick question.
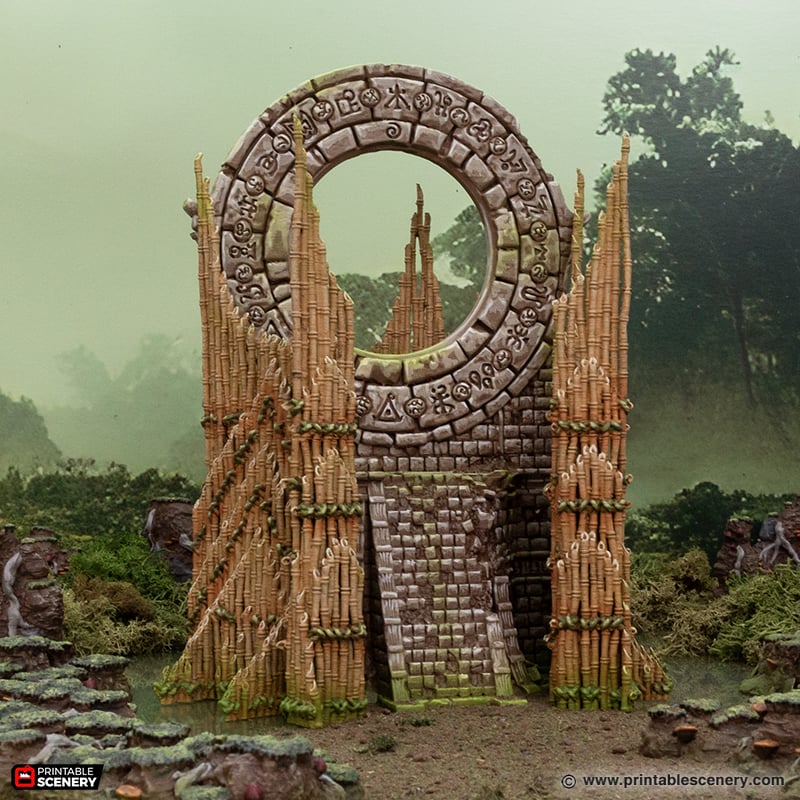
Thinking of following the Ancient Stone paint guide for Gloaming Swamps, had a question about the technique used.
It’s currently:
BC: Leather Brown
DB: Zandri Dust
Highlight 1: Banshee Brown
Highlight 2: Mummy Robes
For Highlight 1 & 2, are you literally painting up each individual brick as opposed to just dry brushing the edges? How much time does it take?
Want to make sure I budget the correct time before starting. Thanks!
Yes, I literally paint each individual brick. For some of the smaller pieces, it takes a couple of hours to do each step. But I suggest putting on a podcast/show and settling in, it can be quite meditative!