Assembling resin models with the Archanical Automaton
The Rise of the Halflings Kickstarter has produced more resin printable models than any previous campaign, and with resin printers becoming more popular we want to pass on some hints and tips for assembling your resin models.
First and foremost, safety is very important when interacting with resin models. Ensure you’re wearing gloves when handling uncured resin, a mask when filing and drilling, and safety glasses when appropriate.
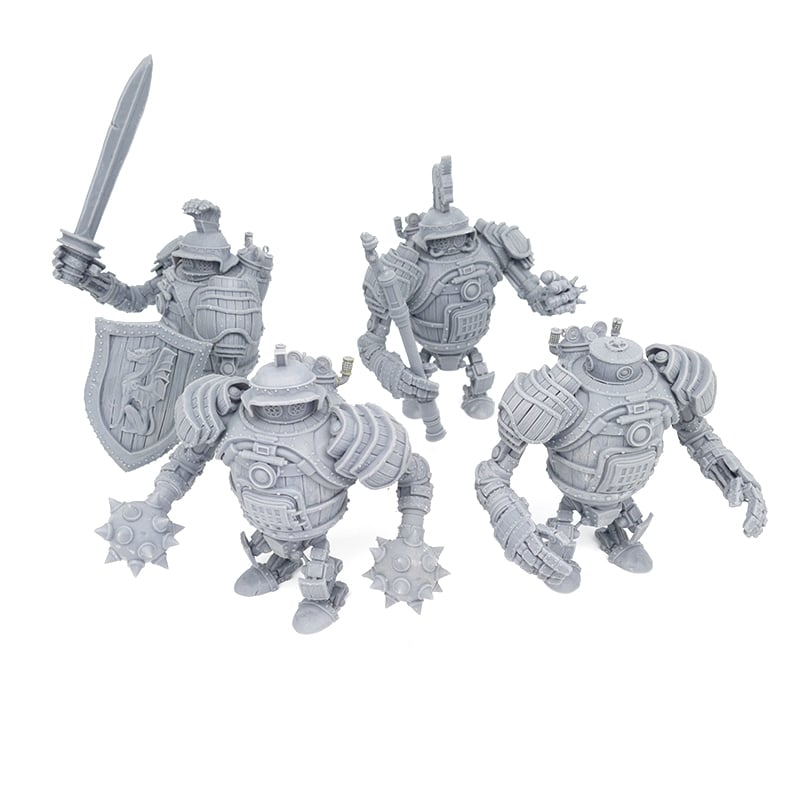
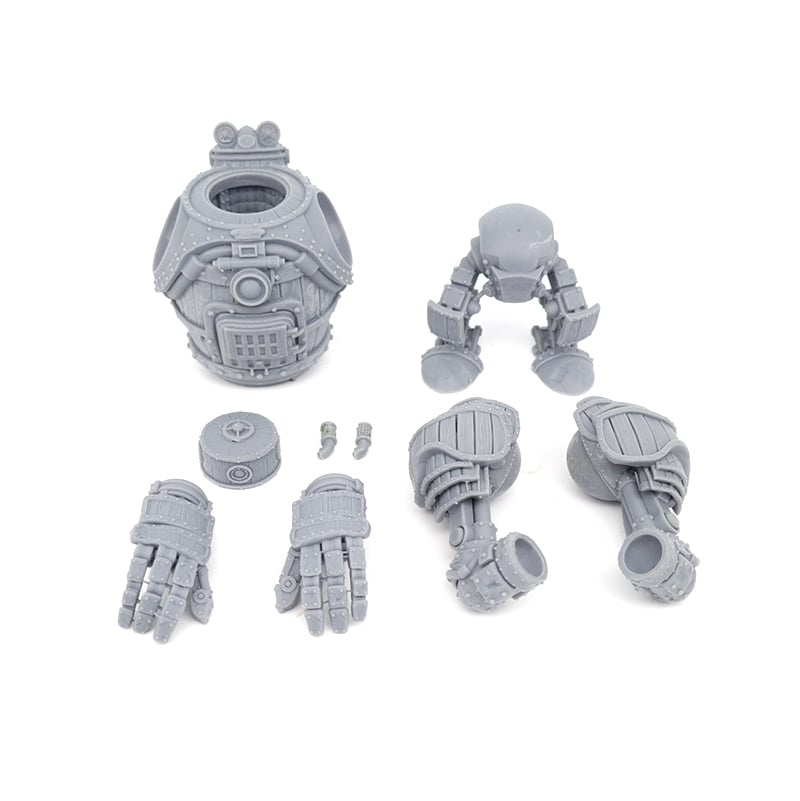
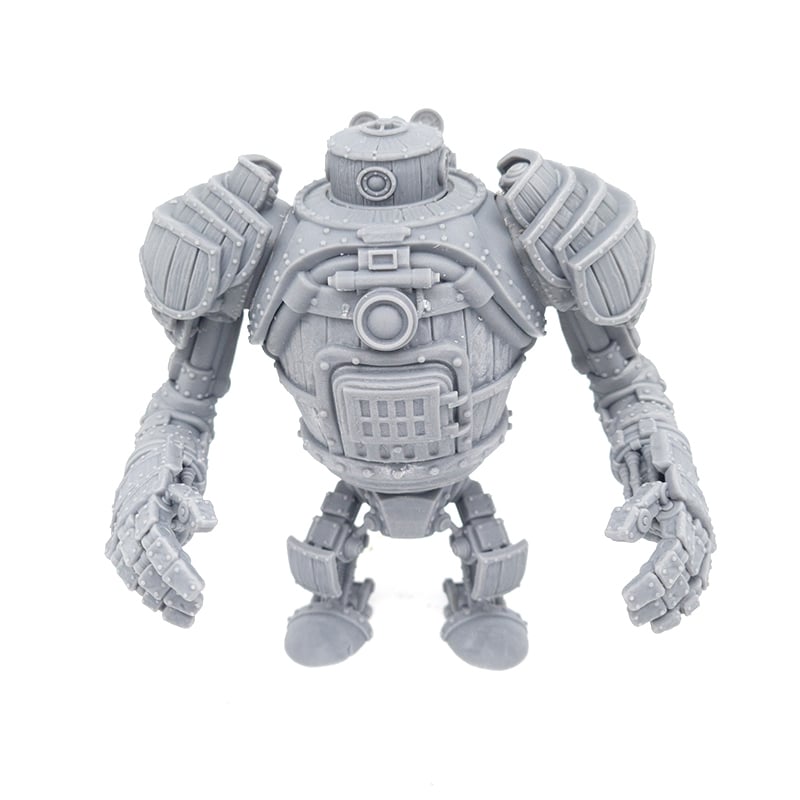
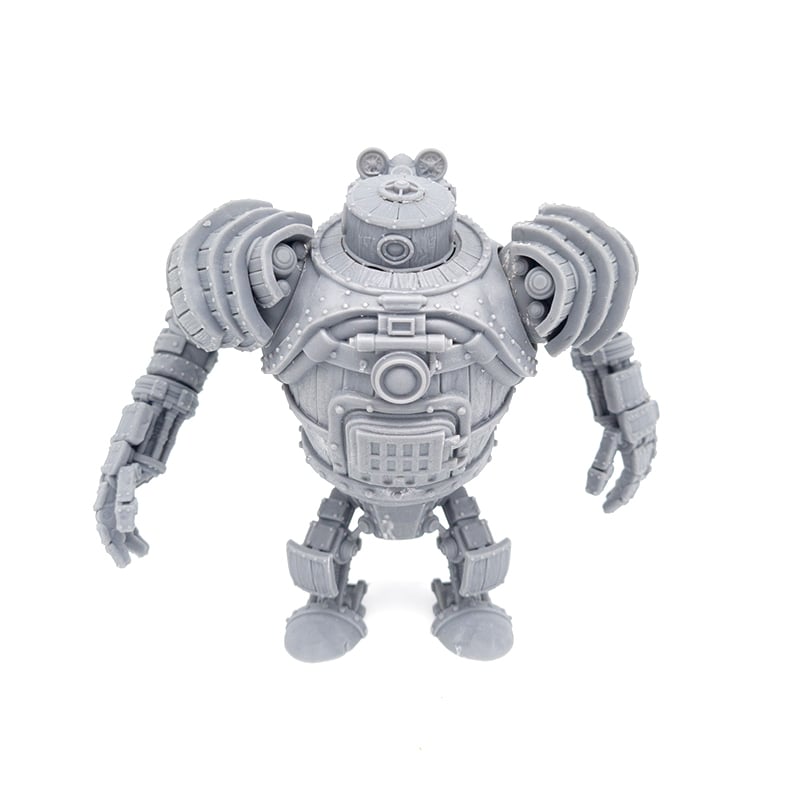
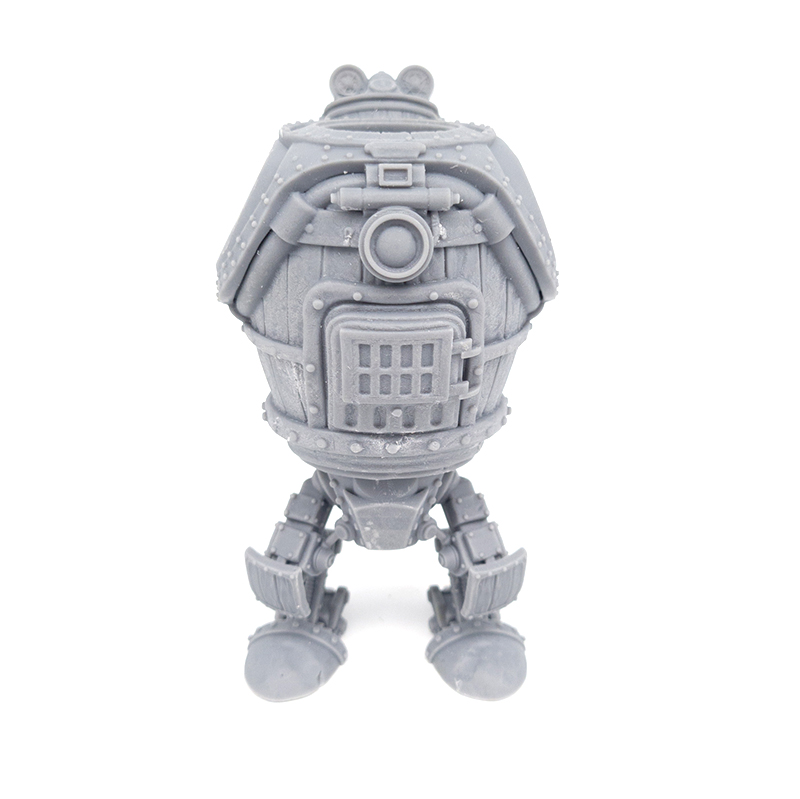
Before we start assembling ensure you have all the parts you need! It can be quite a setback finding out halfway through your model that you need to print another piece. In this guide, we’re building the Archanical Automaton but the same goes for any other multi-part model.
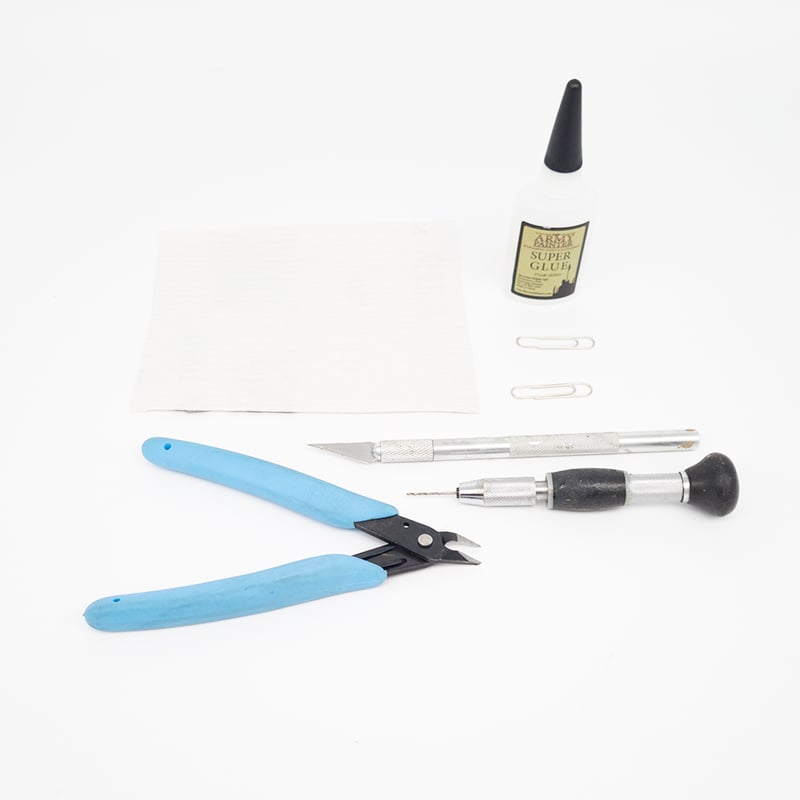
This might sound silly but ensure you’ve got all the right equipment you will need. For resin, you’ll want super glue, a pair of clippers, some P180 (fine grade) sandpaper, a hobby knife, and if pinning, a 1mm drill bit and drill and some paper clips. It can also be handy to have some blu-tack or putty handy for posing.
Preparation
With all of our parts printed and equipment handy it’s time to clean up the model. There are a couple of things to look out for when cleaning up resin models; support remnants, pockmarks, and layer lines.
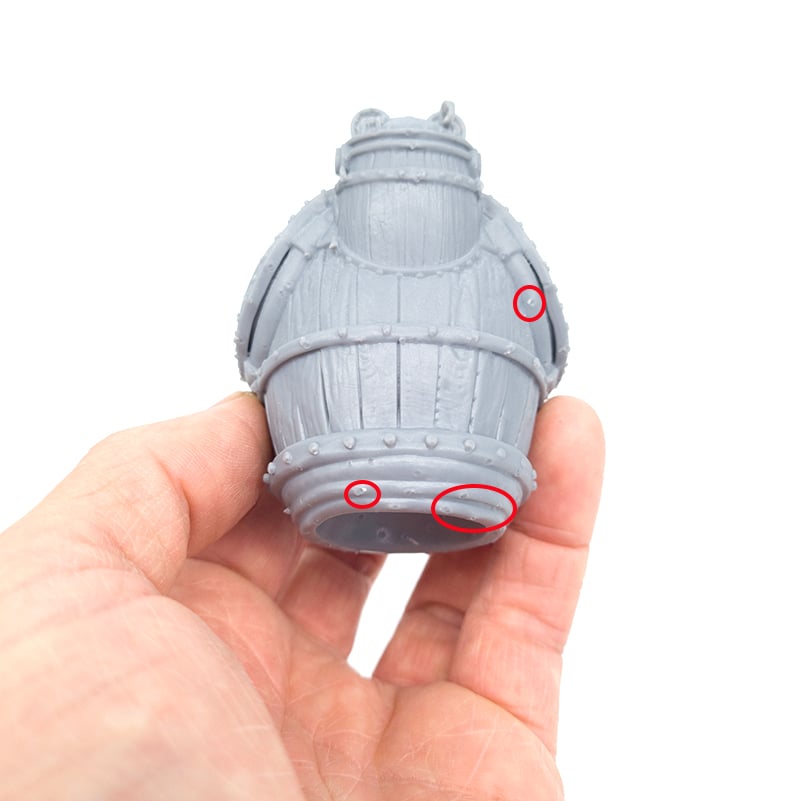
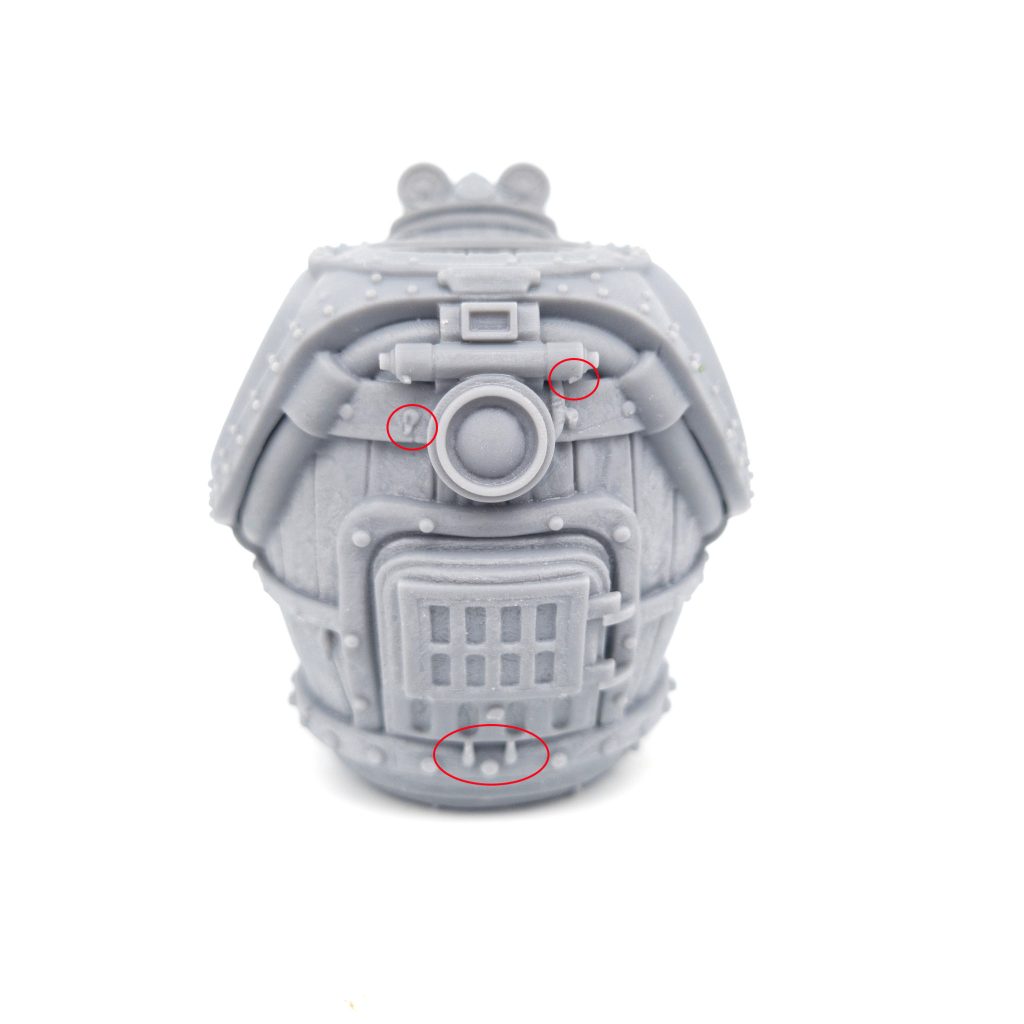
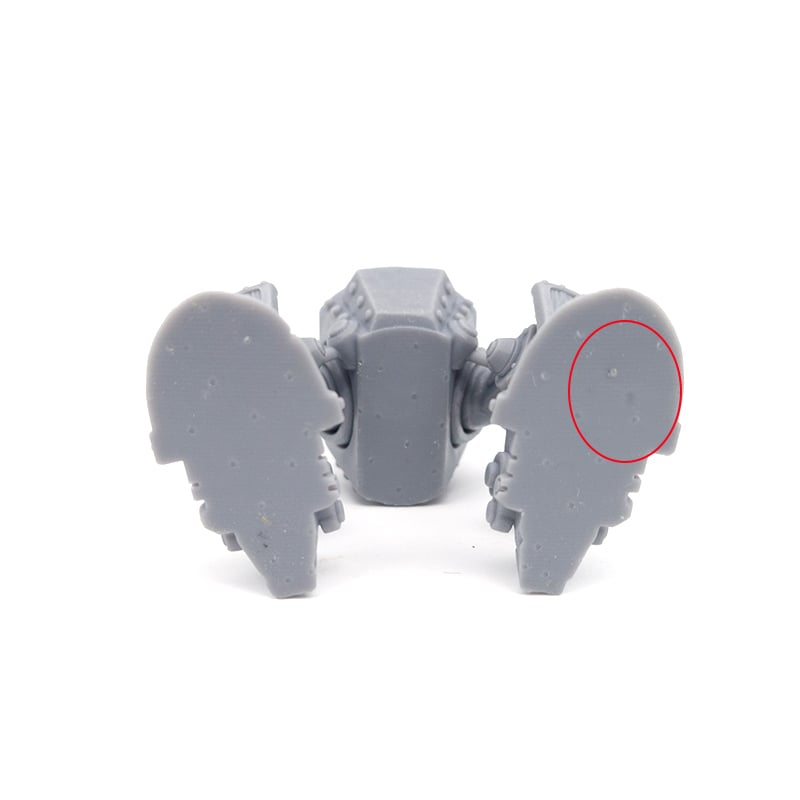
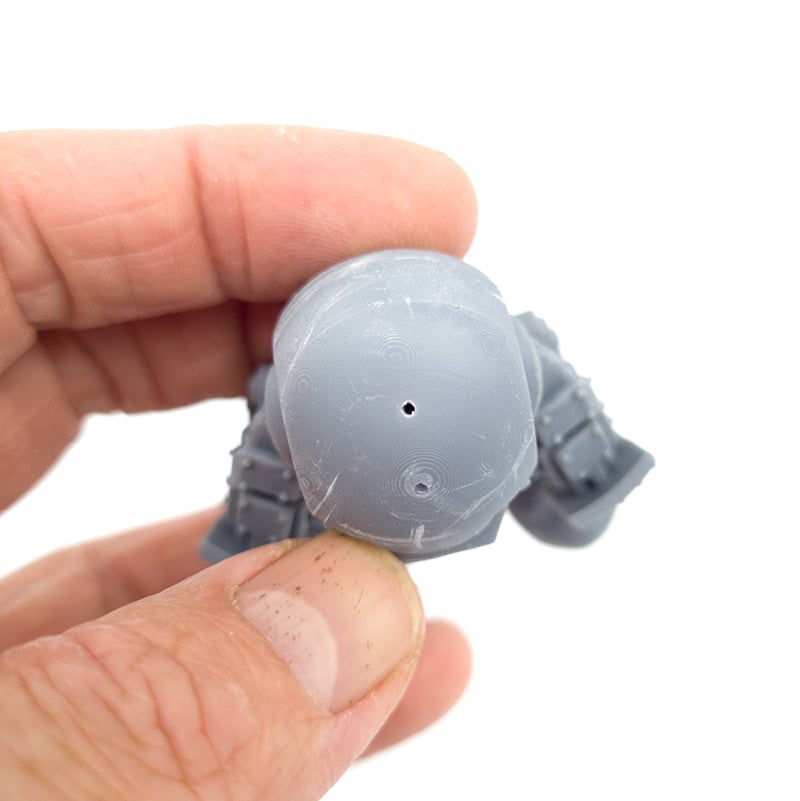
The first two, pockmarks and support remnants occur when removing the model from its supports. It can leave a small dimple or tiny chunk of resin behind (as pictured above). If it is a flat surface, like underneath the model, you can gently sand it flat again.
When it is on a detailed part of the model, using your hobby knife gently scrape away at it to smooth it out, being careful not to cut yourself or take out any gouges from the model. Take your time when doing this and go over each part carefully, a little extra time in preparation now will save you down the track.
Layer lines can be more difficult to remove depending on how prominent they are but the process for cleaning them remains the same, carefully scrape them off using the side edge of your hobby knife. If it is a large enough surface you can also try gently sanding them away, just be sure not to sand off any of the details!
Before gluing it’s also a good idea to give the pieces a wash in hot, soapy water (like you would wash dishes in). This will remove any excess resin and isopropyl alcohol from the printing process, ensuring that paint stays on the model when it’s painted.
Posing
Before we begin gluing the parts together, some models have the ability to be posed in different ways. It’s worth doing a dry run without any glue using putty/blu tack to see how you want your model to be posed. You could simply stick everything on straight, facing the front, but a slight twist of the hips, and one arm raised above the other can add extra dynamism and character to your model. Try it out and see what you prefer.


Keep in mind the balance of the model when doing this, since if your posing is off-center it could make the model tip over. Think about natural movements too, even making the pose yourself, to see how a body might twist or form to create a specific pose. Once you’re happy with it, it’s time to start gluing!
Putting it Together
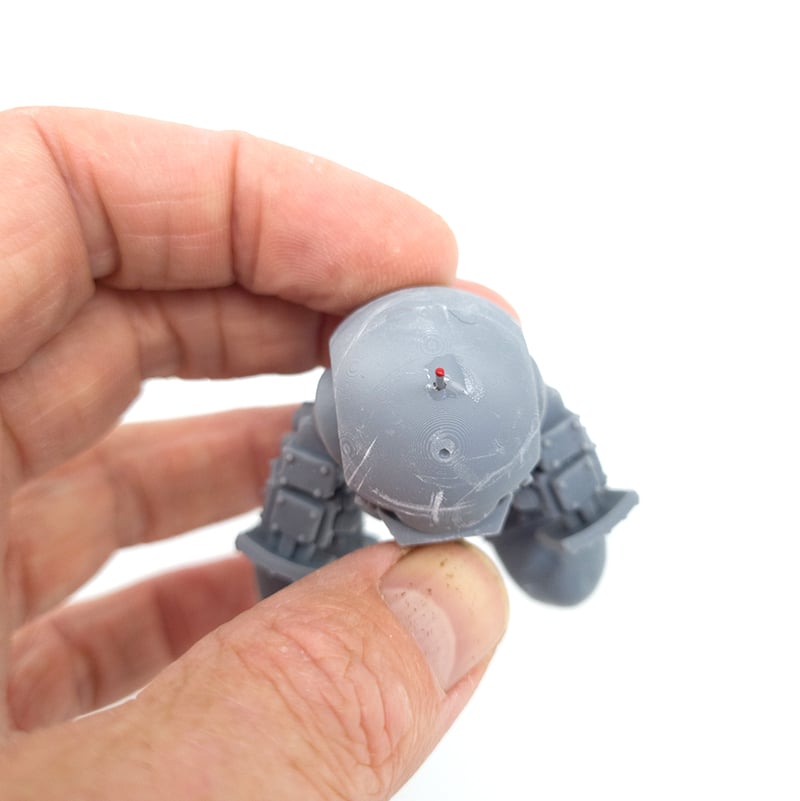
When gluing together large pieces such as the Automaton, it’s generally a good idea to start from the bottom and work your way upwards. We recommend adding a pin to a joint that will be carrying a lot of weight. To do this, take a 1mm drill and carefully drill a straight hole into the centre of the piece you want to glue, right where you know it will make contact. As a general rule, you want the hole to be 5-10mm deep at least, but that depends on the thickness of the part, don’t drill through it!
Cut a straight length of a paper clip and glue it in, leaving roughly the same amount sticking out. To line up when you want the hole to be on the other part, put a dab of paint on the end of the paper clip and while it is still wet, line it up and press the end of the piece where you want it to go. This should leave a neat dot exactly where you need to drill the next hole!

Now drill a hole to the correct depth and glue the pieces together, with the paper clip acting as extra support!
Repeat this for any other sections you want to give a bit of extra strength too. Remember to be patient when gluing, superglue typically takes 30secs to 1 min to set, sometimes you may just have to hold the pieces together while it sets, but it’s always worth the wait.
If you’re finding the pieces aren’t staying together, or they keep falling off, consider pinning it or drilling the pinhole deeper with a longer piece to anchor it. If the glue isn’t holding don’t add more, this will only increase the drying time. Just be patient, sometimes you may want to prop it up against something while the glue dries.
For the Automaton, we pinned his legs to the body, his arms to the body, and the hands to the arms.
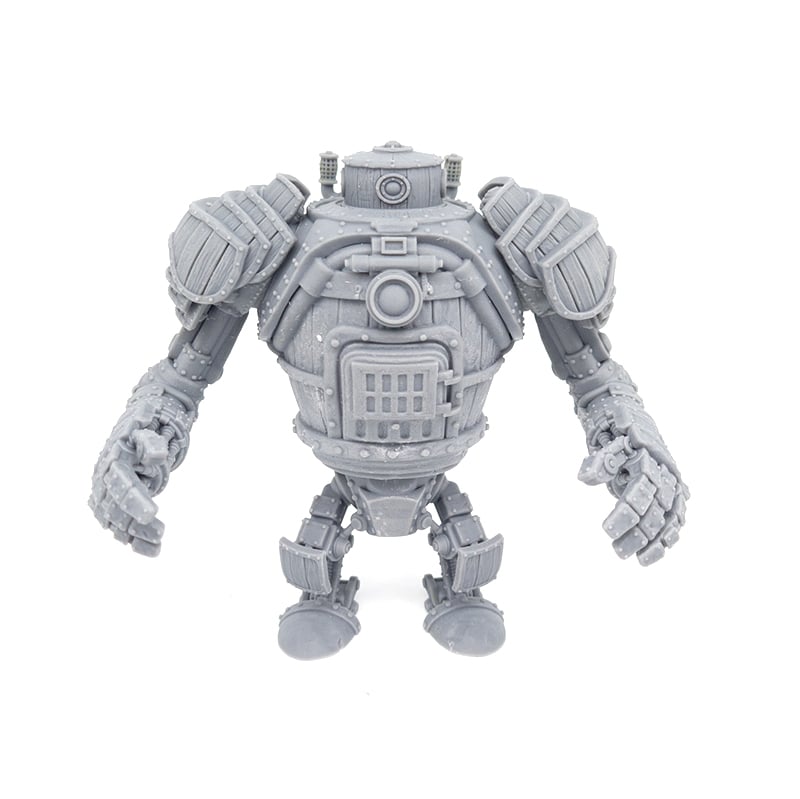
With all the parts glued together its time to get painting!
We hope you found this guide useful, if you’ve got any other hints, tips, or questions about resin models get in touch!