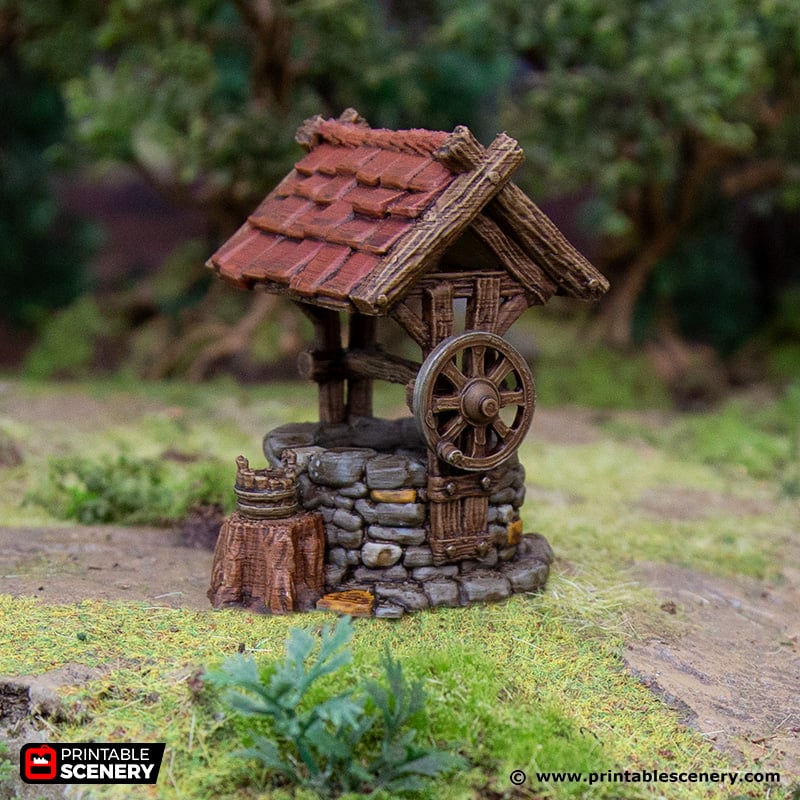
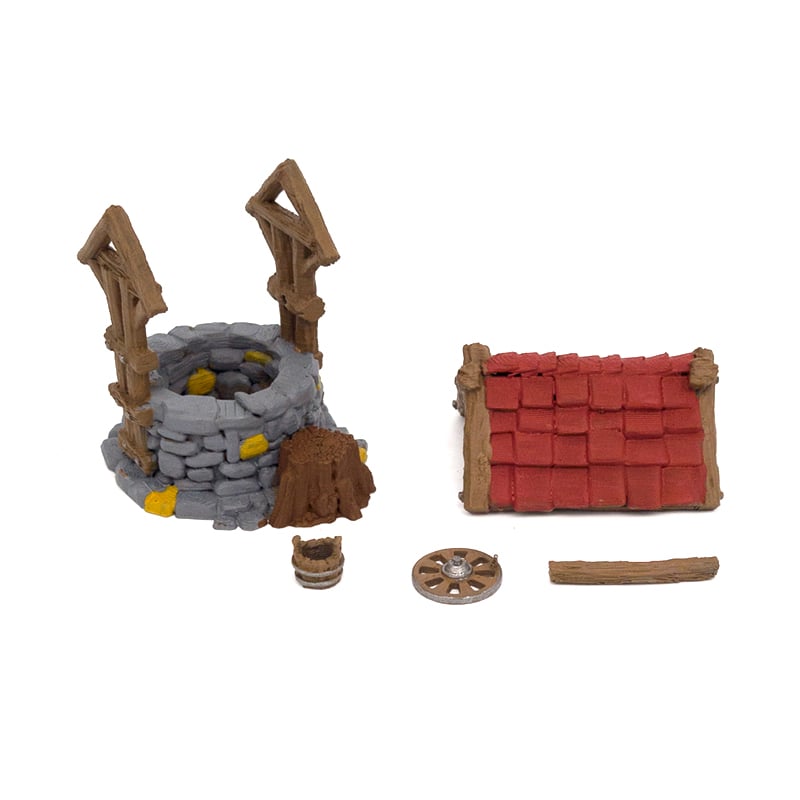
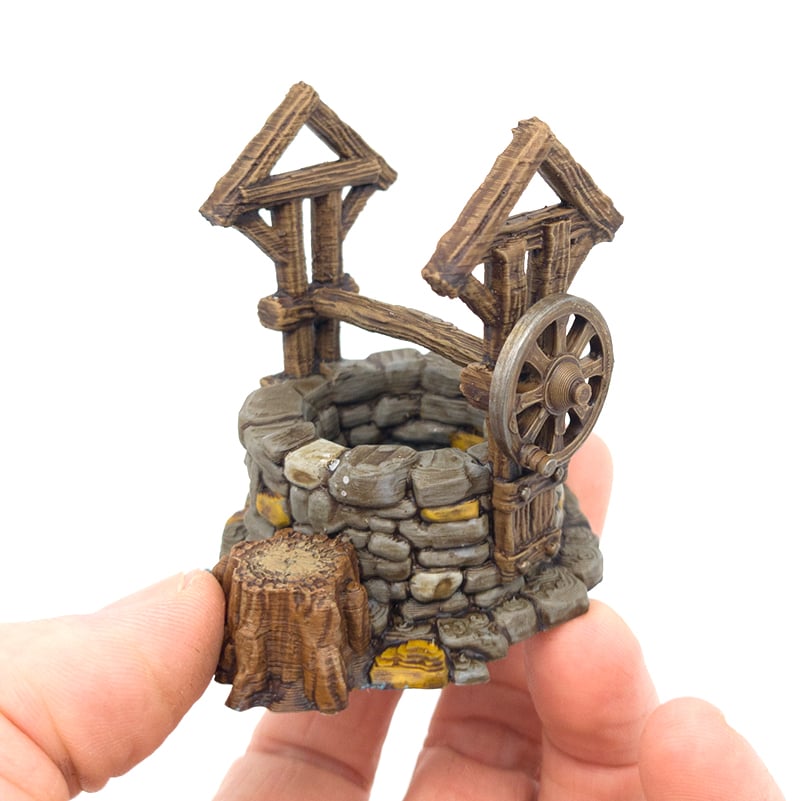
Painting and Assembling the Hagglethorn Well
A great thematic piece and objective for various tabletop games, the Hagglethorn Well has some cool features like an attachable bucket and axel system.
Whilst there is a version that comes with the bucket and rope sculpted onto it, for those that want to create their own we present this guide! Along with steps on how to paint it.
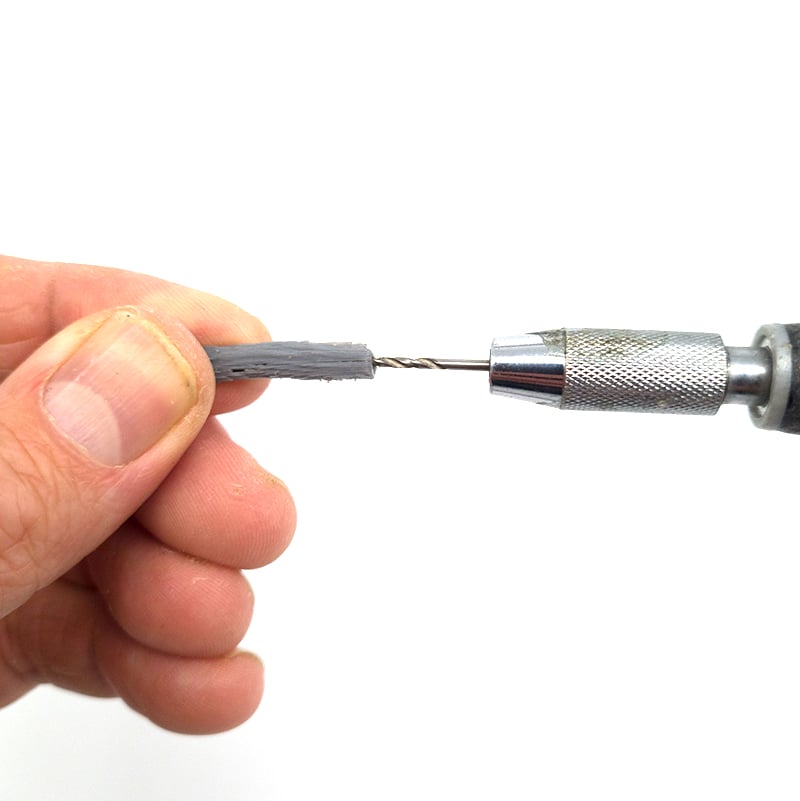
Step 1) Model Preparation
Start by cleaning up your model as you would normally do for an FDM print; sanding, filing or torching away any excess filament strings and trimming off the brim (if printed with it).
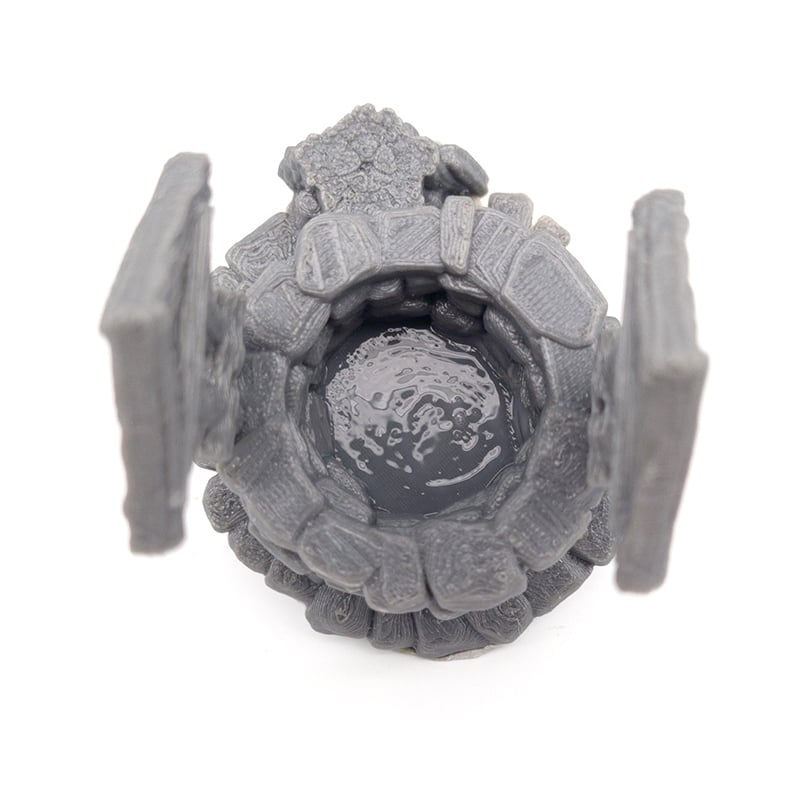
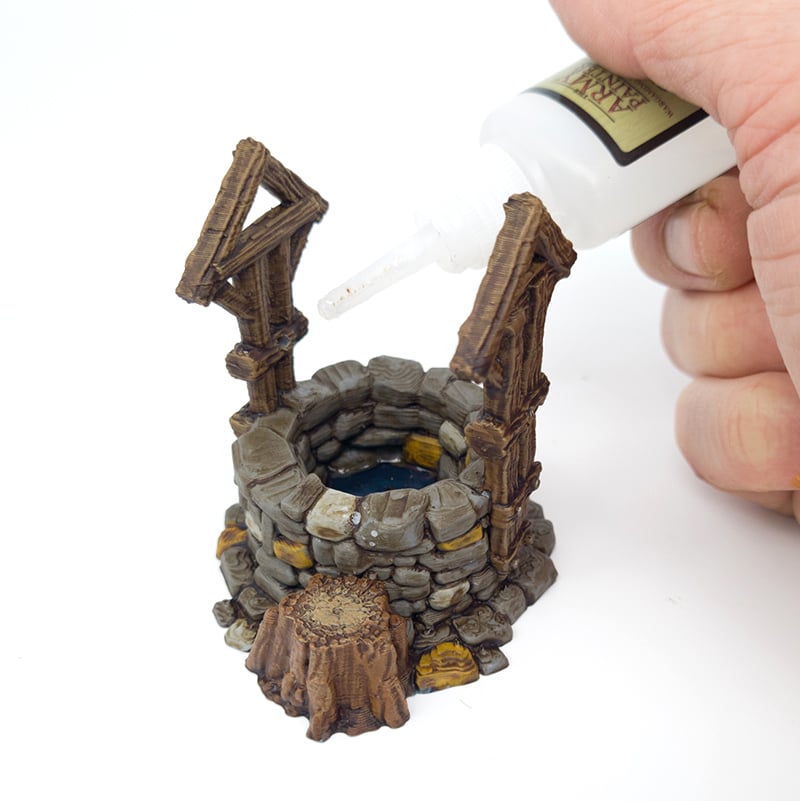
Two important parts to this is to give the bottom of the well a brushed-on coat of PVA glue. This seals any micro-gaps between the filament for when we add water effects later.
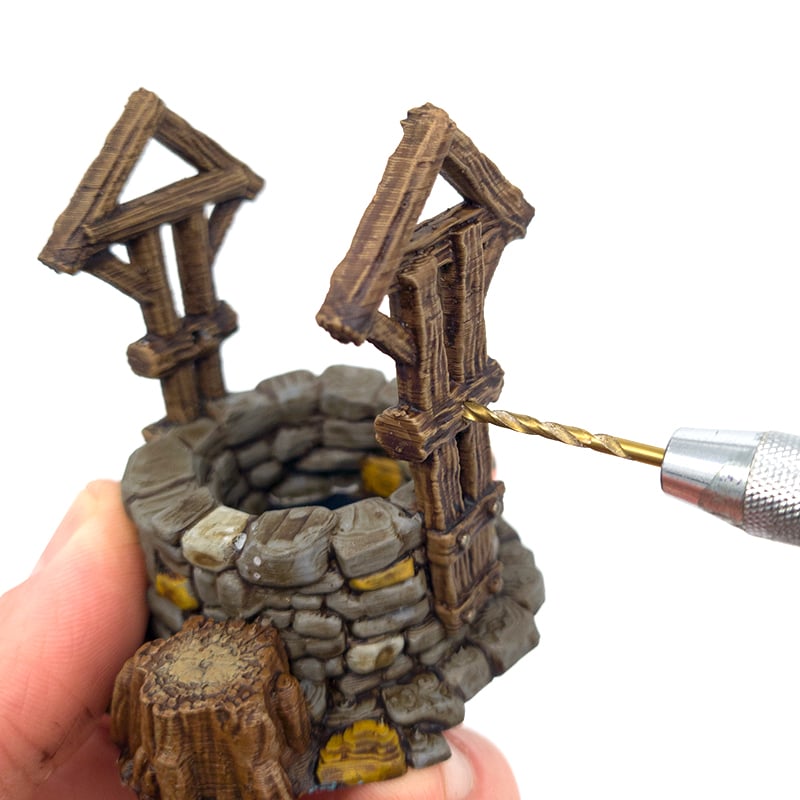
Also with a 2mm or 1/16 drill bit, carefully drill out the filament guide holes, just to ensure it will fit down the track. If you are using a power drill for this make sure you have it on low power and take care not to drill yourself!
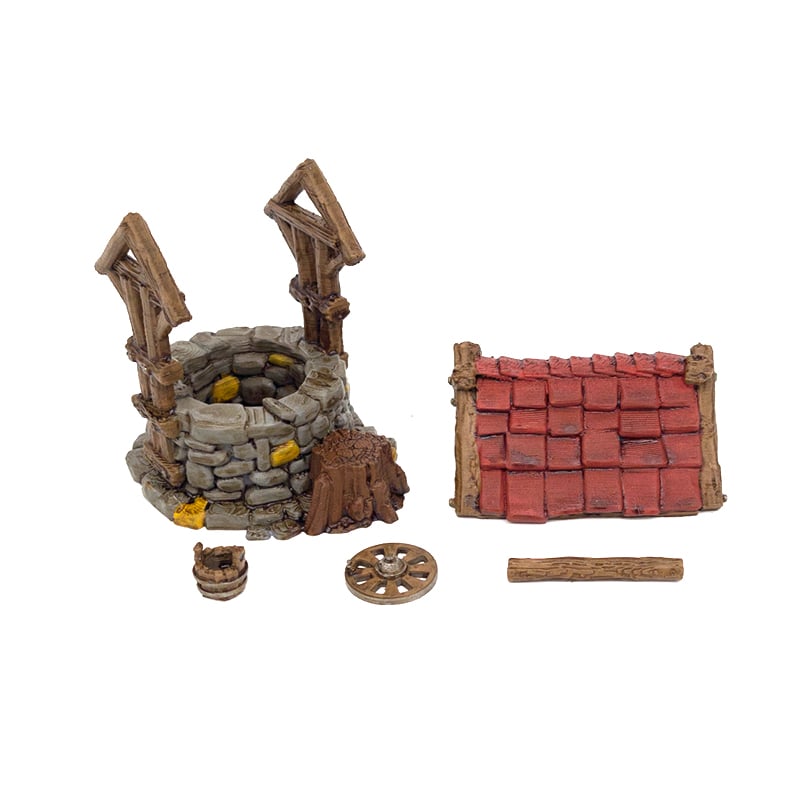
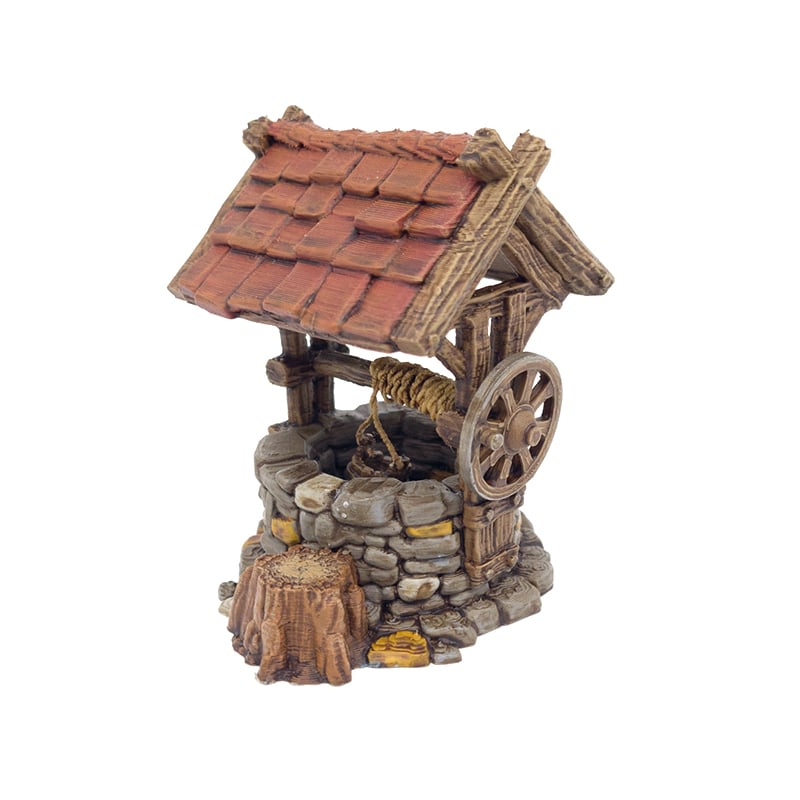
Step 2) Painting The Well
We begin with a Leather Brown Undercoat spray before applying basecoats.
Basecoats:
Stone: Dawnstone
Tiles: Abomination Gore
Tree Stump: Mournfang Brown
Metal: Gun Metal
Some stones: Basilisk Brown
Remaining Wood: Leather Brown
Next, wash the entire model with Soft Tone
The second to last painting step is to add some highlights:
Stone: Paint some odd bricks with Ash Grey
Wood and Tree Stump: Drybrush with Zandri Dust
Roof Tiles: Drybrush Skrag Brown
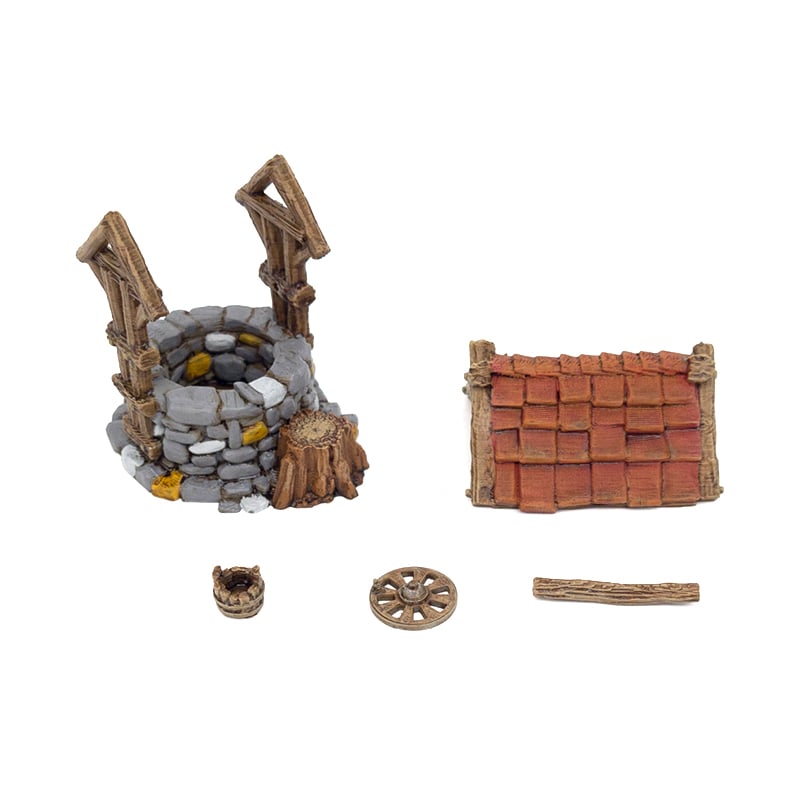
To tie the different areas and complete the principal painting for the Well, wash the entire model with another thin coat of Soft Tone
Step 3) The Water
To paint the bottom of the water start by basecoating it with Matt Black
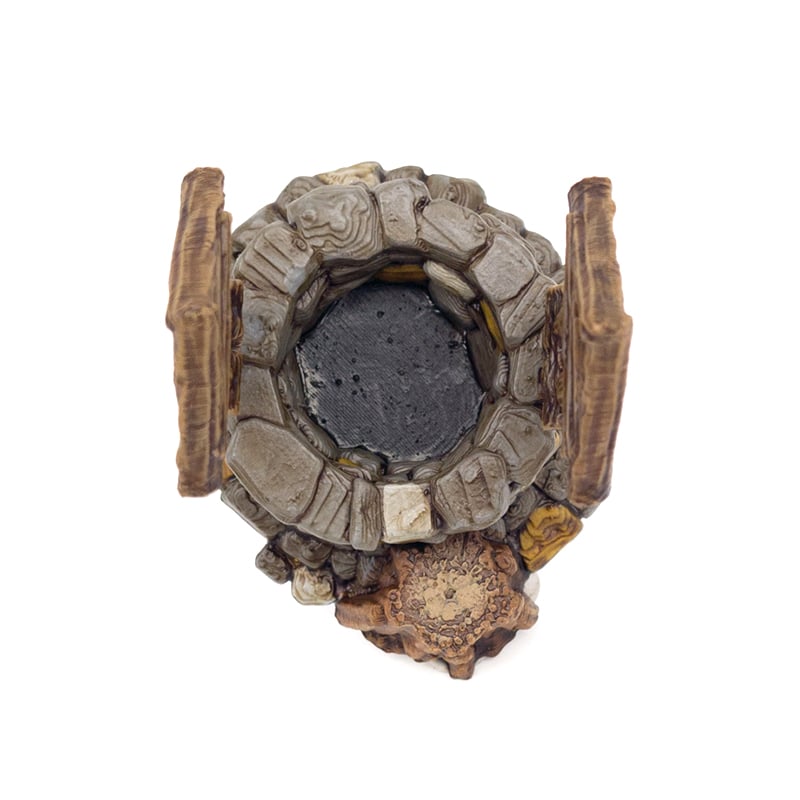
Then stipple the center of it with some Deep Blue
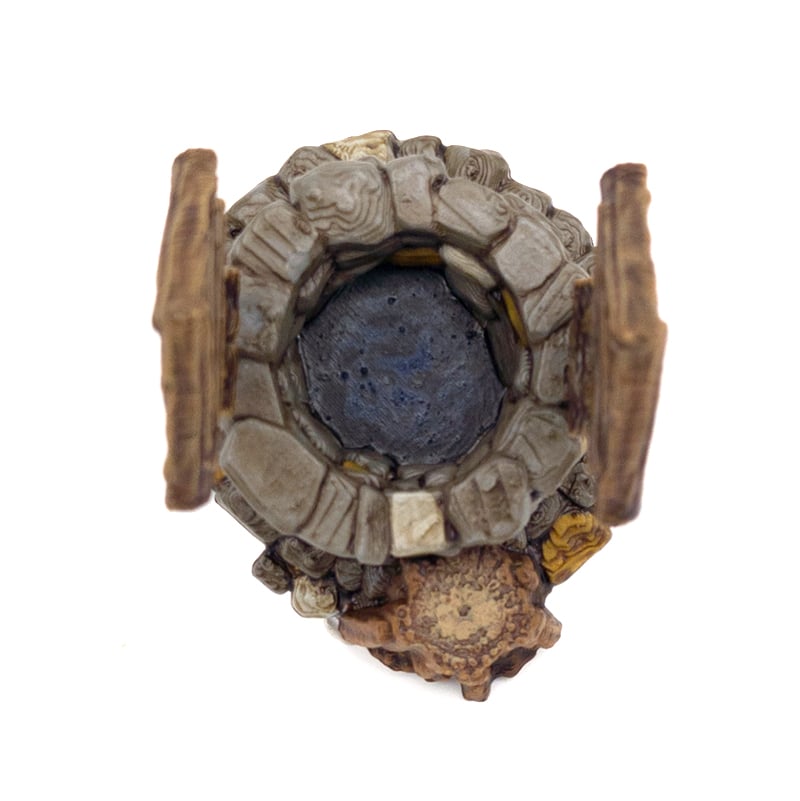
Next get a small amount of Matt White on your brush, mix it with a touch of the Deep Blue and stipple in the very center of the well. It should look a little mixed together, providing you with some easy color differentiation.
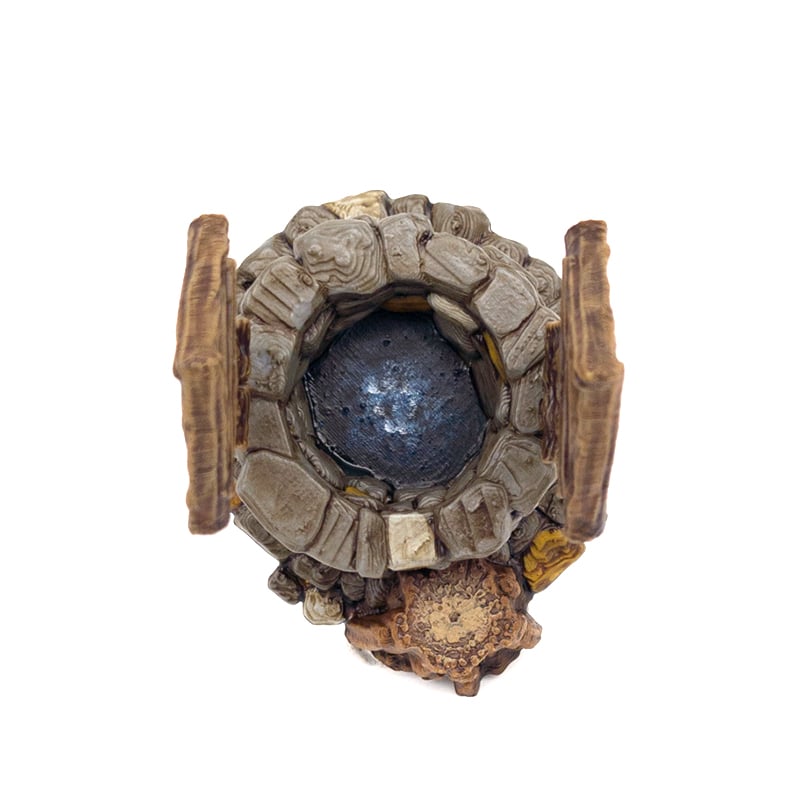
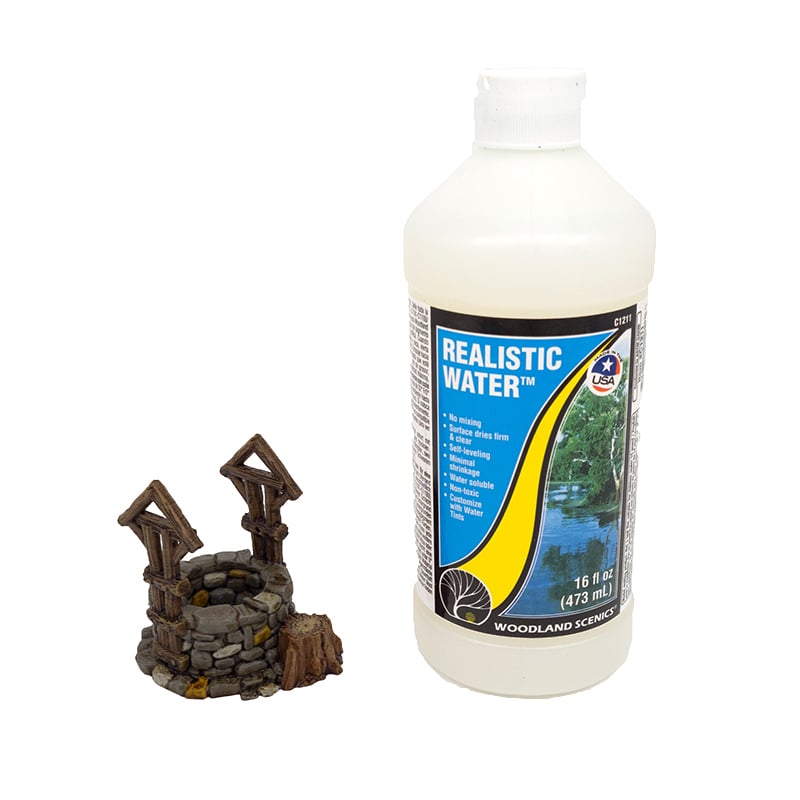
Once dry, its time to add the Water Effects! We’ve used Woodland Scenics Realistic Water as it’s simple to use and looks great. Just add a few milimeters worth of it to the bottom of the well. To ensure precision we used a brush to apply it. Once settled for a few seconds dab away any air bubbles that pop up and allow to dry for 24 hours.
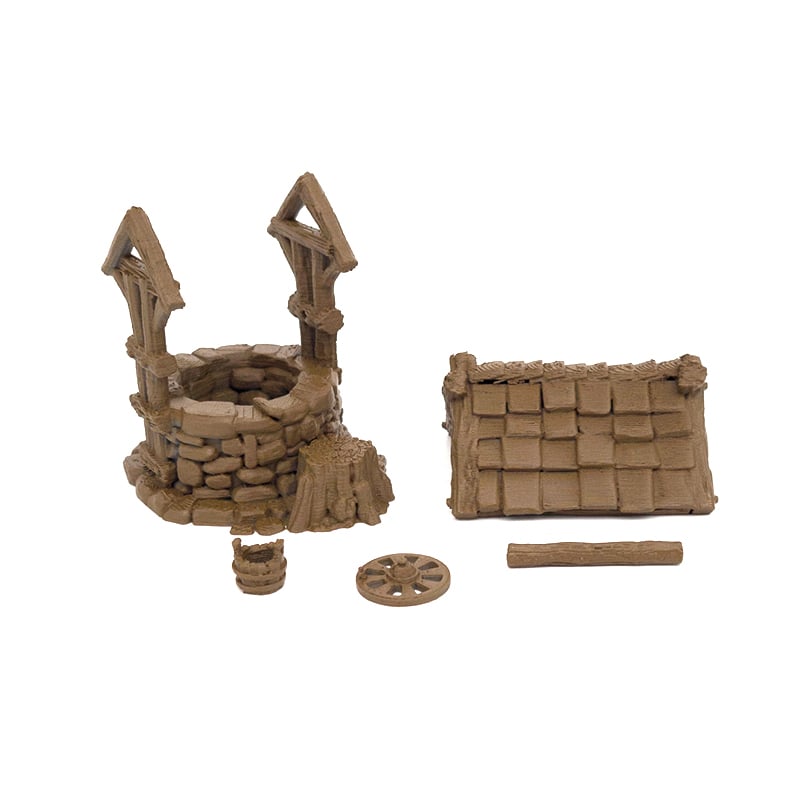
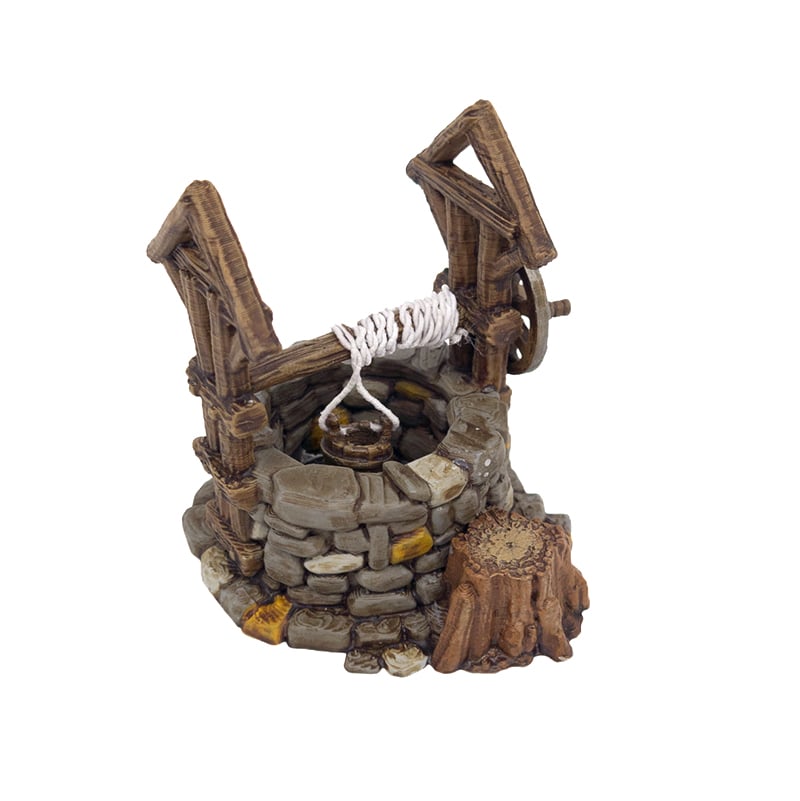
Step 4) Assembling the Well
With the Well painted and water added it’s time to finish it off by sticking together the different pieces!
Using a 2mm drill bit, drill out the holes again to ensure your filament fits, as some paint can get into the holes making them smaller. Do a dry test with no glue to make sure a piece of spare filament will fit through nicely.
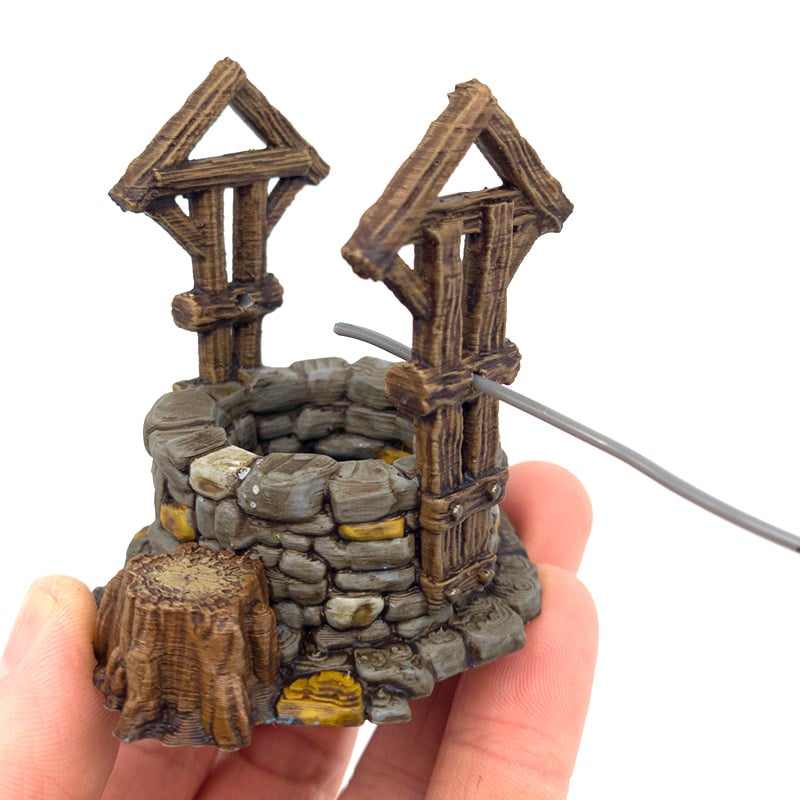
Next add a drop of superglue to the left-hand or furthest mounting for the axel.
Holding the wooden axel in place, feed through a piece of filament so that it links together the two mounting arms of the well with the wooden axel. This can be a little tricky but if you’ve drilled out the pieces it should fit through nicely.
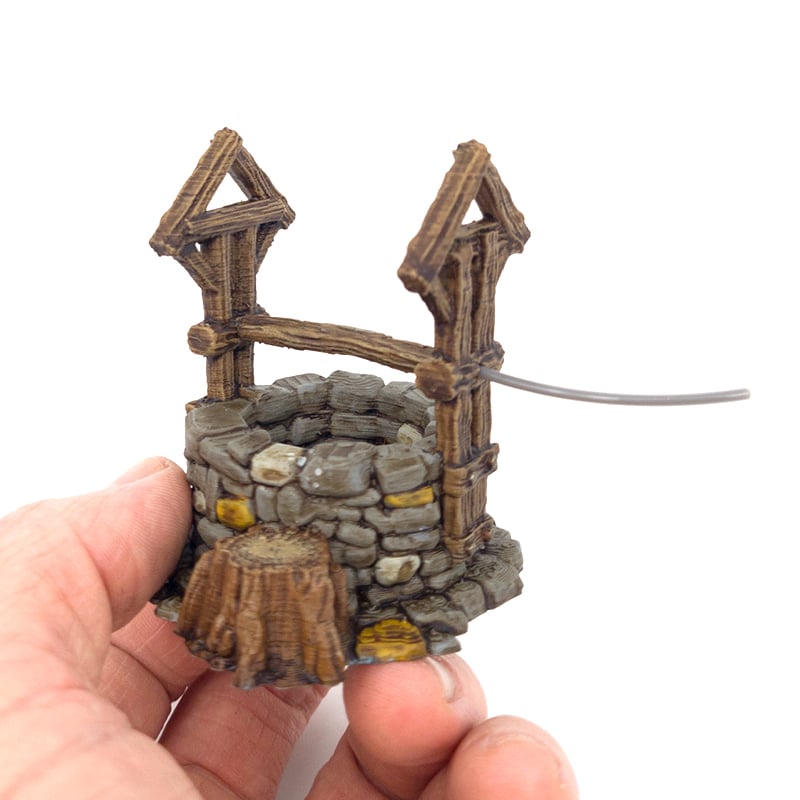
Trim off the excess filament leaving 2-3mm for the wheel to be glued on then carefully stick it on with superglue.
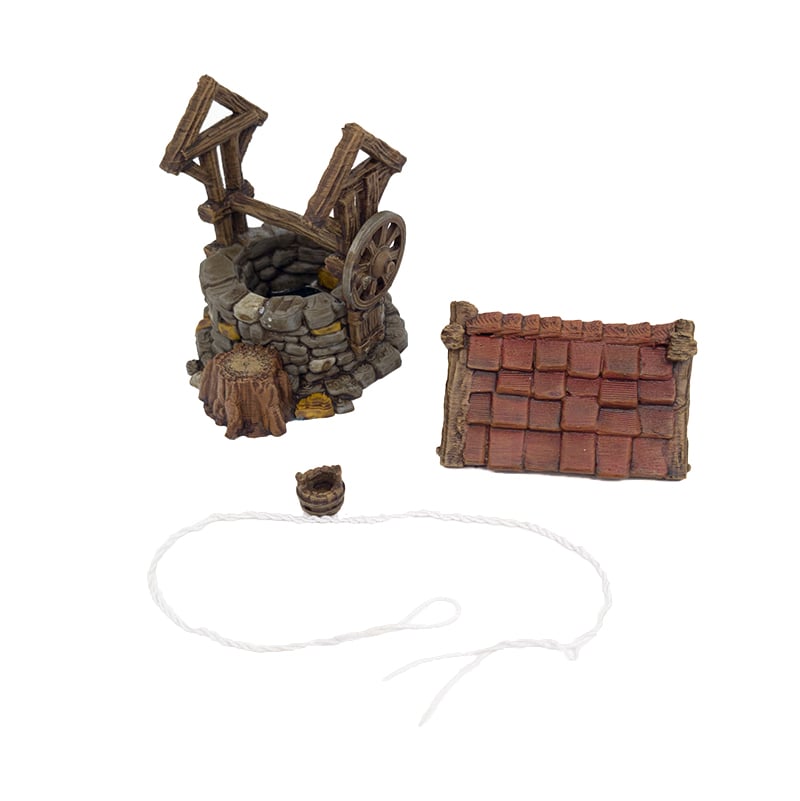
Step 5) Attaching the rope and Bucket
Using thick thread or elastic, cut a length of roughly 50cm or 20 inches, fold it in half and twirl it together to create the rope for the well. It should leave you with two loose ends to feed through the bucket. If needed, a small drop of super glue where the twisting starts will help hold it together.
Glue the loop end to the bottom of the axel at the right hand side with a small drop of superglue before winding the rope around the axel leaving yourself enough room to glue the bucket on
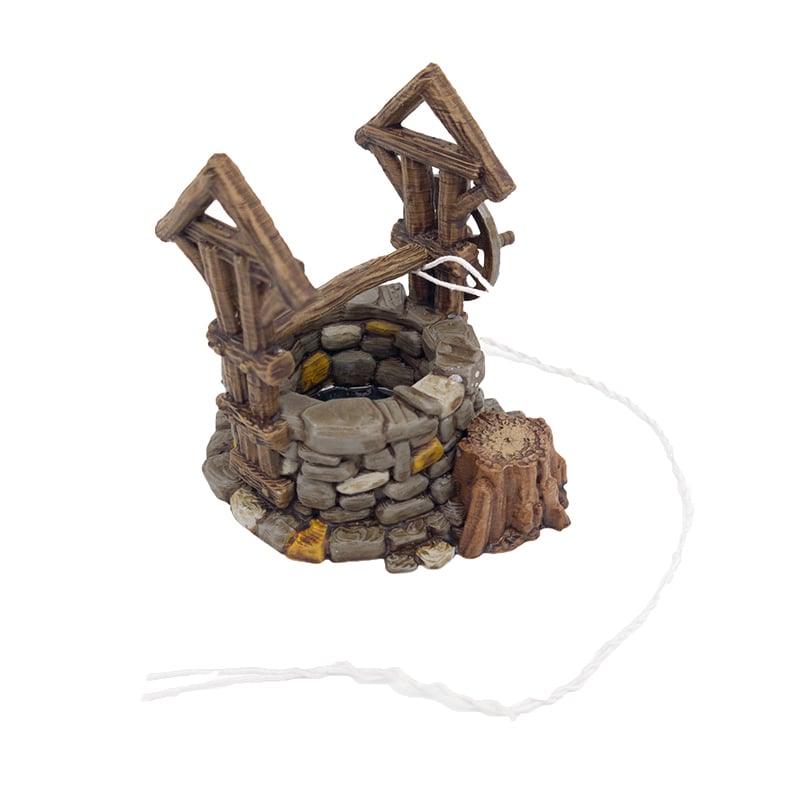
Carefully feed through the ends of the rope through the handles of the bucket and glue in place. Make sure its even or the bucket wont sit flat when it’s hanging. We used tweezers for this step to make it easier.
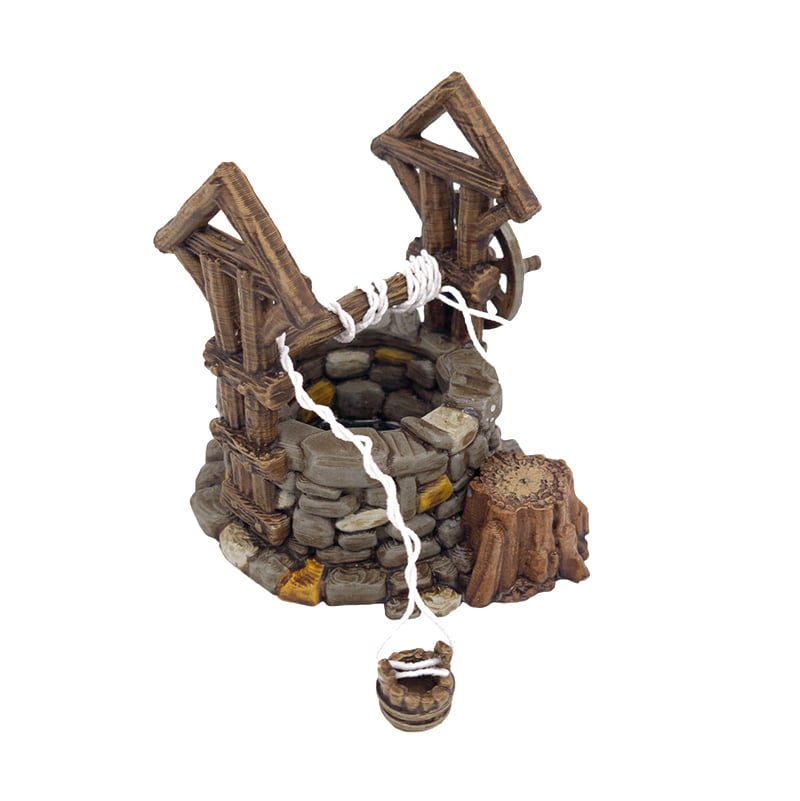
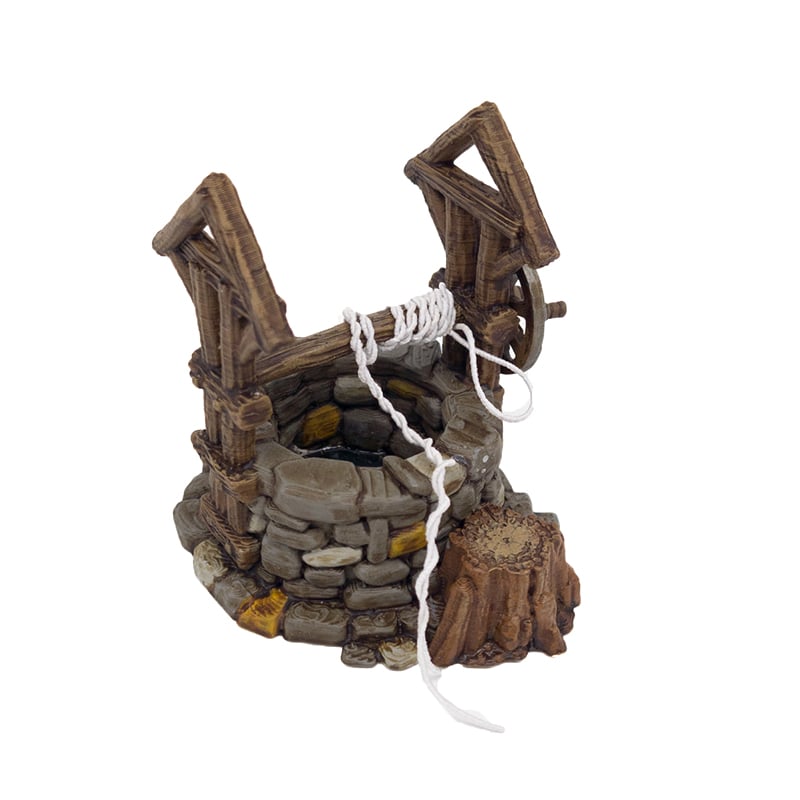
Finish winding the rope to the appropriate length for where you want it to sit and run a line of superglue along the rope to secure it (or leave loose if you want your well to function!). Trim off the excess rope at either end.
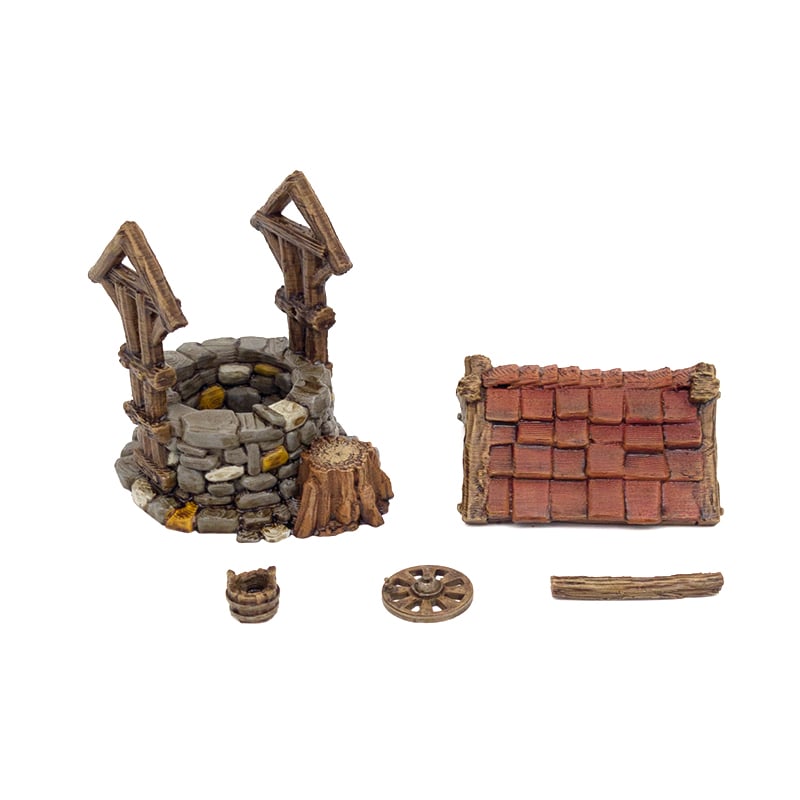
The final part is to paint the rope, which we gave a basecoat of Skeleton Bone then a wash of Light Tone.
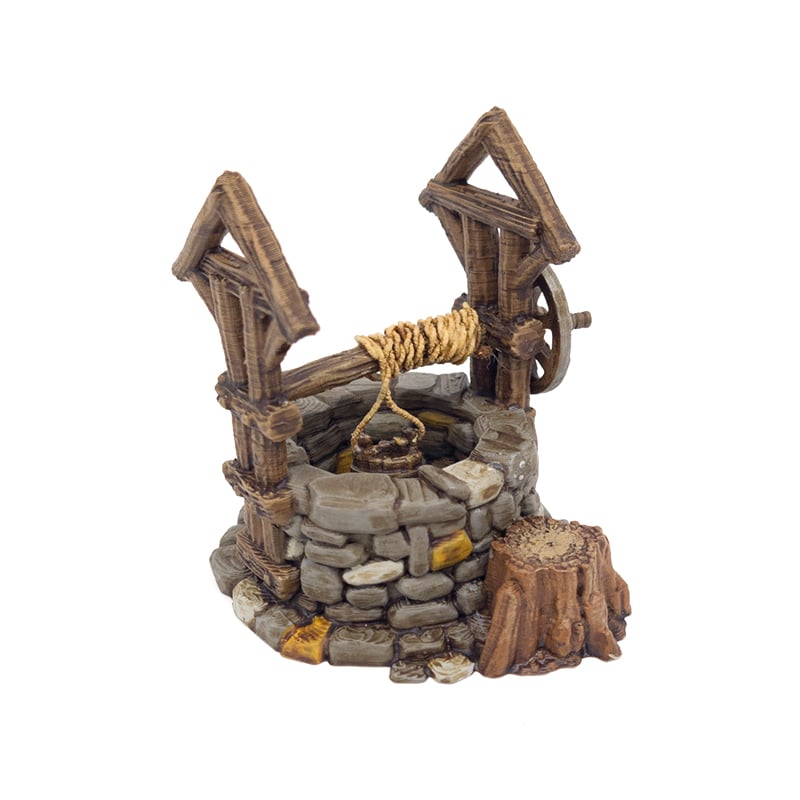
With the rope painted the well is finished! Ready to provide fresh, clean water to the citizens of Hagglethorn Hollow.
We hope you enjoyed this guide, there’s plenty of other uses for rope with miniatures like the rigging on the Lost Ships, the drawbridge on Castles and much more.
If you have any feedback or suggestions for a guide let us know!
Paints Used:
Leather Brown Spray (Army Painter)
Dawnstone (Citadel Colour)
Abomination Gore (Army Painter)
Mournfang Brown (Citadel Colour)
Basilisk Brown (Army Painter)
Leather Brown (Army Painter)
Gun Metal (Army Painter)
Soft Tone Wash (Army Painter)
Zandri Dust (Citadel Colour)
Skrag Brown (Citadel Colour)
Ash Grey (Army Painter)
Skeleton Bone (Army Painter)
Light Tone Wash (Army Painter)
Hagglethorn Hollow is the creation of Johnny Fraser-Allen and Tabletop Troubadour Games.
Printable Scenery is the exclusive authorised distributor of Hagglethorn Hollow STL files.