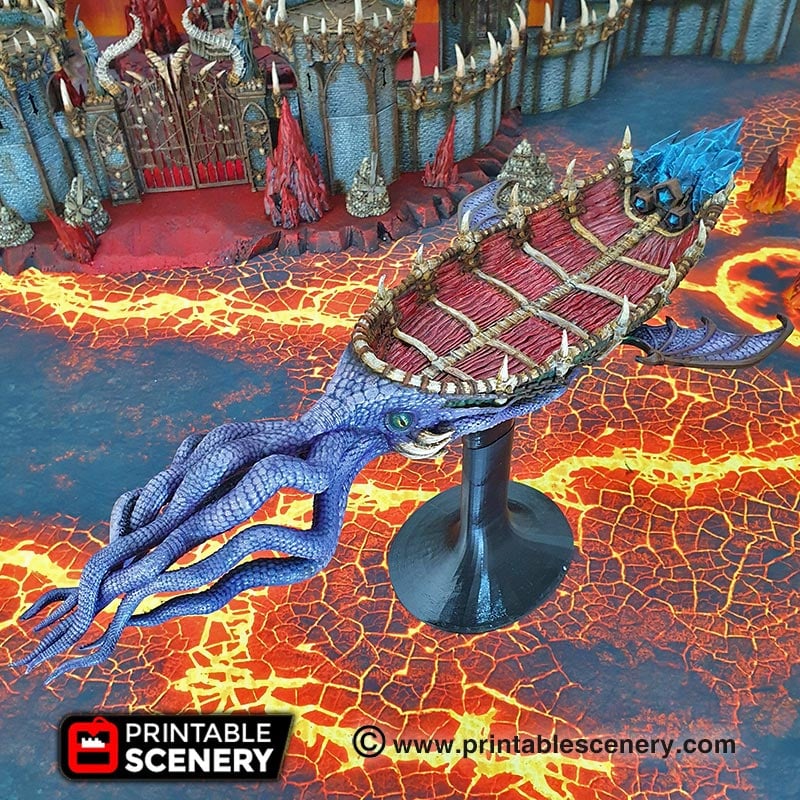
Painting Guide; Scourge Flyer
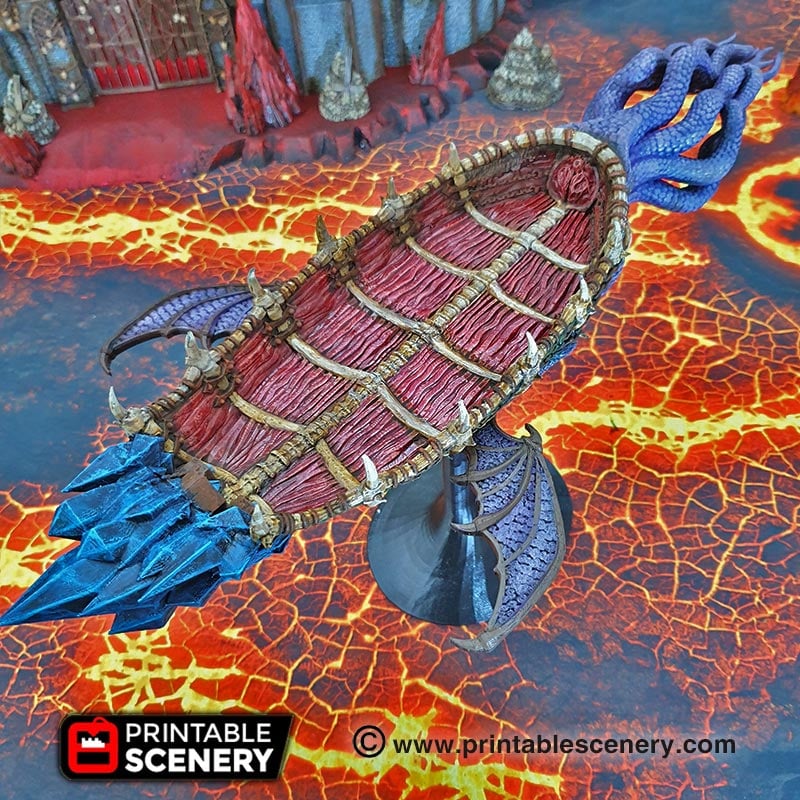
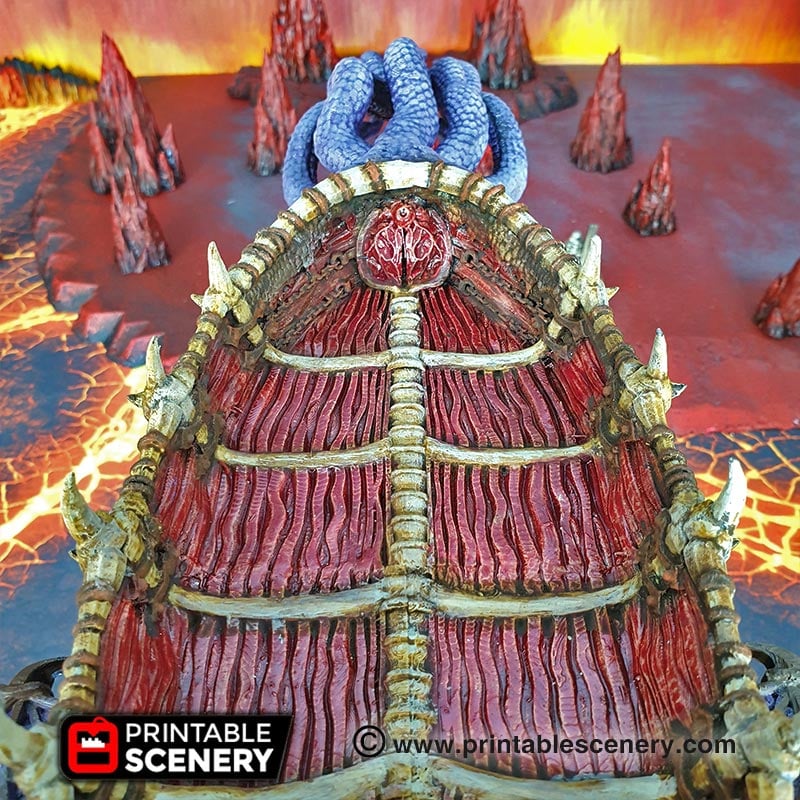
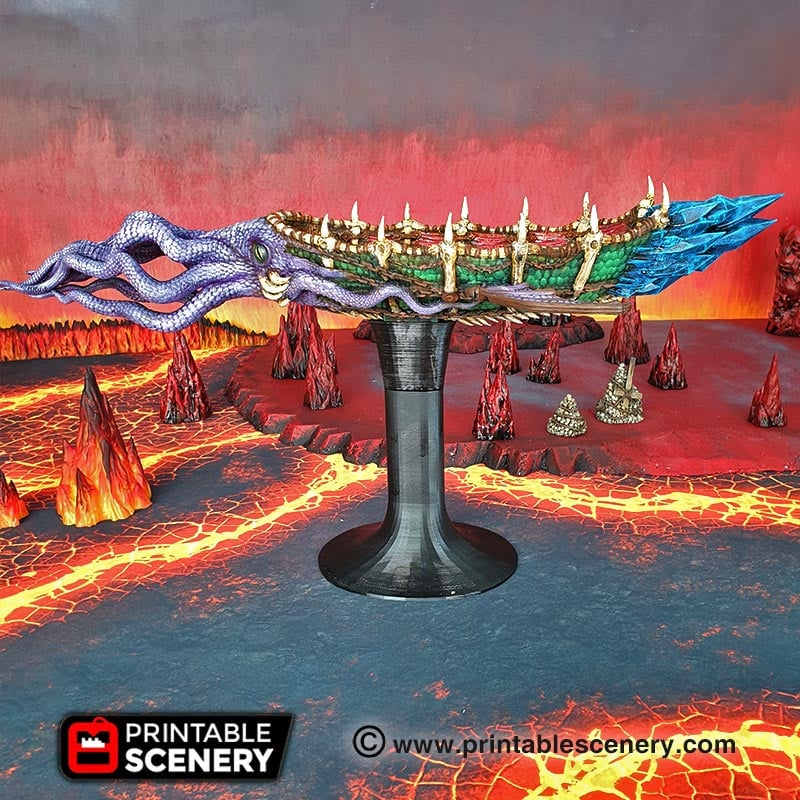
Below is a painting guide, explaining the steps taken to paint the Scourge Flyer. The Scourge Stalker is painted the same way except for the squid skin and the hull skin being exchanged.
The model was initially primed with matt black primer.

Interior Flesh
This is the scheme used for flesh on interior of the hull
- Full layer: Army Painter Chaotic Red.
- Half Layer: Army Painter Dragon Red.
- Heavy dry-brush: Army Painter Barbarian Flesh.
- Gloop: Games Workshop Blood for the Blood God.
Bone
This is the scheme used on all the bone.
- Heavy dry-brush: Army Painter Leather Brown.
- Lighter dry-brush: Army Painter Barbarian Flesh.
- Wash: Army Painter Sepia Shade (Let that dry and settle).
- Final highlight: Army Painter Skeleton Bone.
Rusted Metal
This is the scheme used on all the metal.
- Full layer: Games Workshop Typhus Corrosion.
- Heavy dry-brush: Games Workshop Ryza Rust.
- Lighter dry-brush: Army Painter Gun Metal.
- Wash: Army Painter Sepia Shade (applied to crevasses and other parts to give age and more depth to the rust).
Hull Skin
This is the scheme used on the skin of the hull.
- Full layer: Army Painter Angel Green.
- Wash: Army Painter Green tone.
- Light dry-brush or highlight: Army Painter Goblin Green.
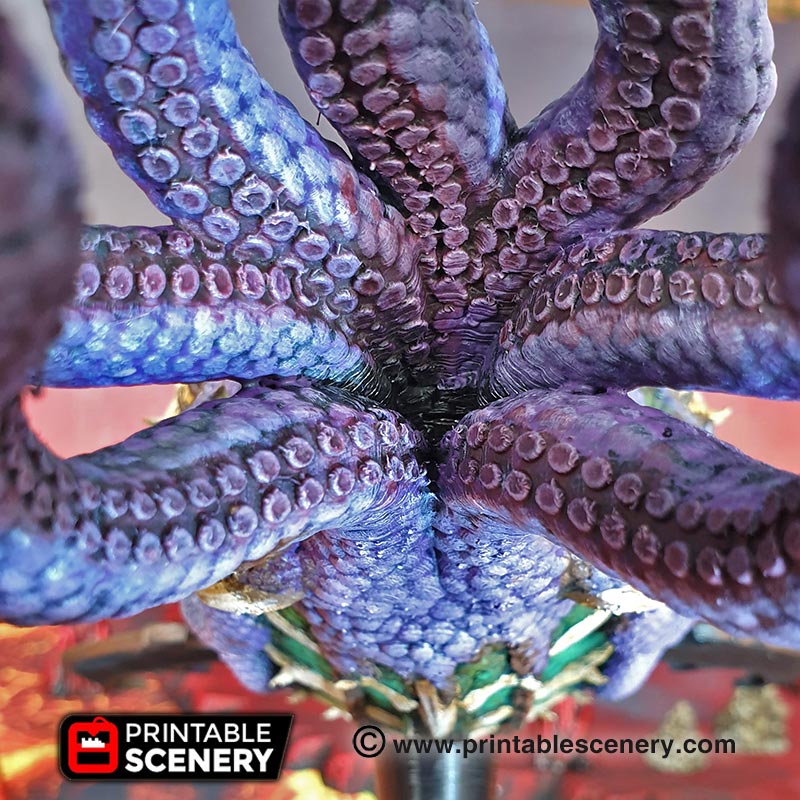
Squid skin
This is the scheme used on the skin of the squid.
- Heavy dry-brush: Army Painter Alien Purple.
- Wash: Army Painter Purple tone.
- Layer highlight: Army Painter Oozing Purple.
- Suckers on tentacle dry-brush: Army Painter Toxic Boils.
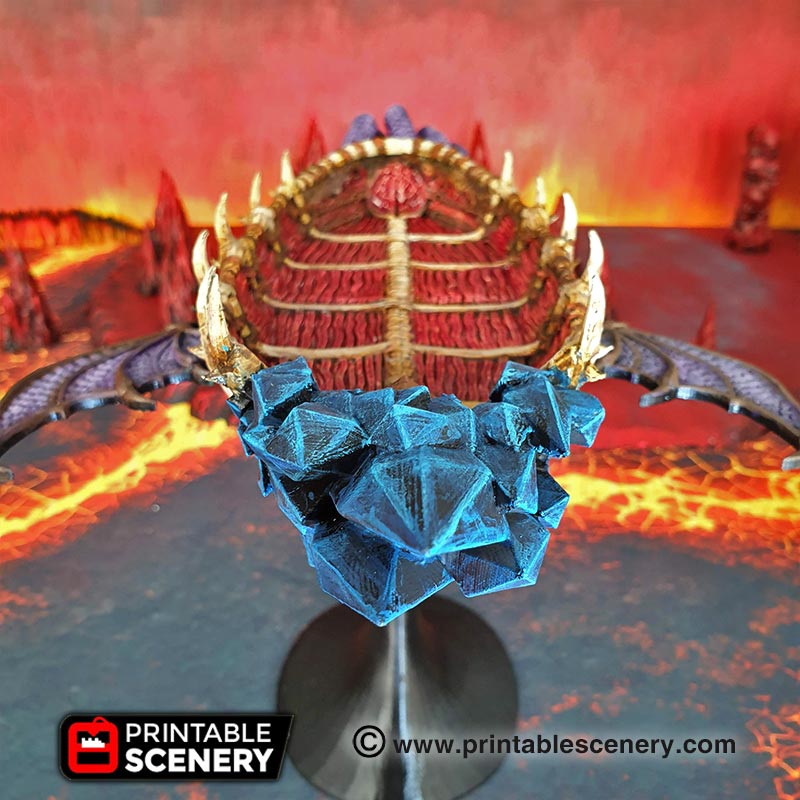
Blue Crystal
This is the scheme used on the skin of the squid.
- Heavy dry-brush: Army Painter Deep Blue
- Lighter dry-brush: Army Painter Ultramarine Blue.
- Edge Highlight: Army Painter Crystal Blue.
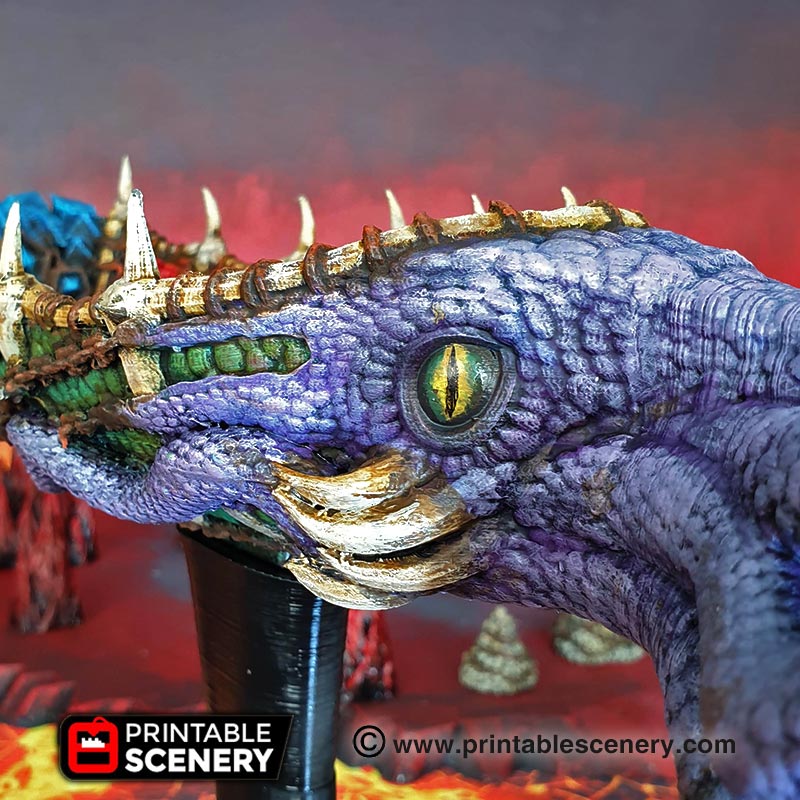
Eyes
This is the scheme used on the skin of the squid.
- Layer: Army Painter Angel Green.
- 2nd Layer: Army Painter Goblin Green.
- 3rd Layer: Army Painter Desert Yellow
- 4th Layer: Army Painter Matt Black.
 My Account


Hi Sam,
That’s a very nice paint job.
Can I ask that when you do these painting guides you also include at what resolution the model was printed and any post print work you did. I’m always ‘umming and ‘arring about what layer height to print these in.
I can add that information in, we do include the recommended print settings in the additional information on the product page. In this case the Scourge flyer was printed at 0.2. With this model I did hit it with 2 coats of Primer.