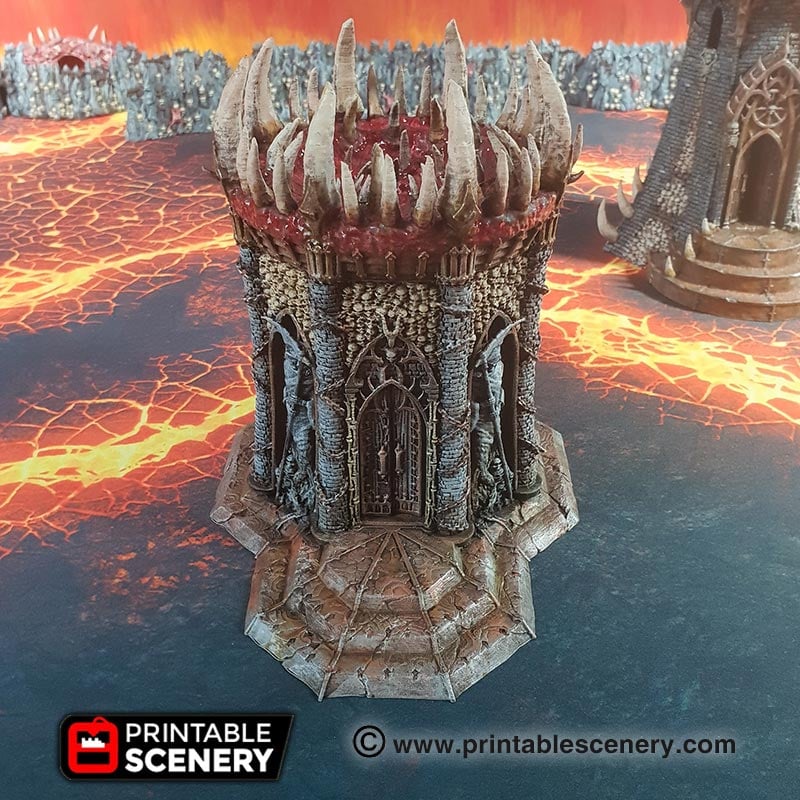
Painting Guide: The Temple of the Damned
Below is a painting guide, explaining the steps taken to paint The Temple of the Damned.
The model was initially primed with matt black primer.
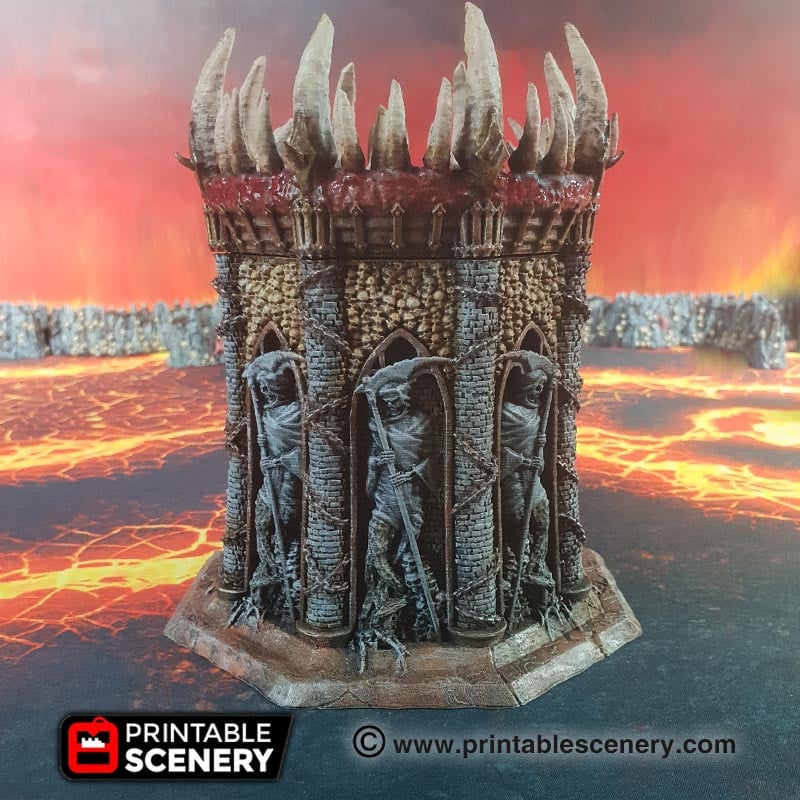
Bone
This is the scheme used for the skulls, bone edging and teeth on the roof.
- Heavy dry-brush: Army Painter Leather Brown.
- Lighter dry-brush: Army Painter Barbarian Flesh.
- Wash: Army Painter Sepia Shade (Let that dry and settle. For the roof, this was only applied to the base of the teeth).
- Final highlight: Army Painter Skeleton Bone.
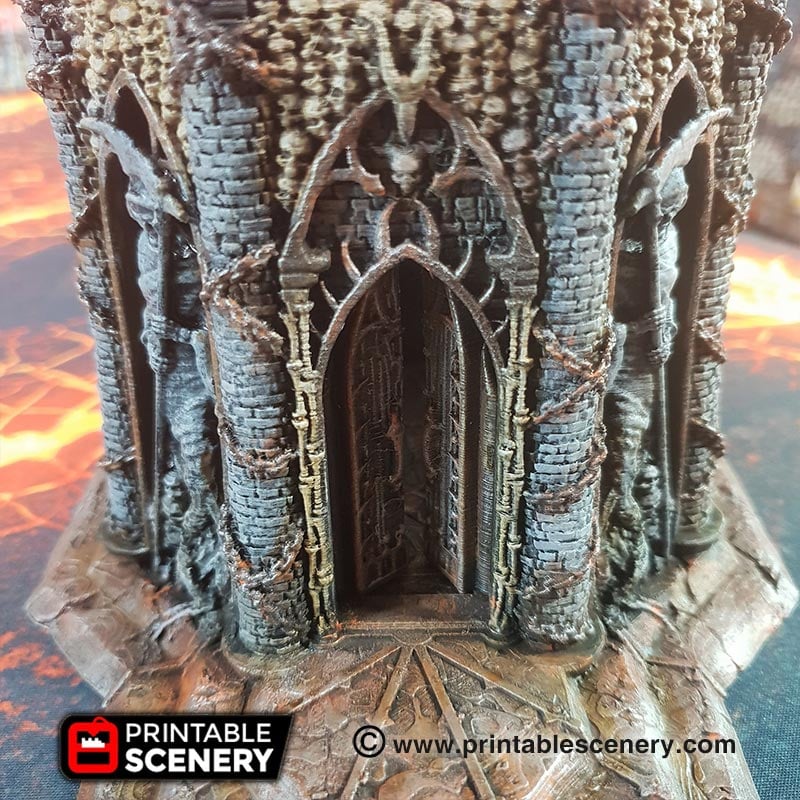
Rusted Iron
This is the scheme used on the steps, arches, chains and roof supports.
- Full layer: Games Workshop Typhus Corrosion.
- Heavy dry-brush: Games Workshop Ryza Rust.
- Lighter dry-brush: Army Painter Gun Metal.
- Wash: Army Painter Sepia Shade (applied to crevasses and other parts to give age and more depth to the rust).
Stonework
This is the scheme used for the bricks and stone statues.
- Heavy dry-brush: Army Painter Dungeon Grey.
- Lighter dry-brush Army Painter Ash Grey.
- Wash: Army Painter Sepia Shade (applied to bases of the columns and to the edges where the bricks meet the iron edging).
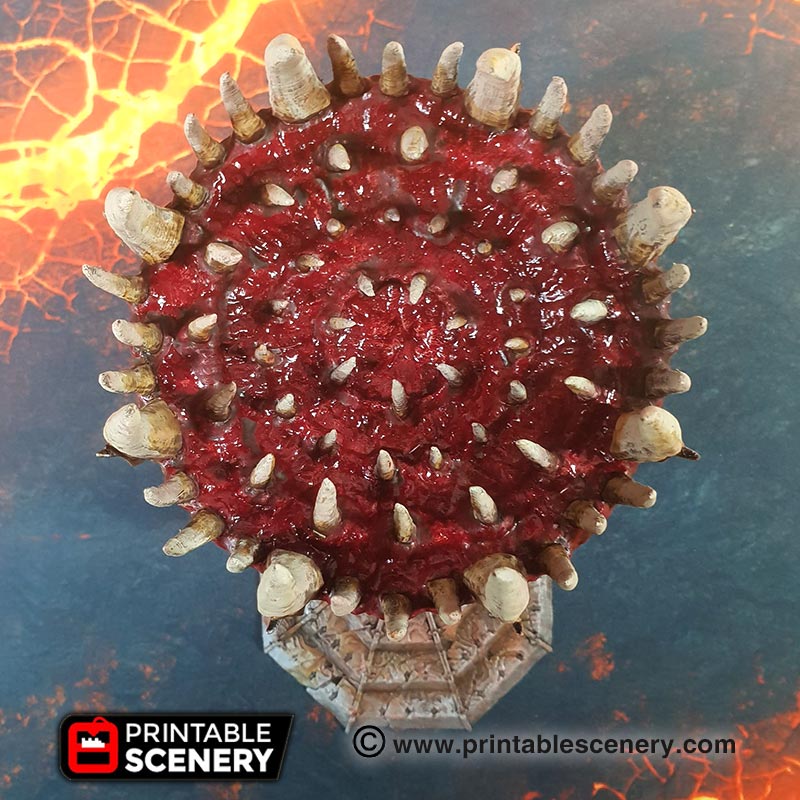
Roof Flesh
This is the scheme used to give a fleshy look to the roof.
- Full layer: Army painter Dragon Red.
- Light dry-brush or highlight: Army Painter Barbarian Flesh.
- Technical/specialty paint layer: Games Workshop Blood for the Blood God (this paint tends to coagulate quite nicely, so thicker layers are better – it needs to be left to settle and dry).
- Wash: Army Painter Sepia Shade (to give this a decayed effect where the teeth meet the flesh).
Additional notes
Army Painter Sepia Shade was used to tie in the transitions between different areas.
Perfect, Thank you for this.
What playmat is used in these photos?
The game mats are from Table War http://www.tablewar.com/6×4-lava-f-a-t-mat-gaming-mat/