 My Account


Using filament in the guide holes
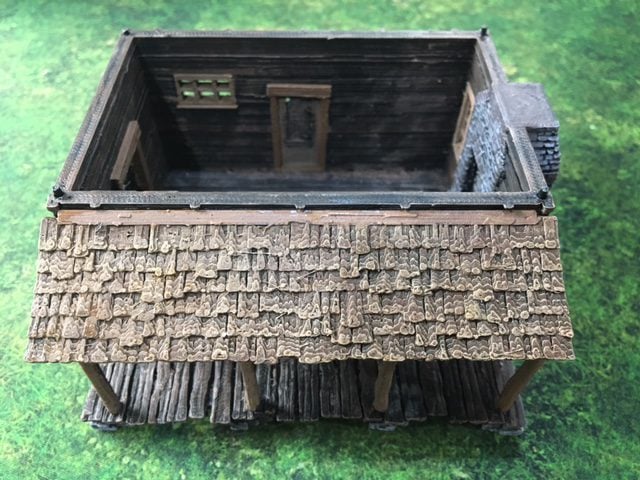
Top locking mechanisms like filament guide holes are essential for all buildings with two or more levels. When the walls or floors of a model are not deep enough to use top-locking pins, filament guide holes will be used instead.
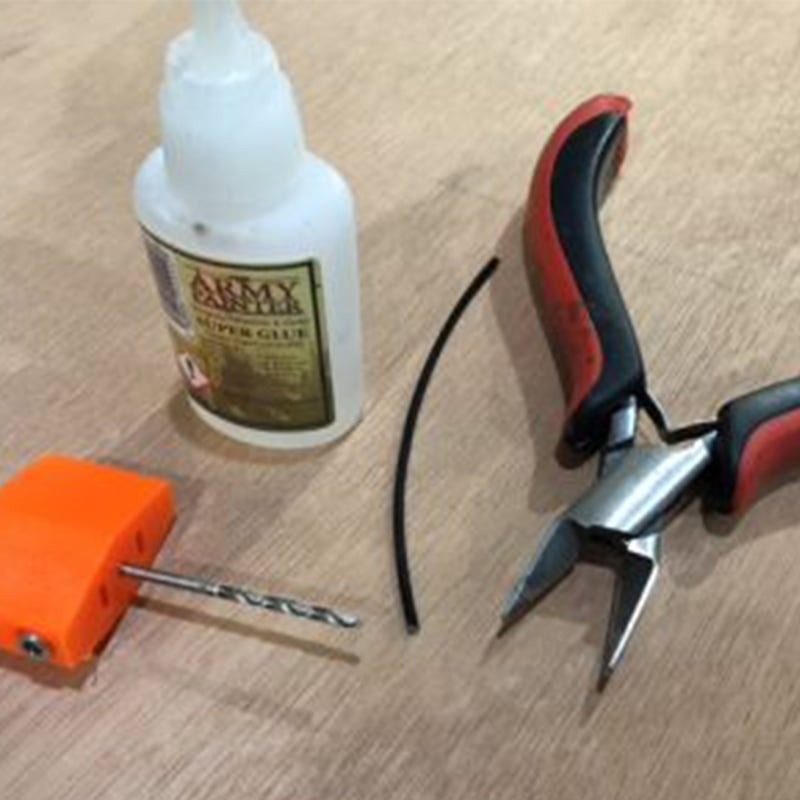
These small holes will help you align and pin two sections or create a top-locking pin to orient two floors. You will need the following to create these pins:
- An off-cut of 1.75mm filament, or a metal paperclip if you do not have an FDM printer
- Modeling snips or side-cutting pliers
- A hand drill or Dremel with a 2mm drill bit
- Super glue or equivalent adhesive
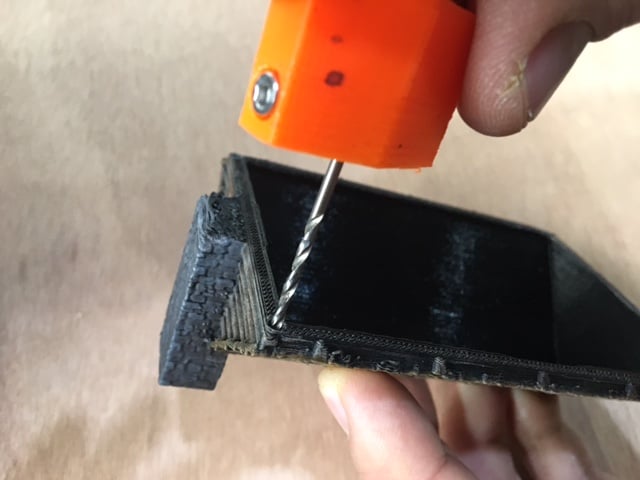
1. Use the hand drill to clear any debris that might have clogged the guide holes during the printing process. Make sure the drill bit is slightly larger than the diameter of your filament.
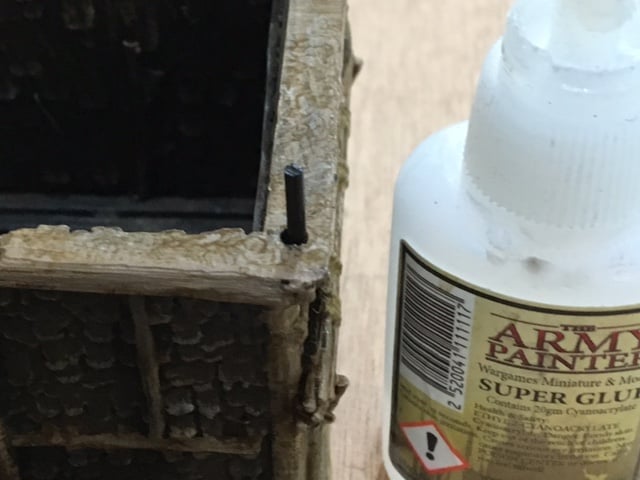
2. insert your off-cut of filament into one of the holes, and trim it so that roughly 3-4mm is sticking out of the hole . You may want to cut a long section when pinning and dry-fit the pin to gauge how long it needs to be. Once you have the correct size, glue the section into the hole.
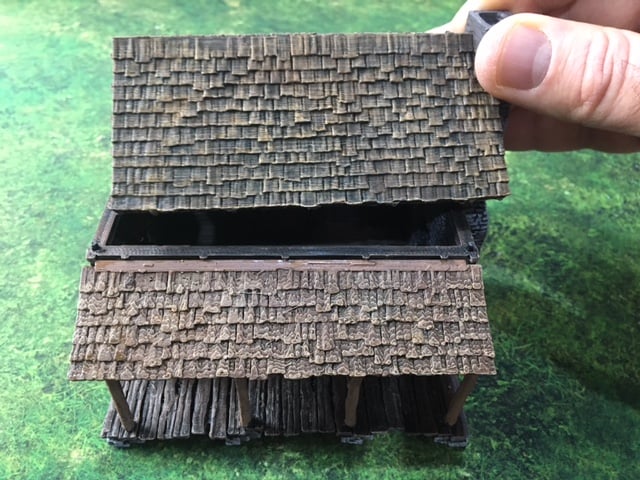
Once all top-locking pins are glued in place, test the alignment of the upper section. if it is sitting high, either trim the filament pegs smaller or use the drill to deepen the receptacle hole.
When drilling the guide holes of a resin-printed model, remember to wear a face mask. If you don’t have any FDM filament, we recommend using a straightened paperclip instead.
I’m resin printing the models so I don’t have filament on hand. Do you have another material you’d recommend for the pins?
Hi,
Instead of using filament, you could use paper clips cut to length. They will be a bit thinner but will still hold the pieces together.
Hope that helps 🙂