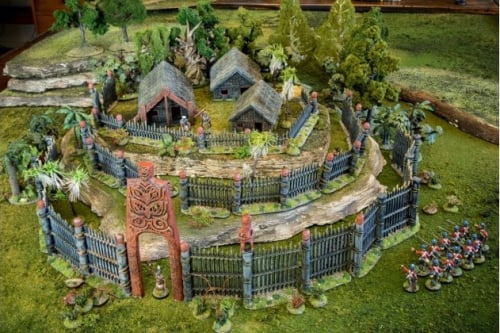
A Simple Way to Paint the Maori Pa and other Scenery
A simple way to paint your Printable Scenery Maori pa palisade and buildings is a process called ‘dry-brushing’..
This is a fairly quick way of painting large lots of scenery. The results look good despite being a somewhat ‘rough and ready’ process. This technique is particularly useful for things like rough wood and thatch – perfect for a pa, in other words!
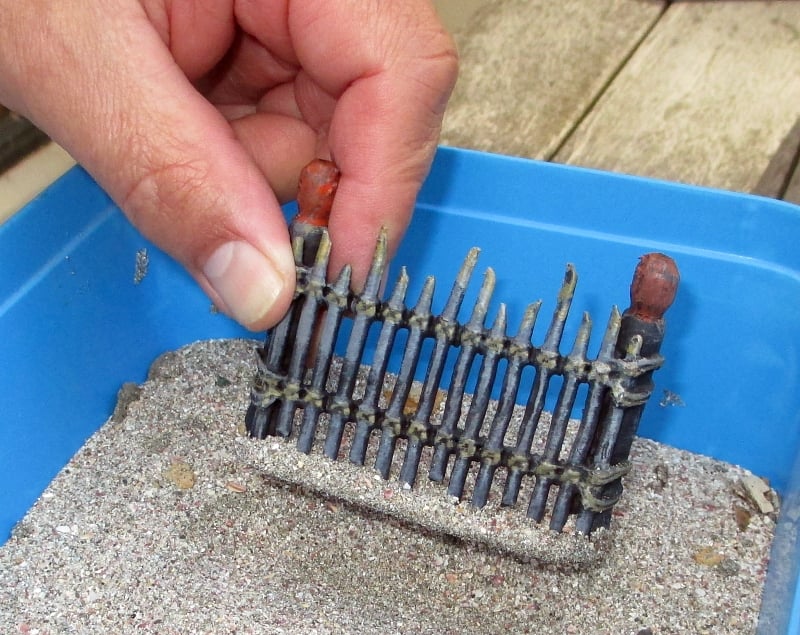
Step 1
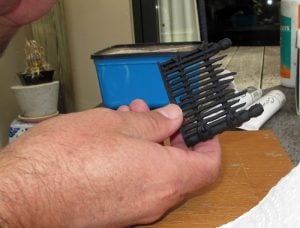
Use a sharp knife to clean up the printed files, removing any unwanted supports. Be careful with your fingers!
Step 2
Spray-paint the pieces with a matte-black enamel paint. It is important that it doesn’t have any sheen, as this will ruin the overall effect. Cover the entire piece with this base-coat.
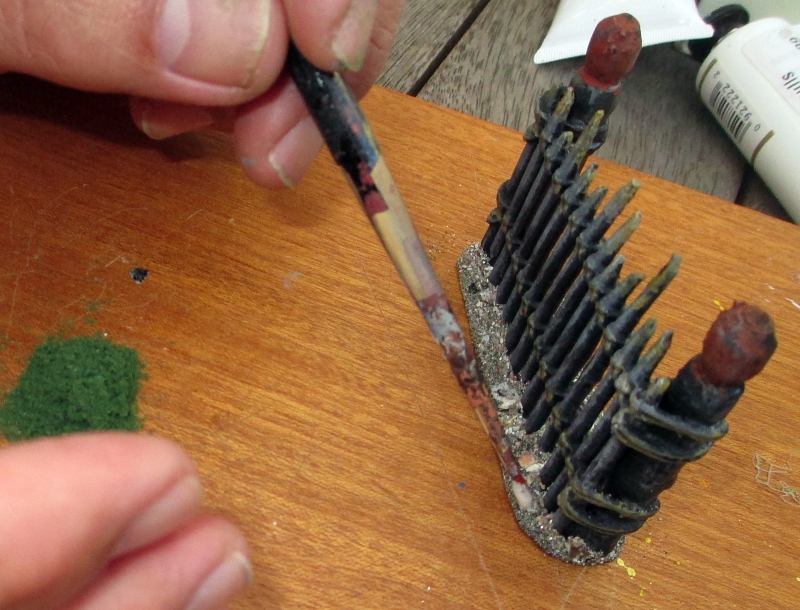
Step 3
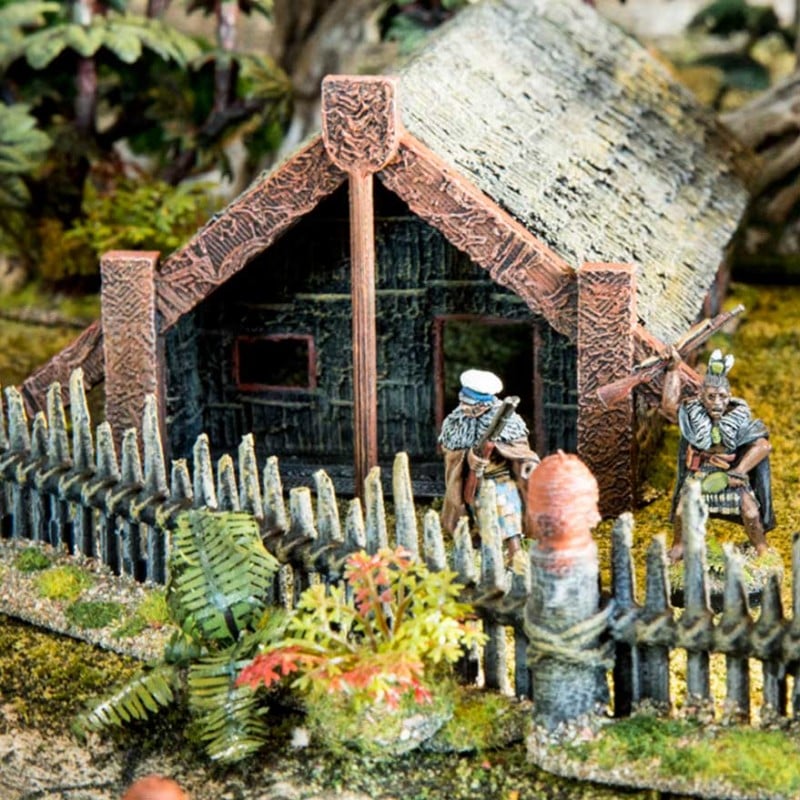
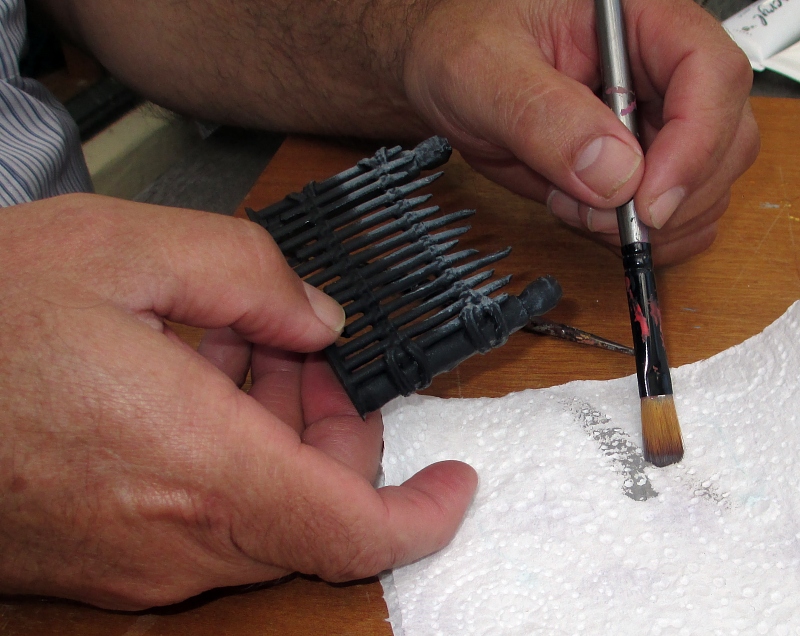
Once the black base-coat has completely dried, it is time to start the magic. I like my pa fences and buildings to look like a weathered grey, but you can change the colours if you prefer a more ‘woody’ brown.
Take some medium grey acrylic paint (I use cheap tubes of artists’ acrylics), and a flat stiff brush that is about 1cm wide. Dip the brush into the paint, then use a paper towel to wipe most of it off. Then take the almost dry brush (thus the name ‘dry-brushing’) and brush apply it across the item. The idea is that the paint only adheres to the higher surfaces, leaving the black base-coat showing through in the deeper recesses. Experiment with the amount of paint on the brush until you get the look that you want. Cover the entire model, even details which will eventually be another colour. This is not the time to be careful and finicky – be bold and firm with your brushing.

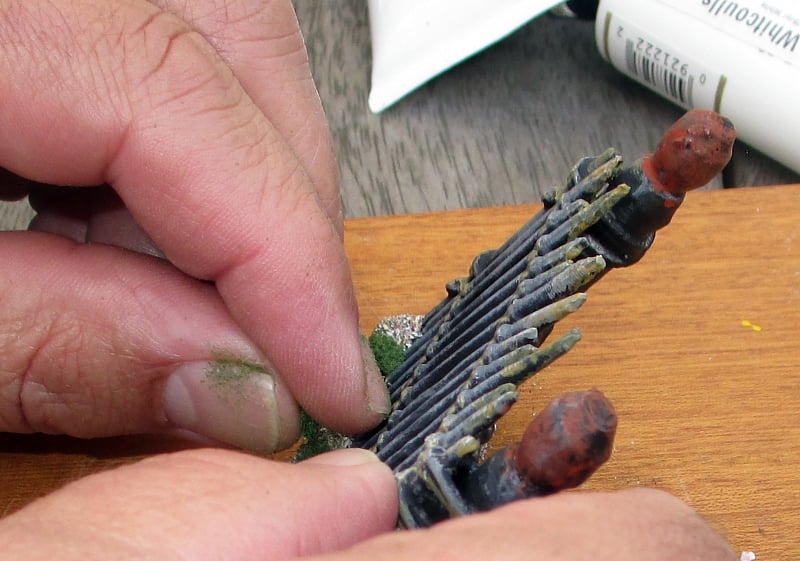
Step 4
Repeat step 3 with a lighter grey. You can also use other colours – it all depends on the final effect you want. Experiment – you can’t do too much wrong, as you can always do another layer of dry-brushing over a colour you didn’t like. Repeat this step as many times as you like.
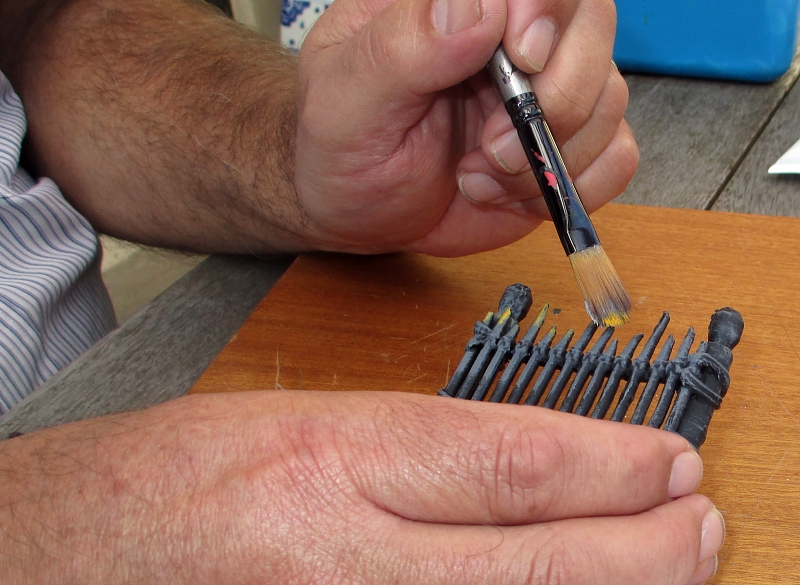
Step 5
This is the part where I find the models finally come alive – cover the entire model with the lightest and faintest possibly dry-brushing of white. You’ll hardly see the white, but it picks up the very highest details and makes them ‘pop’.
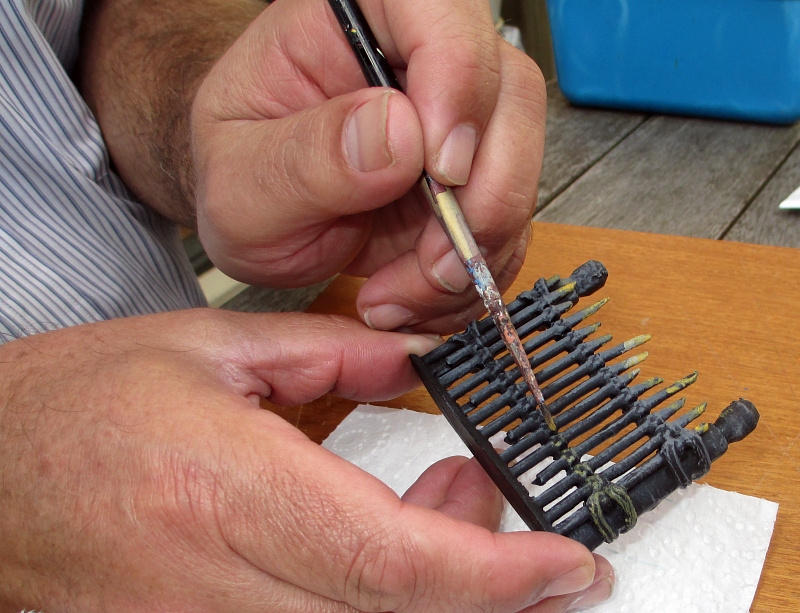
Step 6
Now it is time to paint the details on the model – the cords binding the palings, the door frames of the houses, the carvings on the posts and so on. Do these with your normal painting brushes and acrylic paints. For a Maori pa, I use a reddish-brown for these, as this was a common colour. But you can use whatever you like.
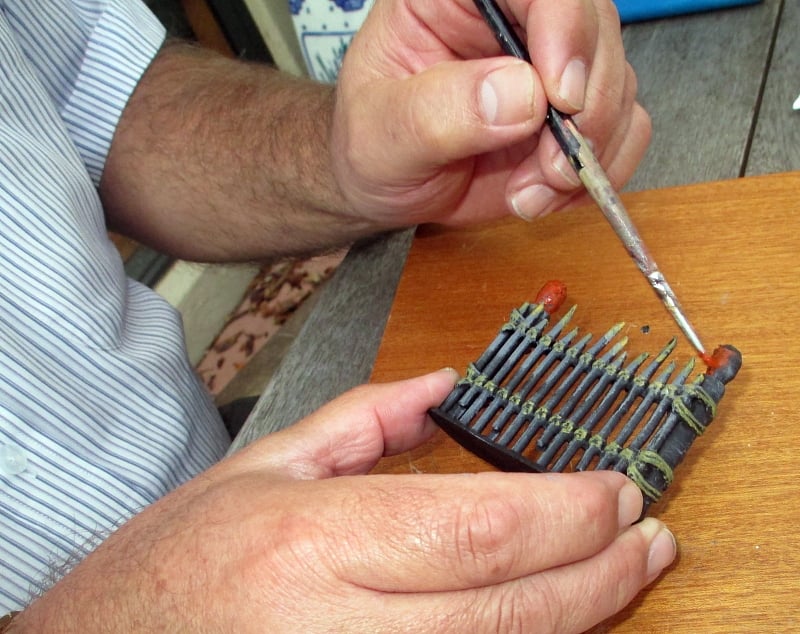
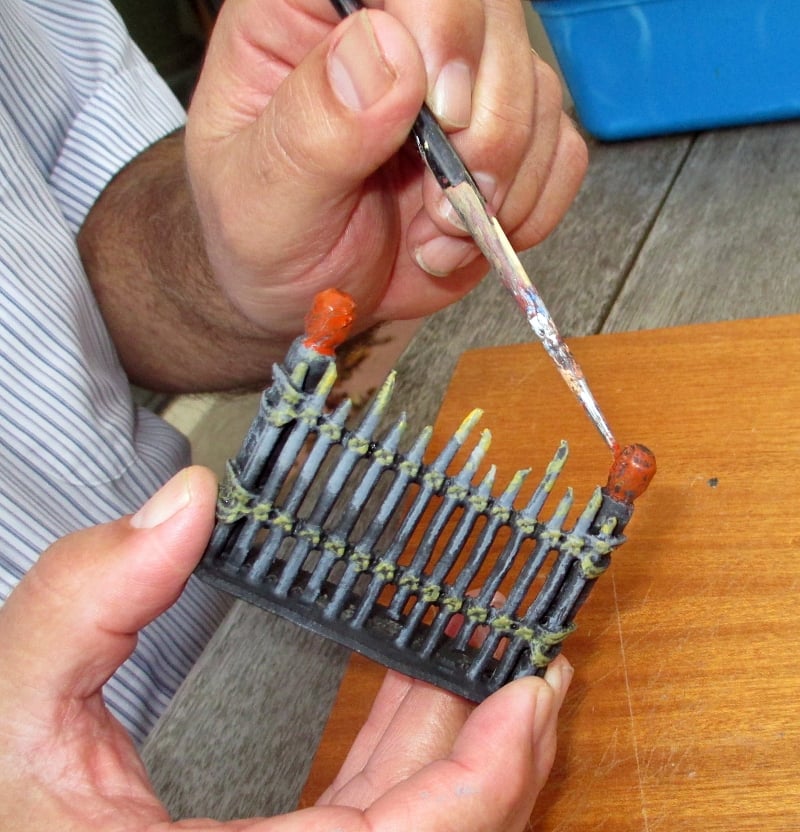
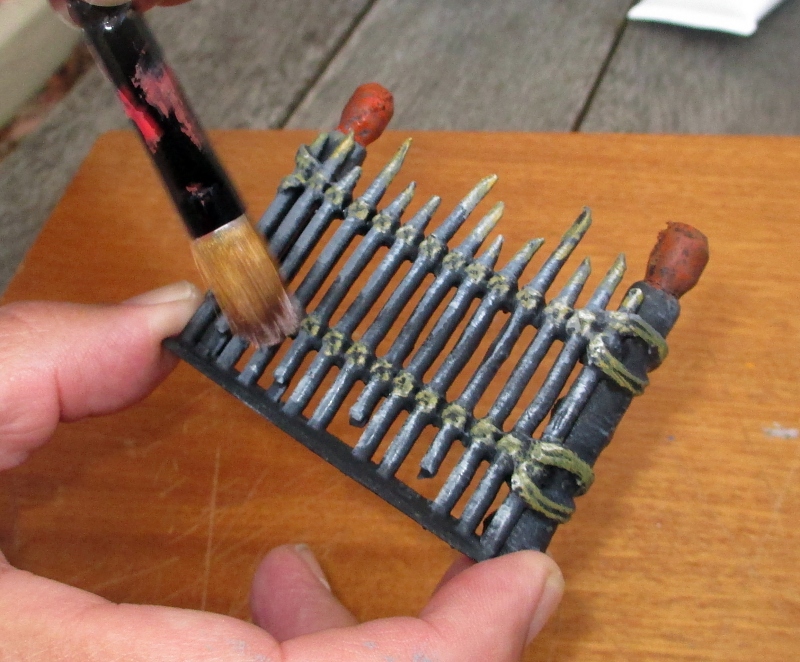
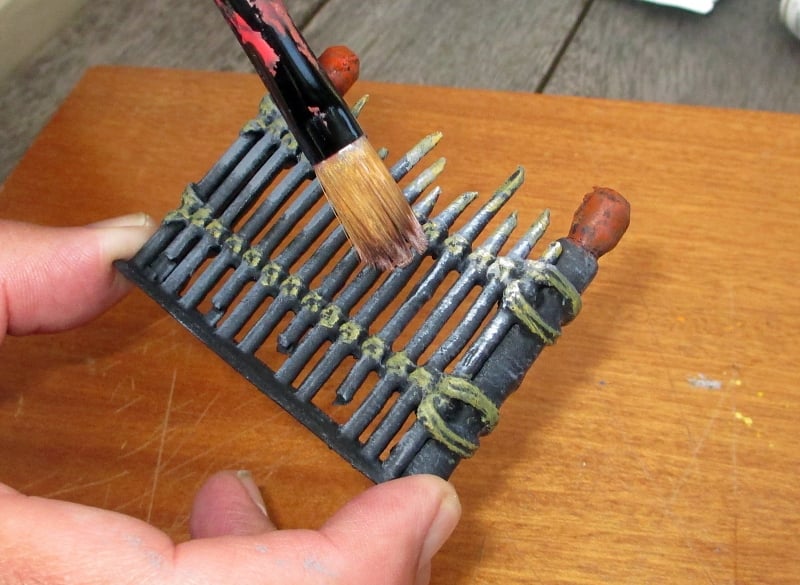
Step 7
Just like step 5, use the very faintest possible dry-brushing on all the details you’ve painted in the previous step. You can use any light colour you like – white, light grey, light ochre or such-like. The idea is you’ll hardly see the colour anyway – it is just the lightening effect it gives to the raised edges of the details.
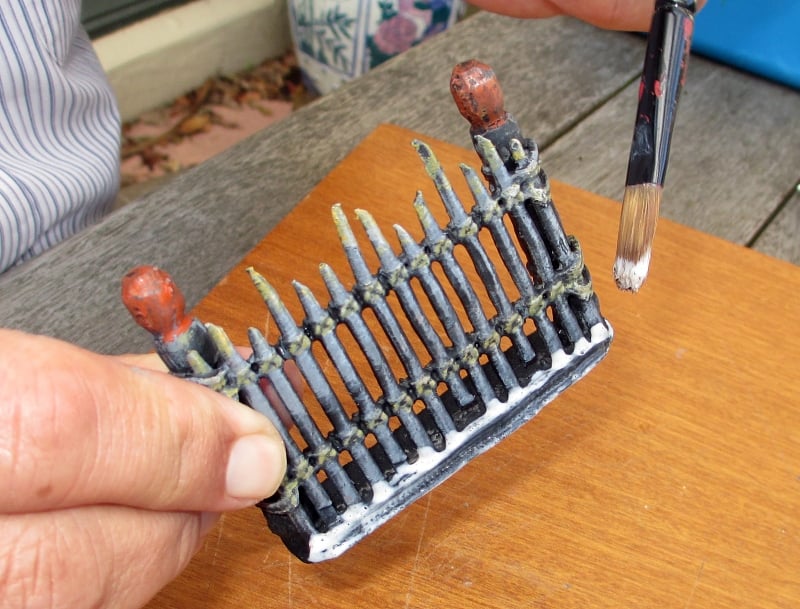
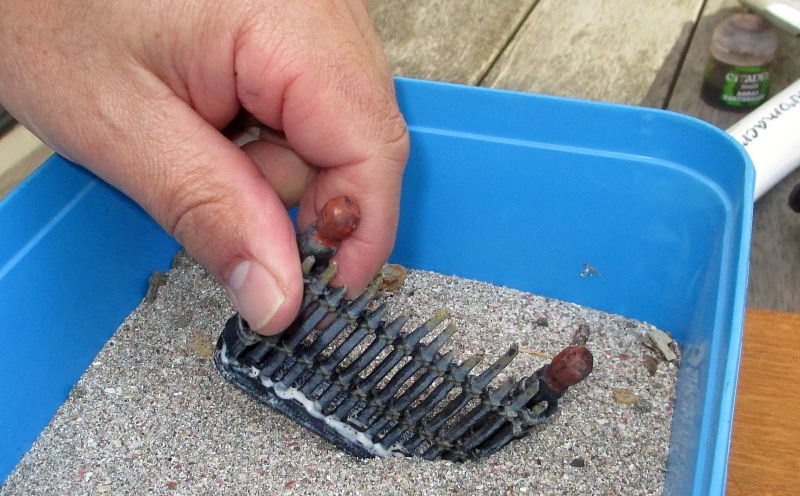
Step 8
Now comes the base texturing. Paint white glue liberally over the base of each piece, and dip it into sand. Put aside to dry. Once dry, paint patches of white glue on top of the sandy base and sprinkle with model railway landscape flock or static grass.

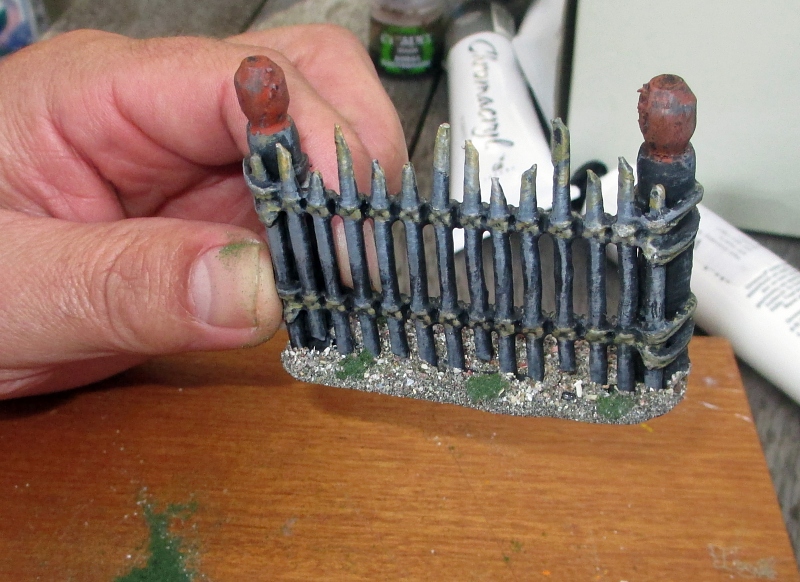

And there you have it – an entire Maori pa painted in a couple of evenings!
I have used this exact technique on all sorts of scenic items. Model fences, cottages, tree trunks, crates – the list is endless.