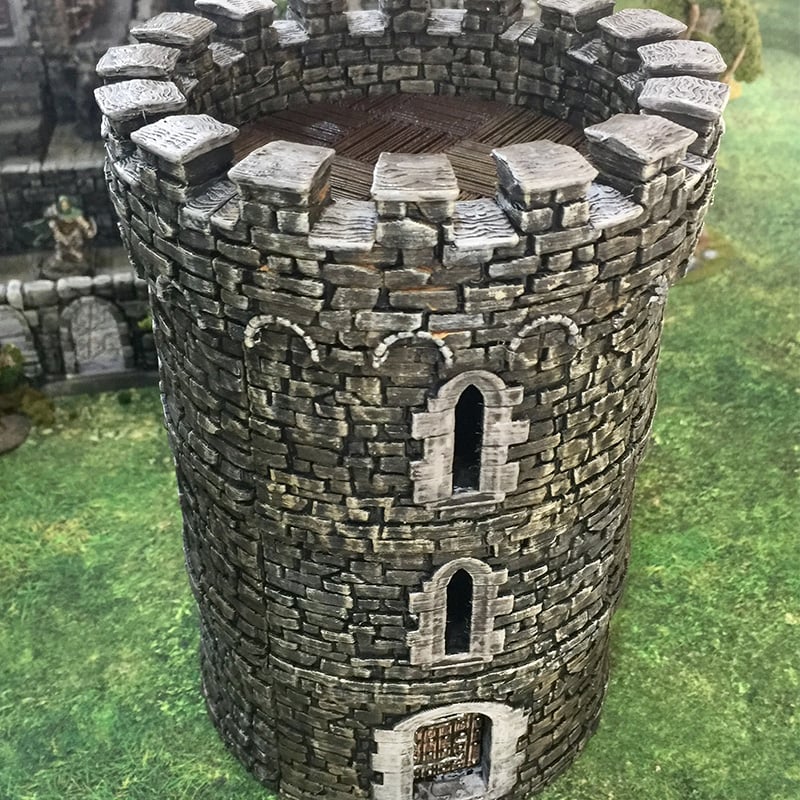
Round Tower Assembly
Instructions for building the Round Tower
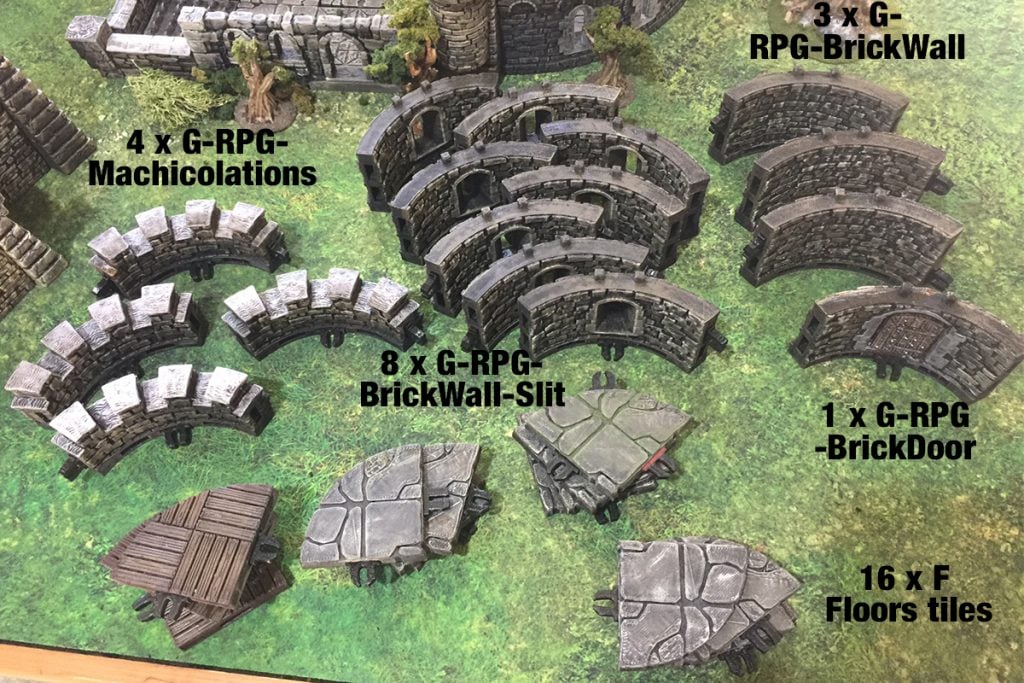
4 x G-RPG-Machicolations 8 x G-RPG-BrickWall-Slit 3 x G-BrickWall 1 x G-RPG-BrickDoor 16 x F Floor tiles. The Round Tower components that require printing (Print these parts at 2 micron/0.2mm nozzle)
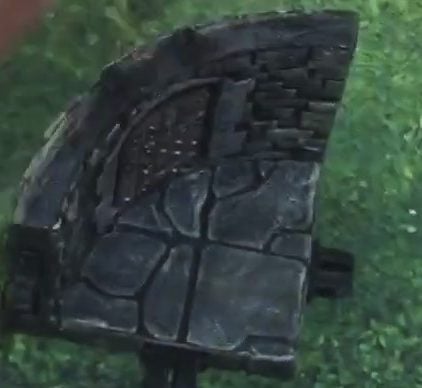
Step 1: Attach one OpenLOCK clip to the G-RPG BrickDoor slot underneath the door. Then clip in one F Floor tile, with the rounded side fitting into the clip.
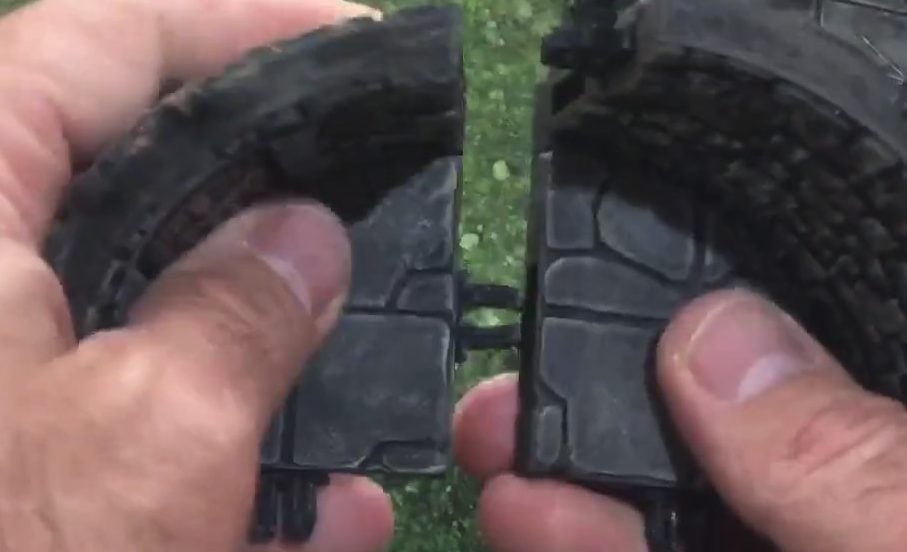
Step 2: Fit clips into the Floor tiles remaining unused slots and two clips, one either side, into the Brick Doors empty slots.
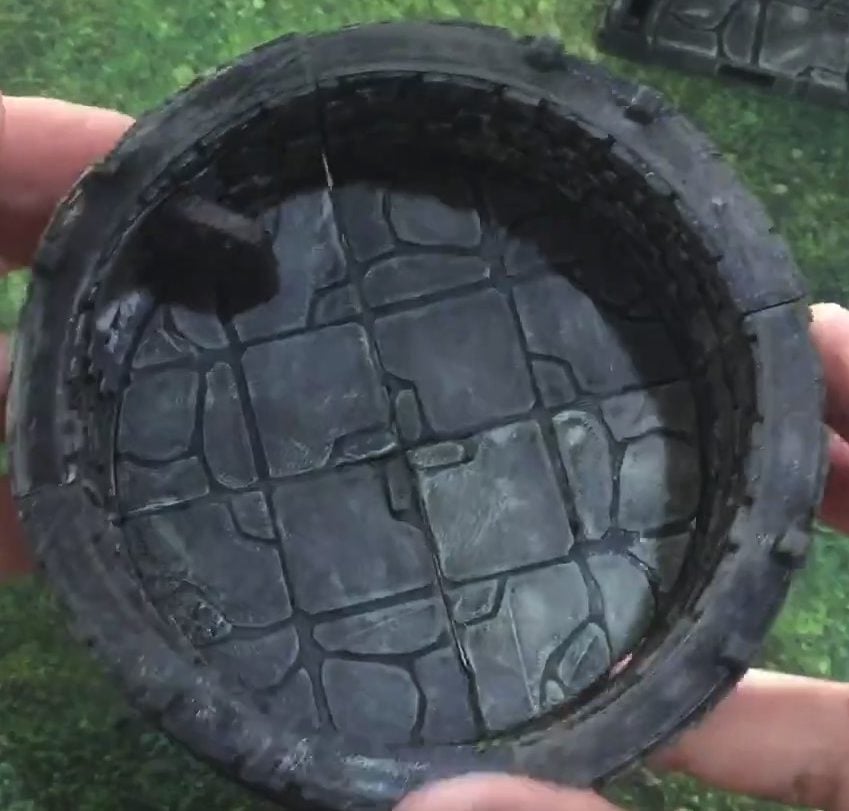
Step 3: Repeat step 1, not step 2, using all RPG Brick Walls, RPG Brick Walls with Slits and RPG Machicolations.
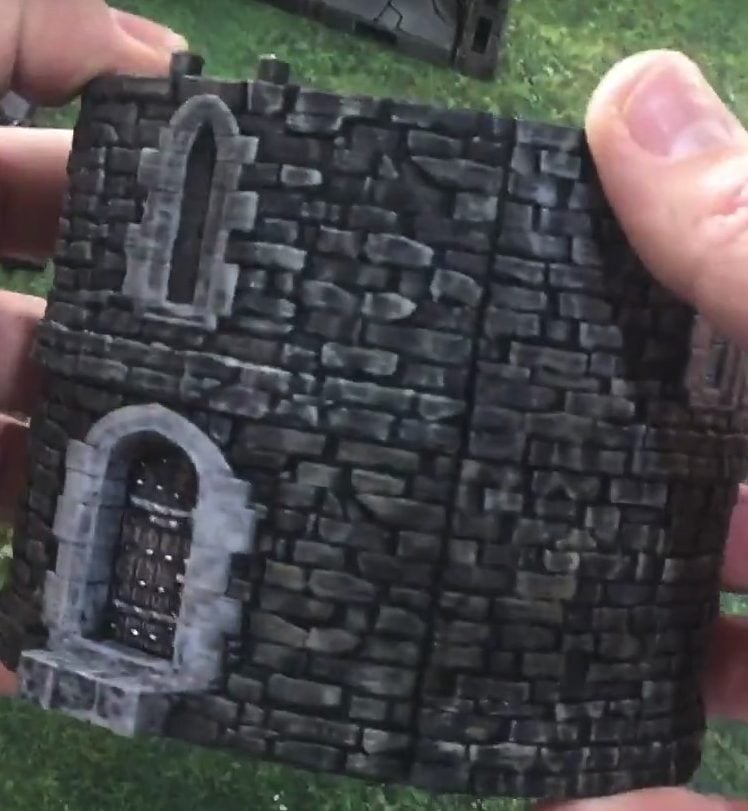
Step 4: Connect one RPG Brick Wall, with Floor tile attached, to an open side of the RPG Brick Wall, with Floor tile attached, clipping them in using the clips on the side of the door and the floor, that you attached in step 2.
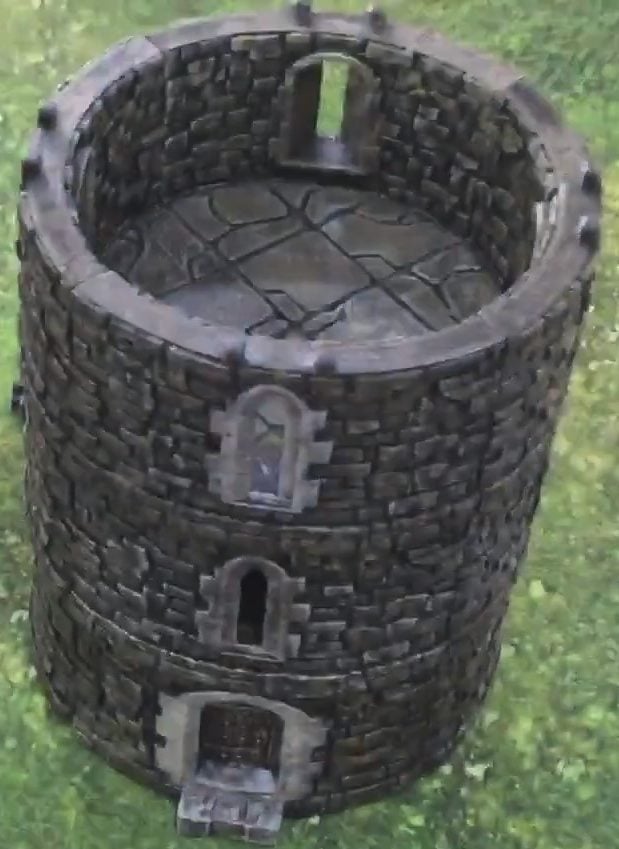
Step 5: Attach clips to the open Floor tile slot and Brick Wall slot. Repeat step 2 with one of the Brick Walls, with Floor tiles attached, then repeat step 4 using this Brick Wall (with the clips) and the remaining Brick Wall (without the clips).

Step 6: Attach the semi-circled Brick Door, with Brick Wall and Floor attached, and the Brick Wall, with Brick Wall and Floor attached, to each other using the clips on the Brick Door. This will complete the first floor. The result will be as shown.
Step 7: Repeat steps 4-6 using four RPG Brick Walls with Slits and four Floor tiles. This will make the second floor of the Round Tower, as shown.
Step 8: Repeat steps 4-6 using the remaining four RPG Brick Walls with Slits and four Floor tiles. This will make the third floor of the Round Tower, as shown.
Step 9: Repeat steps 4-6 using the four RPG Machicolations and remaining four Floor tiles. The end results should look like this.
 My Account


