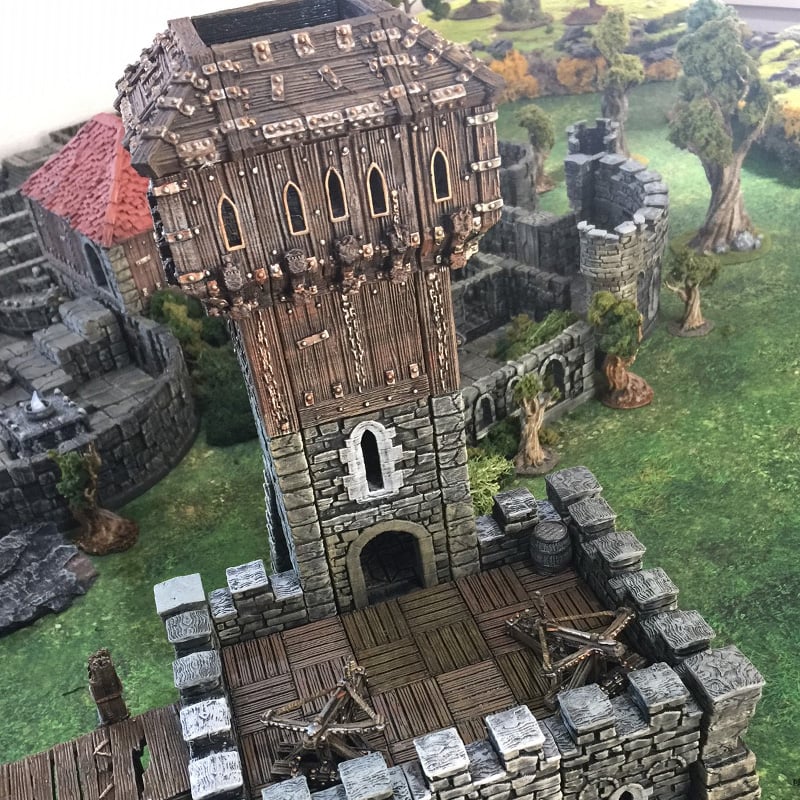
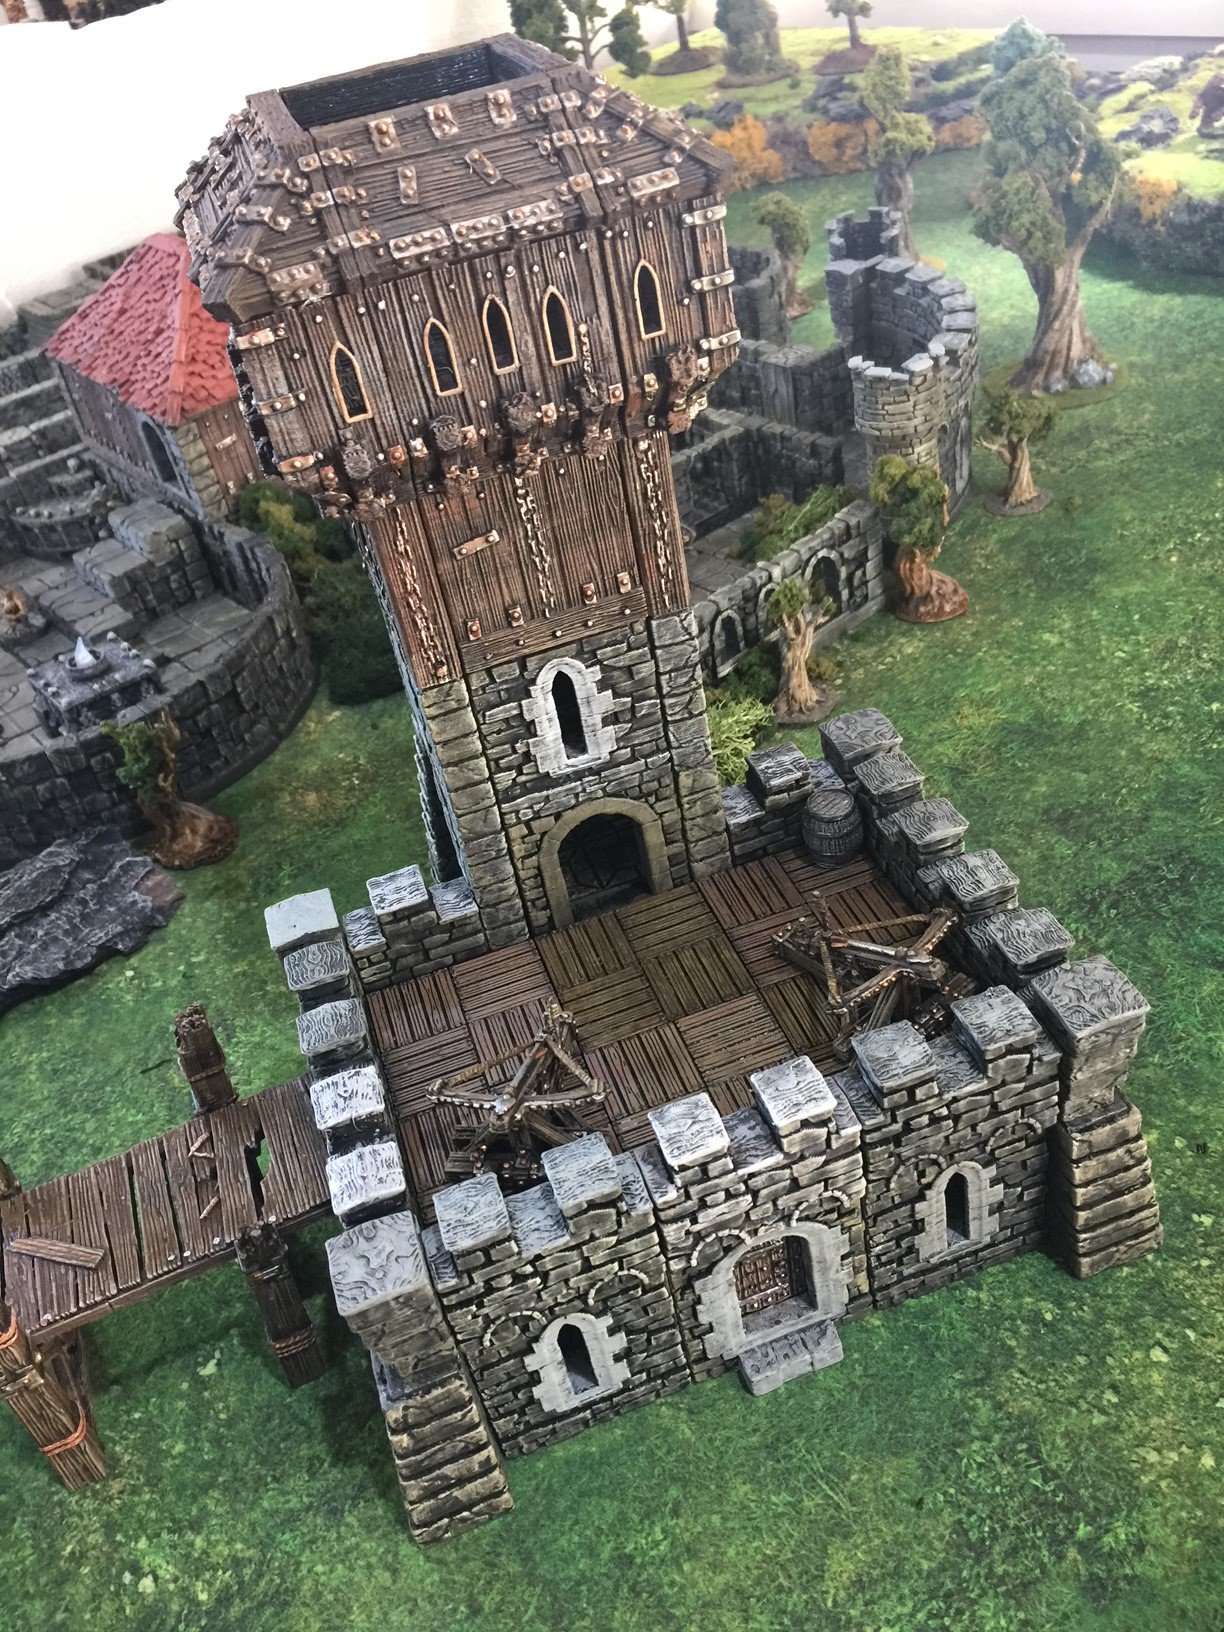
Rampage Tower and Hoarding with Keep Assembly
Instructions for building the Keep
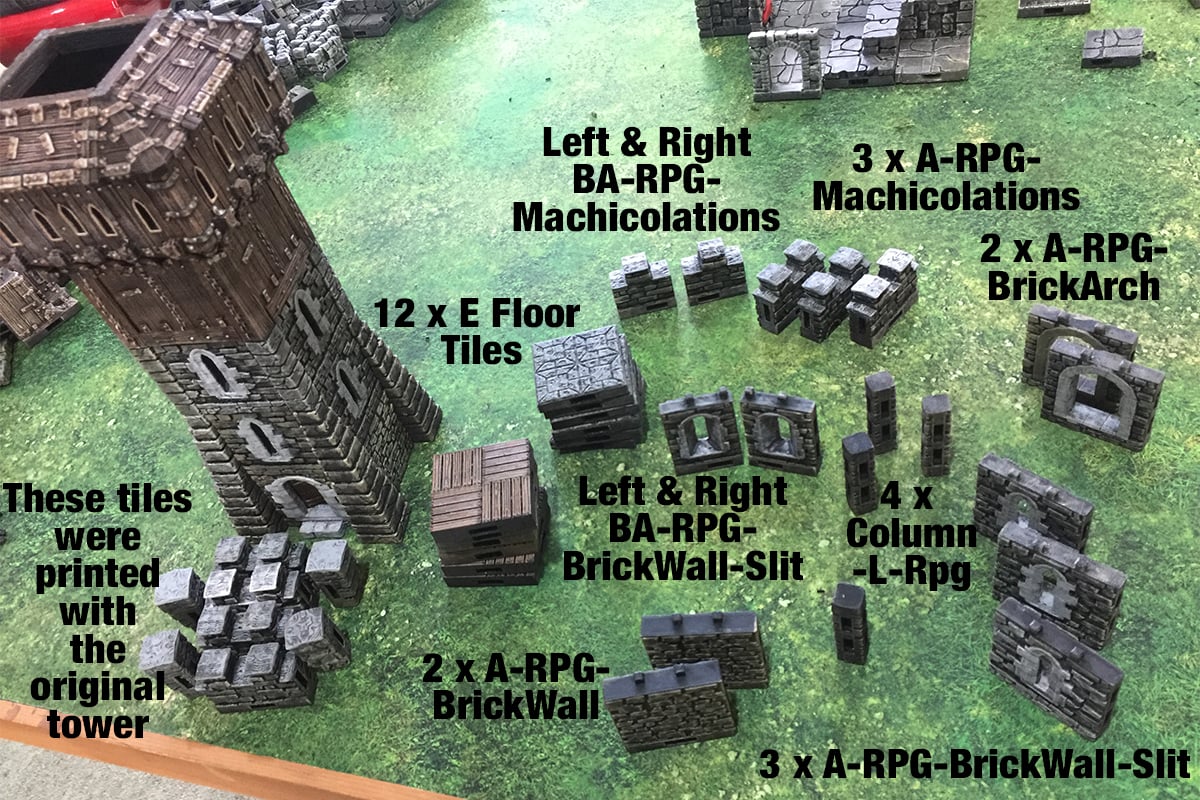
The Keep components that require printing (Print these parts at 2 micron/0.2mm nozzle)
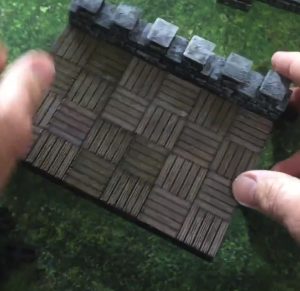
- 12 x E Floor Tiles
- 2 x A-RPG-Brickwall
- Left & Right BA-RPG-Machicolations
- 3 x A-RPG-Machicolations
- 2 x A-RPG-BrickArch
- 4 x Column-L-RPG
- Left & Right BA-RPG-BrickWall-Slit
- 3 x A-RPG-BrickWall-Slit
- Includes tiles printed for the original Tower
Follow the assembly guide and video below
Assembly guide
Step 1: Dismantle the first and second floor of the Rampage Tower with Hoarding and replace the Level one and Level two Corner Buttress pieces, on the side which the door faces outwards of on the Rampage Tower, not the rear ones. Also replace both the RPG Brick Door and RPG Brick Wall with Slit piece, above the Door, with both RPG Brick Arch pieces.
Step 2: Reassemble Rampage Tower with Hoarding.
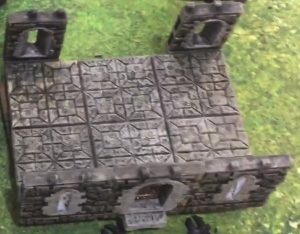
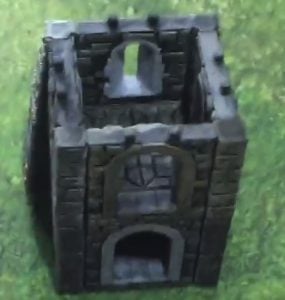
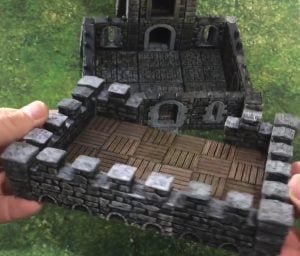
Step 3: Attach 6 of the E Floor Tiles together in a rectangular shape, 2 by 3, then attach the RPG Brick Door, which was just taken from the Rampage Tower with Hoarding, and connect 2 Brick Wall with Slit either side of the Brick Door. After connecting them attach the E Floor Tiles and connect them so there is a Floor piece connected to the Brick Door and two Brick Walls with Slits. Attach the Left and Right Brick Walls with Slits to the opposite side of the Brick Door and Brick Walls with Slits.
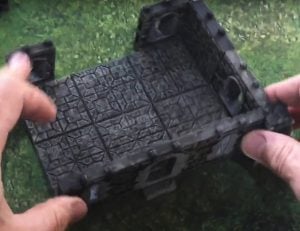
Step 4: Now connect a RPG Brick Wall and Brick Wall with Slit together. Connect one Level 1 and one Level 2 Corner Buttress to either side of the Brick Wall and Brick Wall with Slit, with the Level 1 Buttress connected to the Brick Wall with Slit. Then attach this to the Floor Piece you made previously, with the Brick Wall with Slit on the side with the Brick Door. Then repeat and Do this step again, but attaching to the other side.
Step 5: Now you can attach the tower to the open slot. This will be your first floor.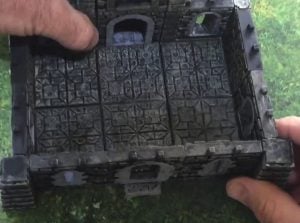
Step 6: Connect the remaining 6 Floor Tiles together, in the same fashion as before. Then attach three Machicolations together and connect them on to the long side of the Floor Tiles.
Step 7: Then connect both the left Machicolations to the edges of the far side of the three other Machicolations.
Step 8: Repeat step 4 Using the 4 Machicolations, printed with the original tower, and the 4 Machicolation Corner Pieces.
Step 9: Fit this floor on top of the previously made floor, and into the Tower with Hoarding. The result should look like this.
Congratulations, you have completed the Rampage Keep Assembly.
Assembly Video