
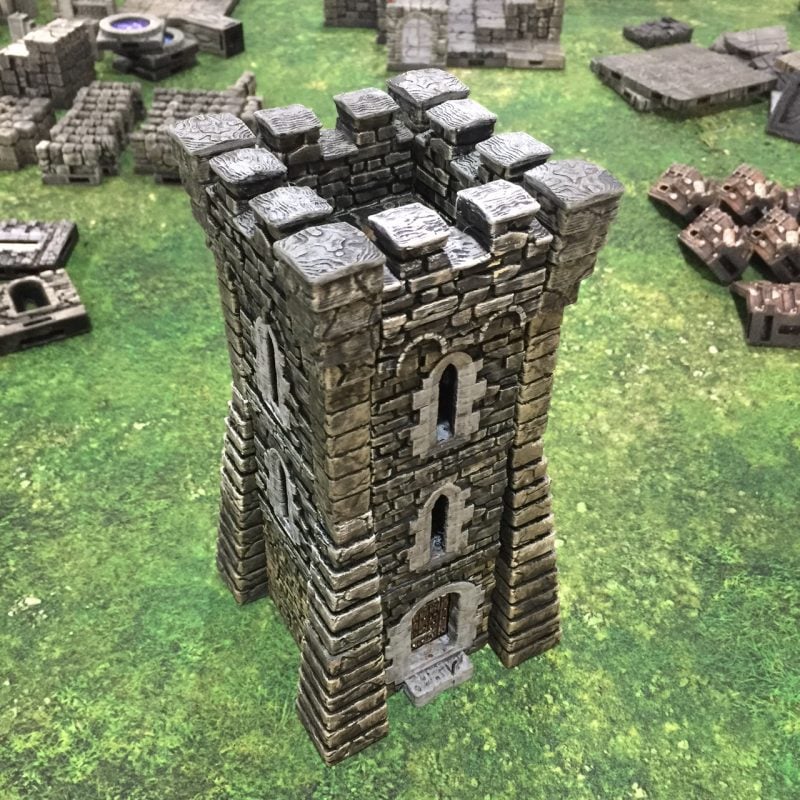
Rampage Tower Assembley
Instructions for building the Rampage Castle Tower
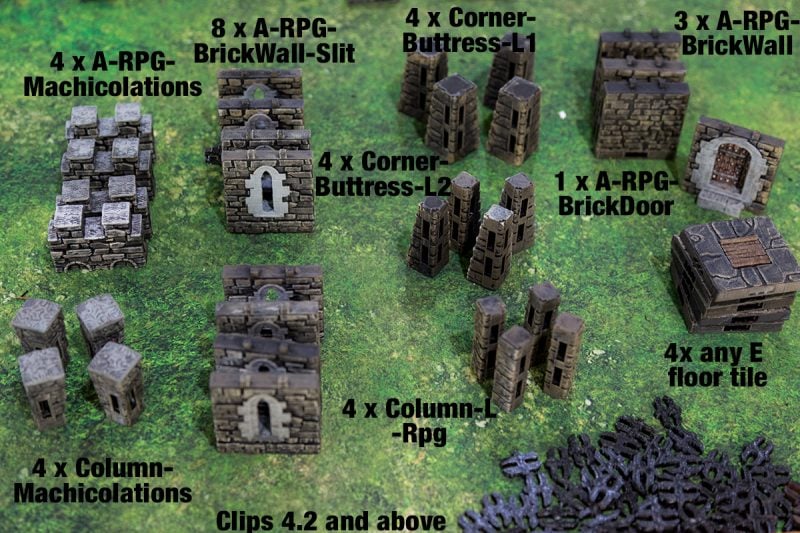
Basic tower components that require printing (Print these parts at 2 micron/0.2mm nozzle)
- OpenLOCK Clips 4.2 and above
- 4 x A-RPG Machicolations
- 4 x Column Machicolations
- 8 x A-RPG-Brickwall- Slit
- 4 x Corner-Buttress-L1
- 4 x Corner-Buttress-L2
- 4 x Column-L-Rpg
- 3 x A-RPG-Brickwall
- 1 x A-RPG-BrickDoor
- 4 x Any E Floor tile
Follow the assembly guide and video below
This will give you a good idea of the basic Rampage System Construction
Assembly Guide
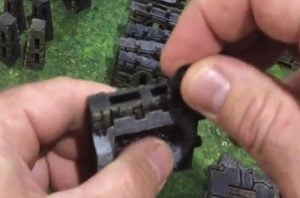 Step 1: Starting with the RPG Brick Door, insert one OpenLOCK clip into one of the slots each side of the door as shown below. These clips act as joining parts to connect pieces together.
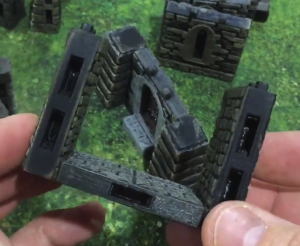
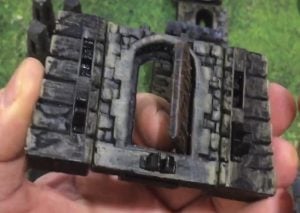 Step 2: Attach two Corner Buttress-L1 pieces either side of the door, sliding the clips attached to the door into the slots of the corner pieces, with the slots on the other side facing inward, as shown. Attach clips to all vacant slots in both corner and door pieces.
Step 3: Repeat steps 1-2 connecting an RPG Brick Wall piece to the two remaining Corner Buttress-L1 pieces.
 Step 4: Attach two clips to opposite sides of an E-Floor tile, then attach the remaining two RPG Brick Wall pieces to the floor.
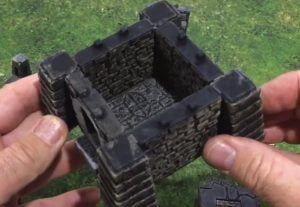 Step 5: Clip previously worked-on pieces (Brick Door with corner buttress’ and Brick Wall with corner buttress’) to both non-walled sides of the floor piece, using the clips to join all pieces together. The end result should look like this.
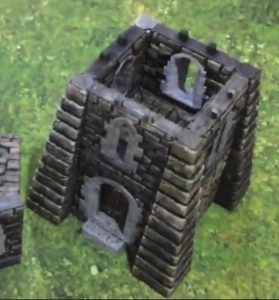 Step 6: Repeat steps 1-5 using four Corner Buttress-L2, four RPG Brick Walls with window slots and an E floor tile. Stack this floor on top of the first floor. The end result should look like this.
 Step 7: Repeat steps 1-5 using four Column-L-RPG for the corner pieces, four RPG Brick Walls with window slots and an E floor tile. Stack this floor on top of the first floor. The end result should look like this.
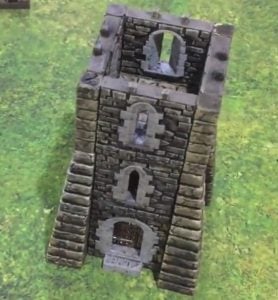
Step 8: The final floor will use four Column Machicolations, four RPG Machicolations and an E floor tile. Construct them using the same technique as shown in steps 1-5. The end result should look like this.
Congratulations, you have completed the Rampage Castle Tower.
Assembly video
Please share this post as much as possible and let me know any questions or comments in the comments section below