Description
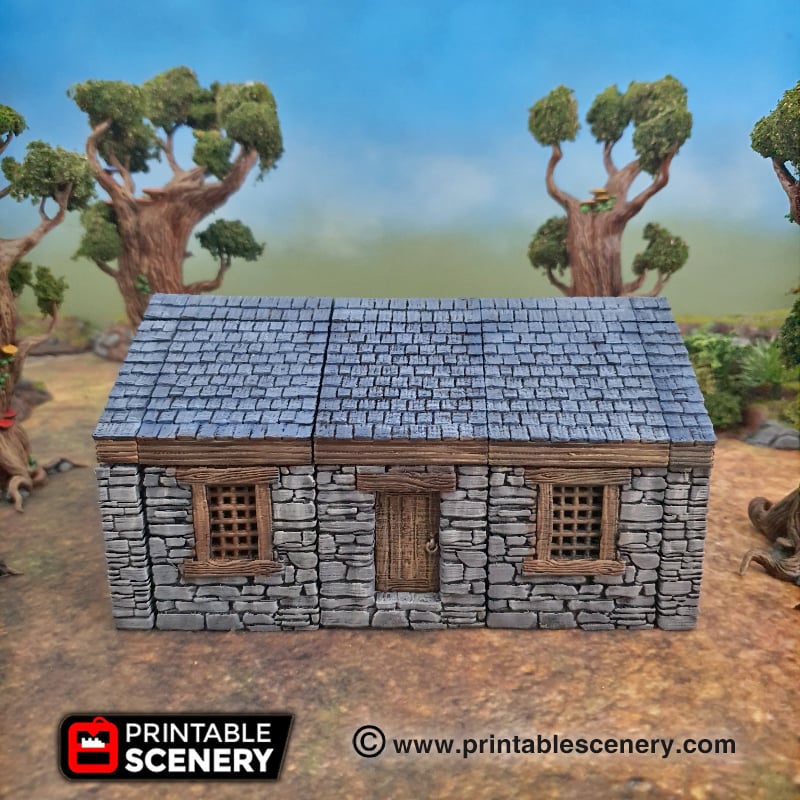
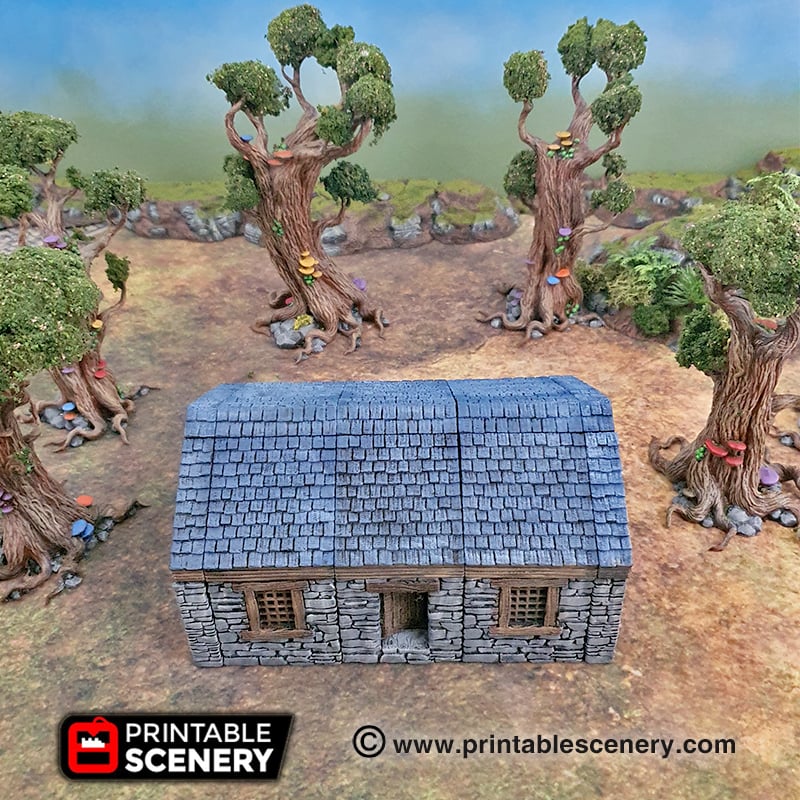
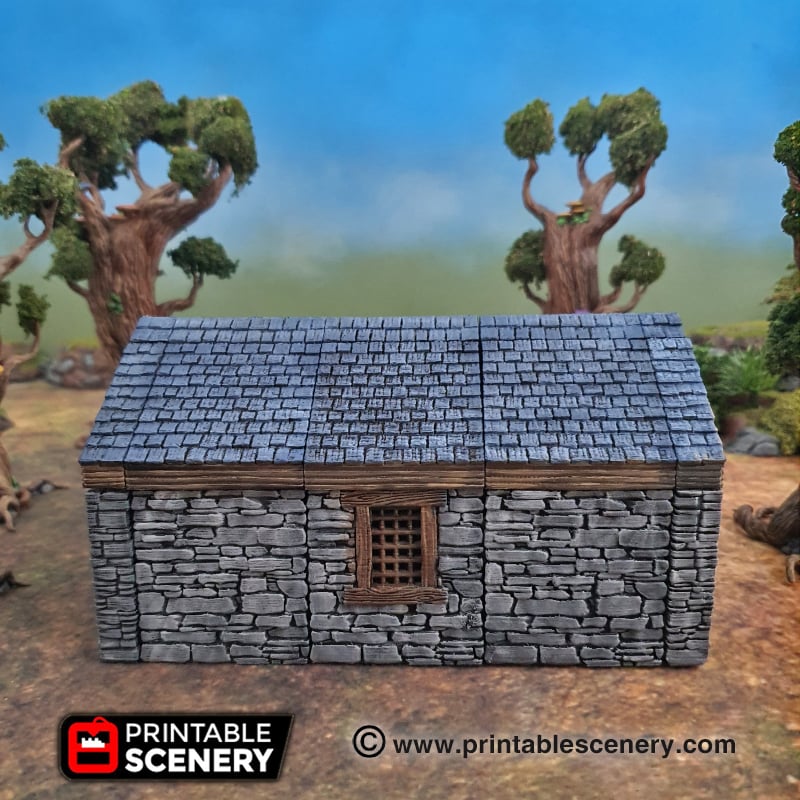
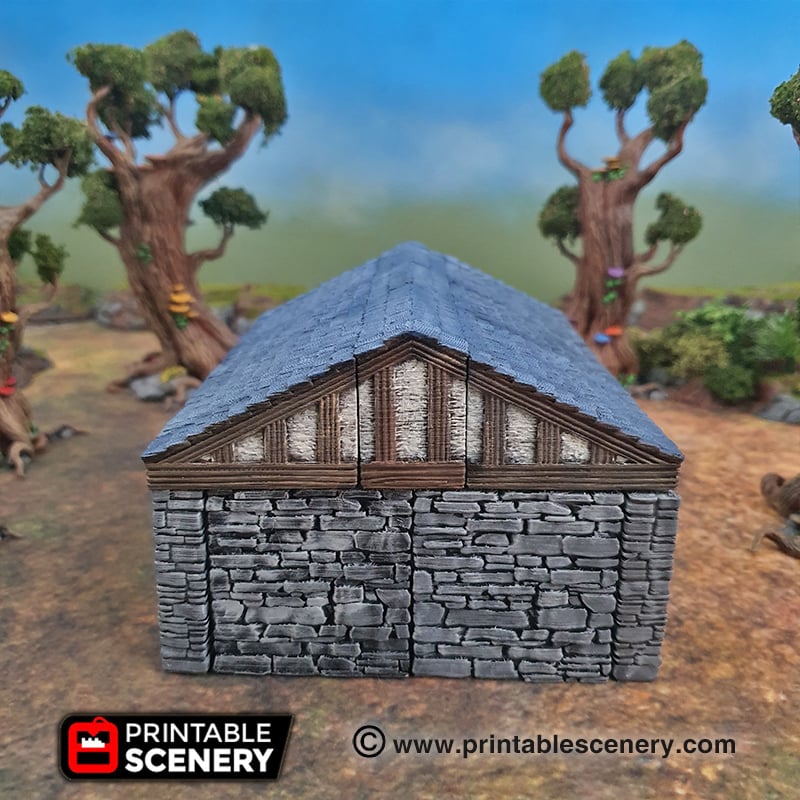
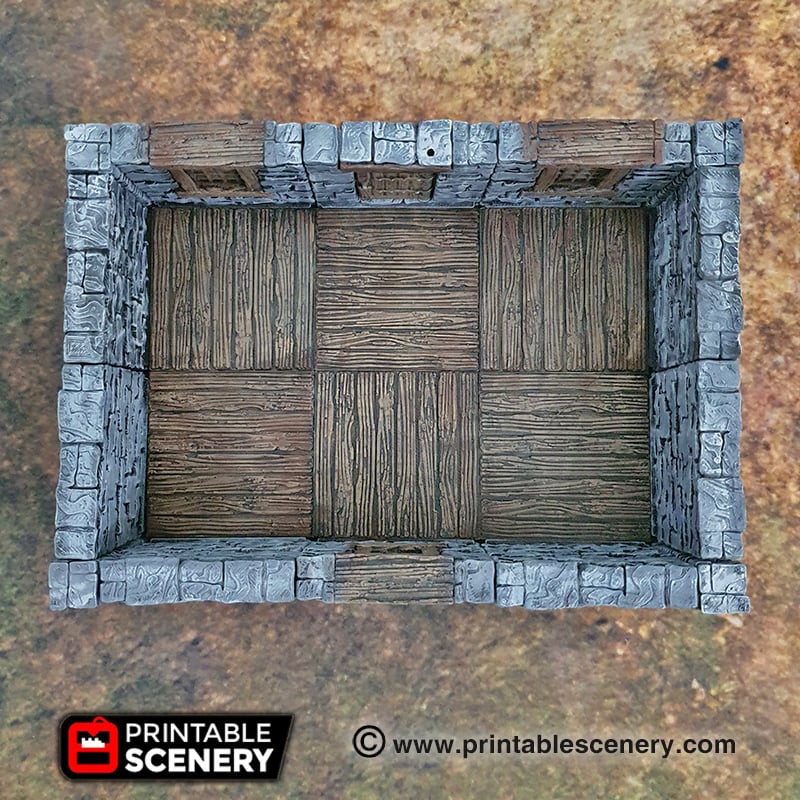
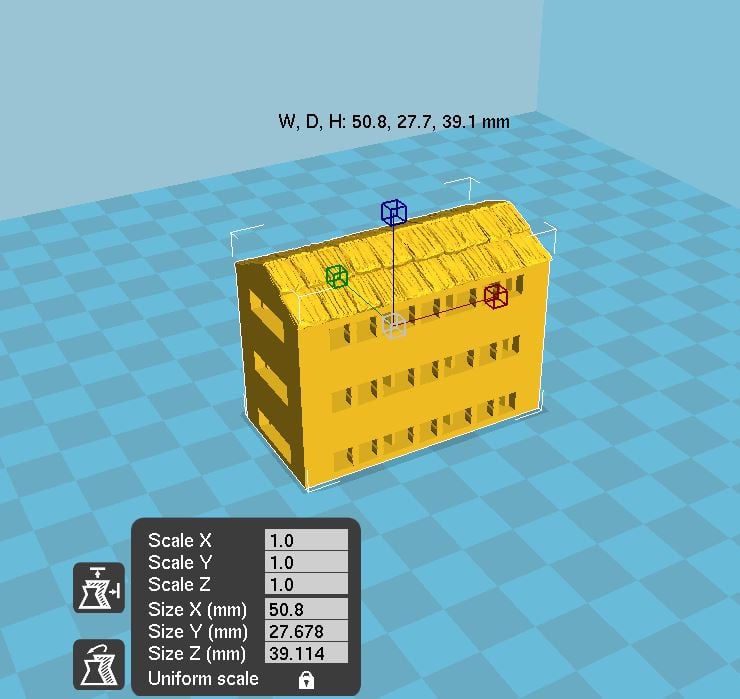
The newlyweds had bought their first house, a quaint little cottage off the plan with a solid floor, walls and a leak proof roof.
To assemble the Basic House (as pictured) and other buildings of Clorehaven you can download the Assembly Guides.

Notes:
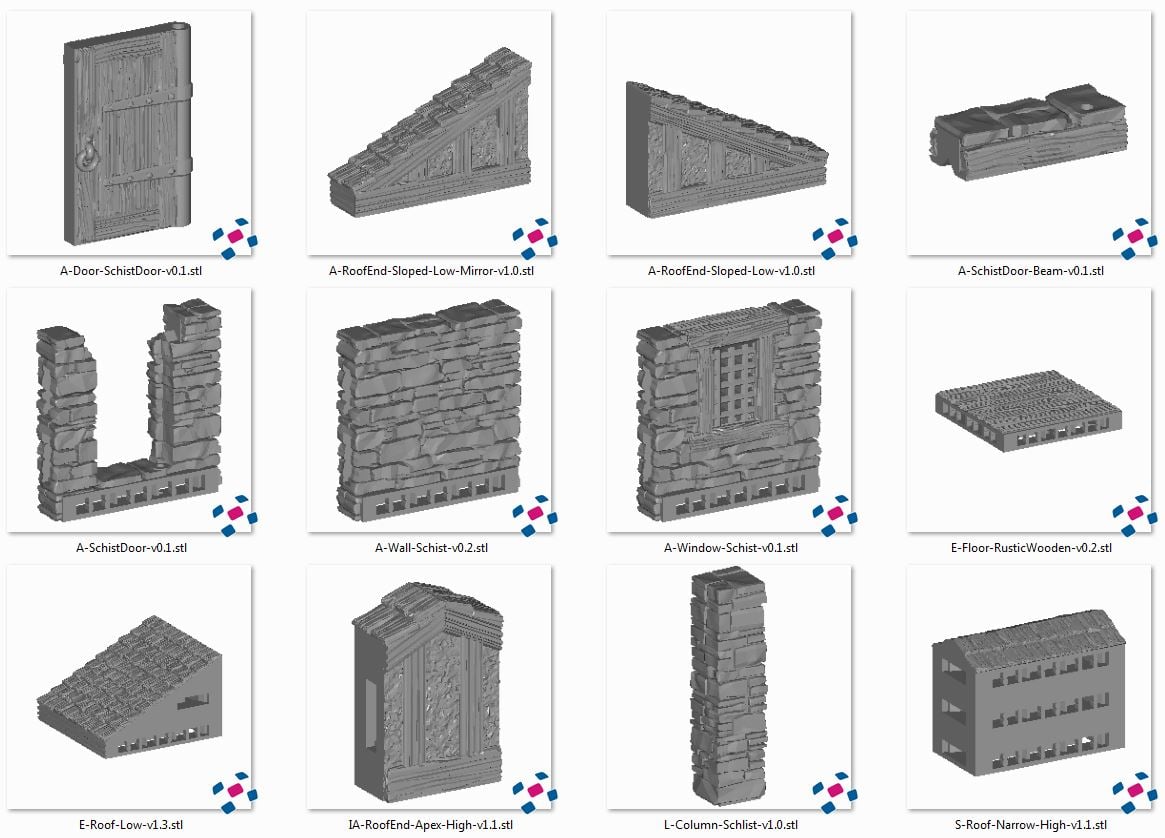
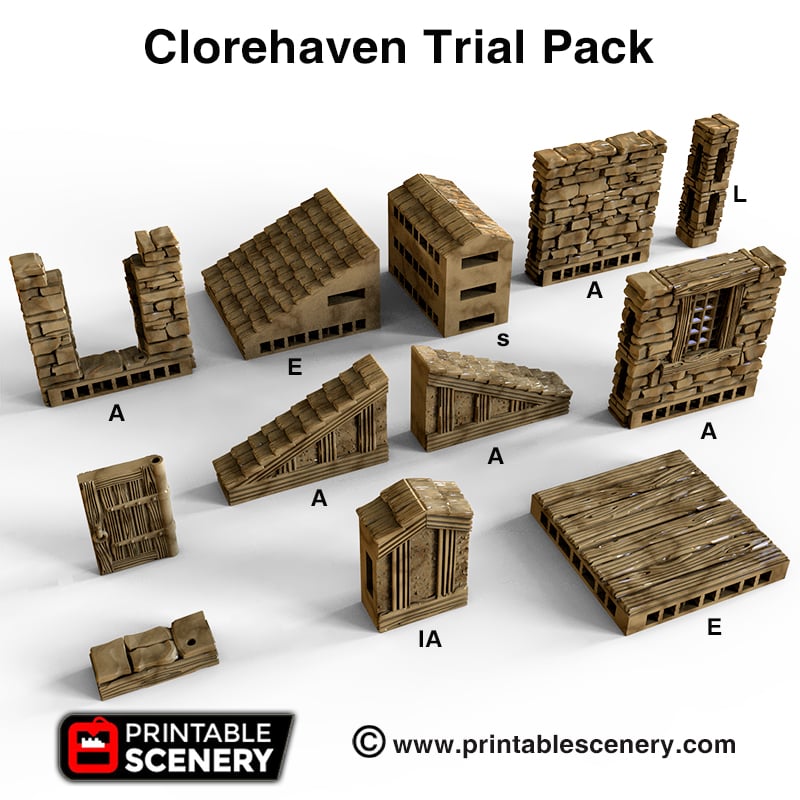
- Right-click on the image below and “Save As” to download the reference sheet for this pack.
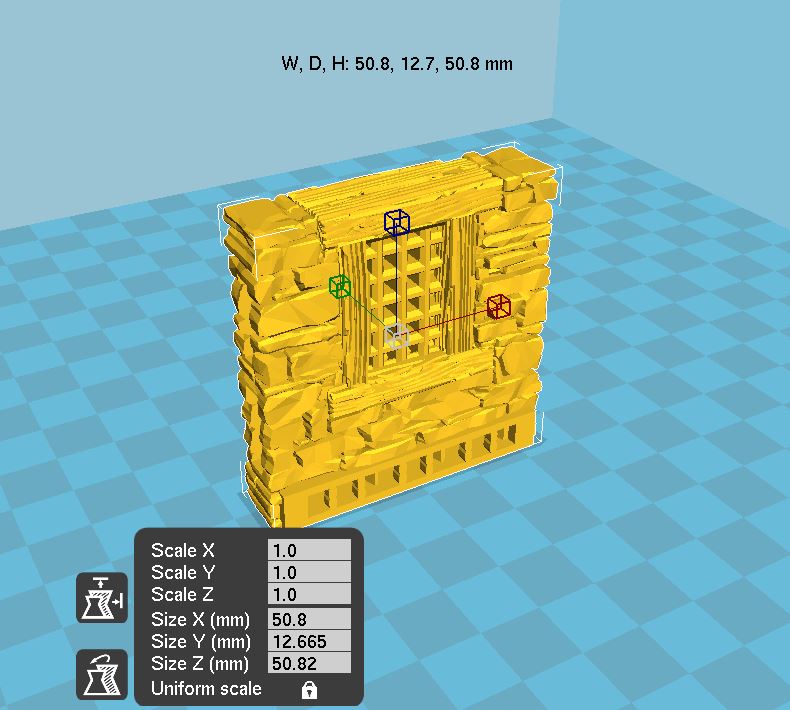
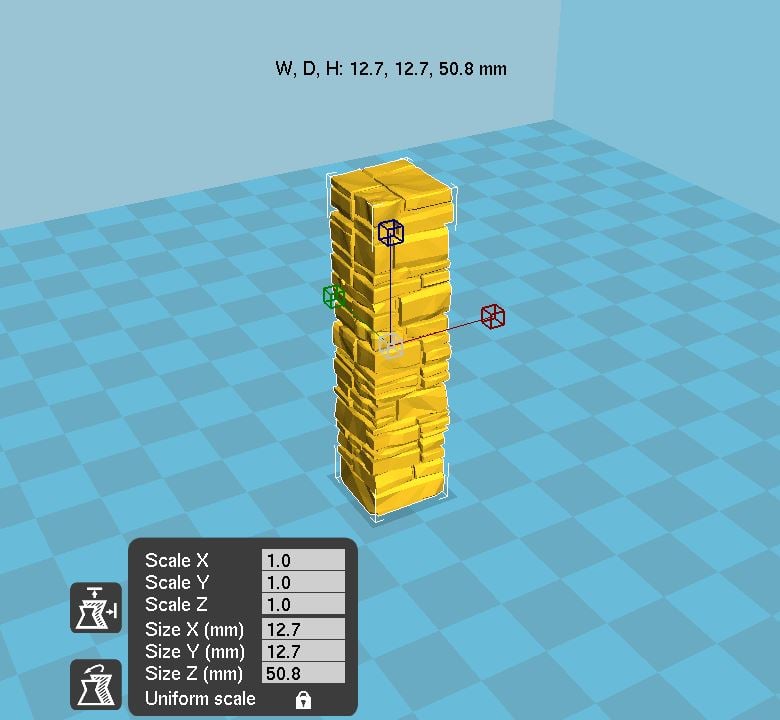
- Product measurements can be found in the image gallery.
- First Published version 1.1
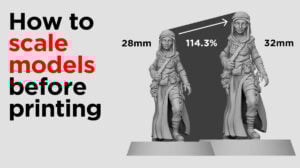
Use this tool to find the percentage needed to scale your model up or down when printing.
The highlighted row shows the model's current scale and other rows show what percentage to print at to reach that scale.
To set a custom scale, use the calculator in the bottom row.
- mm is the height based on the measurement from the bottom of the feet to the eye height of the average human
- Height is not the same as Base Size (A 28mm miniature will often have a 25mm round base)


Richard Hazard (verified owner) –
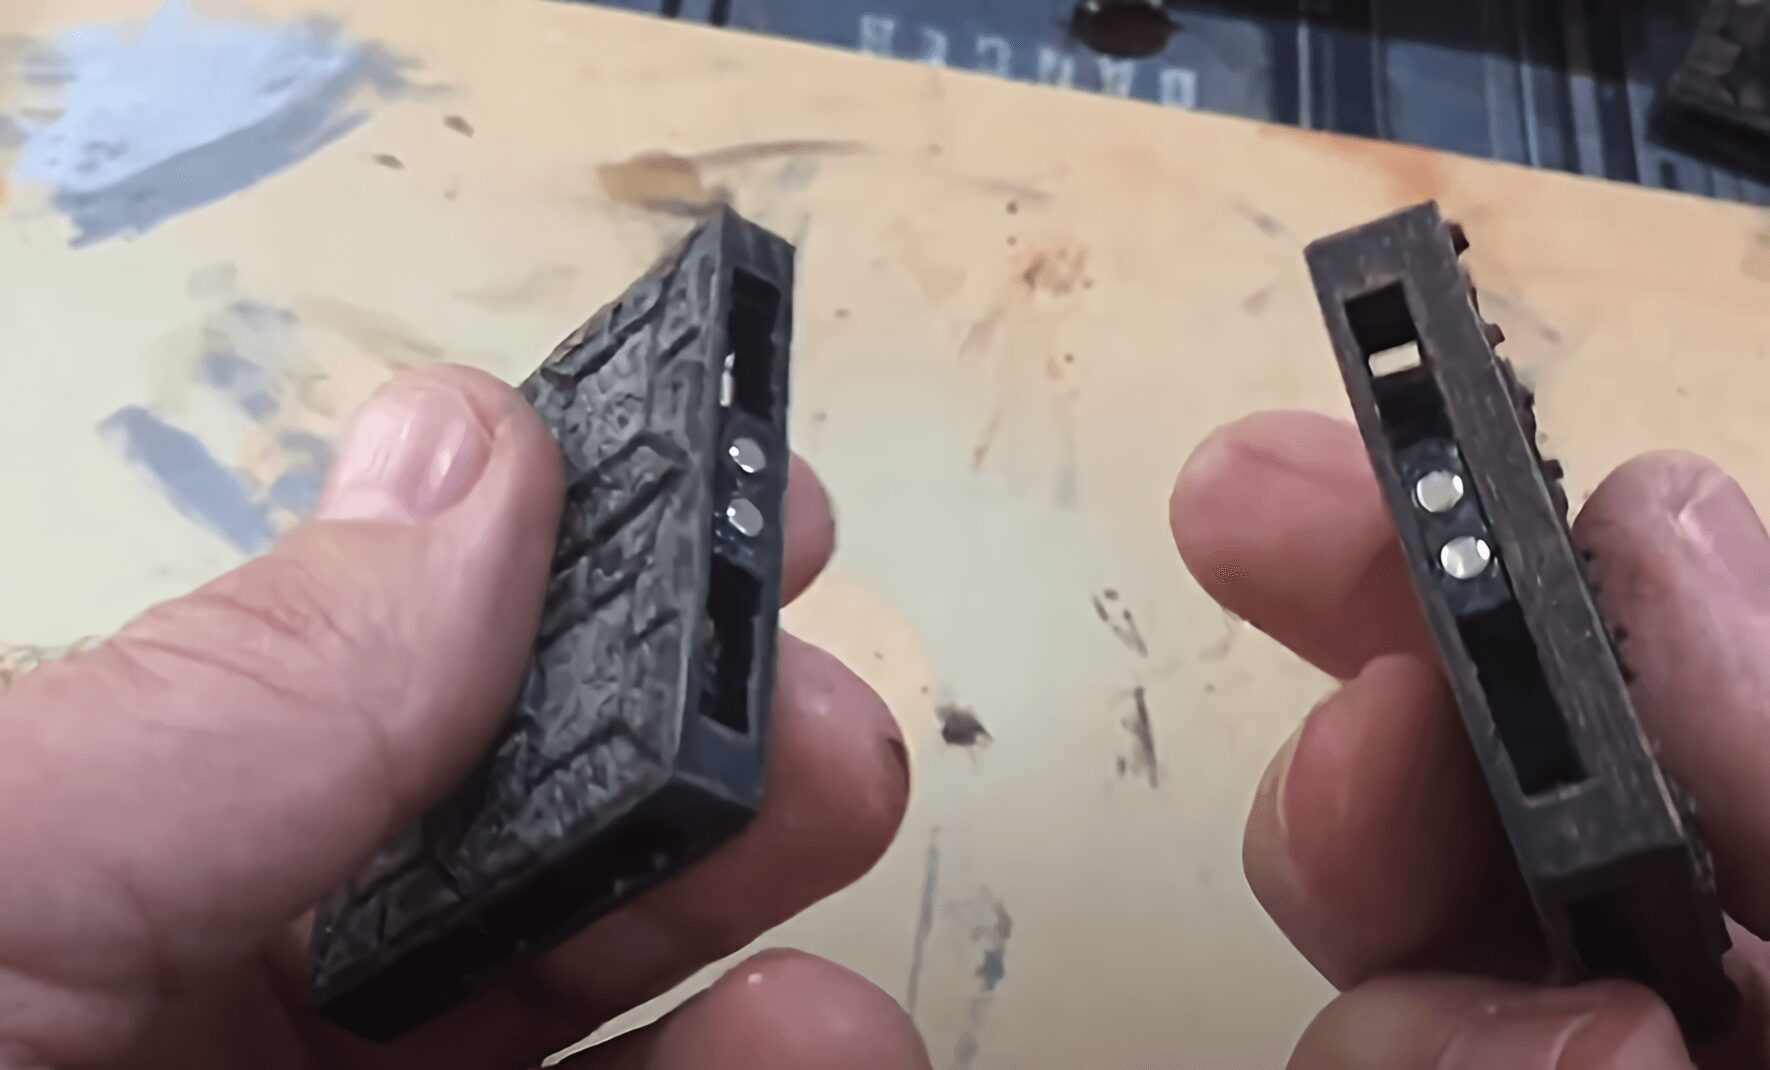
Can I ask how the roof attaches to the base? Normally, on say the rampage tiles, there are 2 pins on the top of the lower storey for the upper storeys to rest on.
Nicholas Jebson –
As the trial pack building is only small the roof should be able to sit on top without the need of top locking pins, If you do require wall sections with top locking pins they are available in the Schist walls pack.
grizpapa (verified owner) –
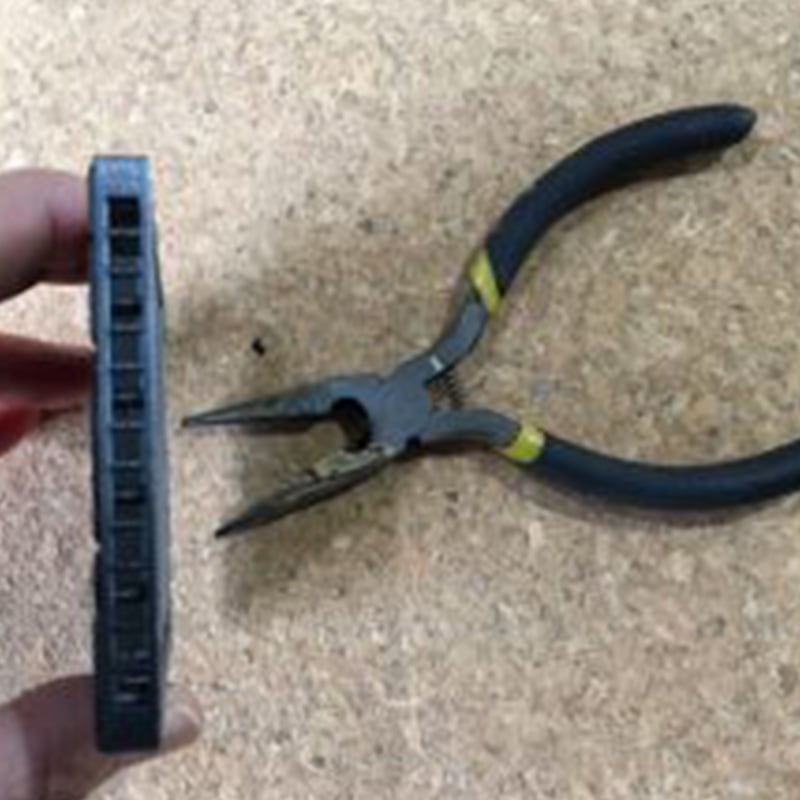
When I attempt to attach two walls or a wall and corner piece with the current Openlock clips, I am left with noticeable gaps between the two sections.
The Clip is either too big or the middle neck of the clip is too big or the slots aren’t deep enough.
BTW: I have no problem attaching the walls to floors or floors to other floors.
(Haven’t tried assembling the roof yet.)
I’m concerned because I backed the Terrain tinker and bought Clorehaven through the KS and will be disappointed if the same thing happens with those pieces.
Mike (verified owner) –
Hi Grizpapa,
Thanks for bringing this to our attention. With OpenLOCK there will always be a tiny gap (less than 1mm) between the pieces, just being the nature of the stone textured walls. However, the clips should fit in quite smoothly.
One solution would be to scale down the clips by 5-10% so they fit in easier. This should allow them to still lock in but be easy to remove when interchanging pieces.
If the gap between wall sections is more than 1mm could you send through some images and we will investigate further.
grizpapa (verified owner) –
Okay, I’ll give that a shot and see how it goes.
I’ll report back once I get some printed and try them.
Chris Emmett (verified owner) –
Hi,
I’m seemingly getting the layes splitting when printing S-Roof-Narrow-High-v1.1 on an Ender 3 with your recommended cura settings (https://www.printablescenery.com/2020/01/21/creality-ender-3-cura-4-4-1-settings/)
It’s worth noting that I don’t have an aluminum extruder, and that I’ve managed to print out
the rest of the roof and the end pieces just fine.
Anything I’m missing?
Nicholas Jebson –
What is the ambient temperature in the printing room at the moment? usually splitting like you are describing happens when the temperature around the printer is relatively cold, and the plastic is semi-setting before it is fully laid down and bonded to the layer below it. would this be a possibility in your part of the world at the moment?