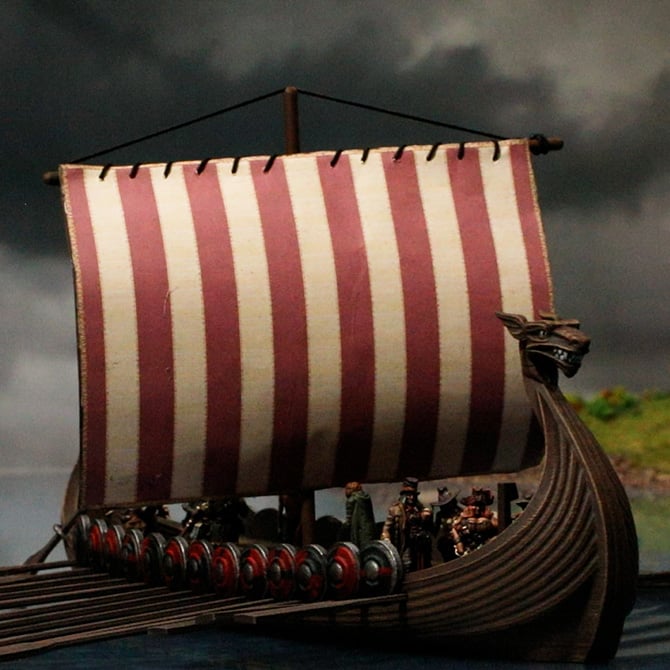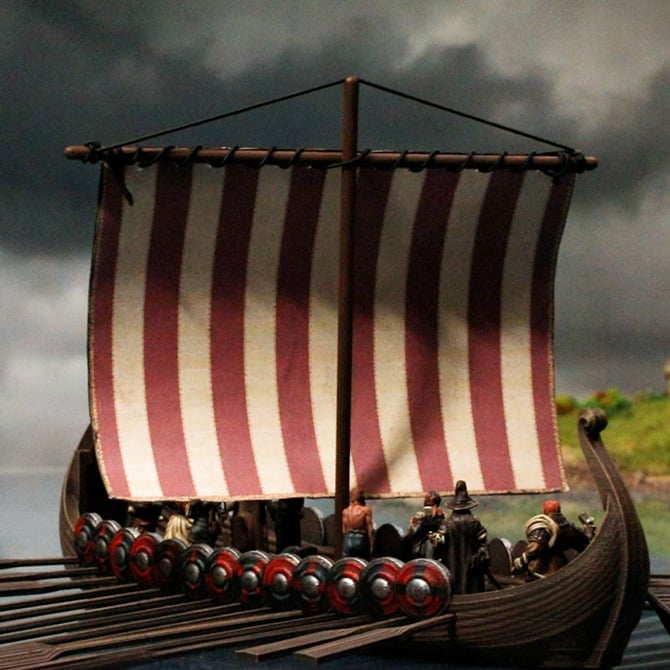

How to rig the Viking Longship
In this article, we’re going to show you how we rig the sail for the Viking Longship, what hobby supplies you’ll need, and how to resize the mast base to fit our mast. The techniques used in this guide can also be applied to most other model ships.
For this guide, you’ll need the following supplies and tools:
- 4.5mm diameter dowel
- A pair of strong clippers
- Hobby rope
- Saw of some kind
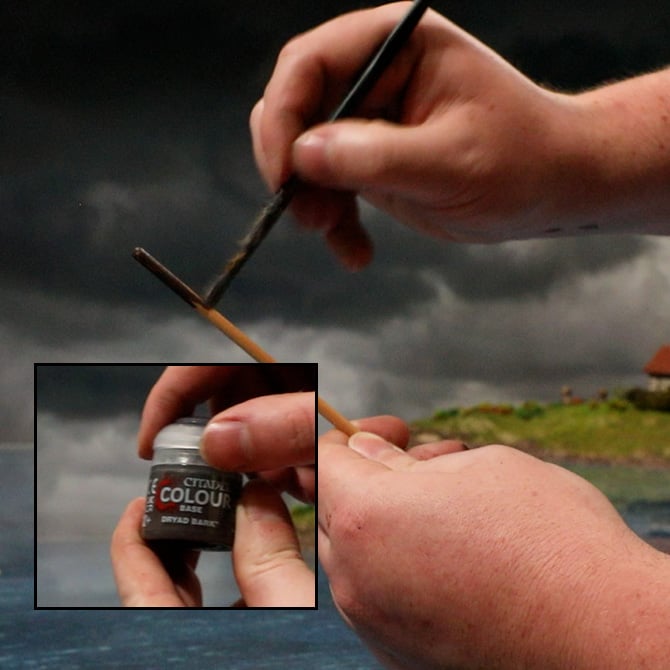
- Dryad Bark (Citadel)
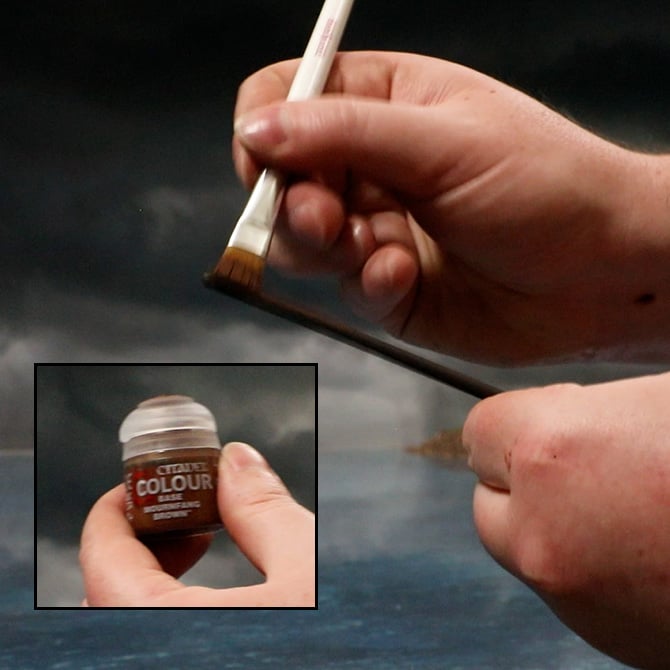
- Mournfang Brown (Citadel)
- Base brush
- Dry brush
To get started, take your 4.5mm dowel and cut off two pieces: one measuring 6.5” and the other 7”.
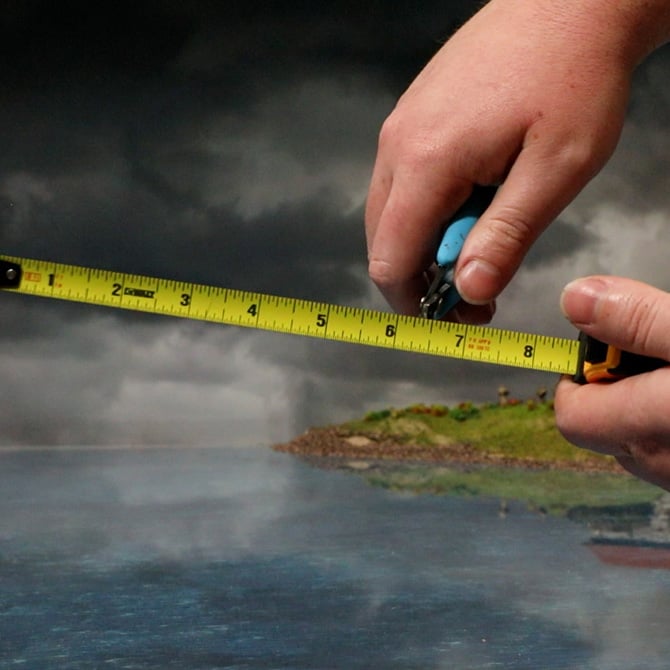
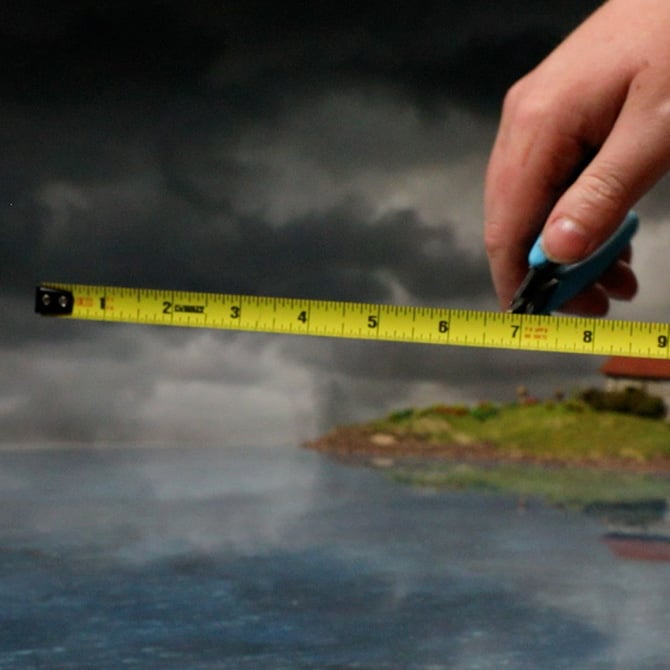
Using a file or some sandpaper, round off the ends of both pieces of wood.

To paint the wood, we’ve used Dryad Bark followed by a dry brush of Mournfang Brown. Alternatively, you could keep things simple with a brown wash like Agrax Earthshade or a Contrast paint such as Wyldwood.
For the sail itself, we’ve put together the design below, along with a mirrored version of the same image for the back.
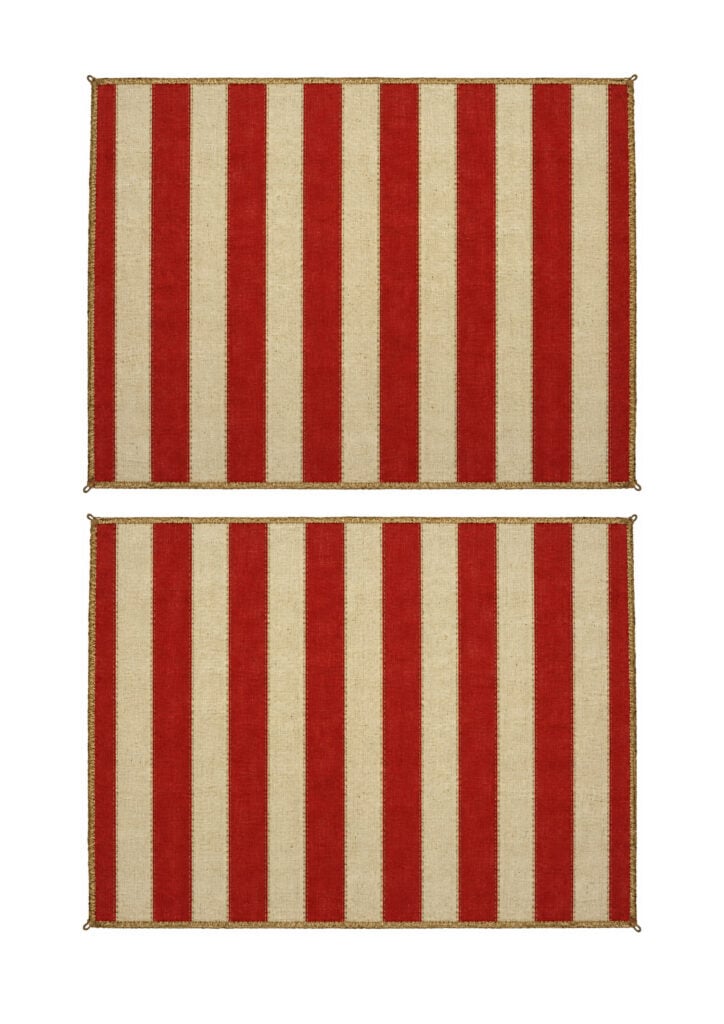
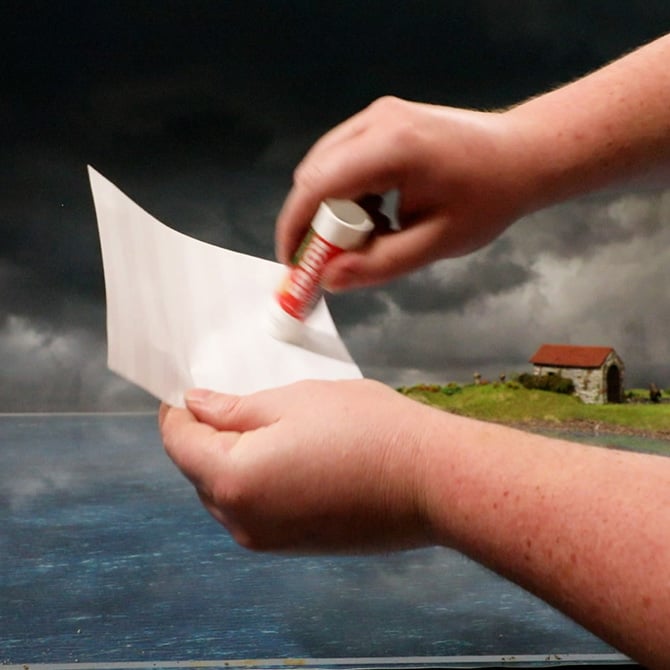
Cut out both pieces and glue them together.
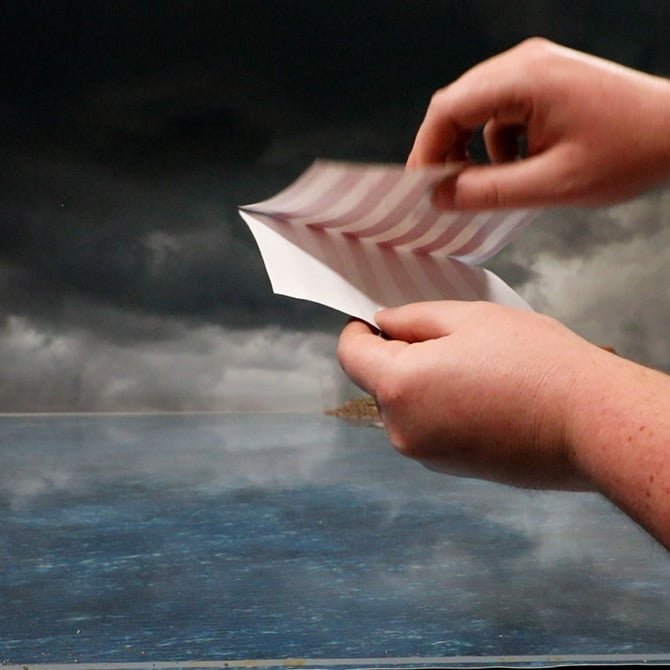
Paint over any white edges showing around the sail using a little more Dryad Bark. If you’ve used a wash or Contrast paint on your mast, avoid using those same paints on the sail, as the oils can soak into the paper and ruin it.
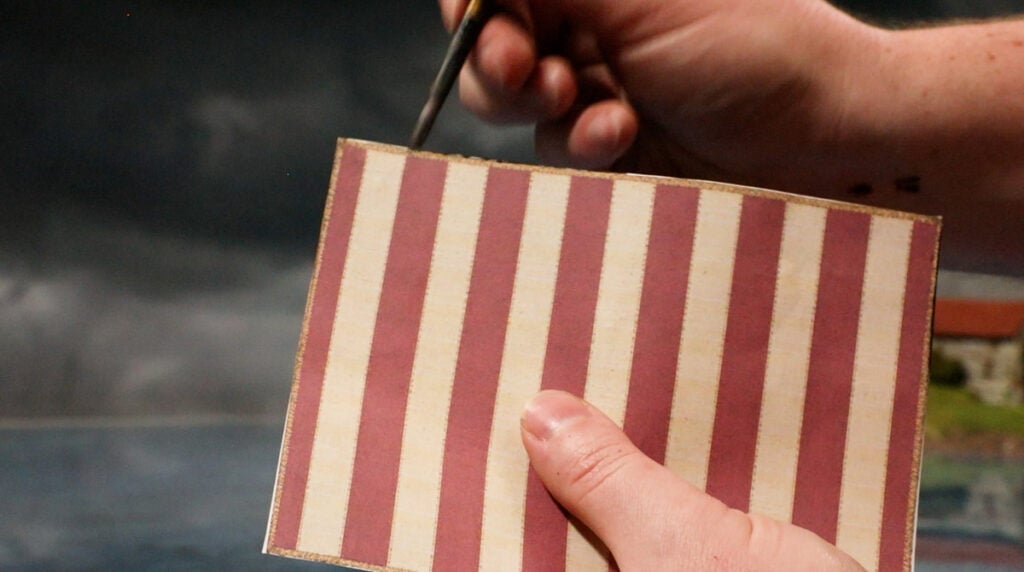
To give the sail a nice curve, firmly run the flat side of the paper against a solid edge. This could be a ruler, the edge of your desk, or something similar. We’ve found a spare piece of wood in the office that works just as well.
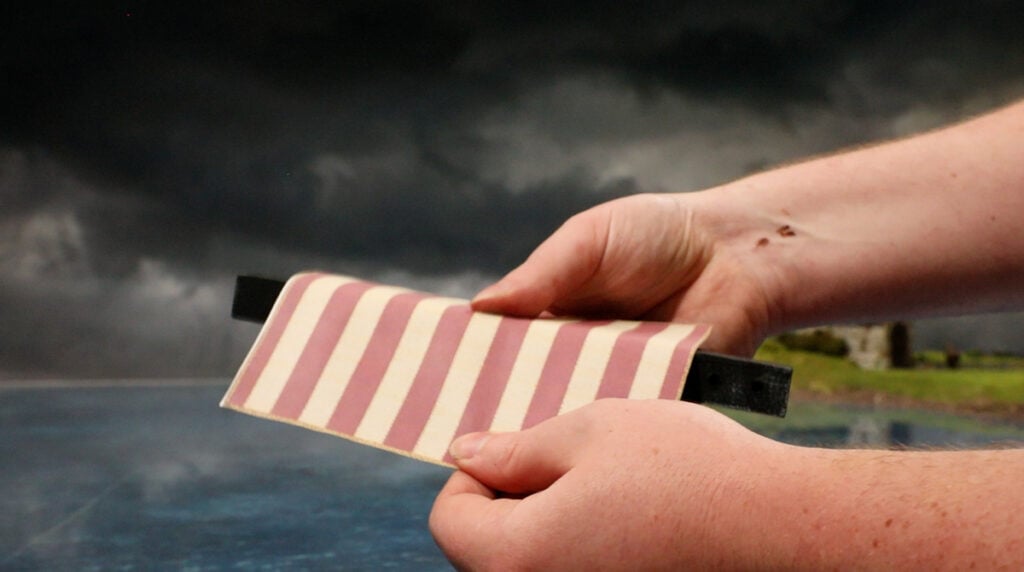
With the sail looking good, it’s time to start punching holes along the top. Be careful not to place them too close to the edge, as you can risk tearing the sail when threading the rope through later. Try to keep the holes evenly spaced and in a straight line. If you’re using the sail we’ve provided, an easy way to space them evenly is to punch a hole in the center of each stripe. You might also want to leave out the center hole, as this longer section of rope can be used to secure the mast to the yardarm later on.

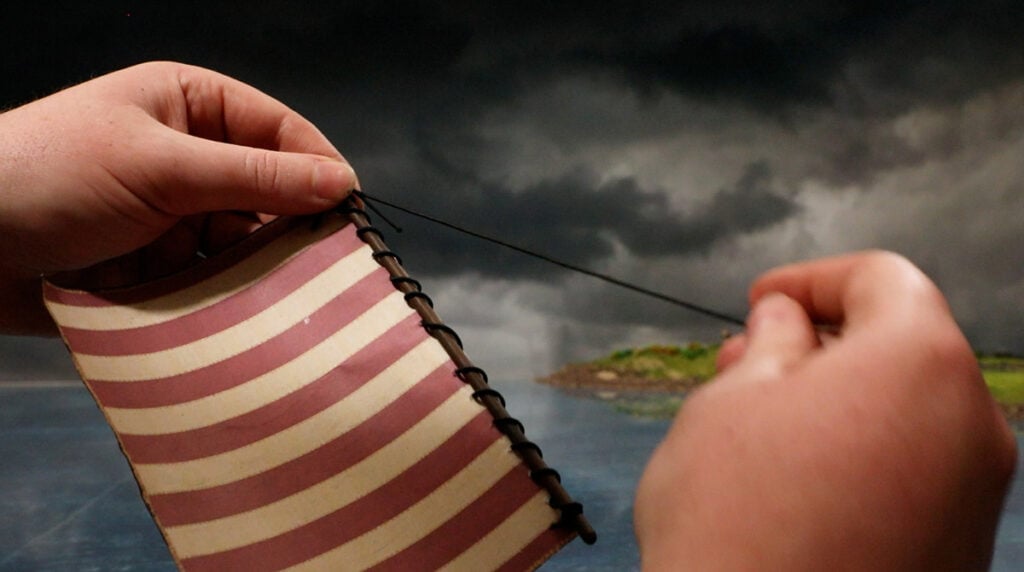
Thread the hobby rope through the holes and around the 7″ piece of wood that will become your yardarm, using a simple over-and-under pattern. Applying a small drop of superglue to the tip of the rope can help it keep its shape and make threading it through the holes a little easier.
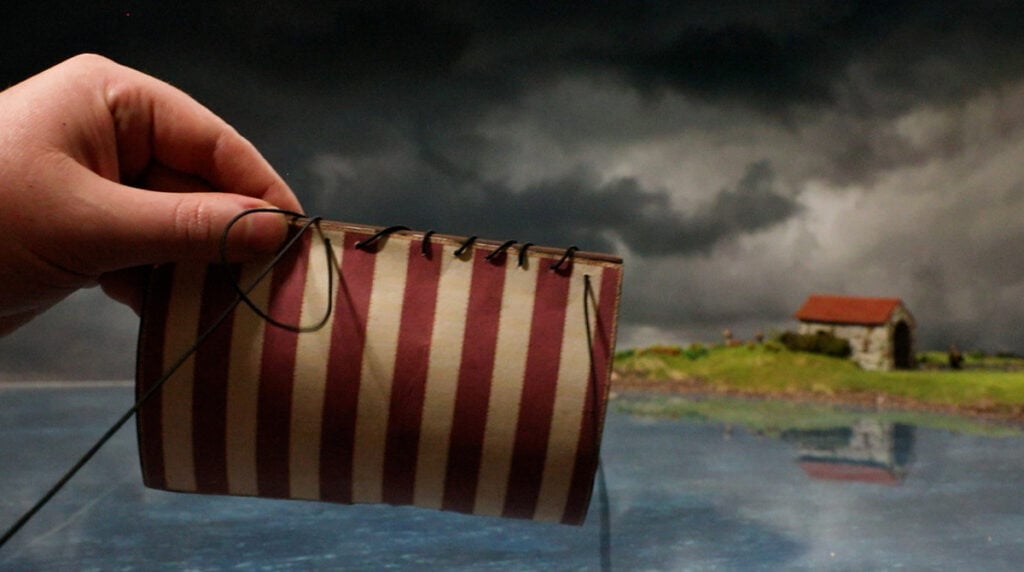
Once you’ve threaded the rope through, tie off both ends using a simple clove hitch.
Here’s a link to the wikiHow page on how to tie a clove hitch knot
Using another piece of rope, tie it to an end of the yardarm with another clove hitch. Run the rope along the length of the yardarm and tie it off with one final clove hitch. Make sure the rope is taut, but not so tight that it can’t bend or flex.
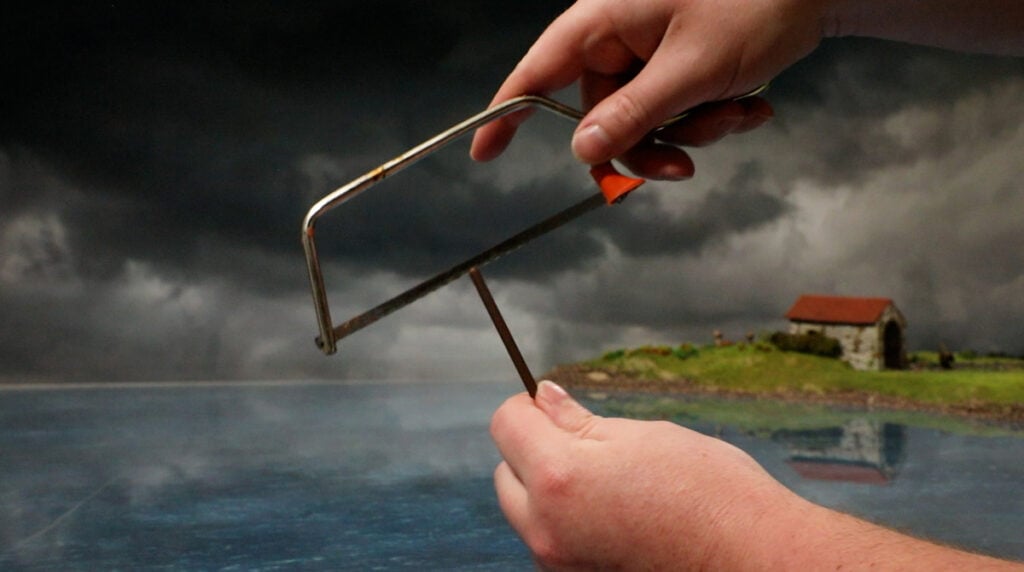
Take the 6.5” piece of dowel that will become your mast and, using a saw, cut a small notch into one end.
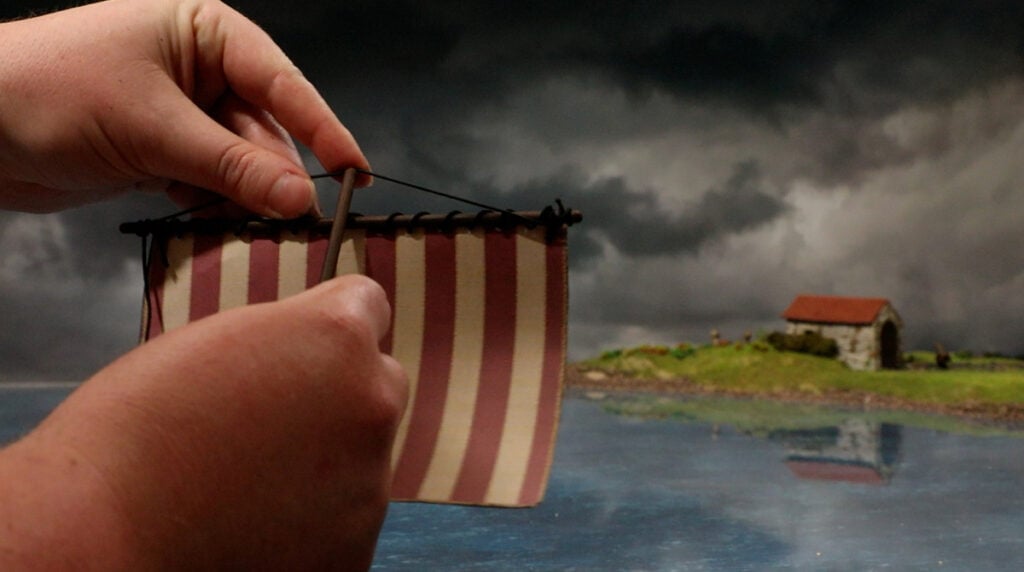
Clip the notched end of the mast into the rope running along the yardarm. The rope should flex to give the sail a nice triangular shape. For a little extra security, you can thread the mast through the yardarm’s looped rope or apply a small dab of PVA glue where the mast and yardarm meet.
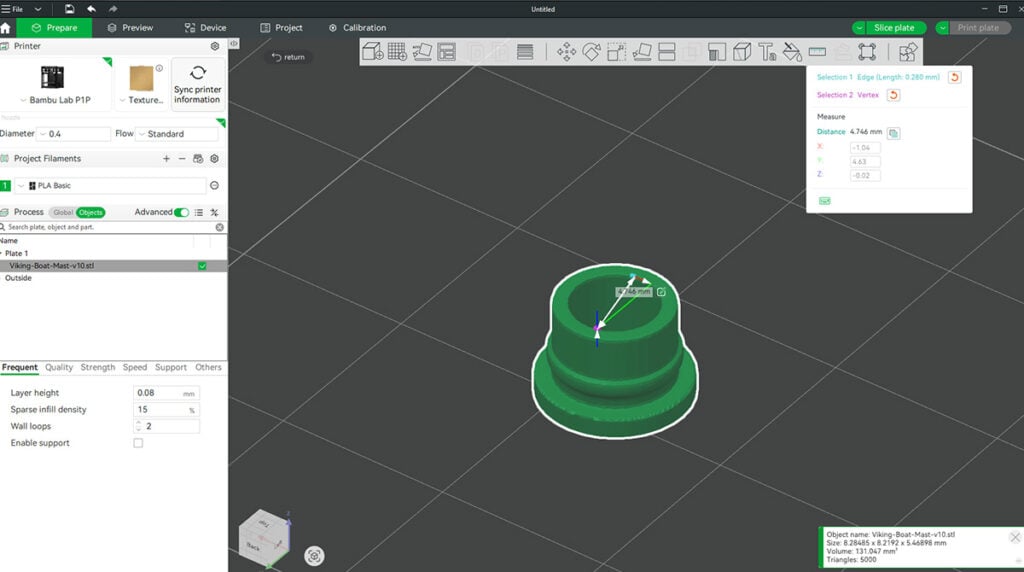
Now that the sail and mast are ready, it’s time to print the base that the mast will slot into. As our dowel is 4.5mm in diameter, we’ve opted to scale the mast base to 55%. This gives us enough room to fit the mast while keeping it snug enough that it won’t slip out.
With everything assembled and the mast base printed, your Viking Longship is complete and ready to raid!