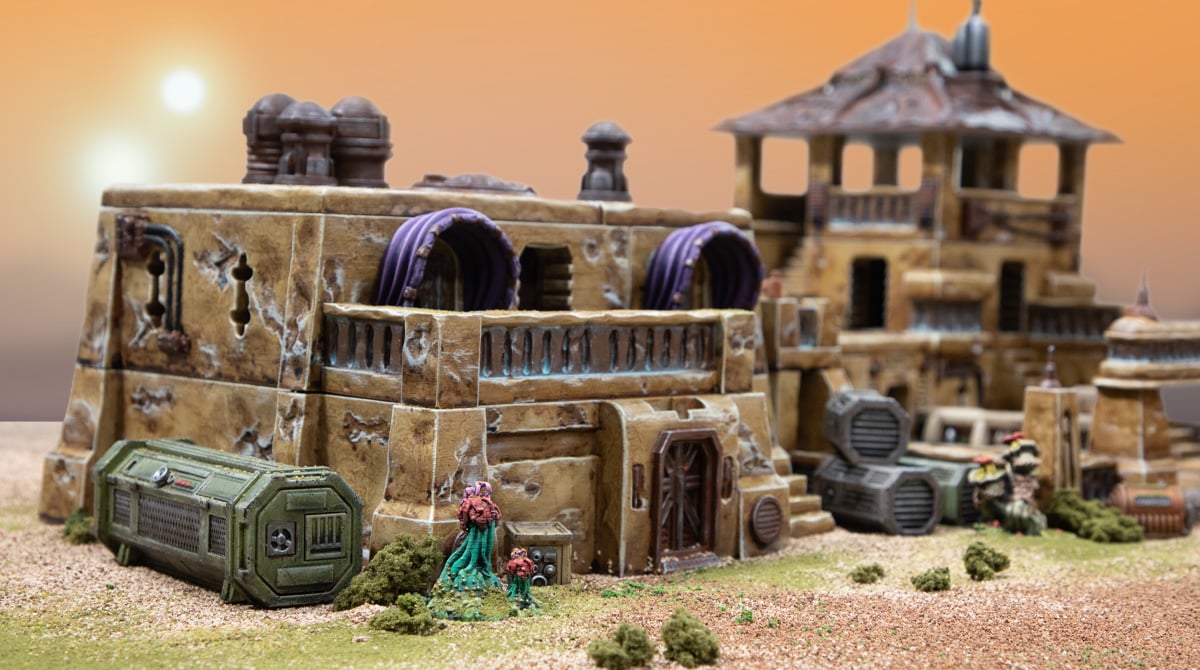
How to Paint the 3D Printed Desert Outpost Buildings
In this article, we’ll show you how we painted our 3D-printed Desert Outpost buildings, covering the paints we used, the techniques we used, and any tips we have along the way. These new sci-fi models are a great opportunity to try some new things from our typical wood and brick we commonly see in fantasy terrain, so let’s have a look.
For this paint tutorial, you’ll need the following:
- Your Desert Outpost models
- Army Painter Skeleton Bone Primer (rattle can or a paint match from your hardware store, as we use)
- Sepia wash – Vallejo (thinned 50/50 with water)
- Agrax Earthshade – Citadel
- Arid Earth – Army Painter
- Mournfang Brown – Citadel
- Skrag Brown – Citadel
- Rhinox Hide – Citadel
- Silver – Vallejo
- Tinny Tin – Vallejo
- Toxic Mist – Army Painter
- Bronze – Vallejo
- Matt Black – Army Painter
- Mechanicus Standard Grey – Citadel
- Wyldwood – Citadel
- German Camo Pale Brown – Vallejo
- Banshee Brown – Army Painter
When it comes to paint brands, we all have our favorites. We use a mix of brands and cherry pick the paints we like for their colour and consistency, but you can easily colour match our choices for a brand you own or prefer rather than buying all new paints.
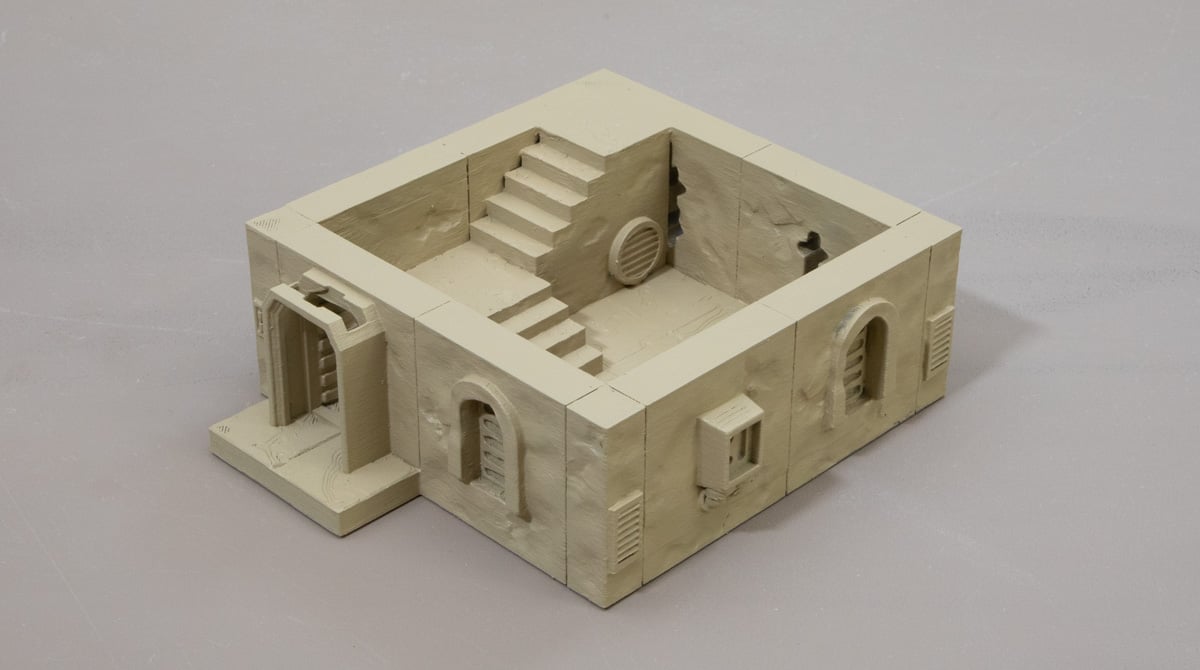
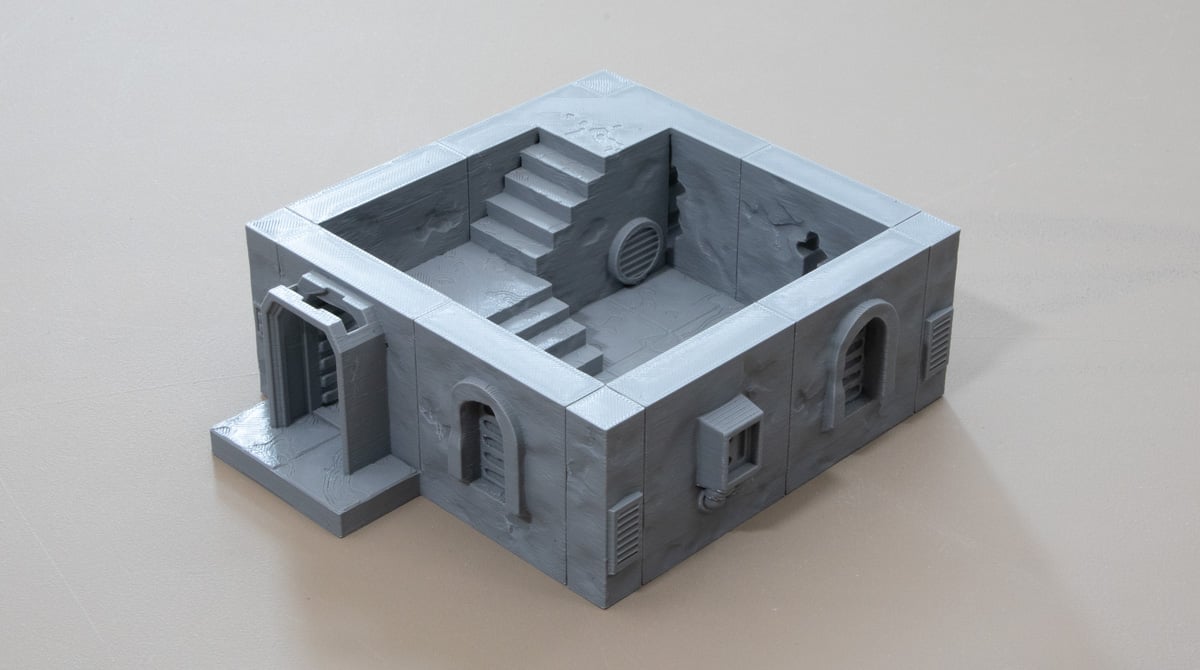
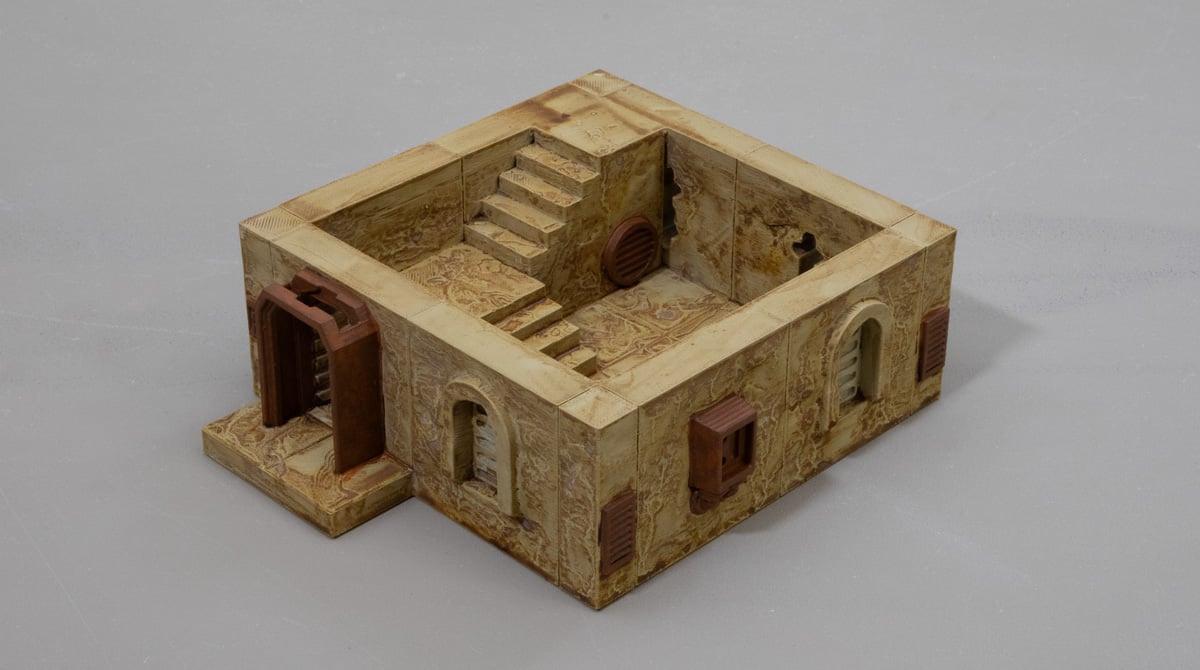
Step 1: Prime the model in the Skeleton Bone. As always, do this in a well-ventilated area and avoid over-saturating the model with primer to avoid clogging details.
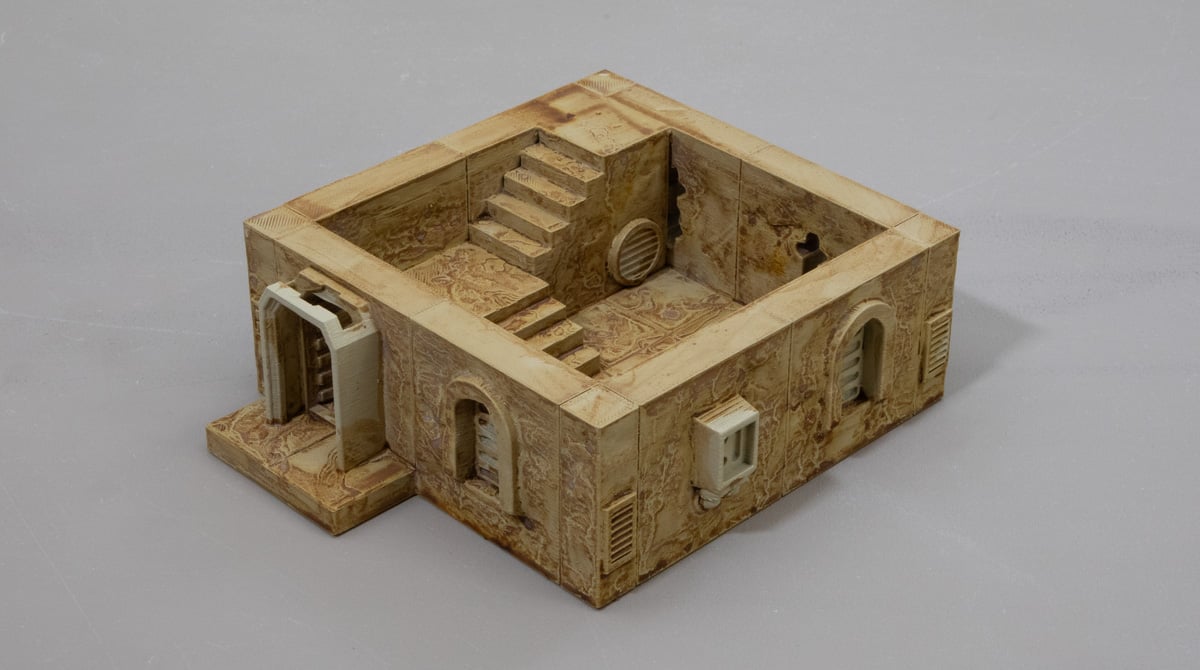
Step 2: An all-over wash with the thinned Sepia. Nothing fancy here, just try avoiding too much pooling. The water mixed in will create some separation effects on the flat surfaces, but we embrace it as it looks a bit like natural weathering.

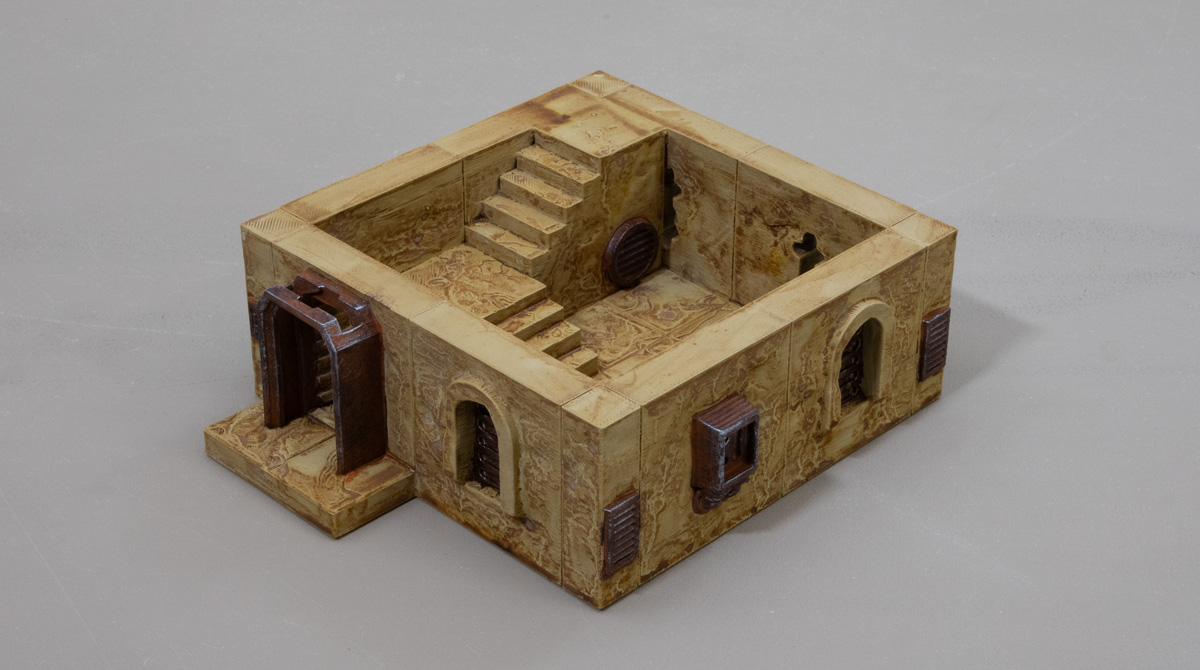
Step 3: Basecoat all the objects you want to look rusty on your Desert Outpost buildings with the Mournfang Brown paint. It will take two thin coats.
Step 4: Make a wash with Skrag Brown by mixing 4 parts water to 1 part paint. Wash this mix over all the metal areas, making sure to get it into the recesses.

Step 5: Drybrush the Rhinox Hide over the metal parts, focusing on the edges and leaving some of the previous colours.

Step 6: A final Drybrush over the metal areas using the Silver to catch those most pronounced edges. This is a delicate drybrush, so be sure to take most of the paint off the brush first on a tissue or cloth.
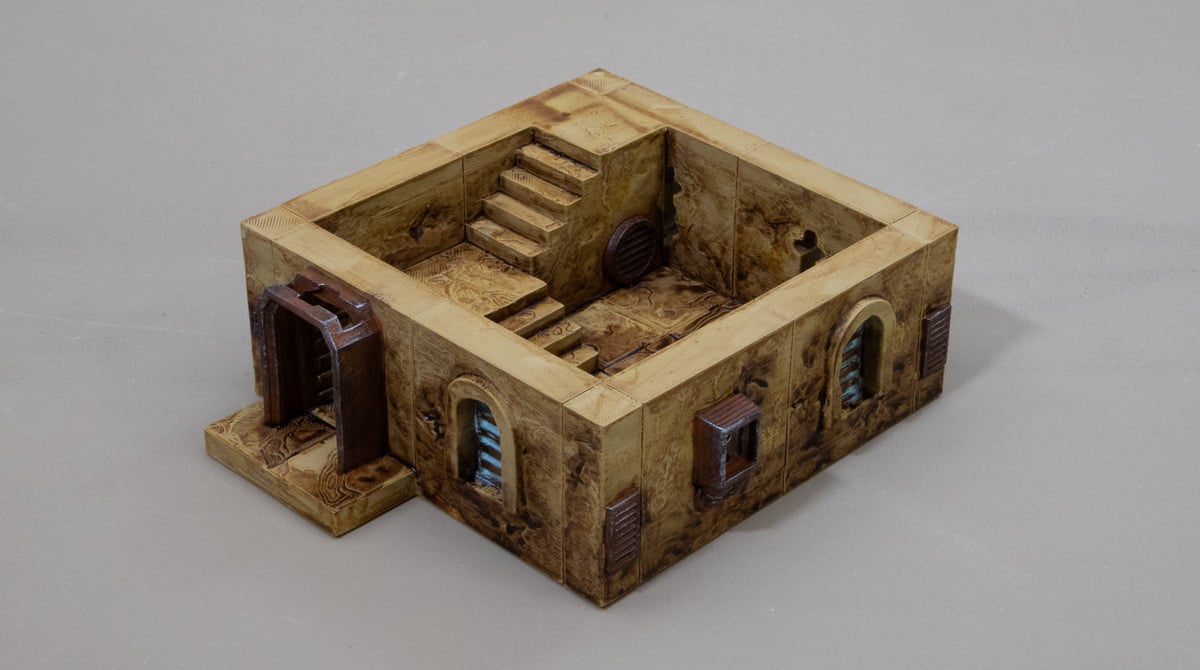
Step 7: Basecoat the parts you want to be bronze with the Tinny Tin. These are the iconic windows and low wall sections of the Desert Outpost Buildings.

Step 8: Like with the Skrag Brown mix, do this with the Toxic Mist paint, washing it over the Tinny Tin areas.

Step 9: Touch up the bronze with a drybrush of Tinny Tin paint, then a drybrush of Bronze to highlight.
Step 10: Use the Agrax Earthshade to add some grime to the sandstone areas, focusing the wash towards the bottom half of the walls and picking out some floor tiles with it too.
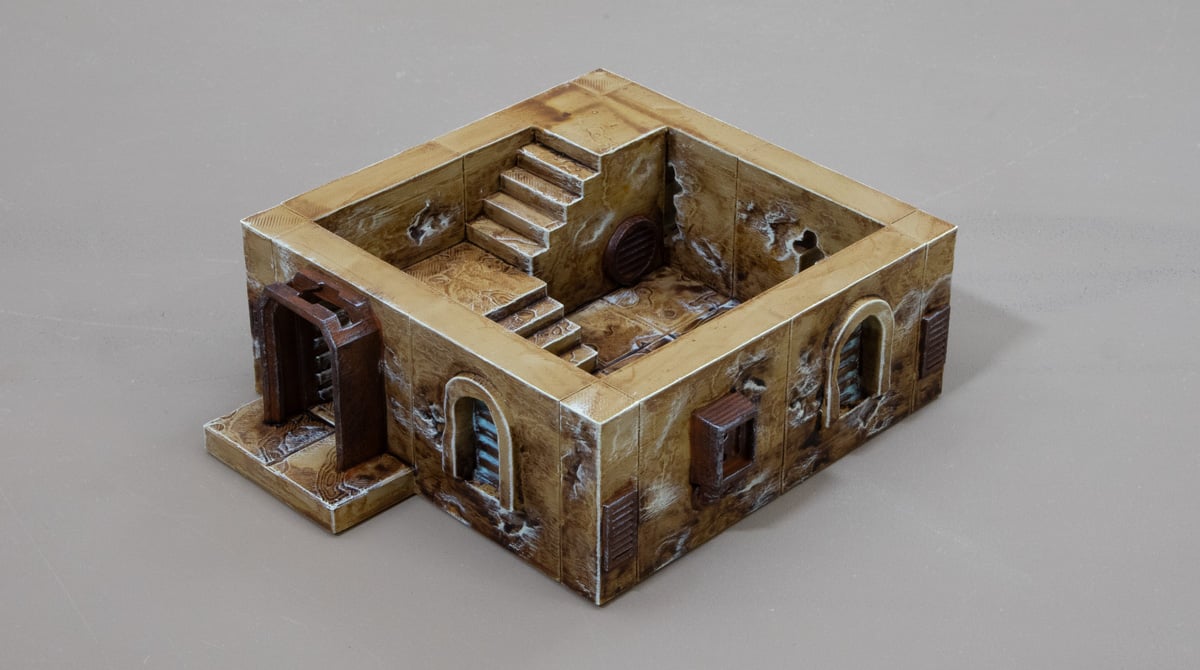
Step 11: Drybrush the walls and floor of the Desert Outpost buildings with Arid Earth paint. Focus on the edges and the deeper recesses.
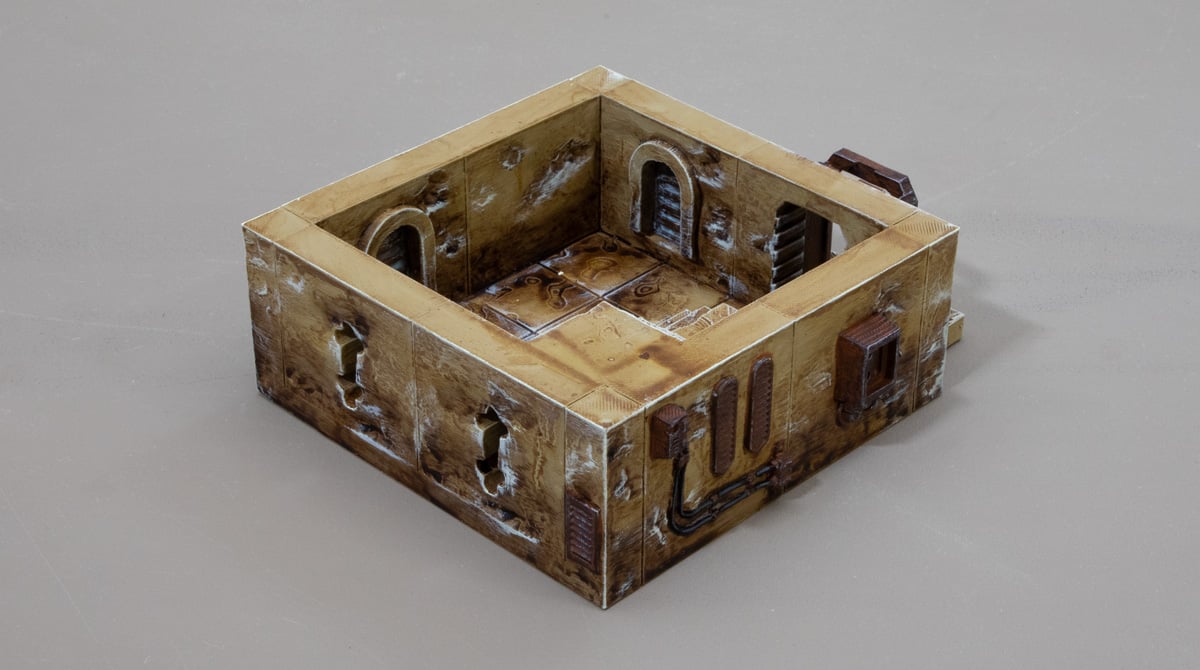
Step 12: The final details of the Desert Outpost Buildings are the cables, which we base paint black and highlight with the Mechanicus Standard Grey. Some models also have wood, which we wash with Wyldwood contrast paint, then drybrush with German Camo Pale Brown, then Banshee Brown.
And there you have it, that is the core paint recipe of the Desert Outpost Buildings. It’s a really simple process and a nice break from doing bricks. We hope you like it.
If you’d like to get your hands on these models, we have this bundle that gets you the whole range at a discount.