Tips for Painting 3D Printed Models
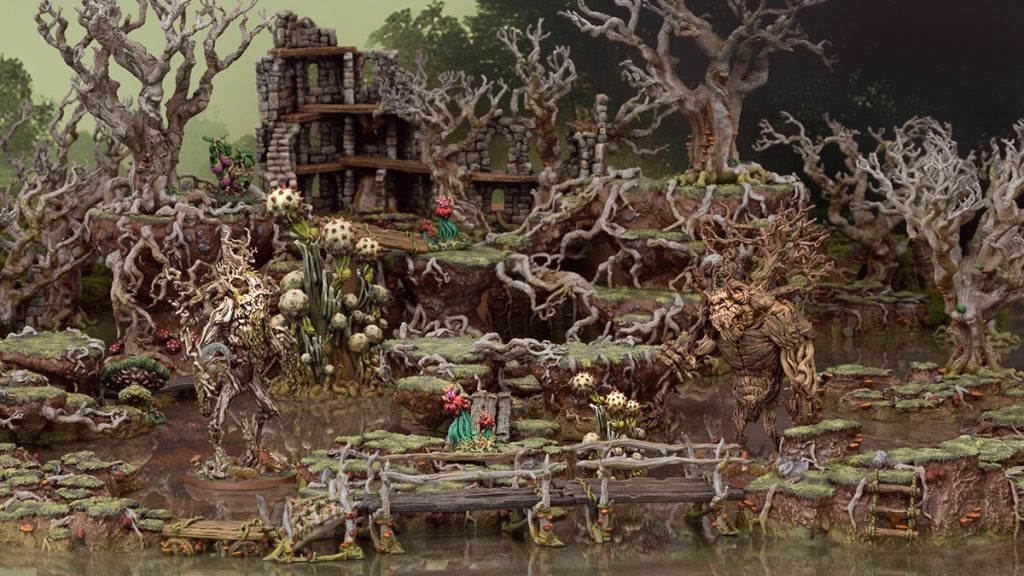
In this article, we’ll cover some basic tips for painting 3D models. We’ll be using some models from the Gloaming Swamps and Wilderness campaign, for which there are painting guides that cover the colours used, if you’d like to get started straight away.
Getting Started
It is important to note that there is no right or wrong way to paint your models. Whether you’re a ‘slap dash, get it on the table’ kind of hobbyist or the meticulous perfectionist, the main goal is to enjoy yourself! Most of us will fall somewhere in between those two extremes, but it’s good to note what you want to get out of your 3D printed models.
Before painting, most prints will need a little bit of tidying up. Thankfully, cleaning up 3D printed models is generally quite easy, but there are a few bits of equipment that we find essential.
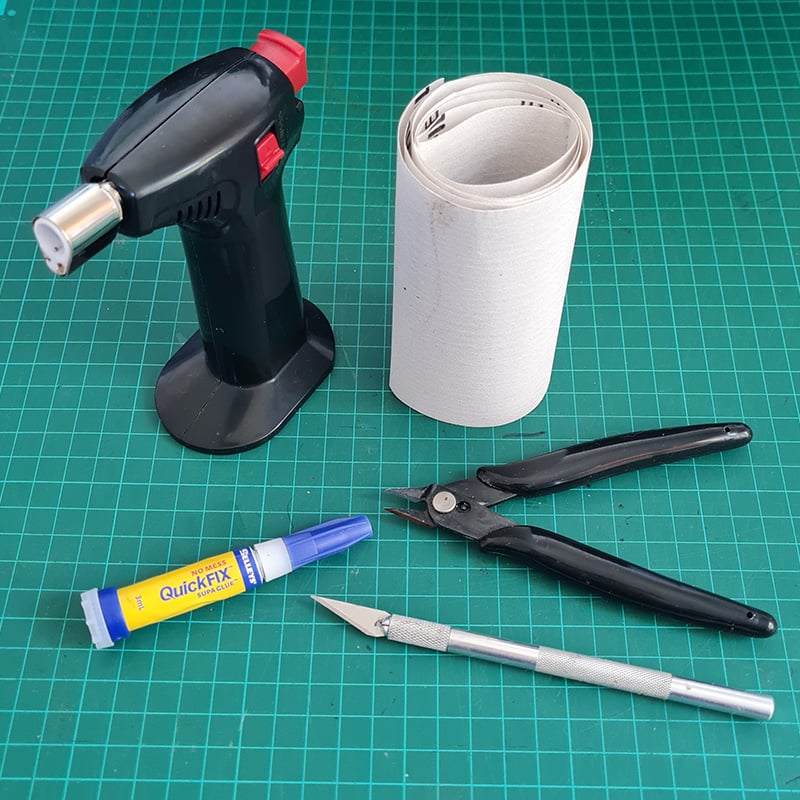
To prepare your models, you’ll need clippers, a craft knife, super glue, fine-grit sandpaper, and a Crème Brule torch (for heating and bending). A hand-held drill can also be useful for pinning and drilling out filament holes. For resin 3D-printed models, you’ll also need a bathing station, isopropyl alcohol, and the relevant safety gear.
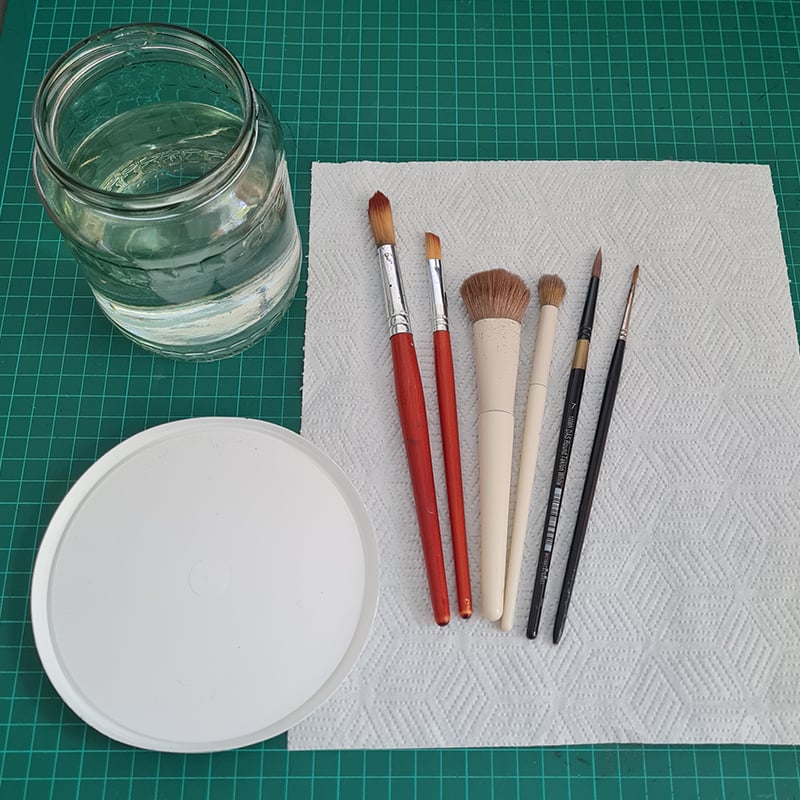
For painting, you’ll want a variety of different-sized brushes, water pots, paper towels, a hair dryer (for speeding up drying times), a box or spray booth, and a palette (or two). If you’re interested, I highly recommend getting yourself an airbrush and compressor, but more on that in another article.
Which brushes to use? Get whatever quality you are comfortable paying for. We suggest large and small base-coating brushes, large and small dry brushes, and large and small detail brushes. Synthetic or sable is entirely up to you and your budget; both work fine.
It’s also worth mentioning the space where you do your hobby or your ‘battle station’. Ensure you have adequate lighting (to reduce eye strain), a comfortable chair with good posture, and something down over your surface you don’t mind spilling paint on!

We’ve covered what you’ll need, now its onto some tips for painting 3D printed models.
Paint Consistency
One of the most common questions we’re asked is, ‘How much do I thin my paint?’ Unfortunately, there is no straight answer to this. Many factors come into play, like the thickness of the paint and what method of painting you’re using. For basecoating and dry brushing, you might not need to thin the paint at all, whereas for layering paints over another or glazing, you’ll want it thinner and more transparent to help with blending.
Most times, just having your brush slightly damp (one dab on a paper towel) is sufficient to smooth the paint out for painting. But there are times when you may want it thinner or thicker. Too thick and it won’t spread nicely, too thin and it runs away.
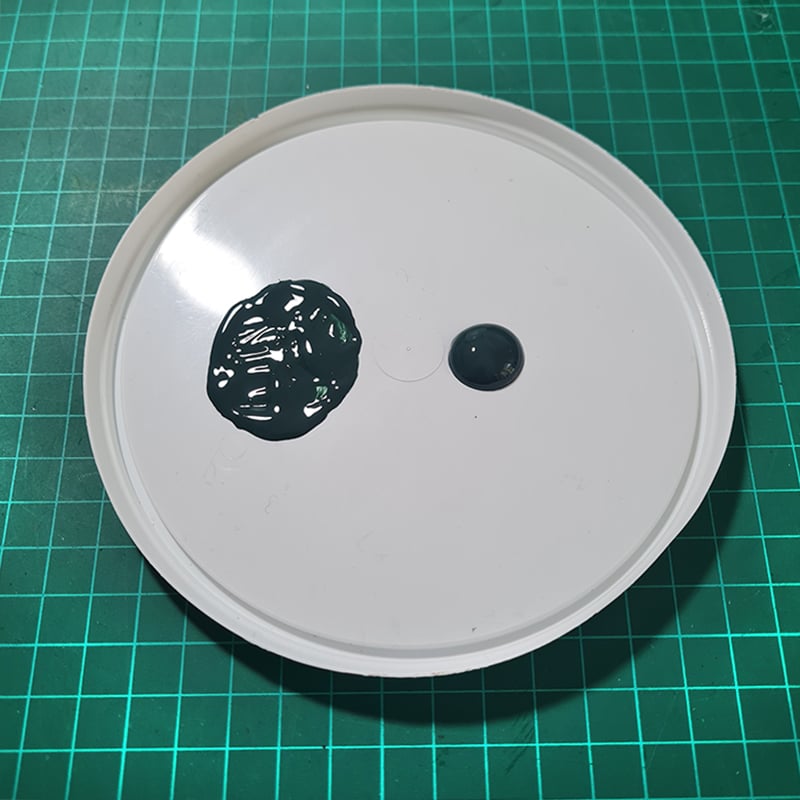
Paint is made up of 3 general ingredients; pigment (the color), medium (a binding agent for the color) and thinner (to control consistency). The more thinner or medium you add, the less pigment will be in the paint, and the weaker the color will be. So it’s worth bearing that in mind, that sometimes you might need to do a second coat of paint if the pigment is a bit weaker in that particular color.
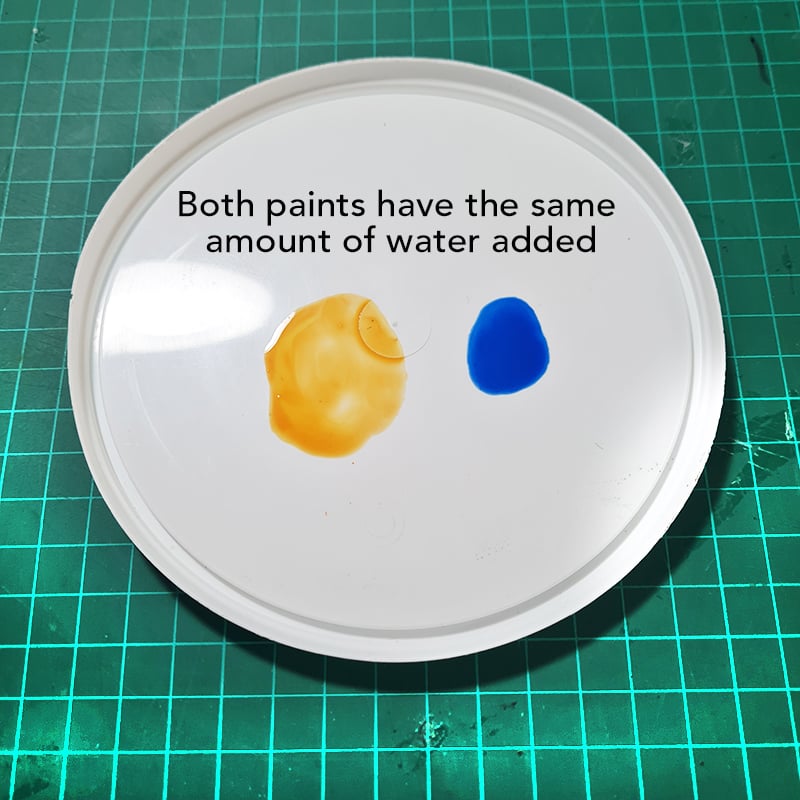
In summary, there is no exact, correct thickness of paint. Experiment and trust your intuition. If it looks too thick, add some water; if it looks too thin, add some more paint.
Mixing Paint
There are hundreds of different colors on the market, all with different properties, tones, prices and uses. Yet we still mix colors together regularly, why?
Firstly, it saves you from owning a bajillion different paints, which saves you time and money.
Mixing colors also gives you more natural looking transitions on your 3D printed models.
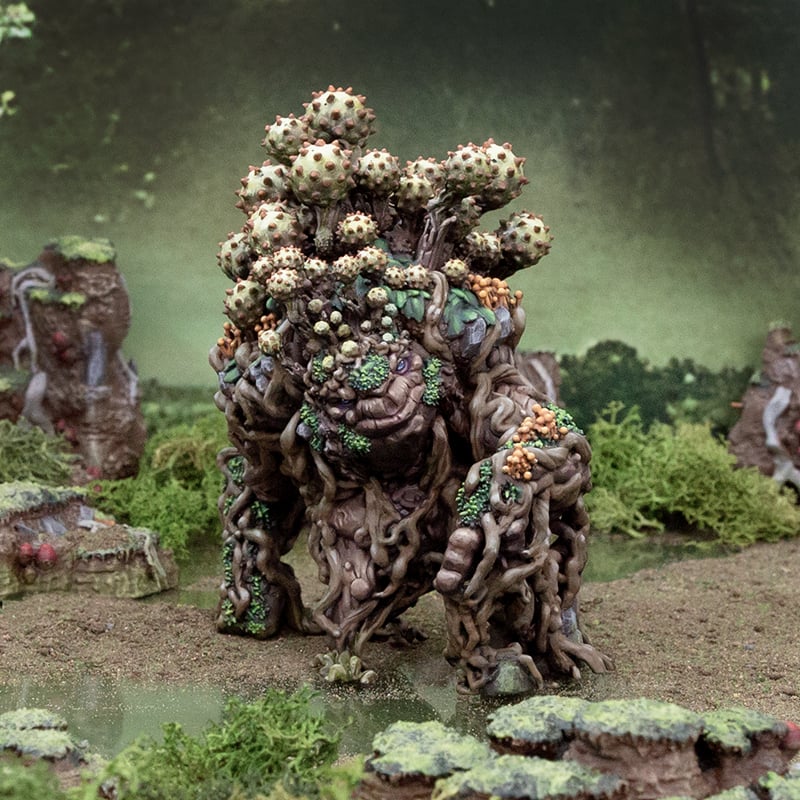
For our painting guides, I will put a ratio like 50/50 or 70/30, however this is only a guideline. The purpose is to show the transition from one color to another. This can be done in 1 or 2 steps, but could be done in 4 or 5, or as many layers as you see fit. Just each time mix in a touch more of the second color, simple!
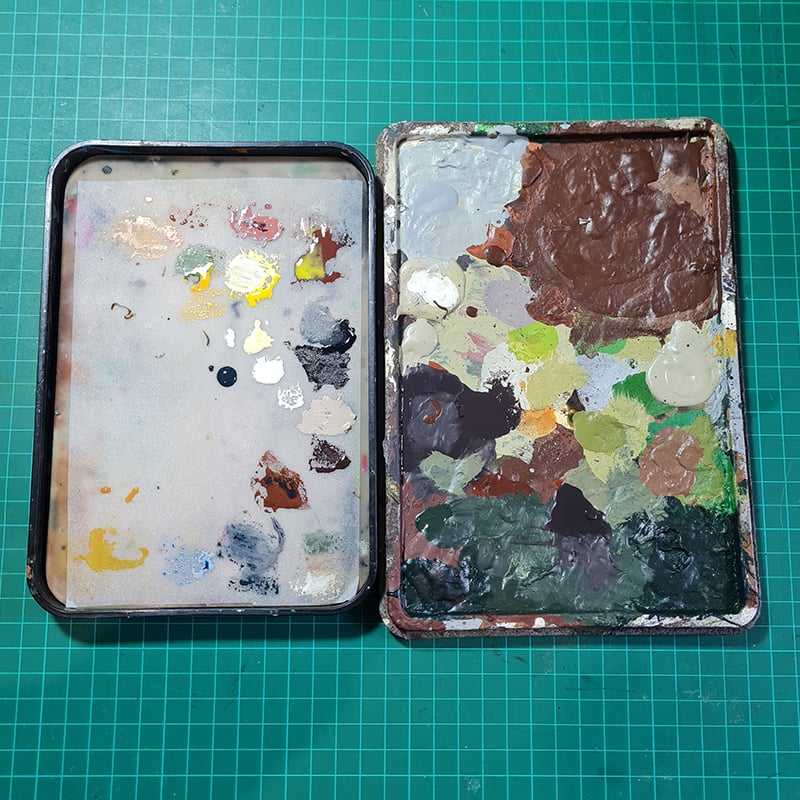
Think of your palette as a laboratory, conducting experiments in color. As long as the base colors you are mixing are correct, the ratios do not need to be exactly the same between different models. The end result will look the same. Just make sure you wash your brush between colors, and again before you mix the paint together. Using a palette, you’ll get an eye for ratios with a bit of practice.
Matching Colors
The same goes for the actual colors you use. Whilst each individual paint tone is unique, there is no need to be a puritan about which colors you use. Many paint brands have similar colors, and they’re pretty much the same. It can be quite fun to try out different brands and to experiment with colors and finishes. You can always paint over something!
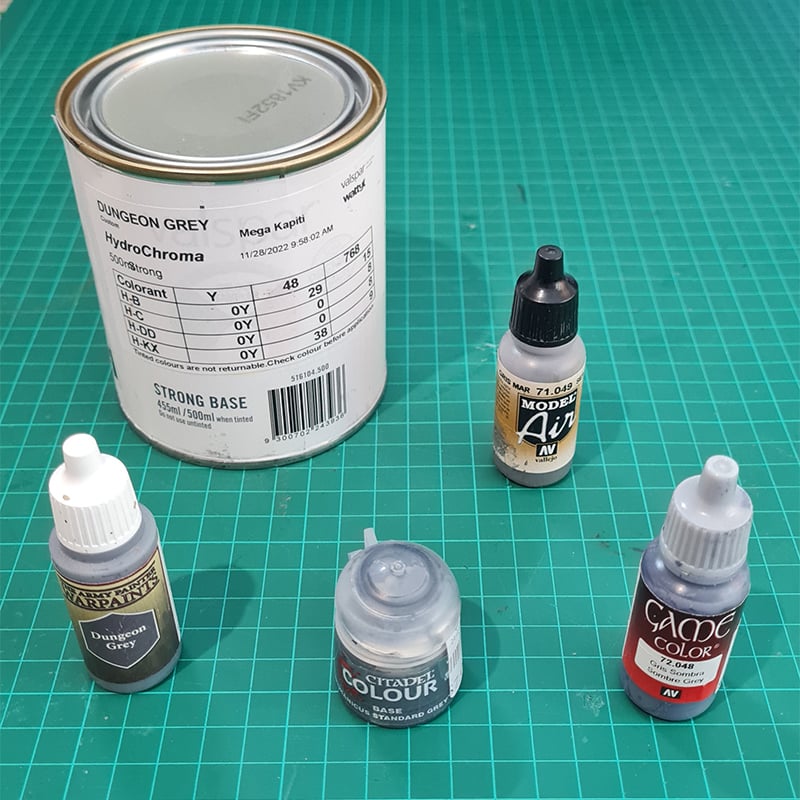
A handy tip for painting 3D printed models is to color match your model paint with acrylic house paint. Some terrain projects can be quite large, and using model paints can add up in cost quite quickly. If you know you’ll need a lot of a certain color, take the model paint (with some painted onto a strip of paper) to your nearest hardware or paint shop and have them match it. Keep in mind, the color and finish will always be a tiny bit different, but you’ll no longer need your model paint! Save it for your miniatures and finer details.
The Most Important Tip
HAVE FUN!
Simple but true. The painting process should be one of enjoyment and satisfaction.
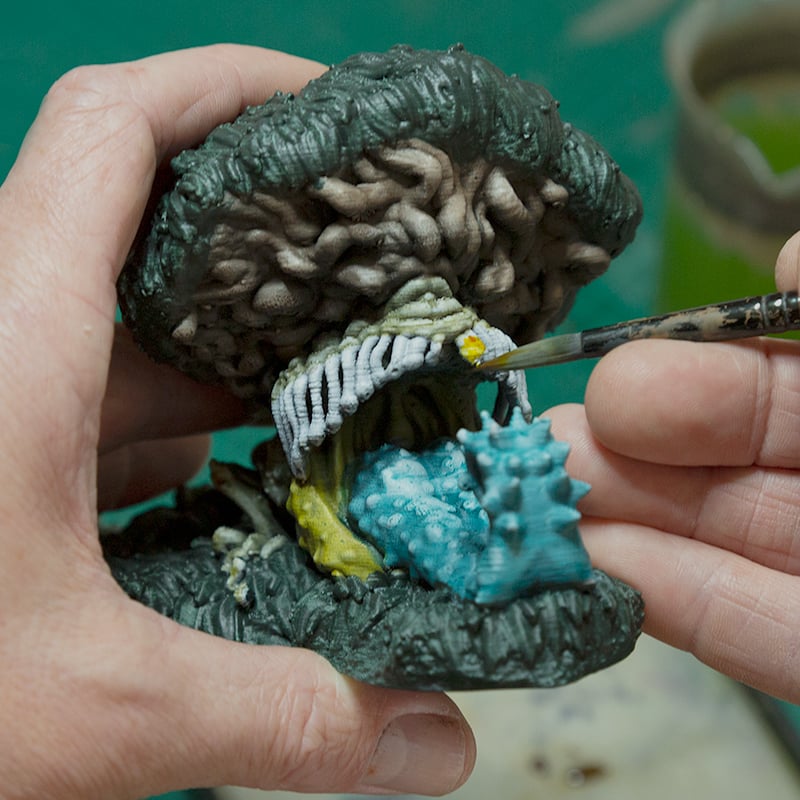
When you sit down for a painting session, take a minute to set some goals. Aim to finish a particular stage, but don’t beat yourself up if you don’t get there. Think about what standard you want to accomplish and how long you think it’ll take you.
It seems simple, but it can turn what feels like an endless chore into a gratifying use of your free time, whether it’s for 20 minutes or 8 hours. Remember to take regular breaks and to stretch!
Have you got a topic you’d like us to cover in an article like this? Let us know!

One thought on “Tips for Painting 3D Printed Models”