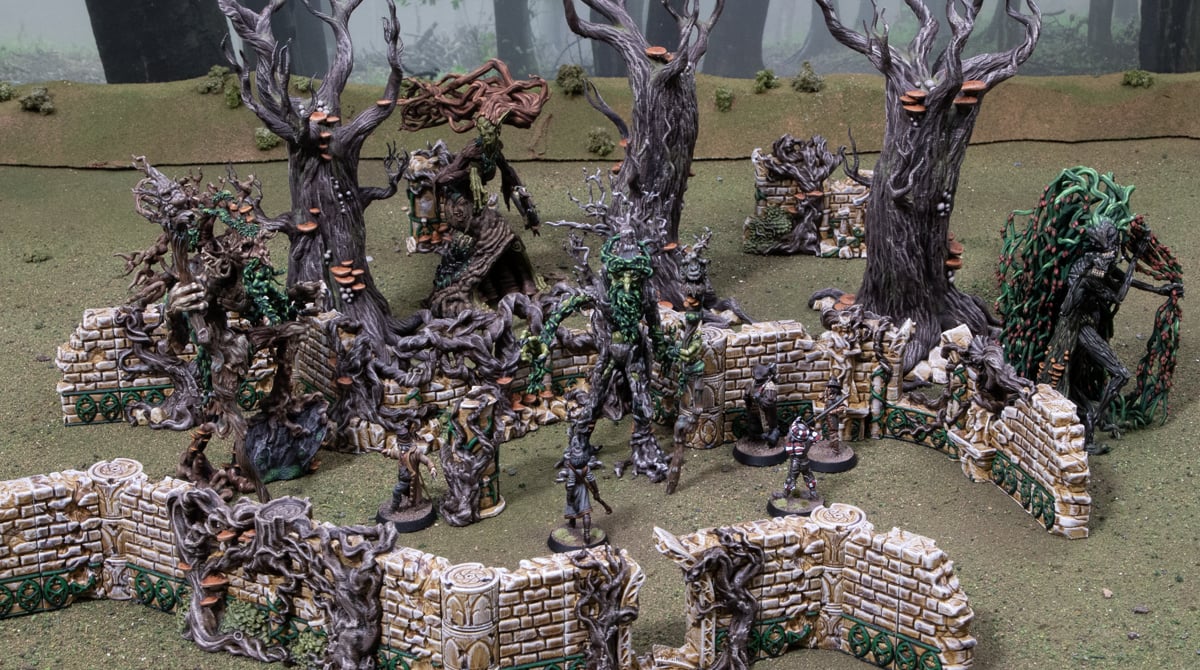
How to paint the 3D printed Elven Groves models
In this tutorial, we’ll show you how to paint the 3D printed Elven Groves models from the Elves range. We’ll cover all the paints needed and the techniques used to get them on the table. The Elven Groves contain a lot of the colours and textures you’ll find in the Elves models, so this tutorial can be used for painting them as well.
To paint the Elven Groves, you’ll need the following:
- Elven Groves models
- Skeleton Bone primer (Army Painter)
- Skeleton Horde (Citadel)
- Light Sand (Ammo)
- Wyldwood (Citadel)
- Werewolf Fur (Army Painter)
- Banshee Brown (Army Painter)
- Dark Angels Green (Citadel)
- Warpstone Glow (Citadel)
- Militarum Green (Citadel)
- Elysian Green (Citadel)
- Deathclaw Brown (Citadel)
- Rakarth Flesh (Citadel)
- Reikland Fleshshade (Citadel)
Preparing and Priming
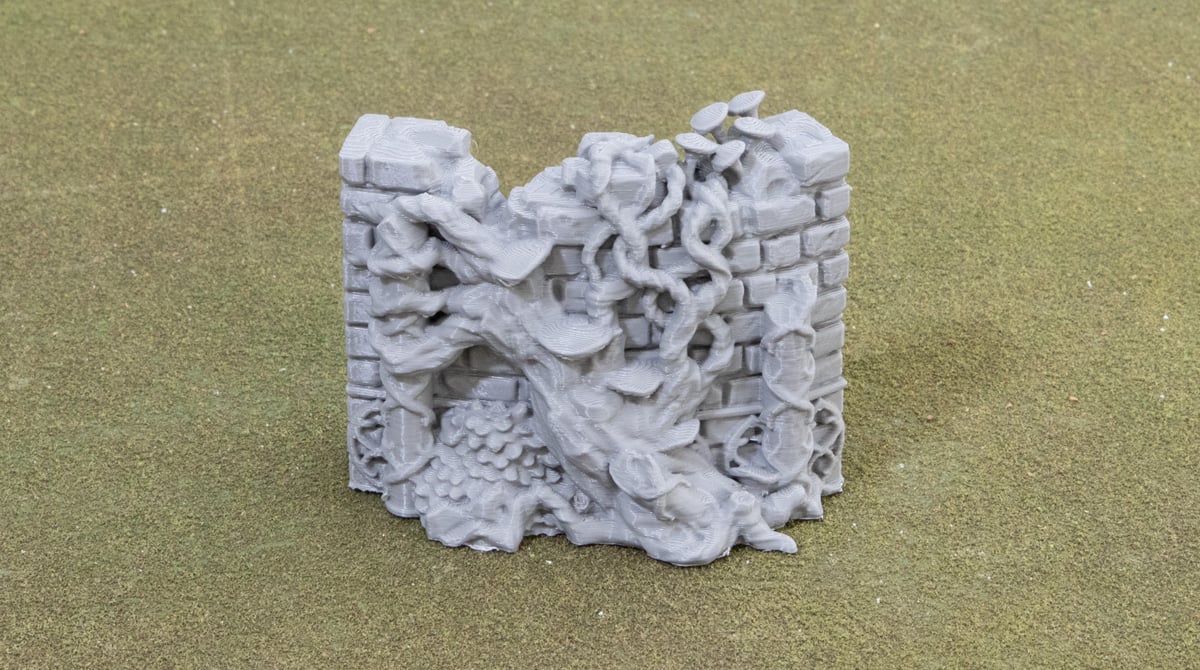
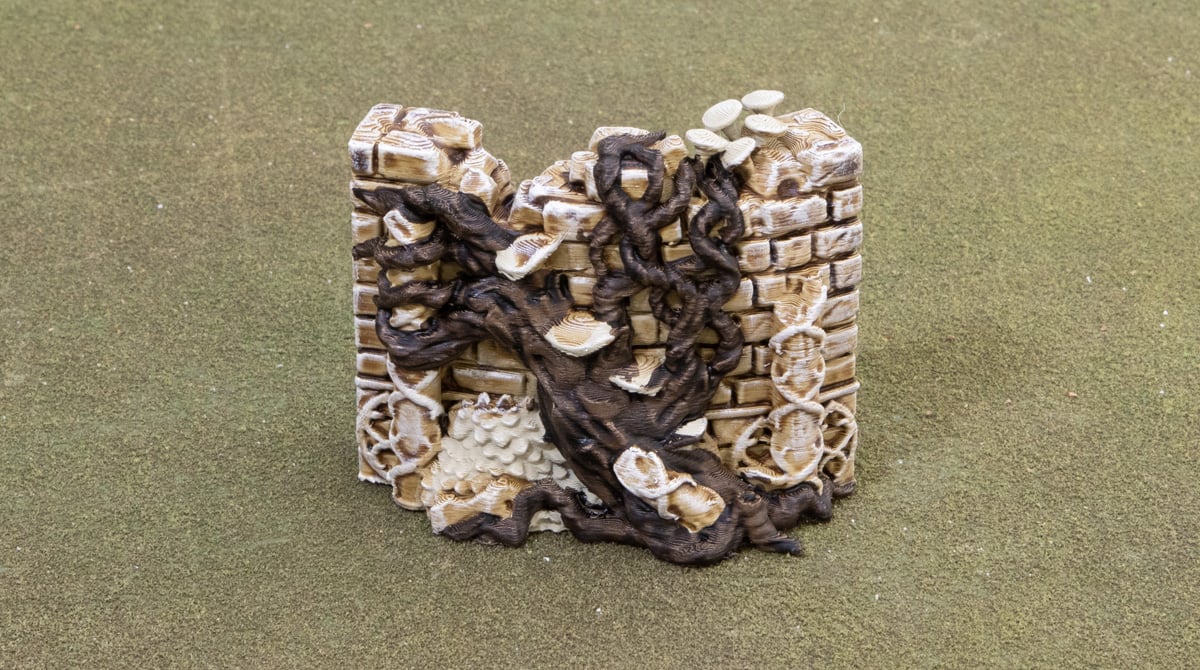
To begin with, you’ll need to clean up the print by trimming away any brim and using a lighter or match to flash off any of the cobweb strings left behind by the 3D printer.
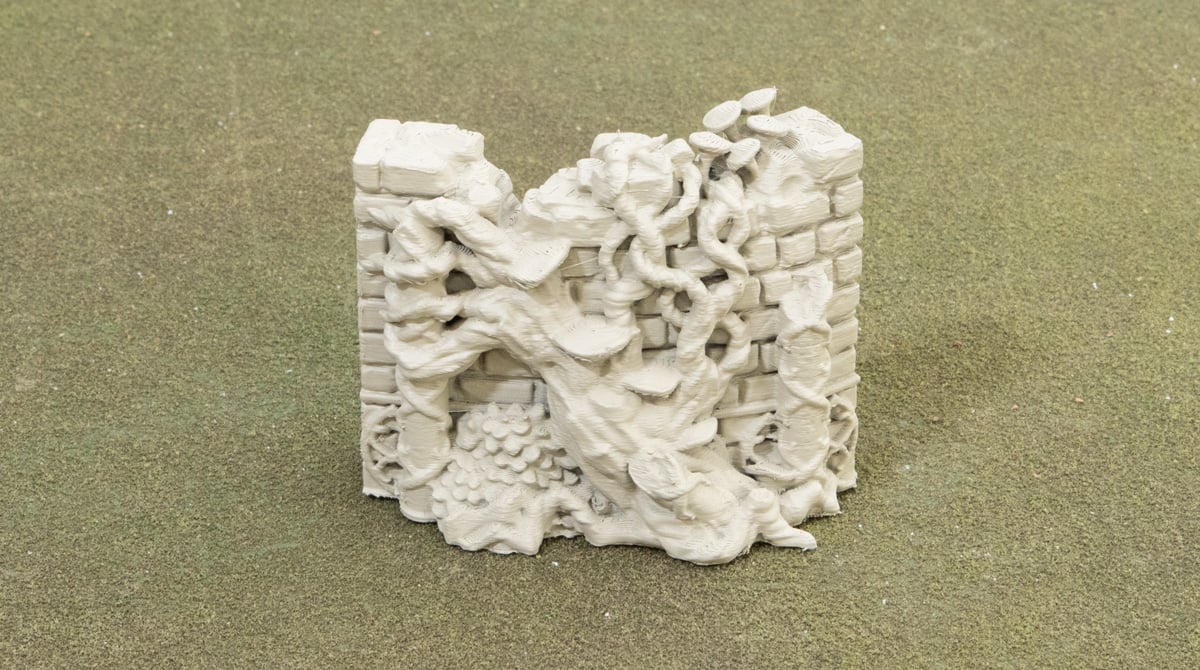
Then, prime the model using the Skeleton Bone spray primer. This will take two coats when sprayed from 20-30cm away, but its better to do it this way than too close and clog any details with a heavier spray.
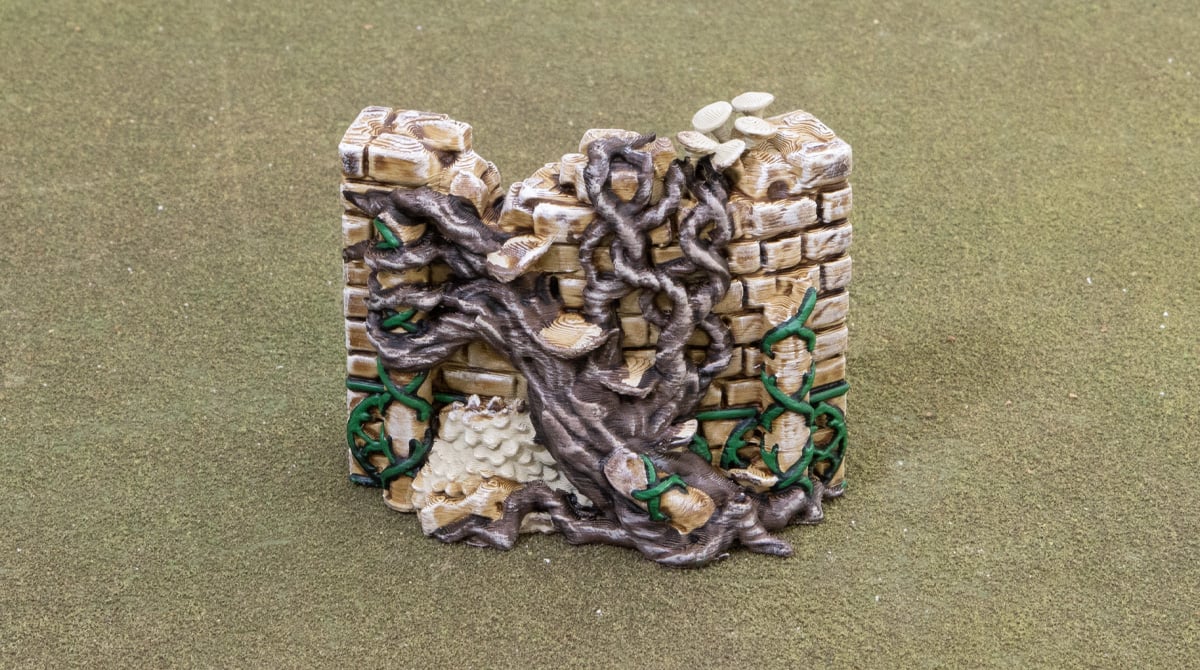
Bricks
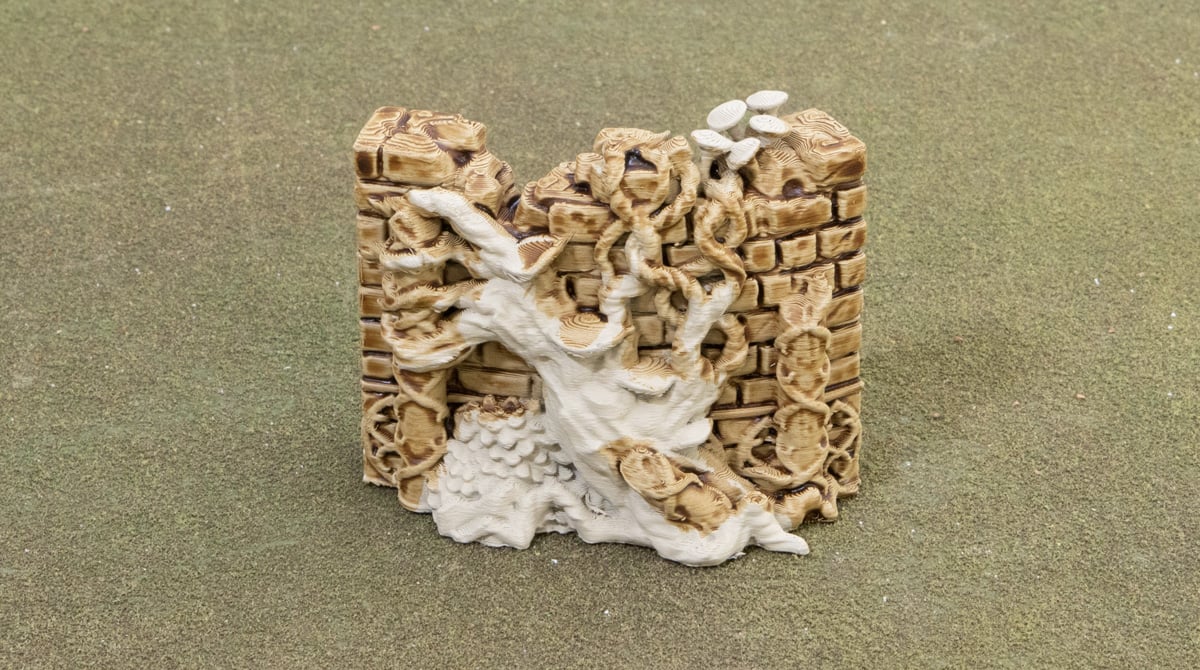
Give the bricks and pillars and all over coat of Skeleton Horde contrast paint, being generous but not allowing it to pool up too heavily anywhere.

Then, give the bricks and pillars a drybrush of the Light Sand paint. Emphasise the top and side edges of bricks and the front edge of the pillars. It can be a bit hard to get all the bricks between vines, but any that don’t get a proper coat from the drybrush will just look more shadowed.
Wood
Coat all of the tree branches and roots in Wyldwood contrast paint. Again, being generous but avoiding too much pooling.
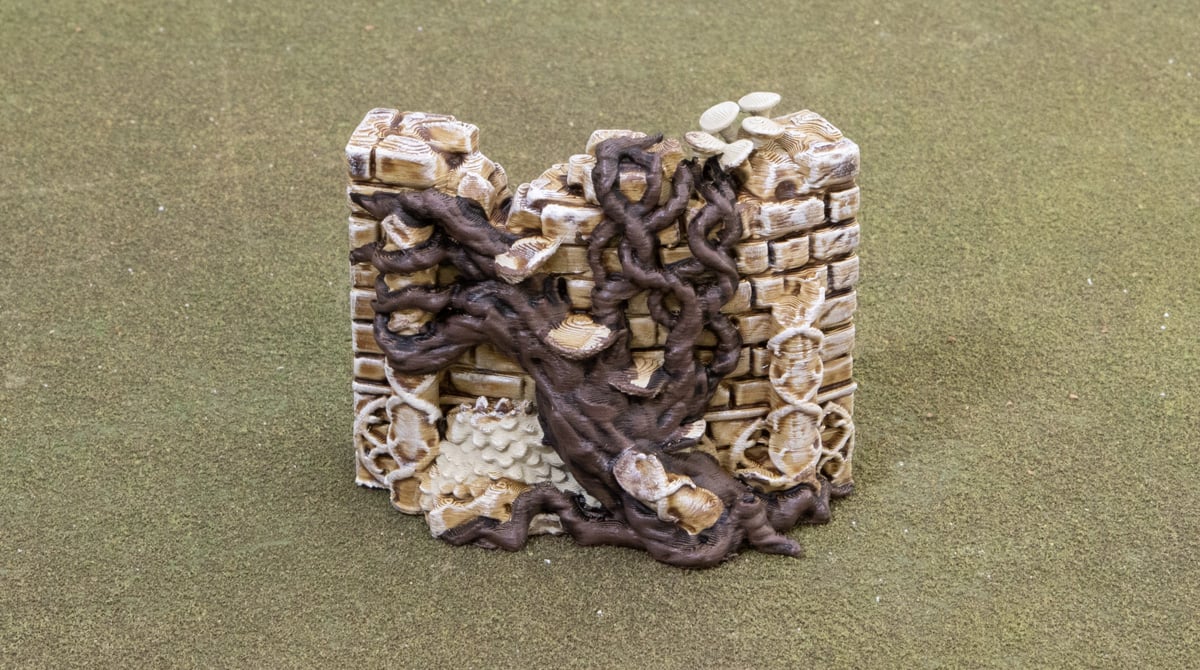
Then, drybrush the wood areas with werewolf fur. This will take a couple of passes for a nice opaque coat, but will build up to a nice warm brown.
Finally, a drybrush of Banshee Brown on the raised edge to give the wood some definition and highlight the bark.
Green filigree details
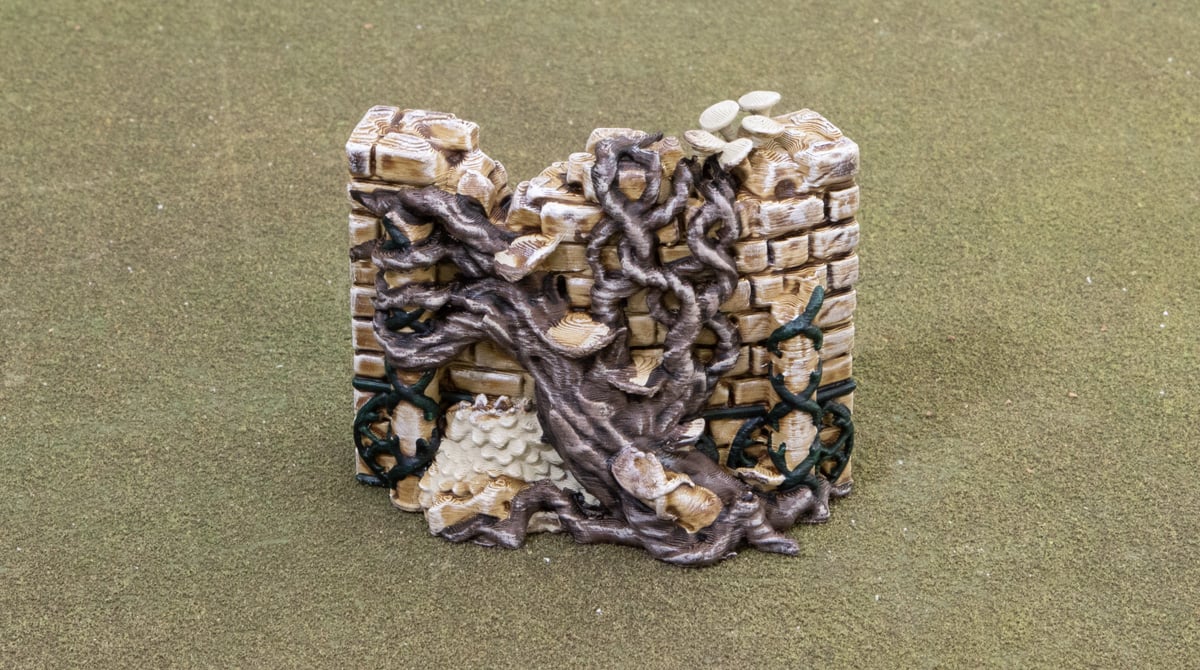
Carefully coat the filigree details with the Dark Angels Green contrast paint. Be sure to coat not just the top but the sides of the filigree too, else the lighter bone colour is very obvious.
Then highlight those green details with the Warpstone Glow paint. We focused the highlights towards the top parts of the filigree to get some natural shading going to mimic what we did with the bricks and wood.
Bushes
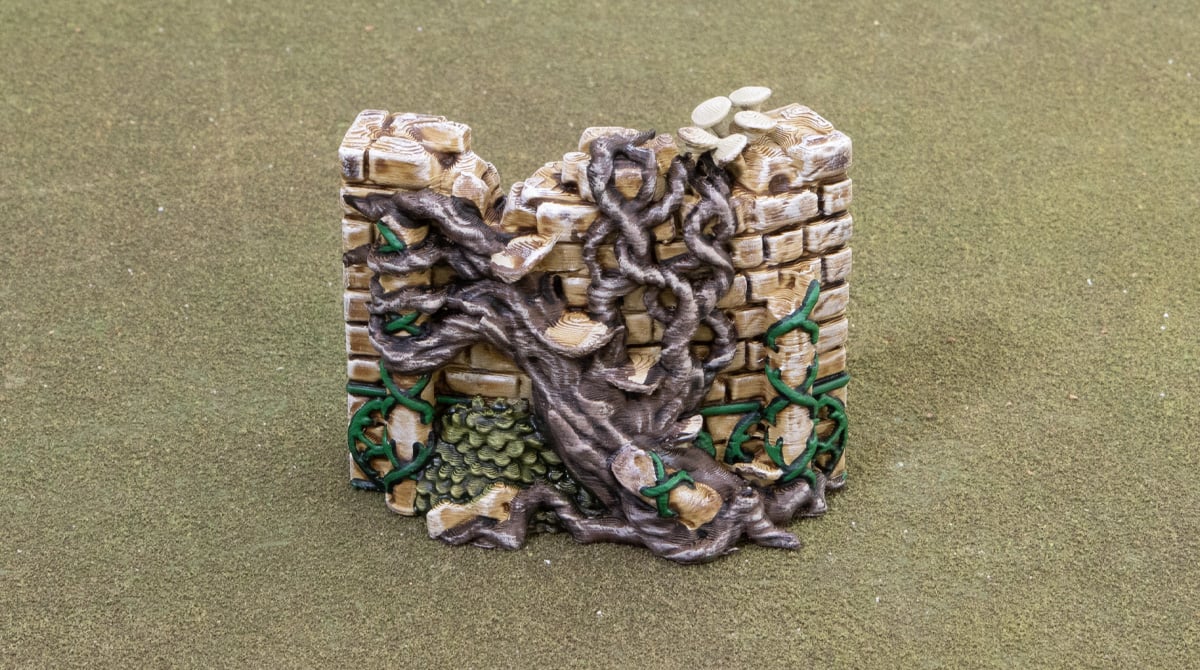
The bushes just need a quick coat of the Militarum Green contrast paint. Again, being generous but avoiding too much pooling.
Then a quick drybrush of Elysian Green ties the bushes together and highlights the raised edges.
Fungus
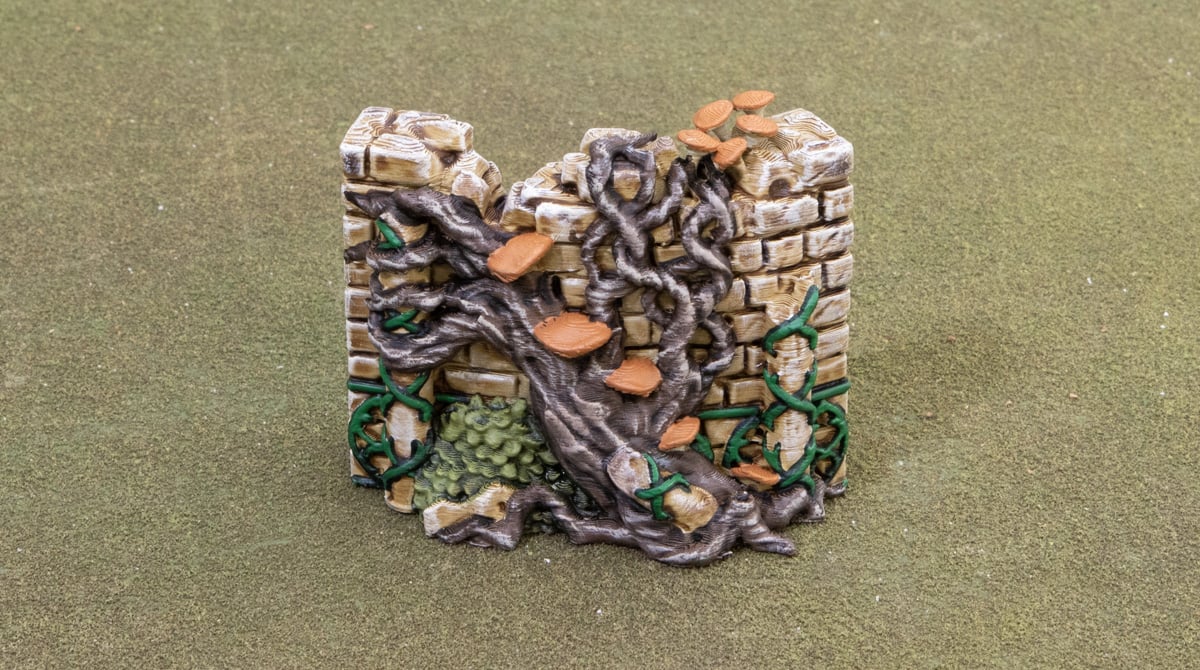
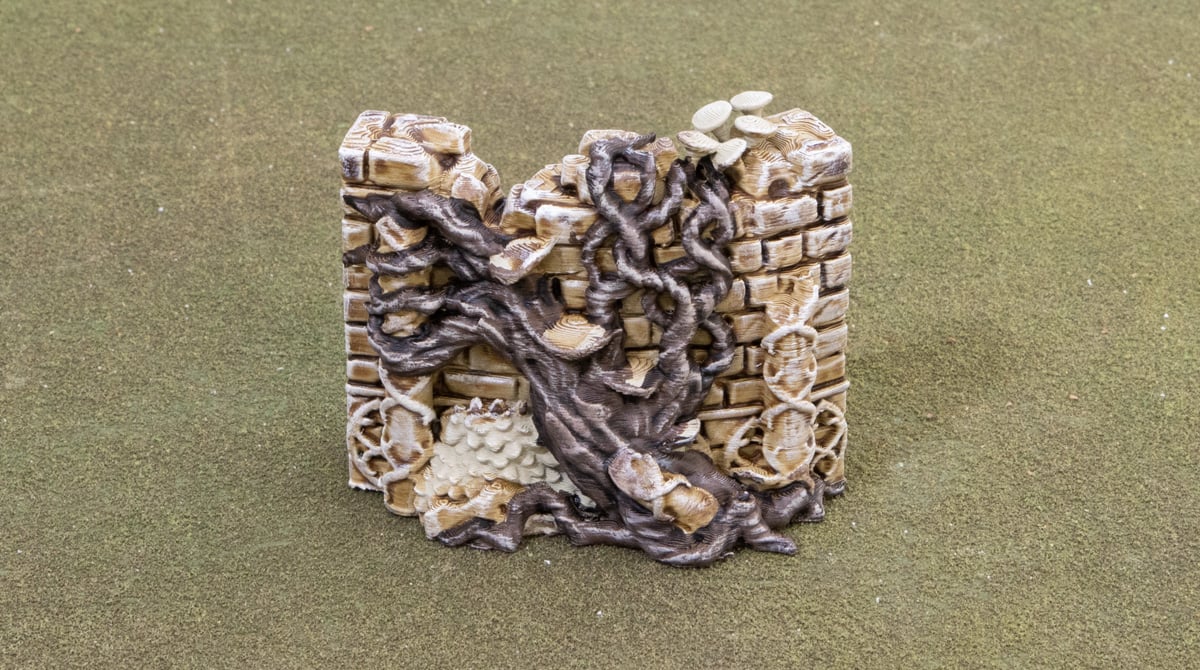
Cover the stems and undersides of the mushrooms with Rakarth Flesh, and the tops with the Deathclaw Brown.
Our final step is to give the orange tops a wash of Reikland Fleshshade to give them some definition. You can touch up the mushroom edges with the Deathclaw Brown mixed with Rakarth Flesh.
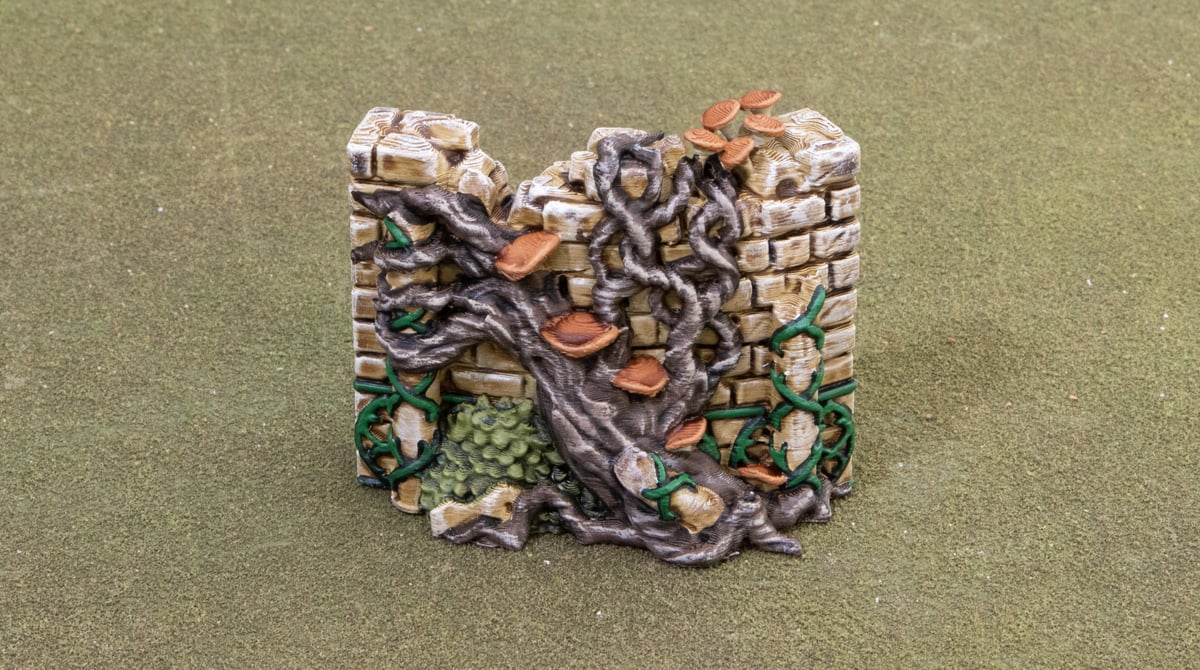
And there you have it, a finished piece of 3D printed and painted Elven Groves wall. This scheme is very simple and easy to roll out on a large number of these walls if you are planning a full labyrinth in the heart of a forest. Hope you enjoyed this tutorial.