Description
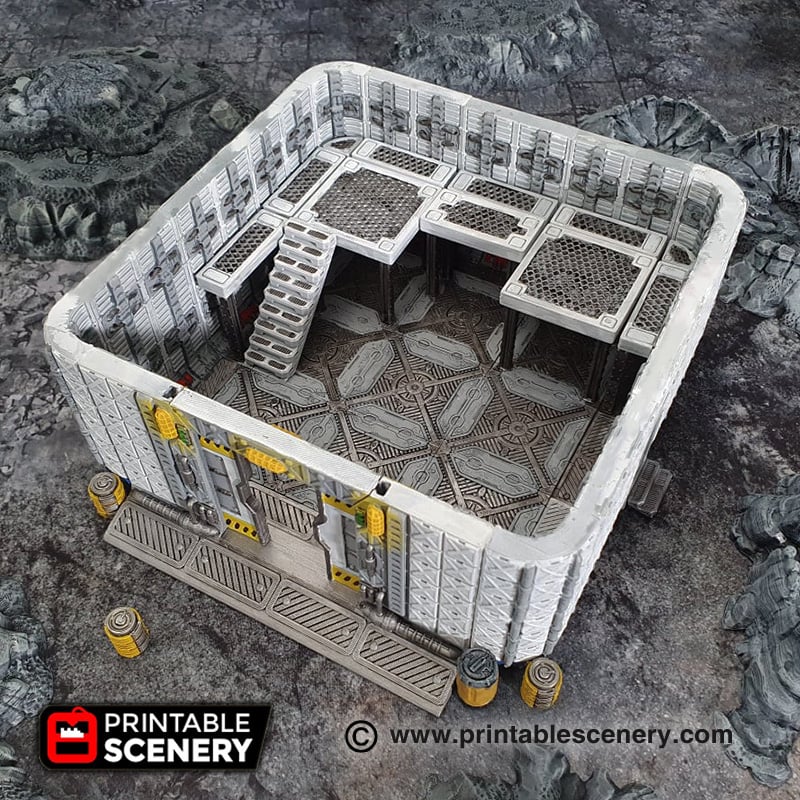
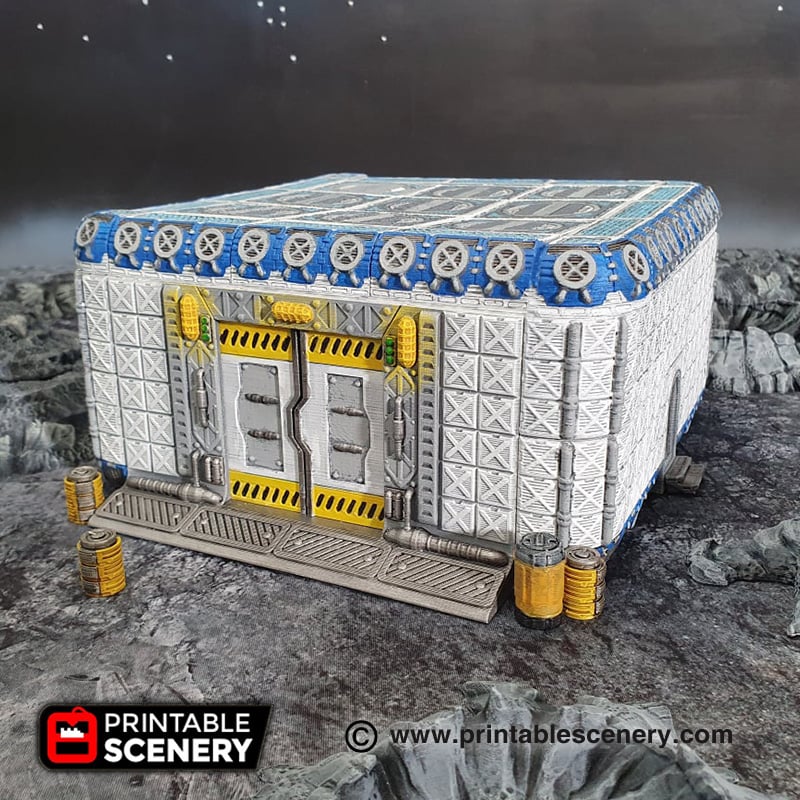
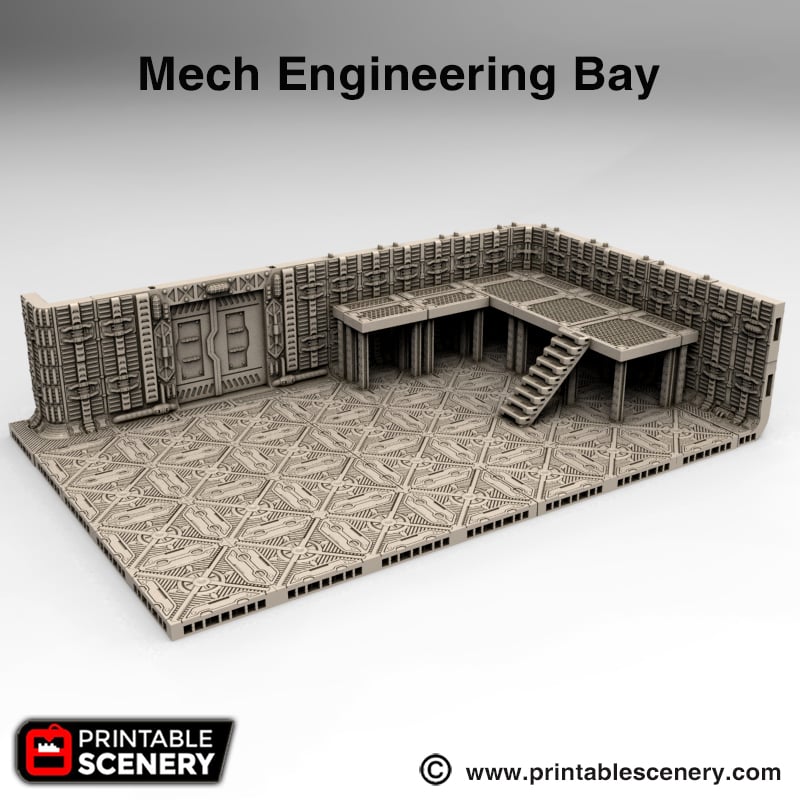
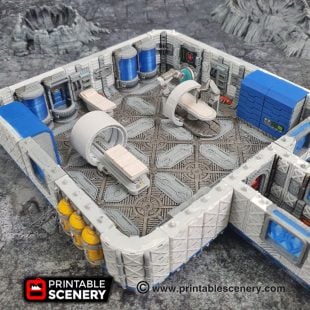
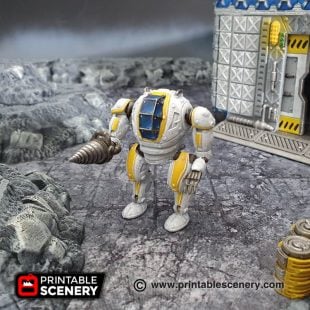
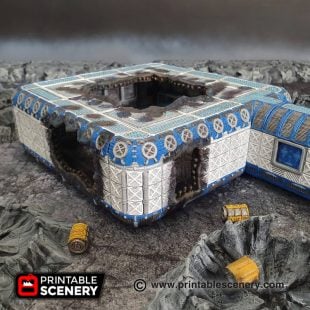
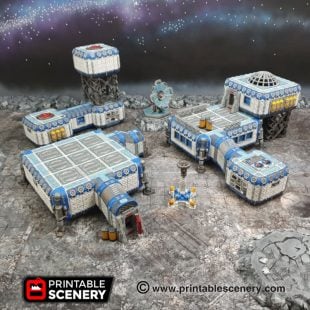
The engineering bay is a closed environment for working on the all purpose drill mechs.
Notes:
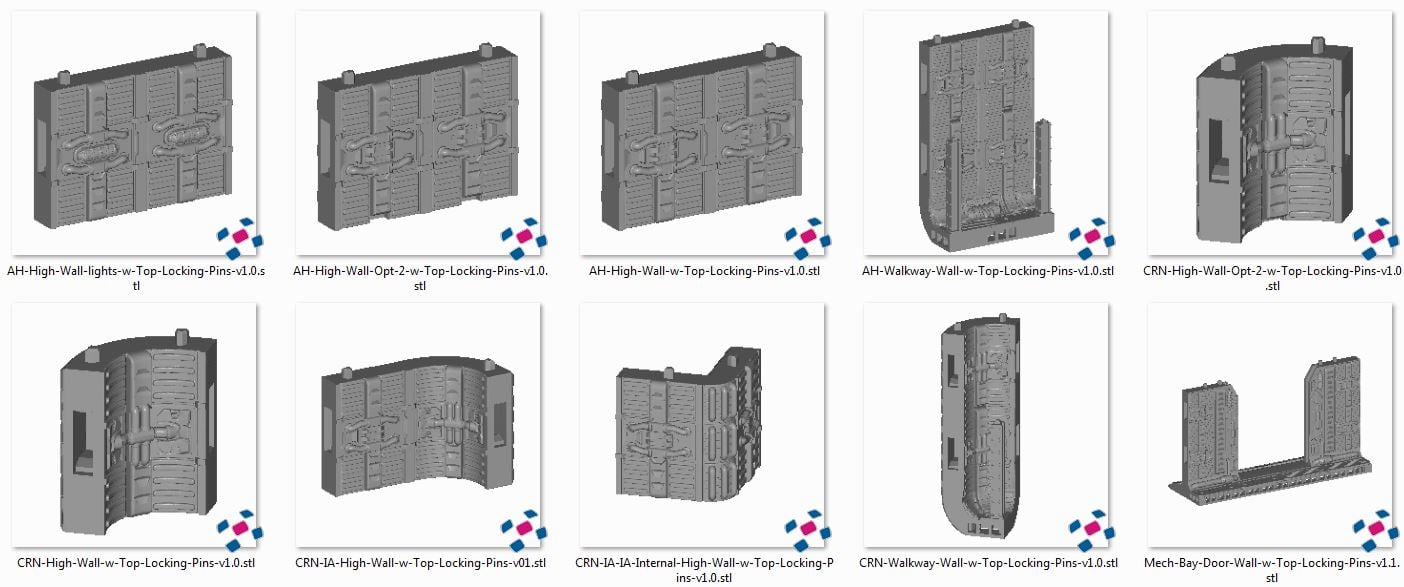
- Right-click on the image below and “Save As” to download the reference sheet for this pack.
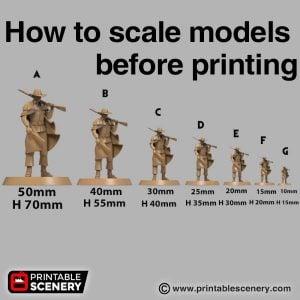
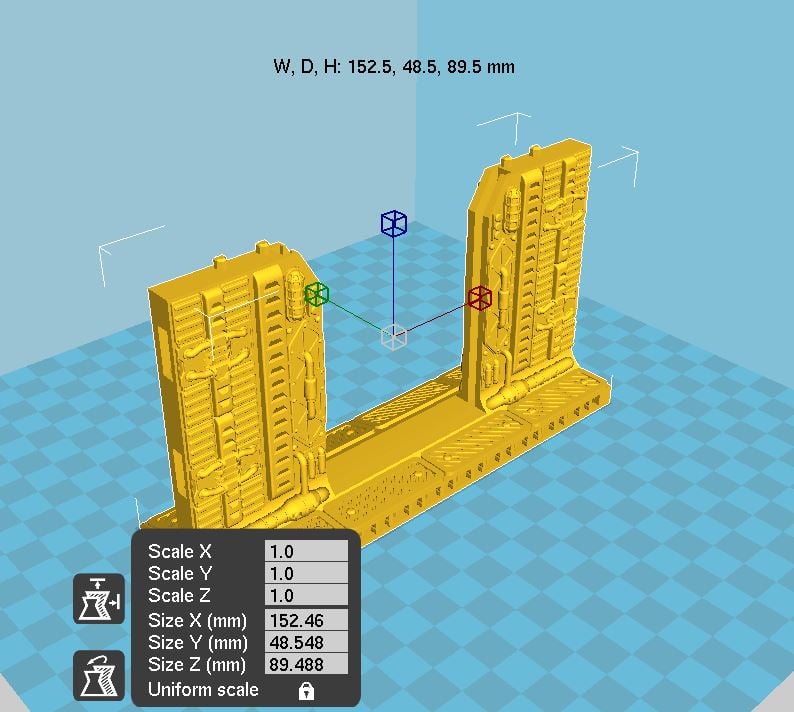
- Product measurements can be found in the image gallery.
- First published version 1.2
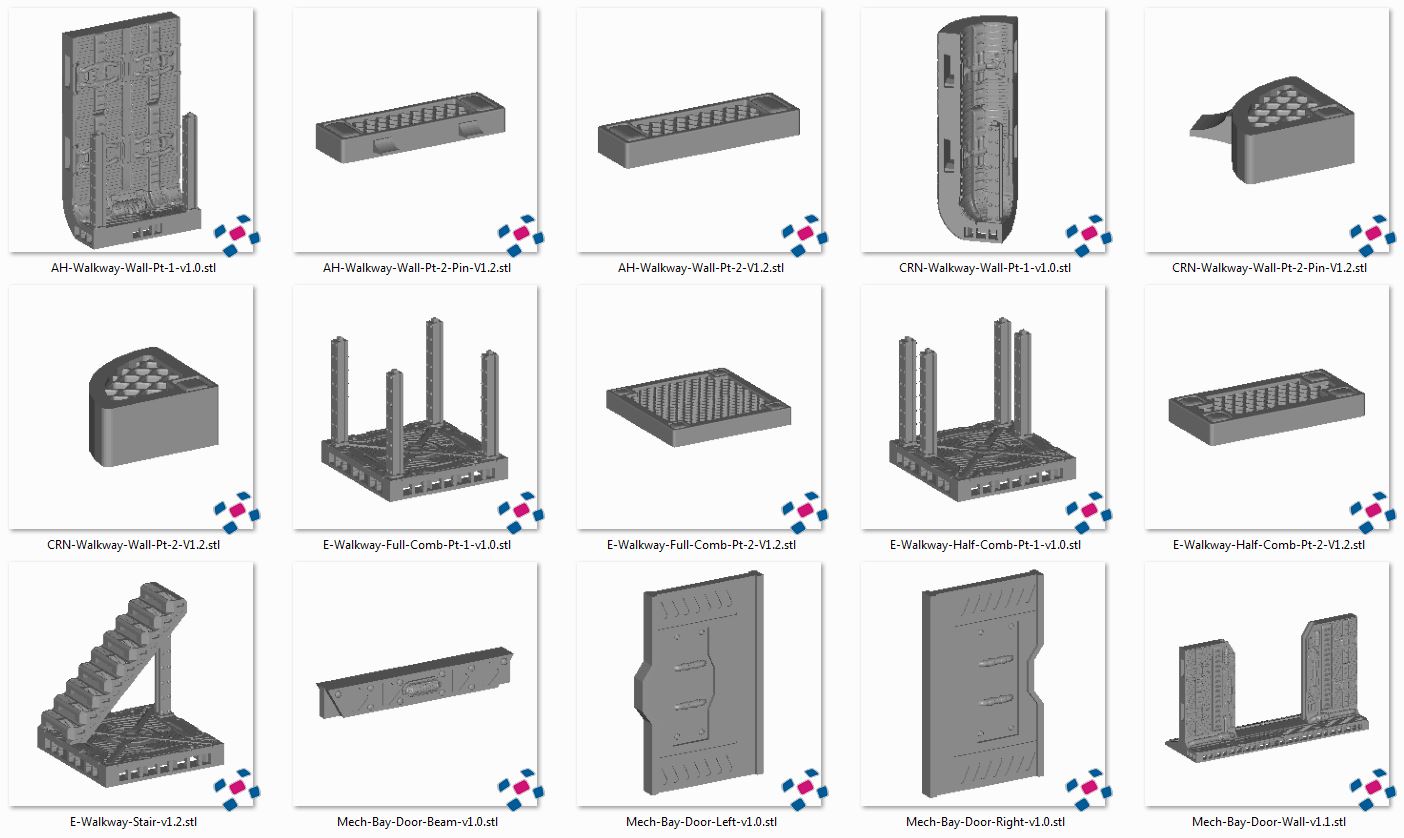
Top Locking Pin Cavities Reference
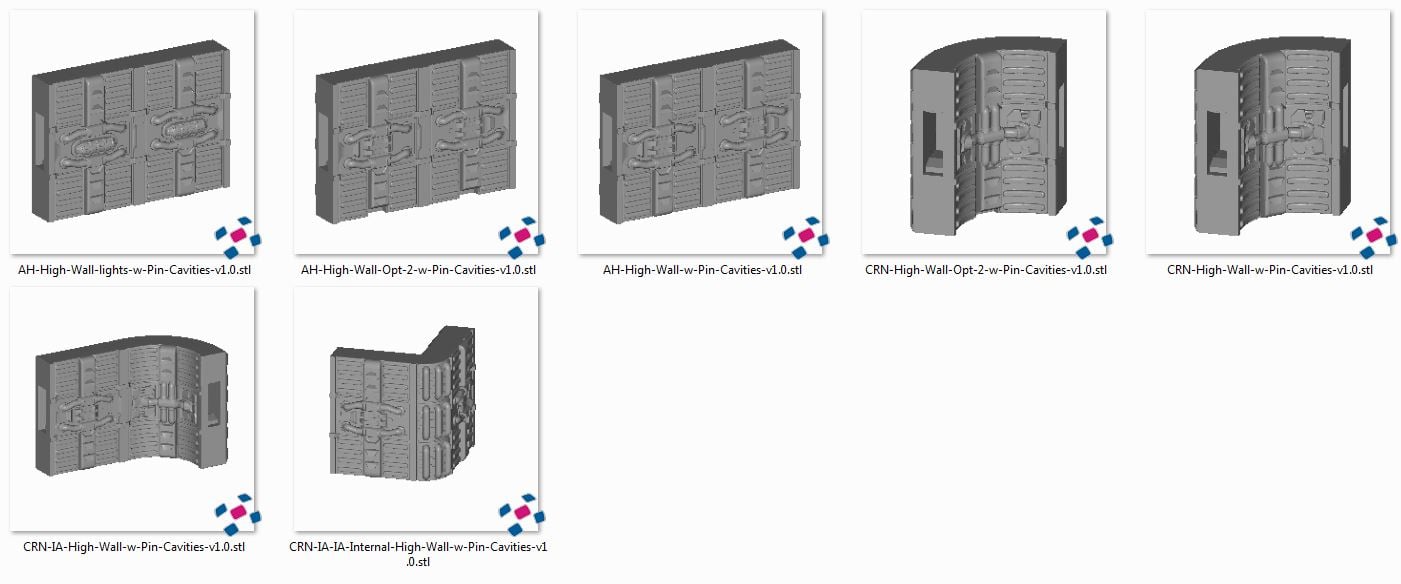
Top Locking Pins Reference
 My Account




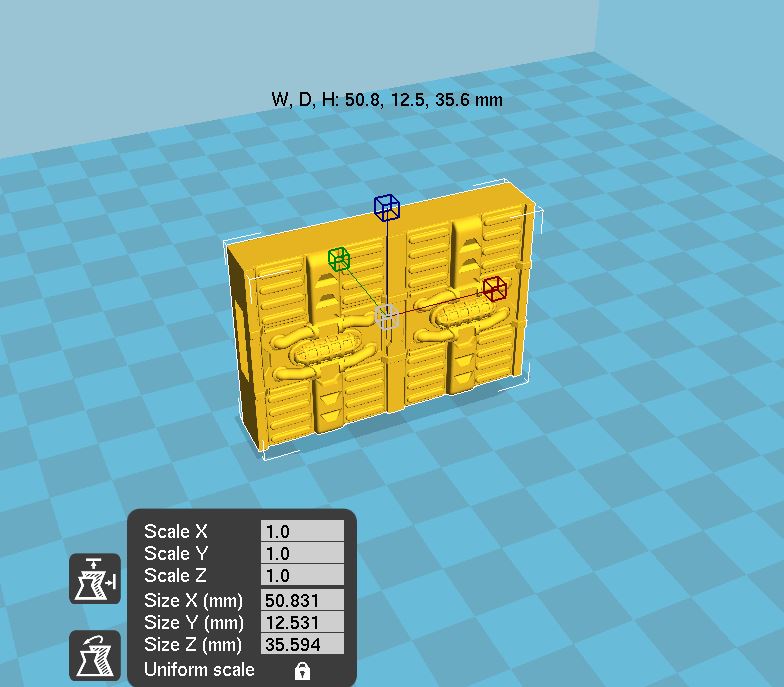
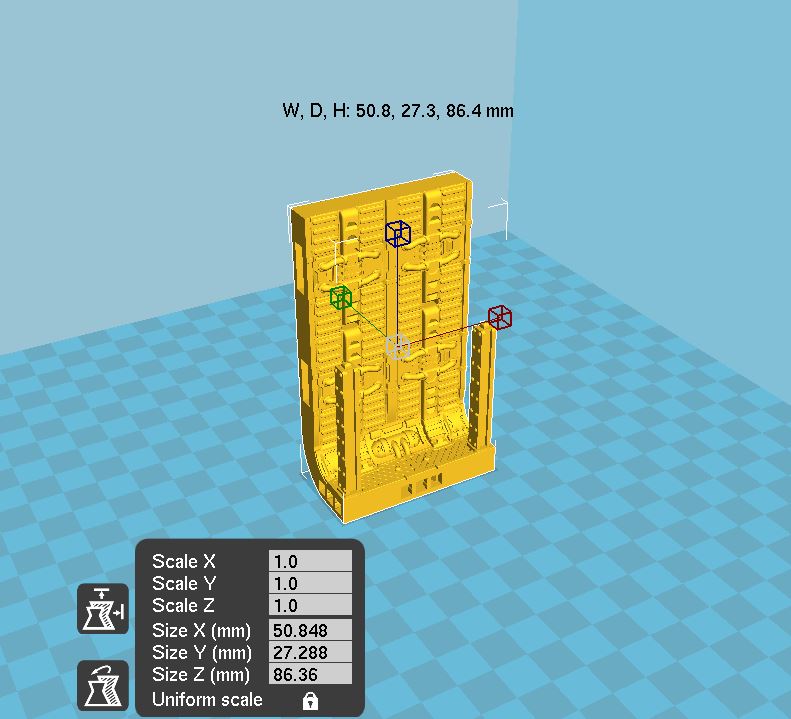
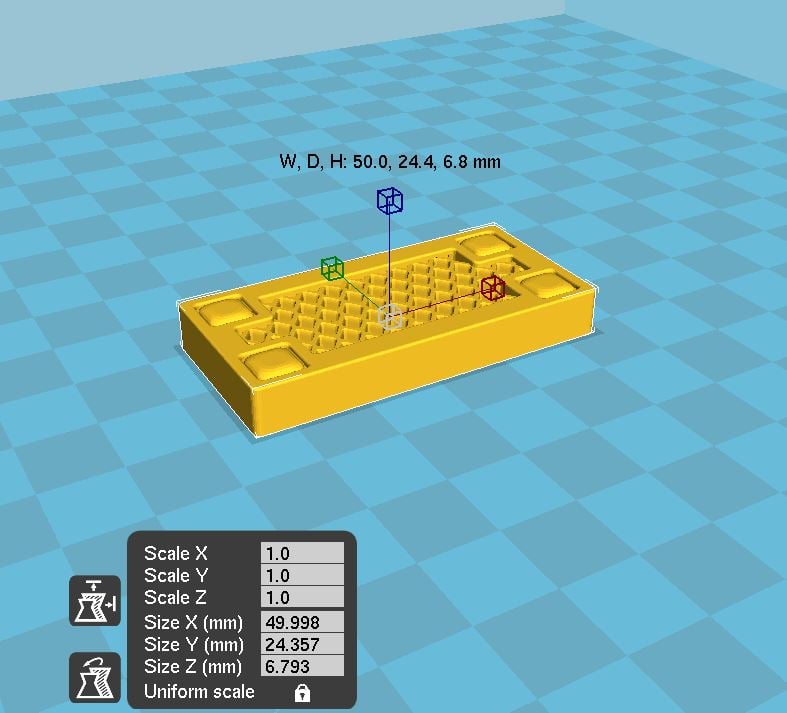
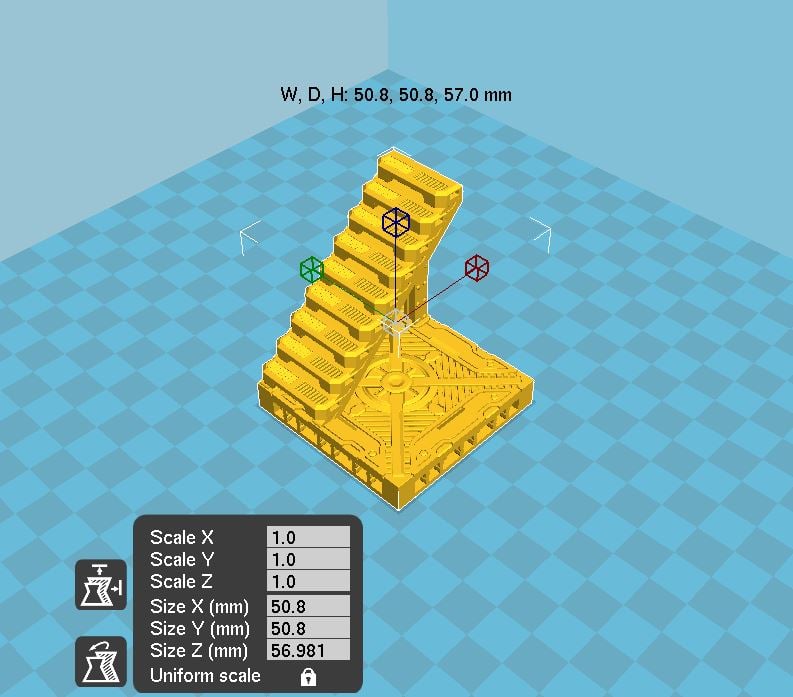
Brent Sinclair (verified owner) –
What is the difference between the CNR High Wall Option 1 and Option 2? I can’t seem to spot any differences in these models. I also don’t see any difference in High Wall Option 1 and Option 2.
Nicholas Jebson –
Option 1 does not have a slot that the walkway can anchor into while option 2 does
Zachary Petriw (verified owner) –
Hi. On E-Walkway-Full-Comb-Pt-2-V1.2 it looks like the meshing isn’t touching two of the sides. Is this intentional? The other walkway pieces seem to have the meshing connected on all four sides. Thanks.
Nicholas Jebson –
They do all connect, it is just a quirk of the pattern that it interacts with the wall just as it reaches the shortest part of the diamond shape.
mwaining (verified owner) –
I’m having trouble getting the mesh to adhere to the printer bed. Any settings advice?
Mike –
Try printing with a brim or raft if you aren’t already as they help with adhesion. Many hobbyists use a glue-stick or hair spray on the printer bed to help aswell. Finally try running the printer bed temp a little higher than you normally would, somewhere around 65-70 degrees.
Hope that helps!
arandir –
Hey, tried also today to print the Walkways with the mesh. It seems a button layer under the mesh is missing. The outer parts starts 0.4 mm befor the mesh parts starts.
Mike (Printable Scenery) –
Thanks for your feedback, I’ll add that to our list of model updates when this one comes up for review.
In the meantime to print them as they are you could try rotating it by 90 degrees so it prints on its side and it should print well.