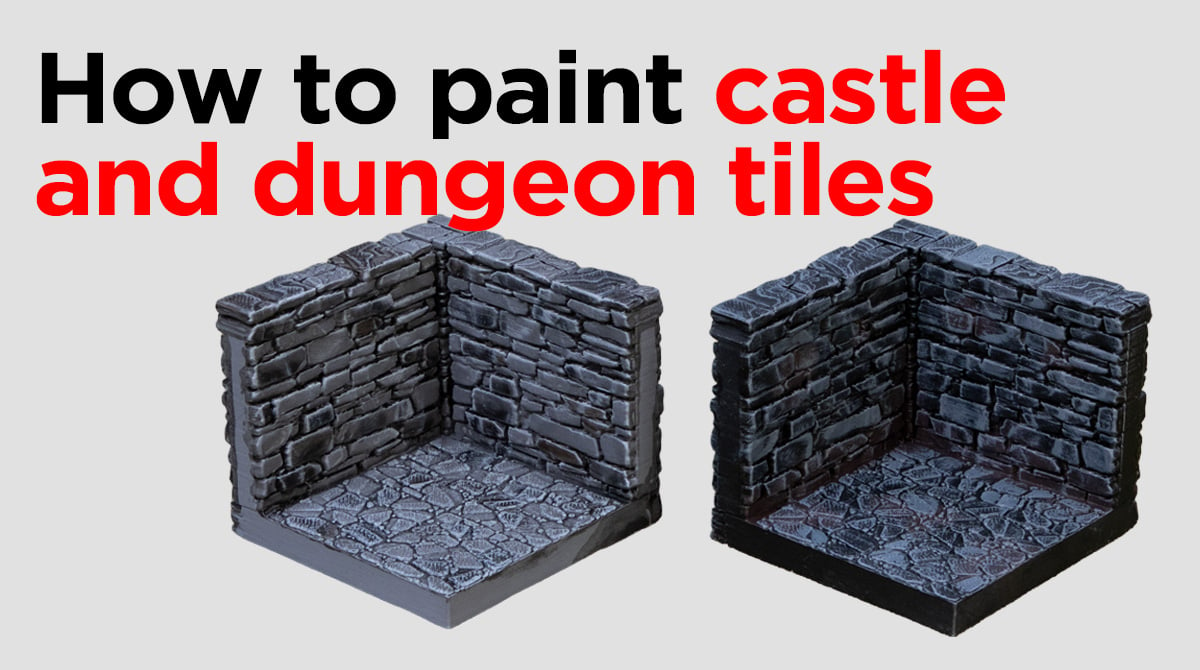
Painting 3D Printed Castle and Dungeon Tiles
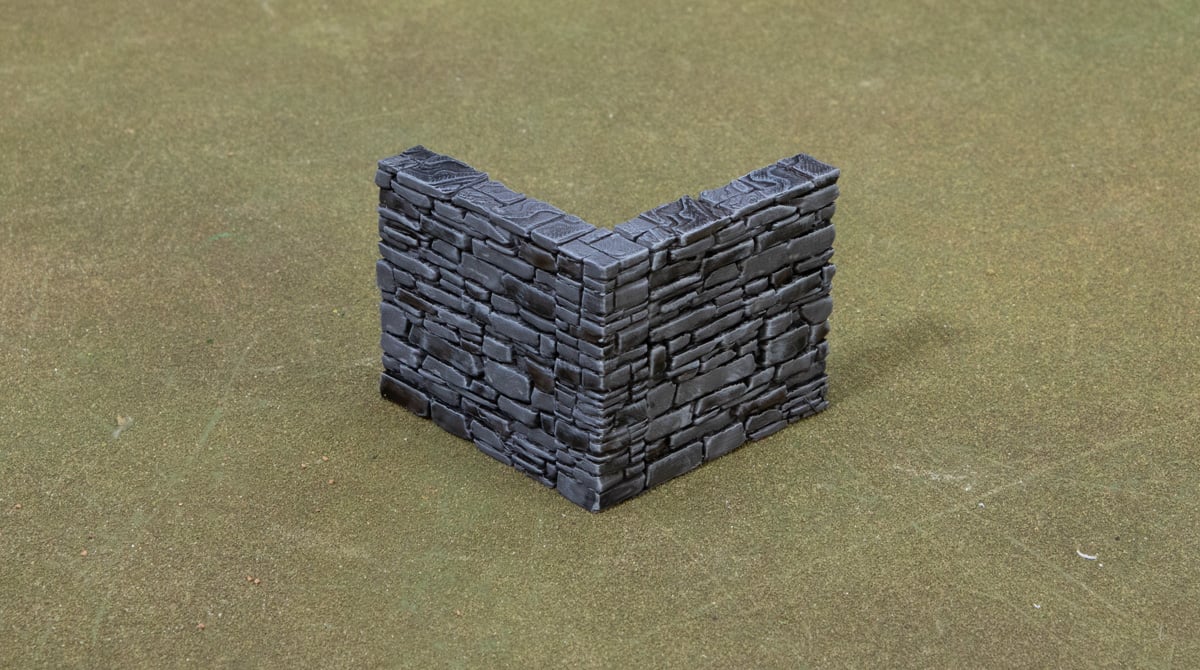
When building castles and dungeons using OpenLOCK tiles, such as those from the Rampage Castle or Dungeon, you will likely want a speedy way to paint them all. This article will cover two methods for painting castle and dungeon tiles: one using a black undercoat and drybrushing for a dark, grimy dungeon, and one using a grey undercoat with washes for a more classic castle look. These methods will allow you to paint a lot of tiles in a very short time frame, once you have your paints picked out.
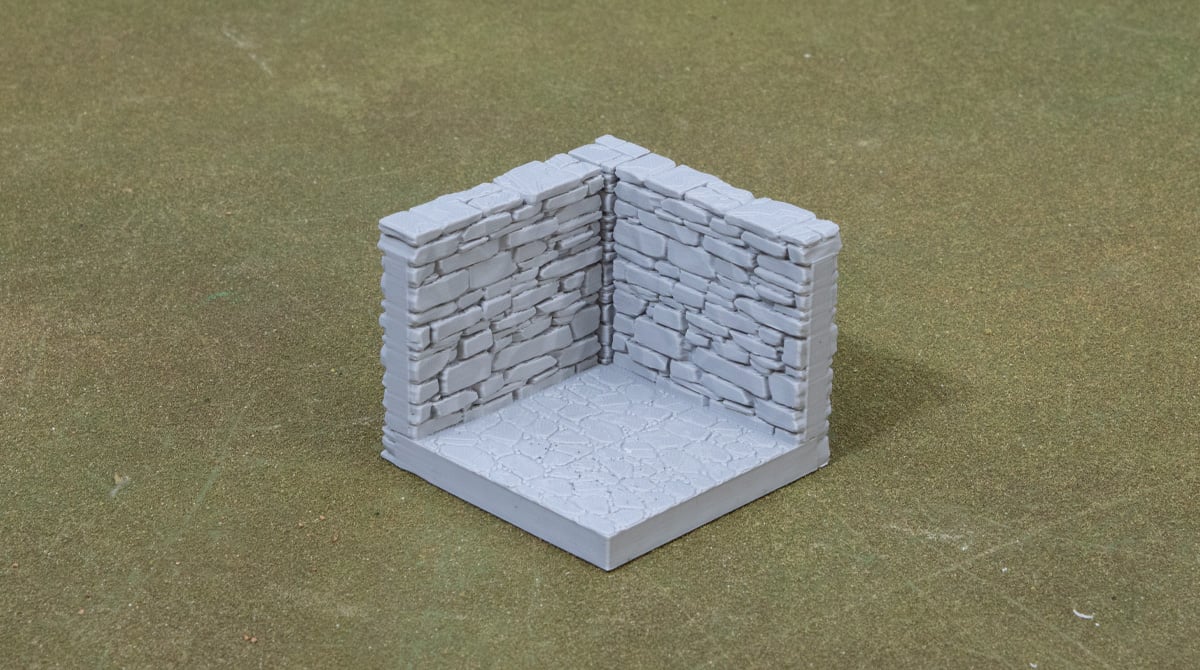
Begin with some 3D printed tiles, whether they are separate tiles or combined using Terrain Tinker for example, this paint guide works for either. The paints we used are as follows:
- Flat black and flat grey primer (Rustoleum)
- Rhinox Hide (Citadel)
- Mechanicus Standard Grey (Citadel)
- Administratum Grey (Citadel)
- Black Wash, thinned 50/50 with water (Vallejo)
- Agrax Earthshade (Citadel)
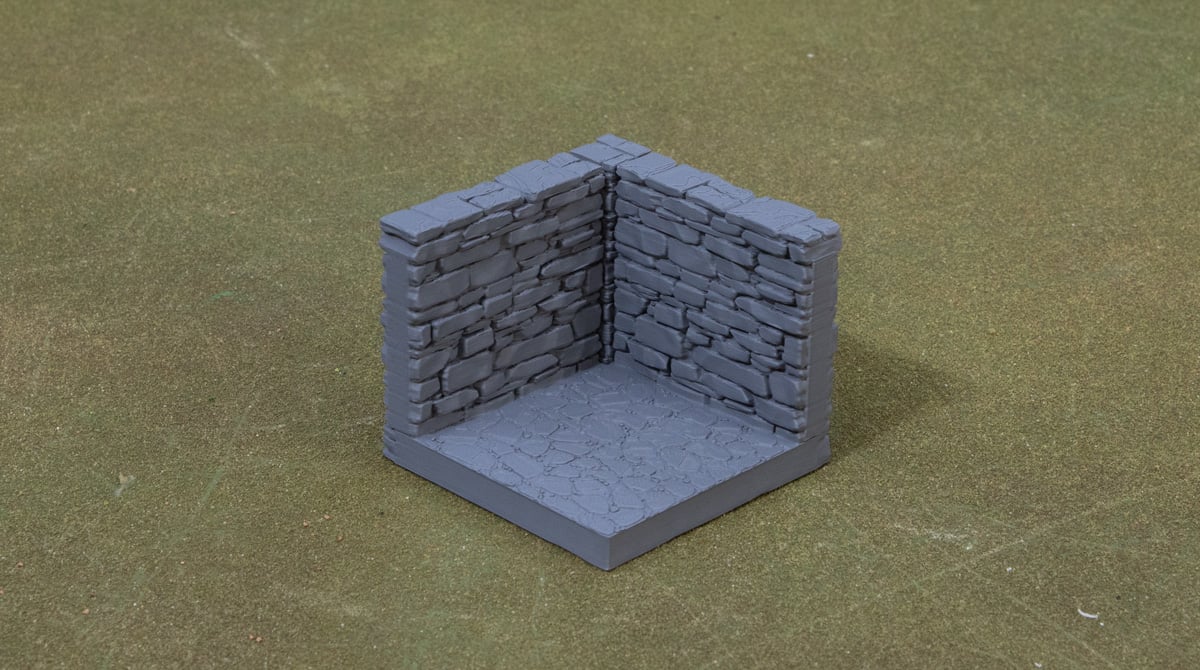
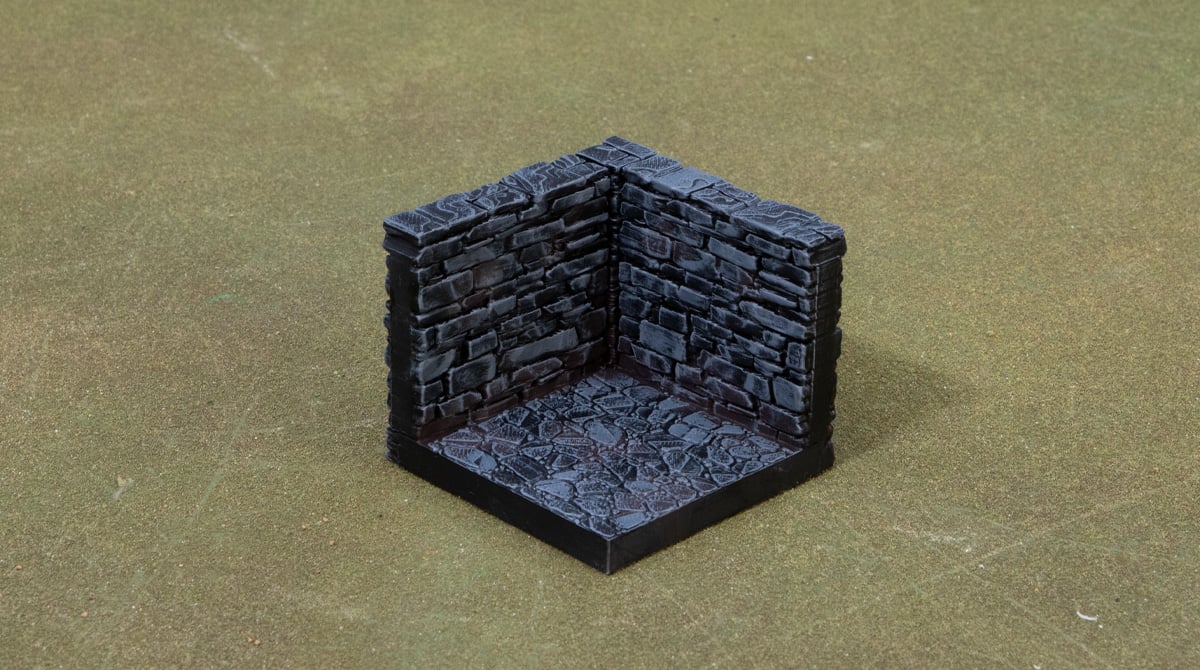
Painting with a grey undercoat
For this method, we begin with a grey undercoat and use washes to add depth across the tile, darkening the recesses and giving the bricks shape.
Use the thinned-down black wash all over the grey tiles, letting it run into the recesses and pool on the bricks here and there.
You can use the same black wash, as well as some Agrax Earthshade or a similar brown wash, to pick out some bricks. This quick step goes a long way to making the whole dungeon feel more realistic and alive.
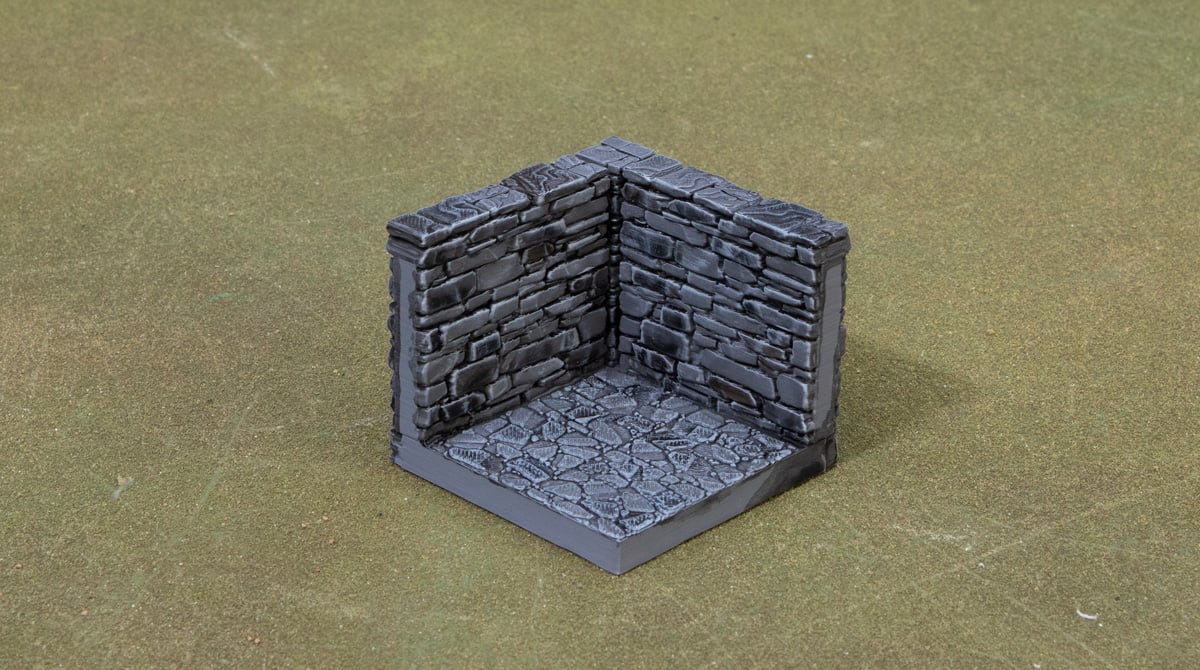
The final step is to do a drybrush with a light grey like Administratum Grey. We do this focusing on the upper edges of the bricks.
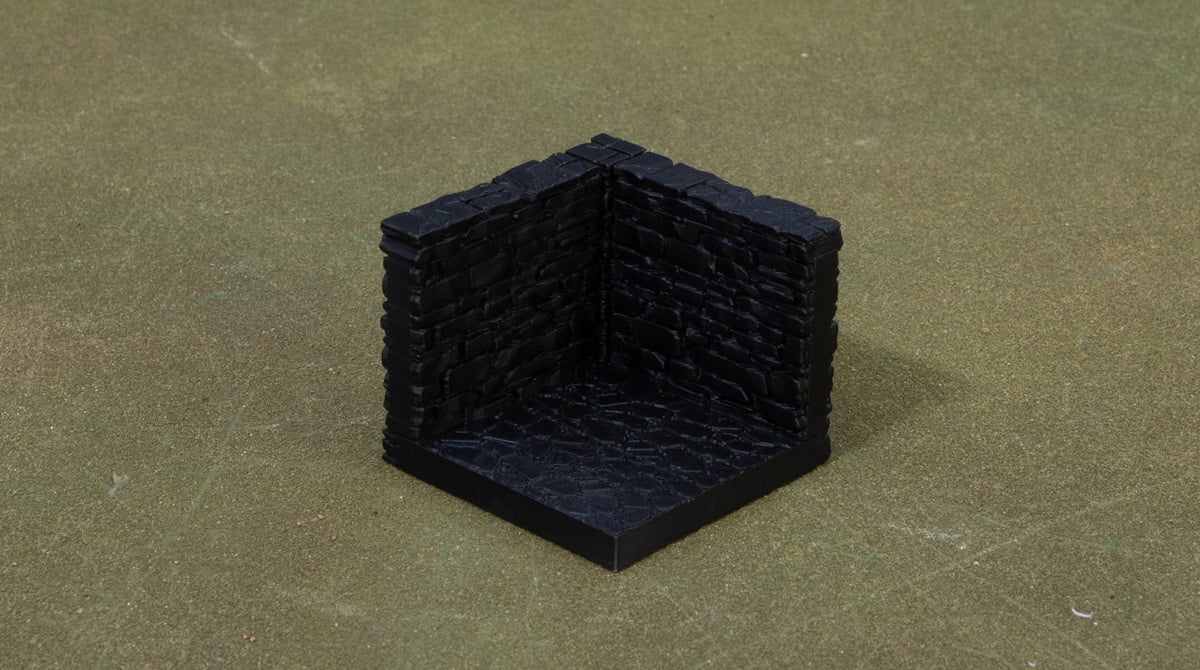
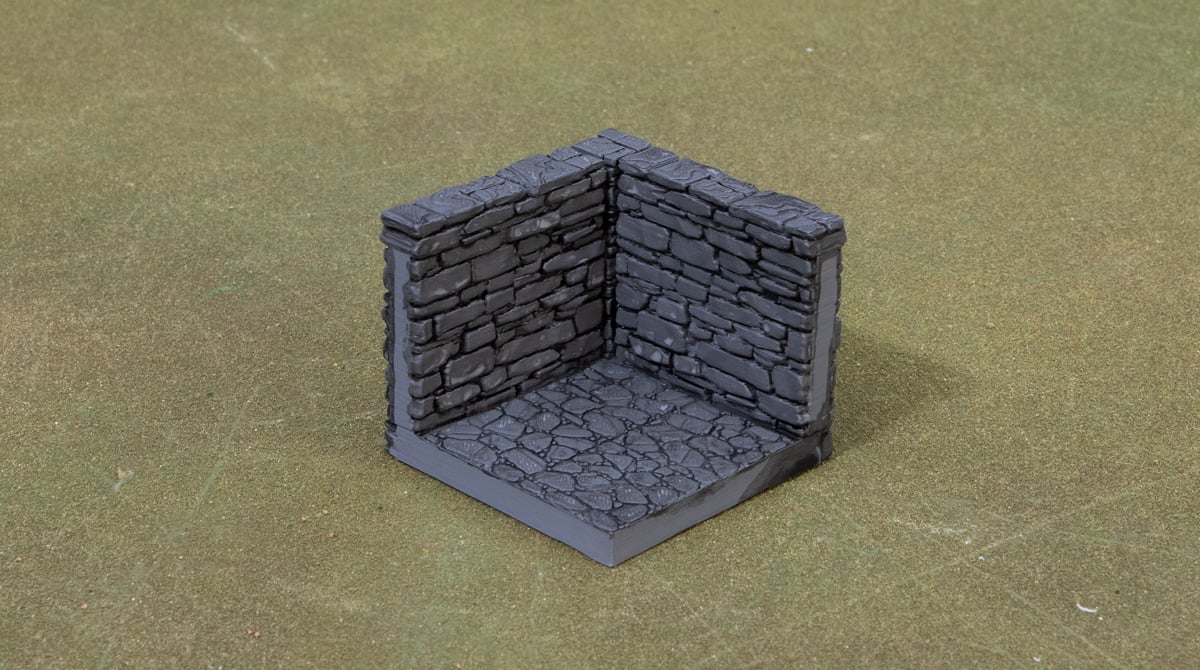
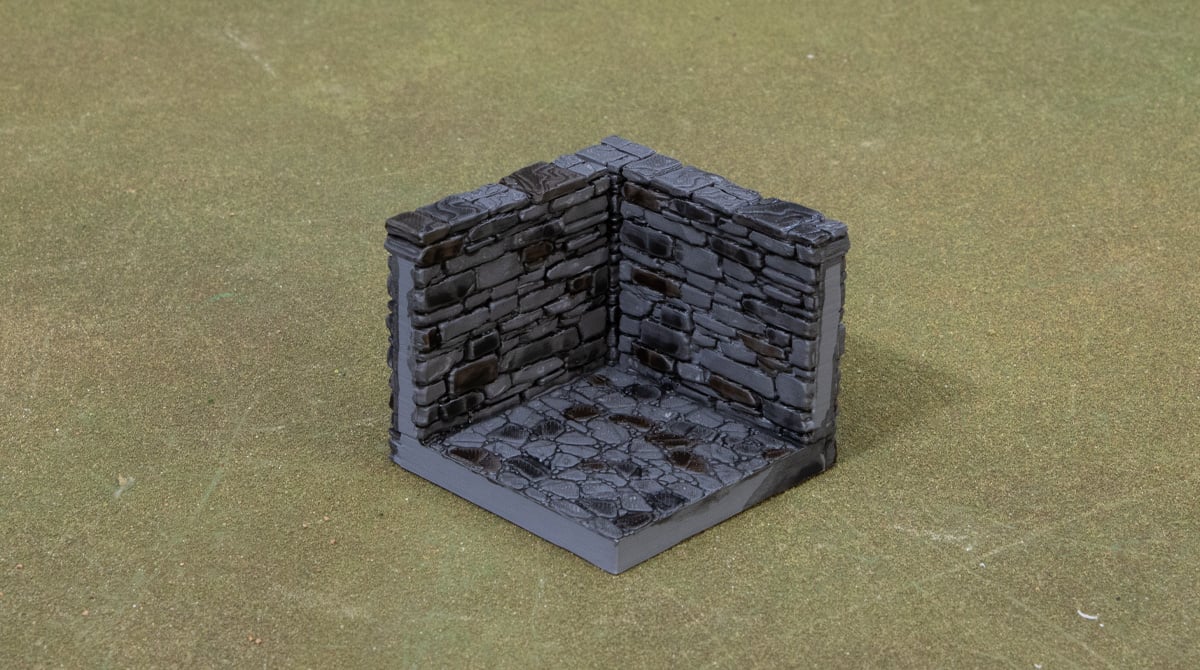
Painting with a black undercoat
A black undercoat can be a great shortcut to achieving natural-looking shadows with no need for washes. We’ll be drybrushing from black to a mid grey, but you can go as bright or as contrasting as you like.
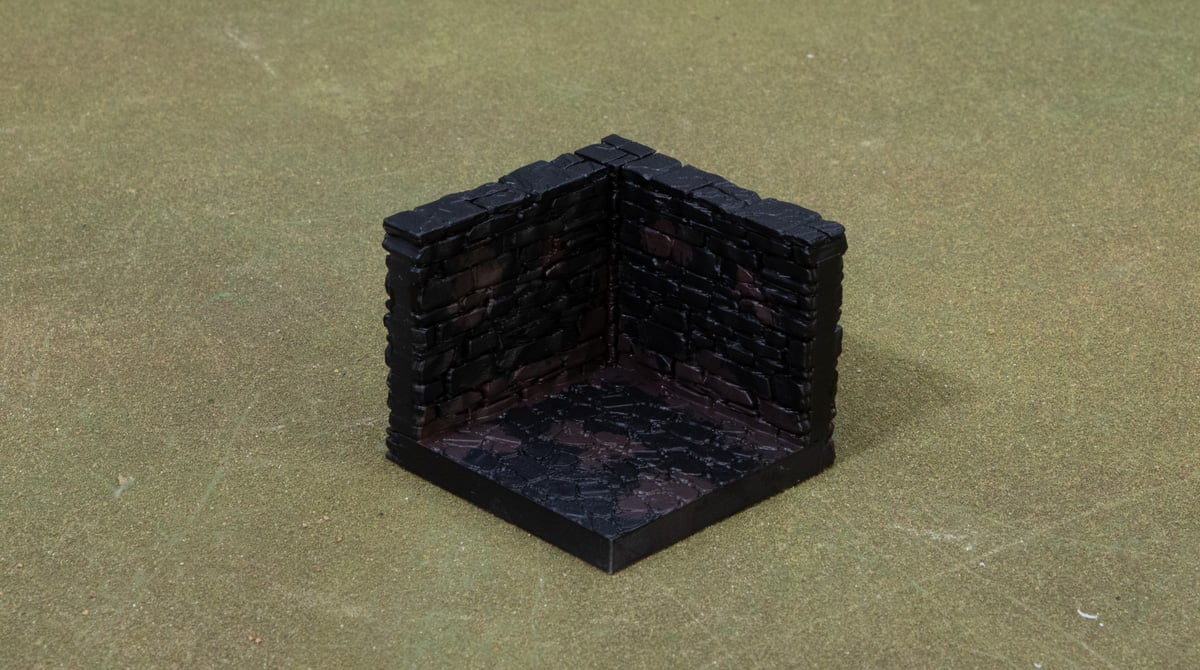
First, we paint some brown patches in the corners, some recesses, and some bricks using the Rhinox Hide. This is to achieve a bit of a grimy look and stops it from looking quite so monochromatic.
The next step is a generous drybrush of a mid grey, like Mechanicus Standard Grey. We do this all over and even quite heavily so to completely cover the odd brick here and there. It adds a lot of variety and achives a similar effect as picking out bricks but is much faster.
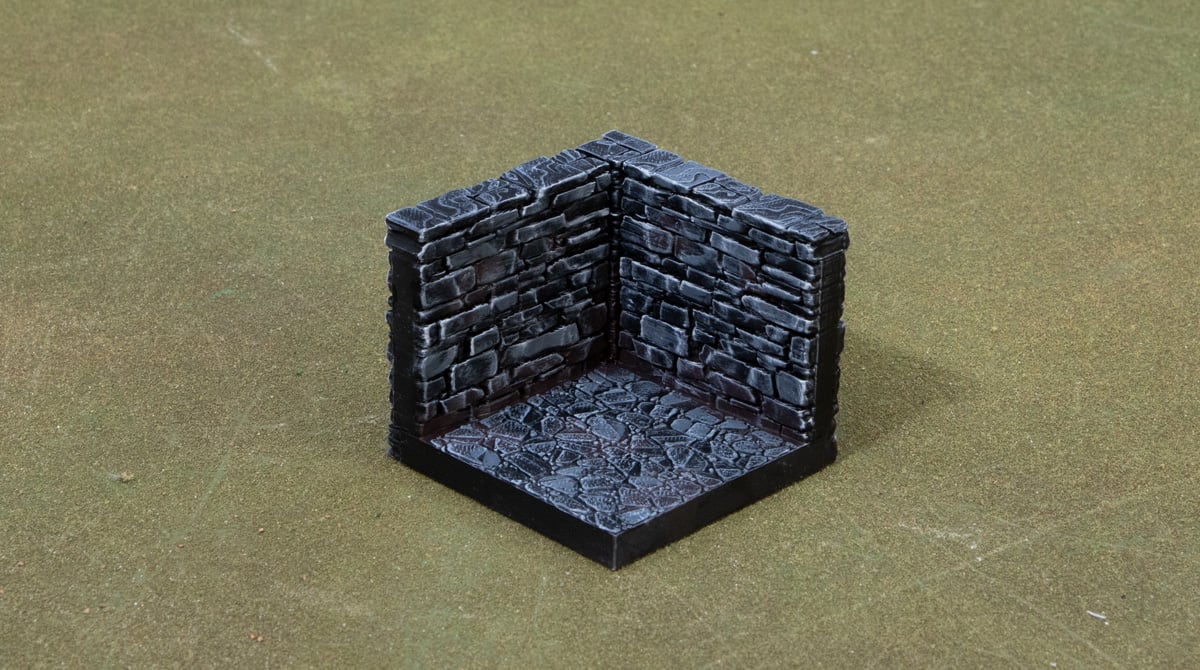
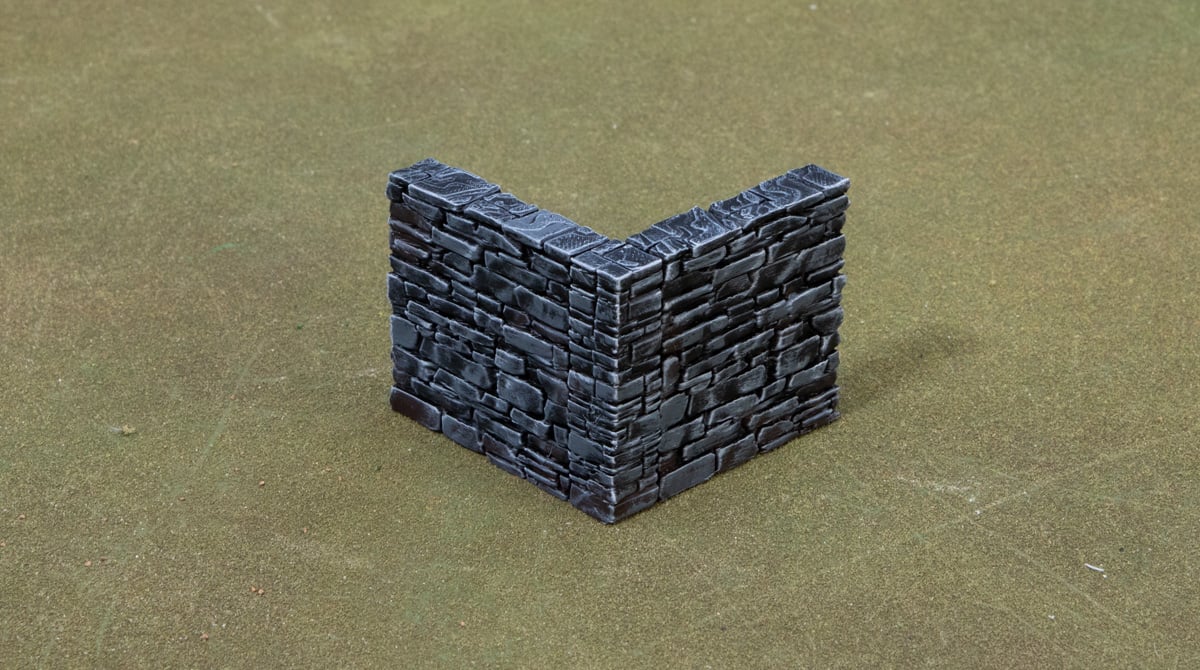
The final step is a light drybrush with Administratum grey to really complete the look and add the needed contrast. This is light because we’re only trying to hit the uppermost edges to define the bricks.
These processes aren’t the most detailed methods you could paint your castle and dungeon tiles with, but it’s perfect for painting a batch of walls or floor tiles quickly. Per tile, this process should take you about a minute, which makes it great for getting through a bunch at once.