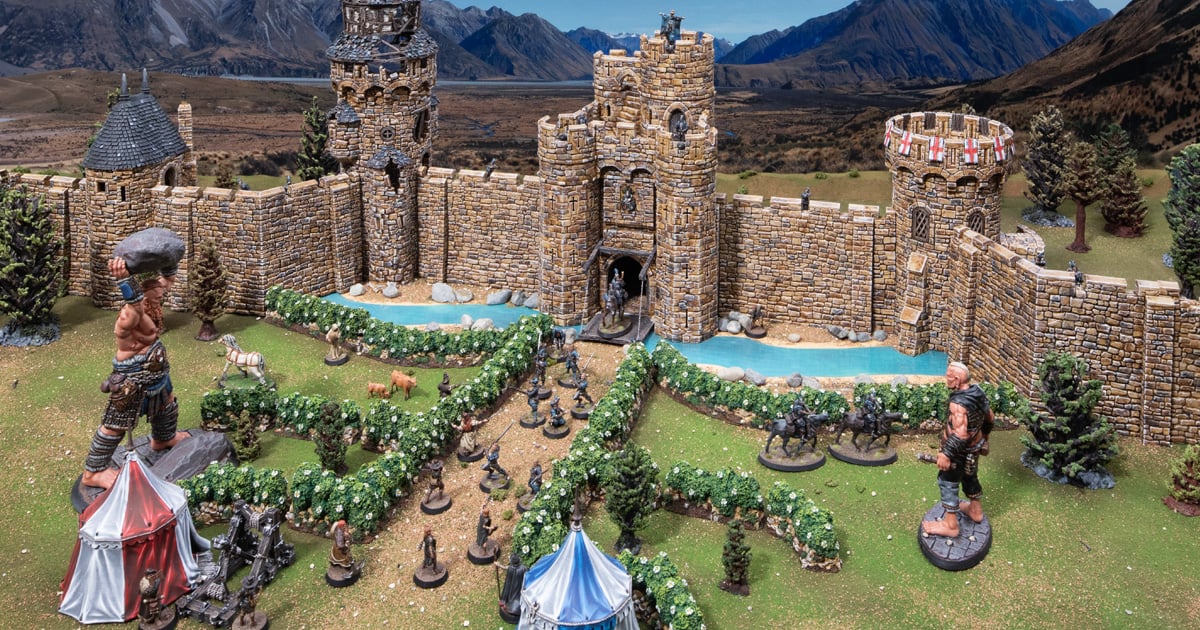
How to paint 3D printable Castle Hedges
In this tutorial, we’re going to cover how we painted our 3D printable Castle Hedges from the Throne & Ash range. We’ll go over model prep, paints needed, and the techniques to achieve the same look as our Castle Hedges.
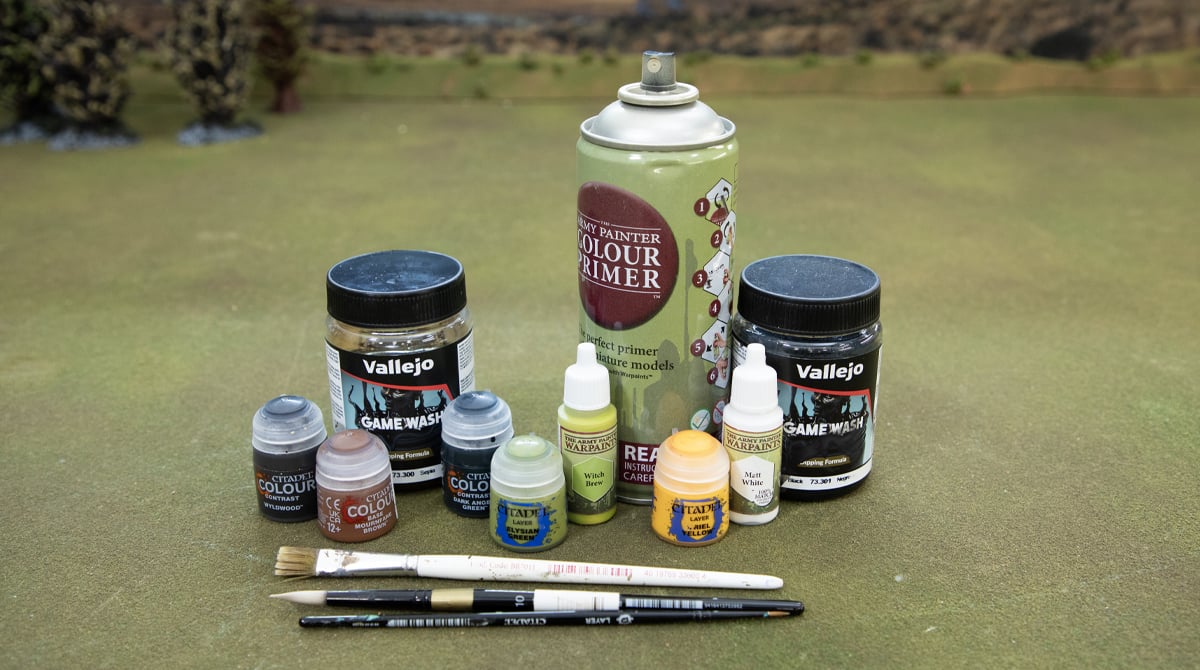
To get started, you’ll need the following:
- Castle Hedges (you can find the 3D printable STLs here)
- Lighter/blowtorch
- Skeleton Bone Primer (Army Painter)
- Sepia wash (Vallejo)
- Black Wash (Vallejo)
- Light Sand Dry Brush paint (Ammo)
- Dark Angels Green contrast (Citadel)
- Elysian Green (Citadel)
- Witch Brew (Army Painter)
- Matt White (Army Painter, any white will do)
- Yriel Yellow (Citadel, any warm yellow will do)
- Wyldwood contrast (Citadel)
- Mournfang Brown (Citadel)
Prep
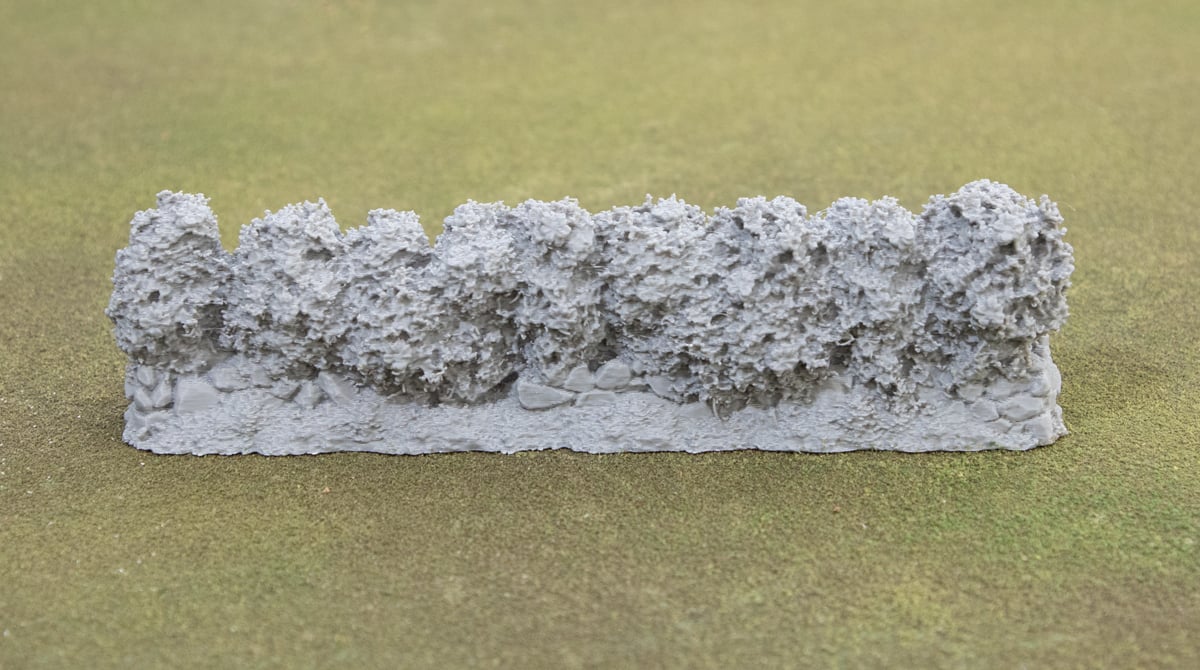
To begin with, you’ll need your 3D-printed Castle Hedges. We printed this out with standard settings on our Bambu Labs P1P. There is often some cobwebbing on detailed models like these, so we recommend using a lighter or a blowtorch to quickly remove the worst of it.
Priming
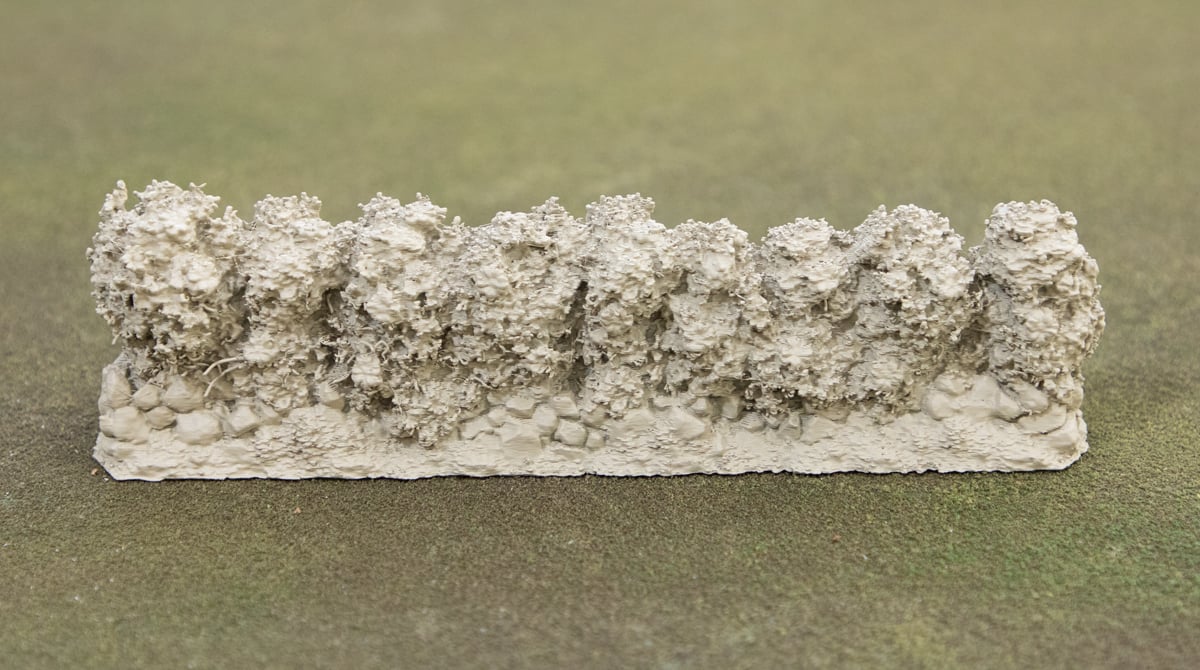
First stage is to prime the model using the Skeleton Bone rattle can primer from Army Painter. This warm tone makes a great base for the sepia tone stones and warm green shrubbery on top.
Painting the Stones
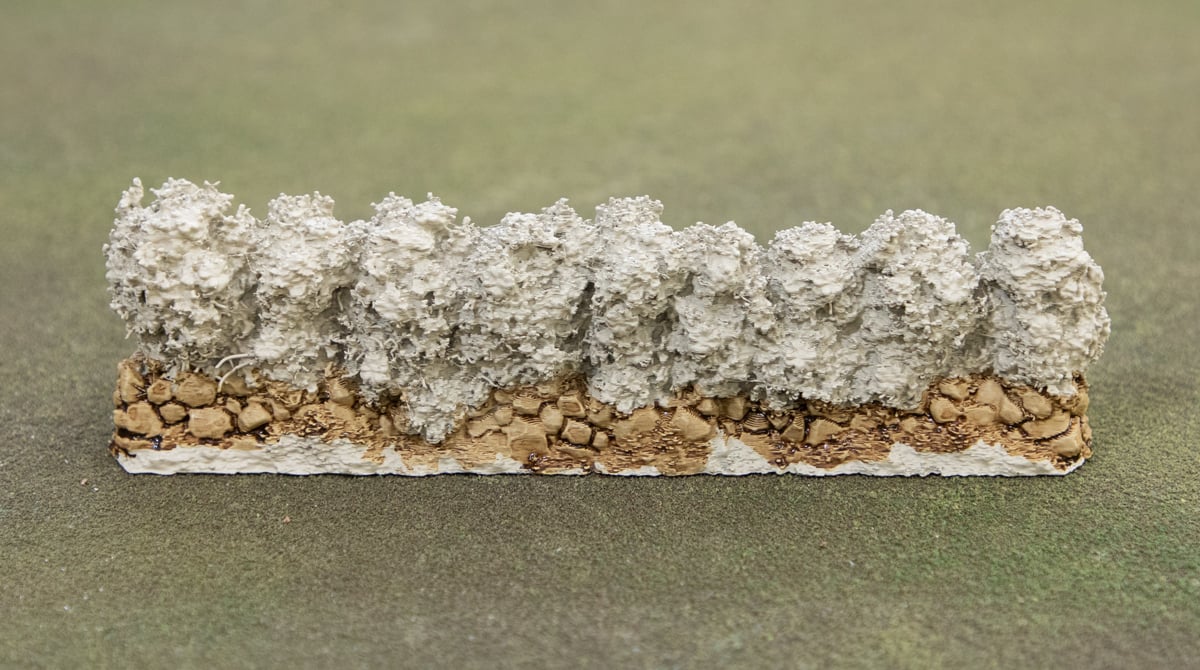
Apply a generous wash over the stones at the bottom with the Sepia wash from Vallejo. You can be a bit messy here, as there are many layers to come.
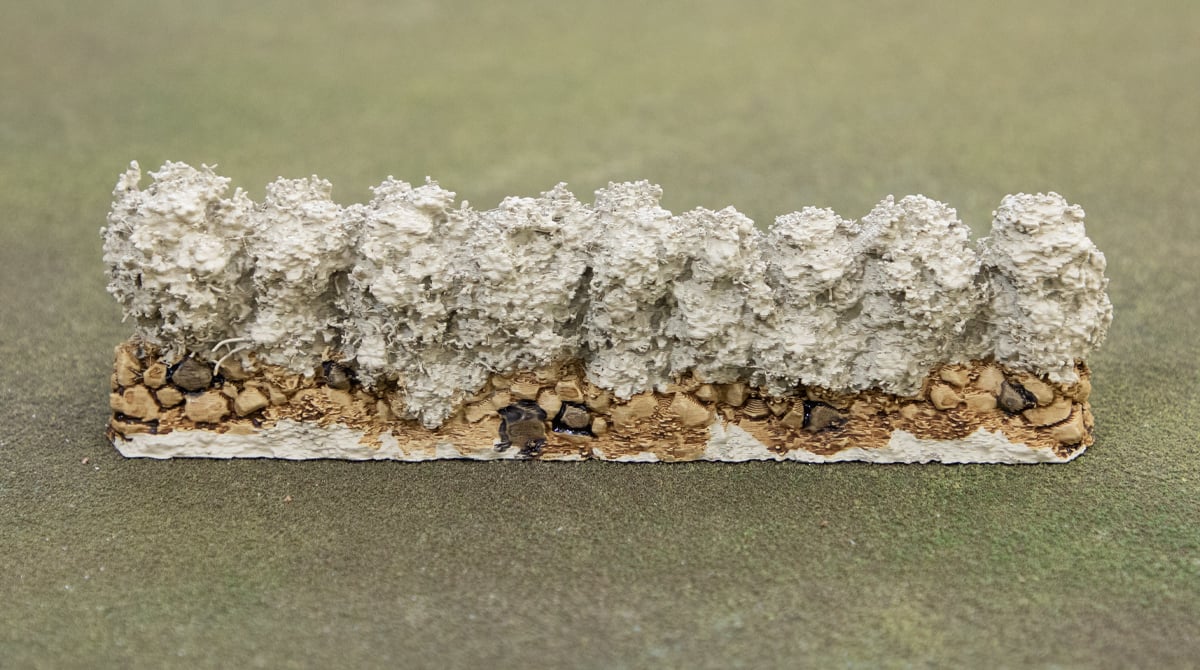
Then pick out a few bricks using the Black wash. Just an even coat over a handful across the model breaks up the tones nicely and looks more natural.

Repeat that process of picking bricks, but with the same Sepia wash to get a few darker-colored bricks.
Once that’s dry, you can take to the bricks with a drybrush of the Light Sand paint. Any light bone/ivory works here if this paint is hard to find.
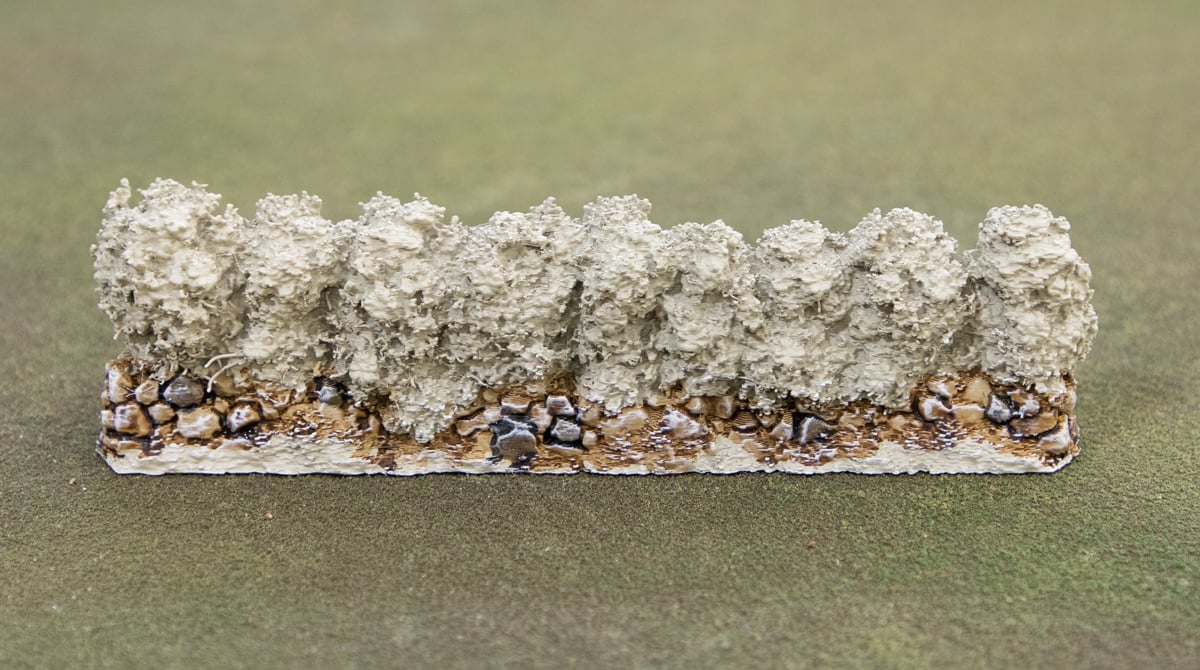
Painting the Shrubbery
Now we can move on to the green shrubs. We start with a generous coat of Dark Angels Green contrast paint. We’re taking advantage of the light Skeleton Bone primer here to use the speedy contrast paints to get a quick result that looks good. Don’t forget to hit the small weeds in the dirt.
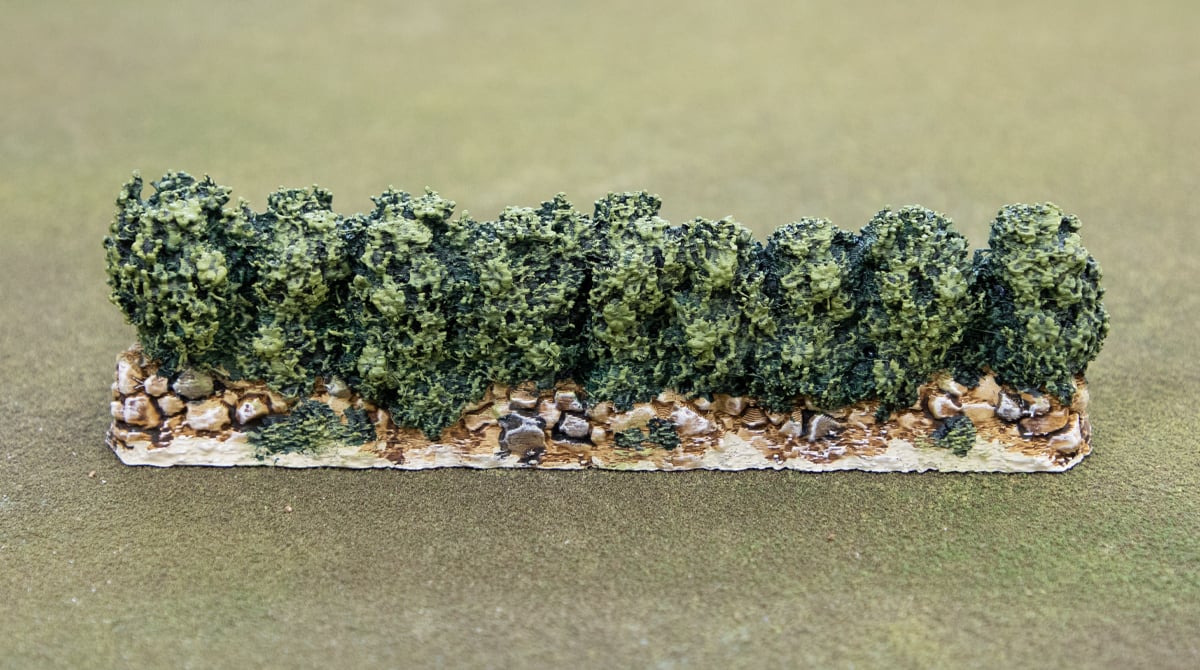
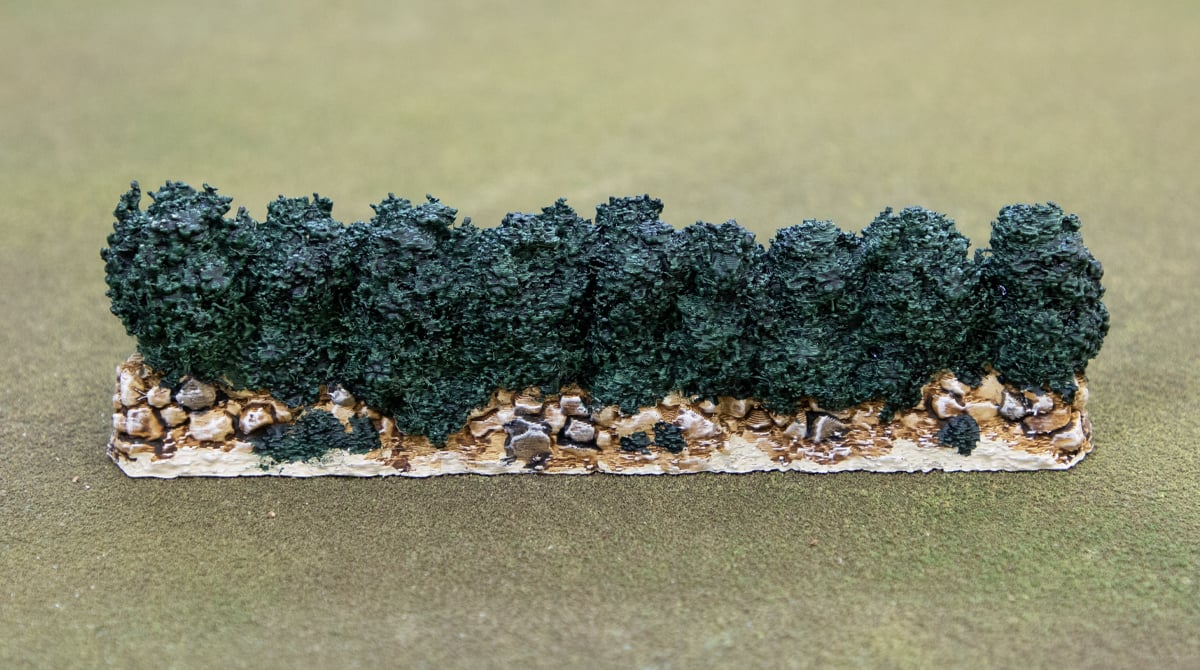
Next, give the whole shrub a heavy drybrush of Elysian Green. You want a good opaque coverage all over the bush, so loading the drybrush up a bit thicker with more paint gets the job done. It might take a couple of passes.
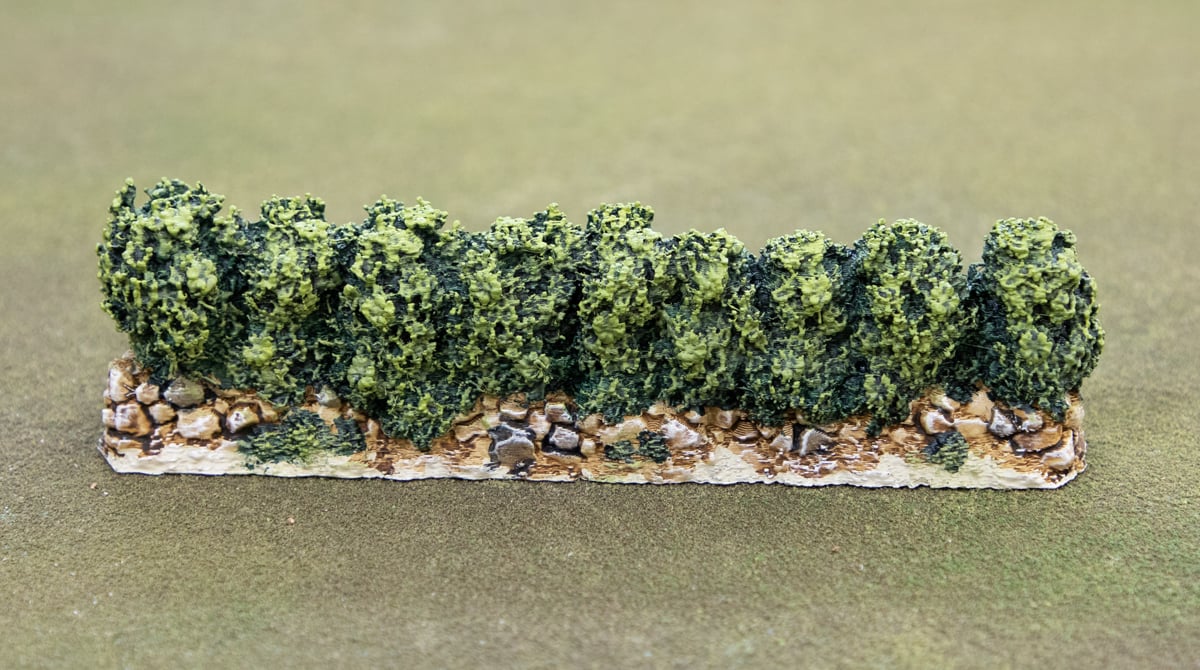
Repeat the same drybrush process, only a bit lighter with the Witch Brew paint. Focus on the tops of the bush and the outermost parts.
Painting the Flowers
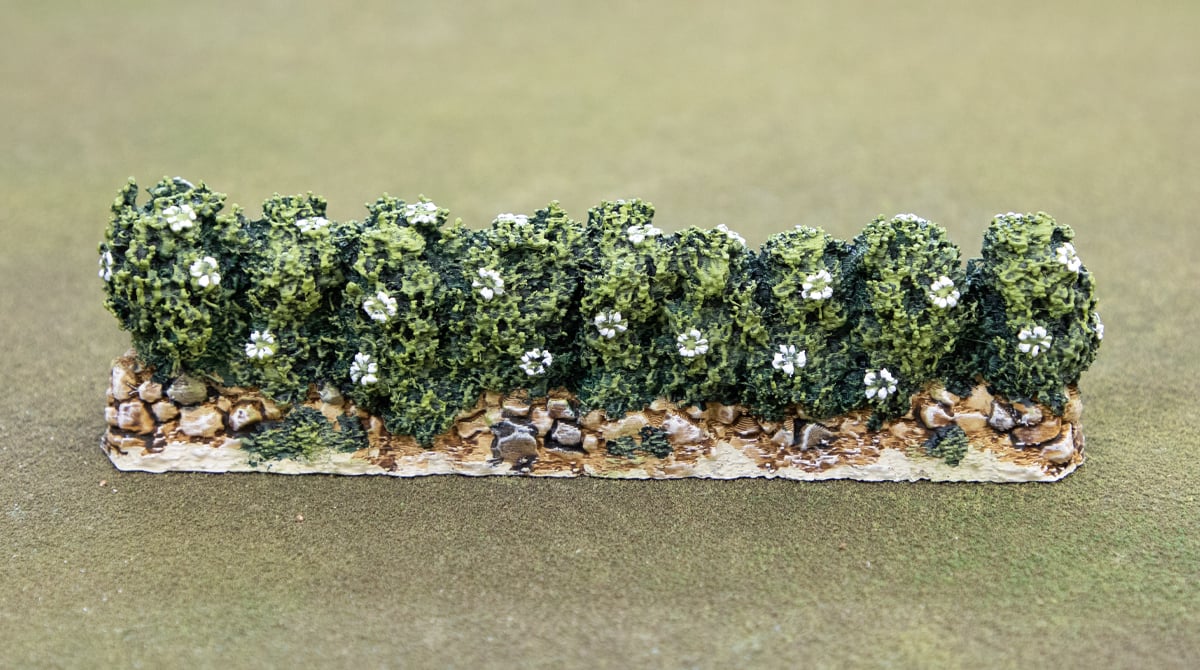
Pick out all the flowers using a fine detail brush and some white paint. You can, of course, use any colour here for your flowers, but white stood out well against the green. The technique here was pick out the petals specifically.
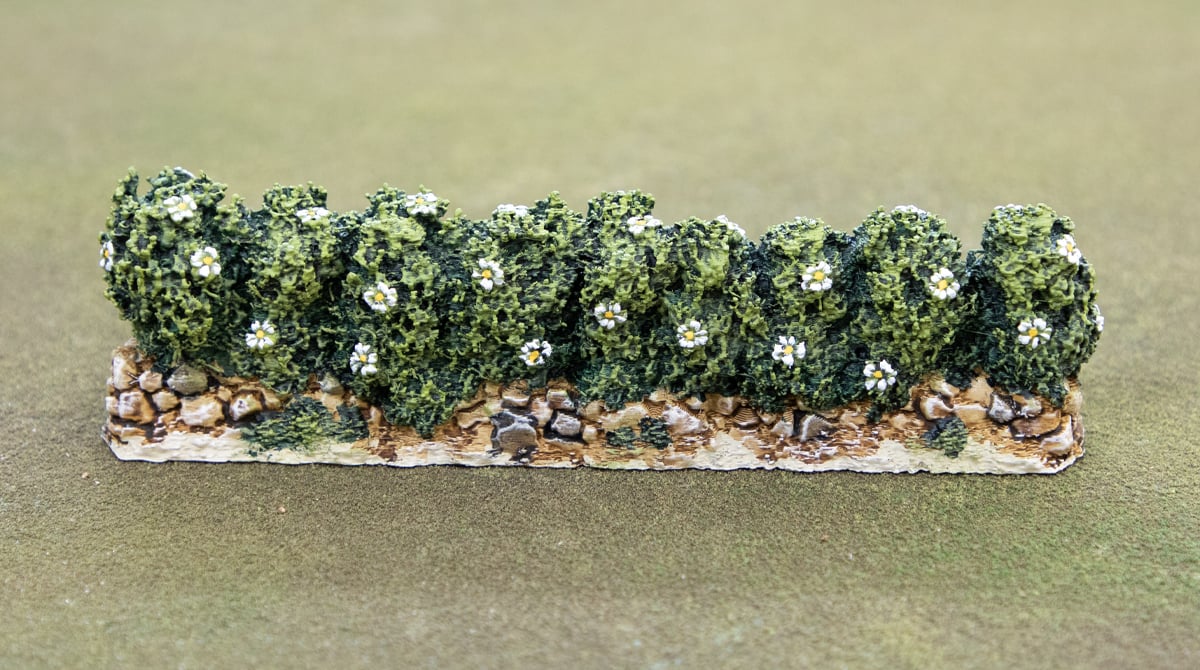
Then, using the fine detail brush, place a small dot of the Yriel Yellow in the centre of each flower to complete the look.
Painting the Dirt
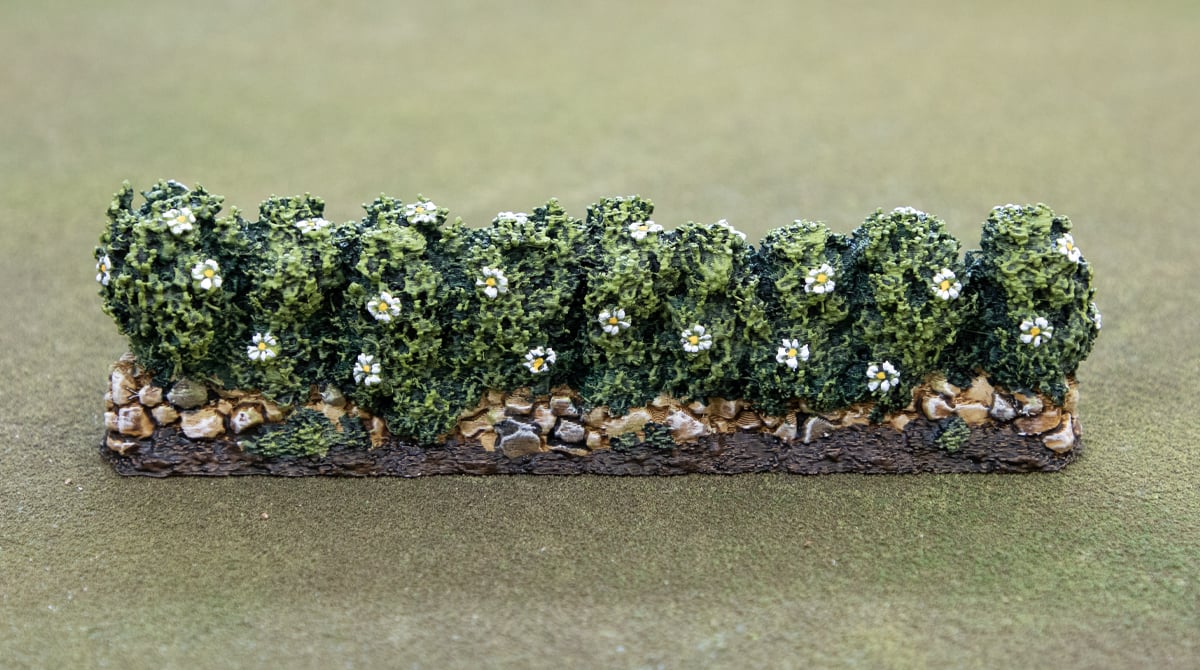
Now we can clean up all the ugly spills from previous steps by using the Wyldwood contrast paint over all the remaining dirt areas.
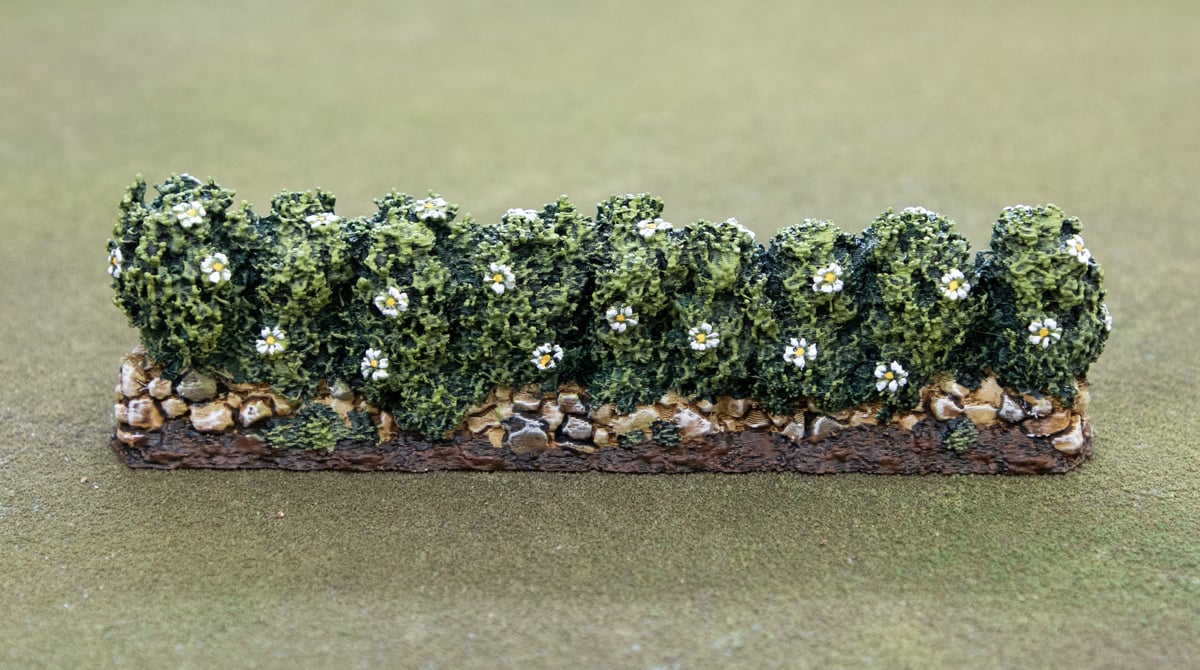
Finally, a drybrush of Mournfang Brown over all the areas we coated with Wyldwood to finish off the dirt, and finish the model!
And there you have it. We hope you found the tutorial for painting our 3D printable Castle Hedges useful. We have a lot of hedge and foliage models you could use this tutorial on as well.