Tagged: Gloomwood Eyrie, Printing Problem
-
AuthorPosts
-
-
February 27, 2019 at 11:02 am #138383ayliziaParticipant
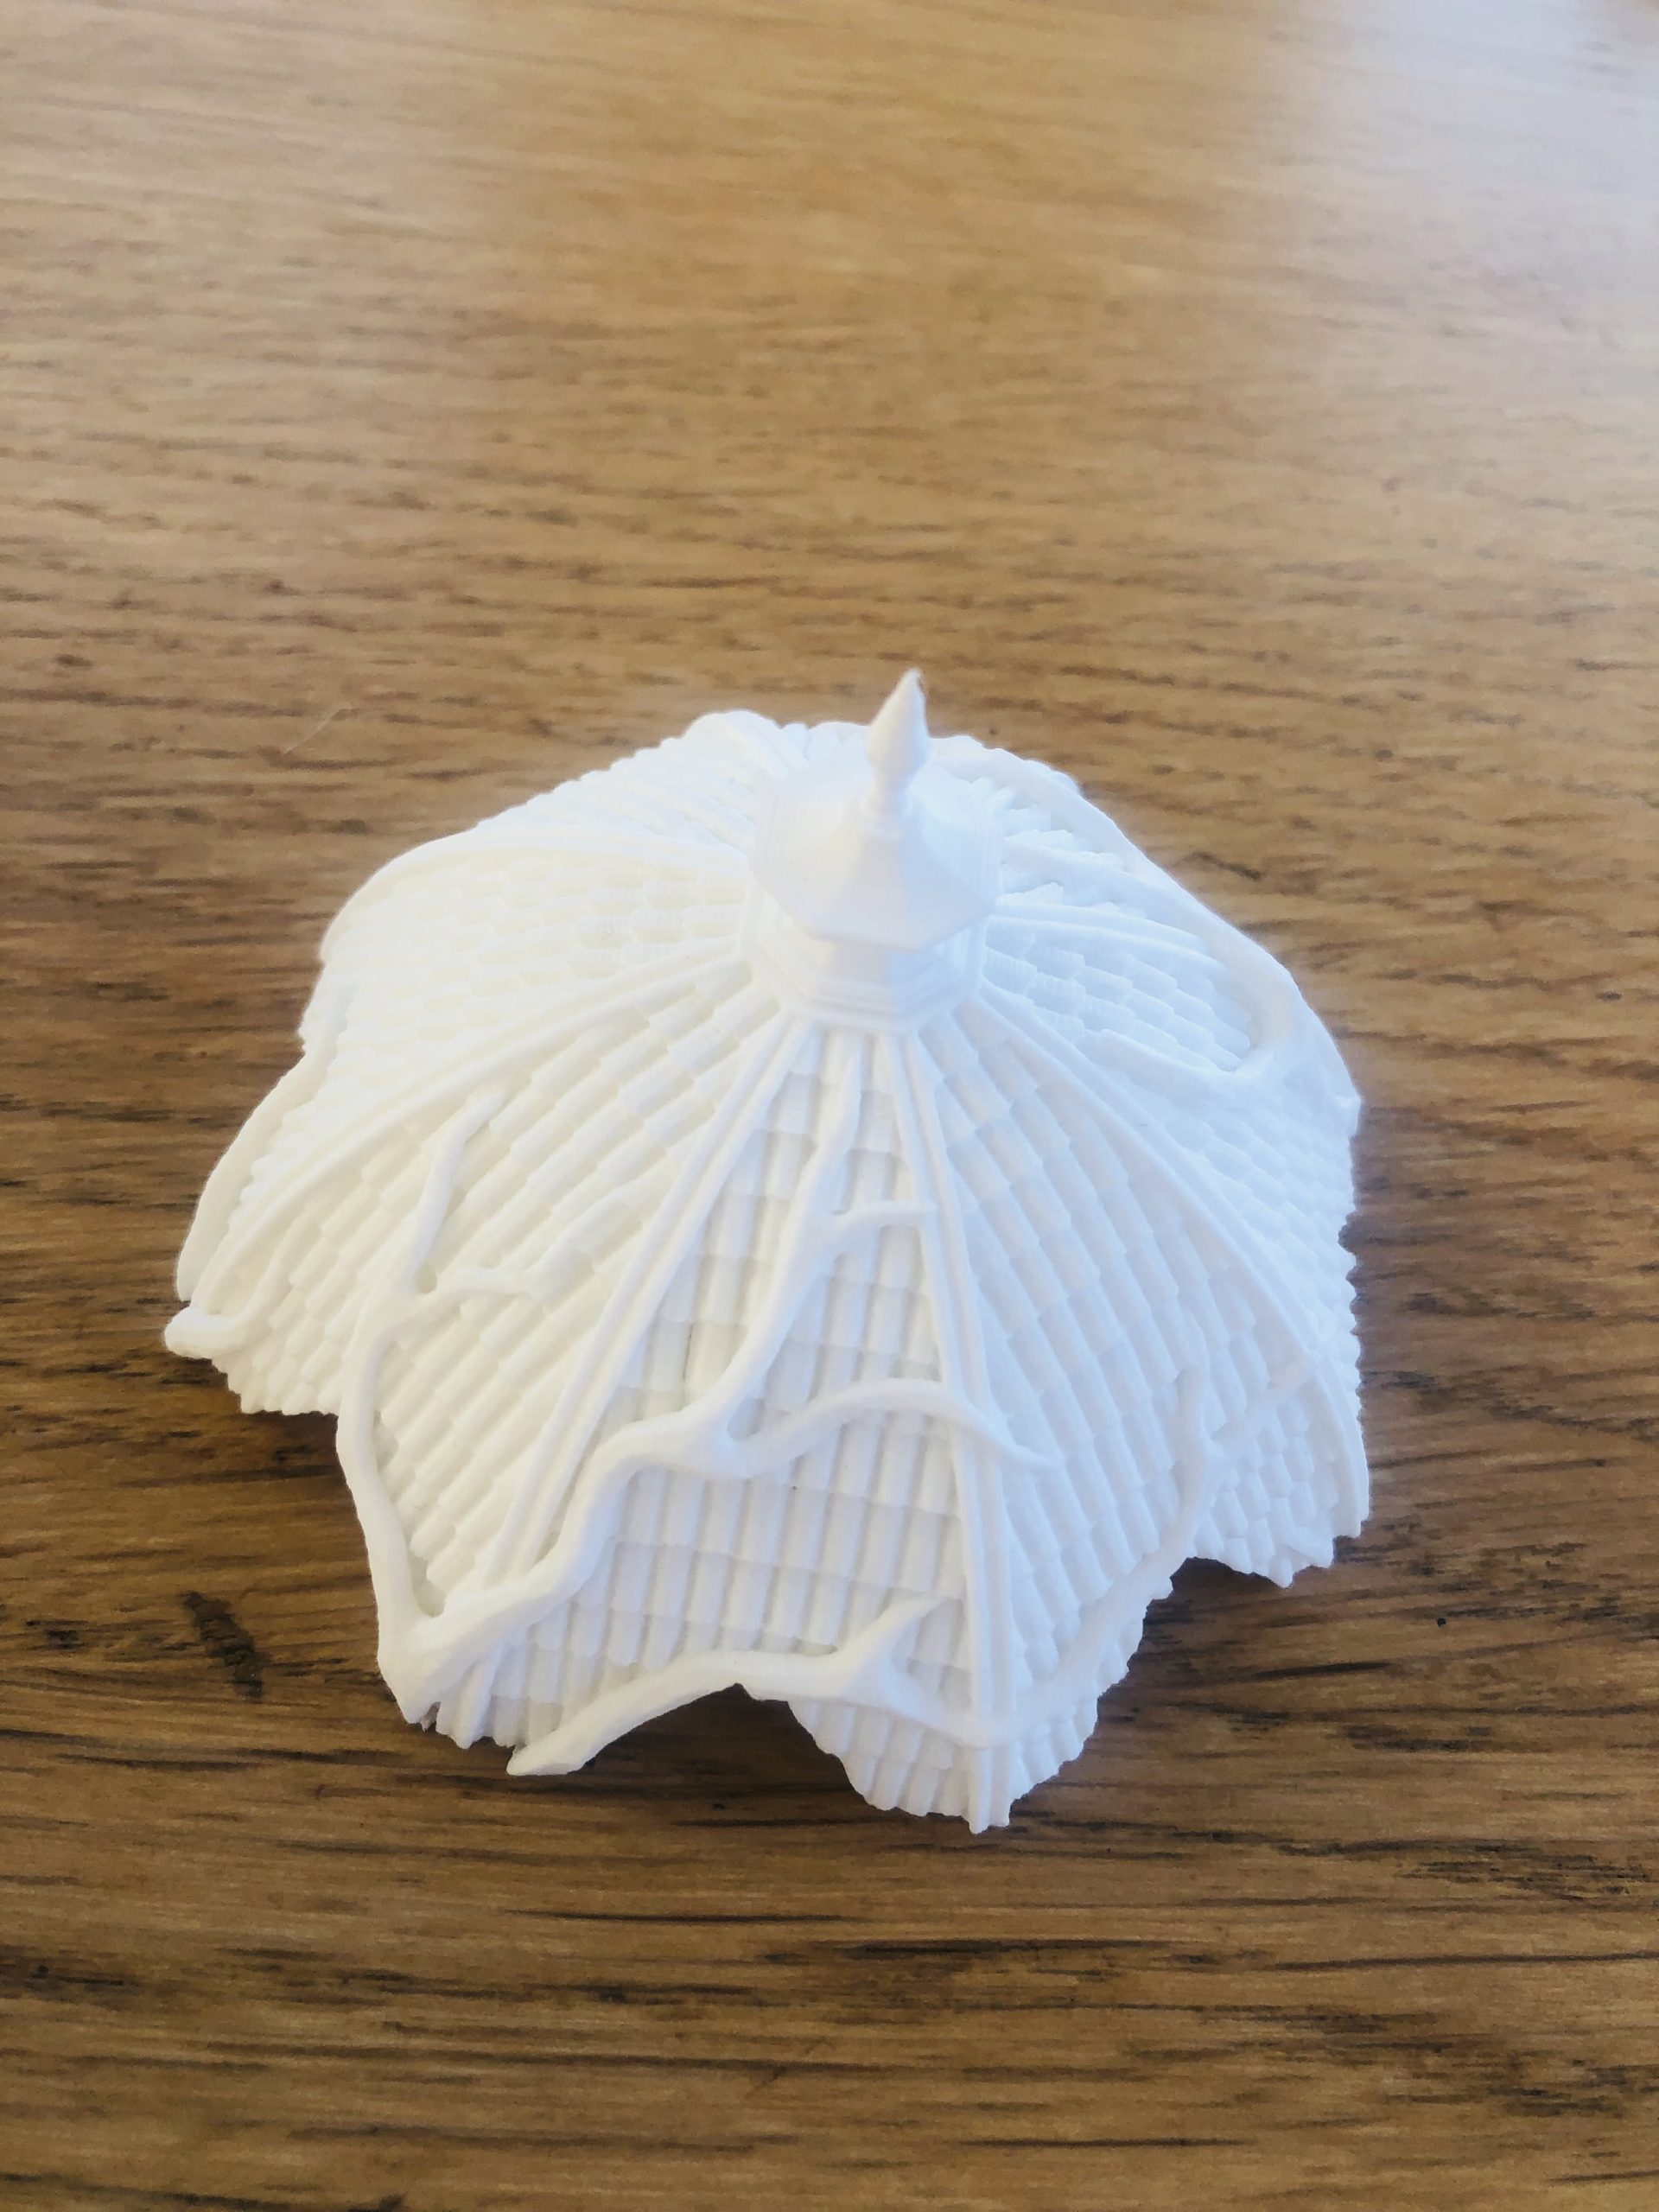
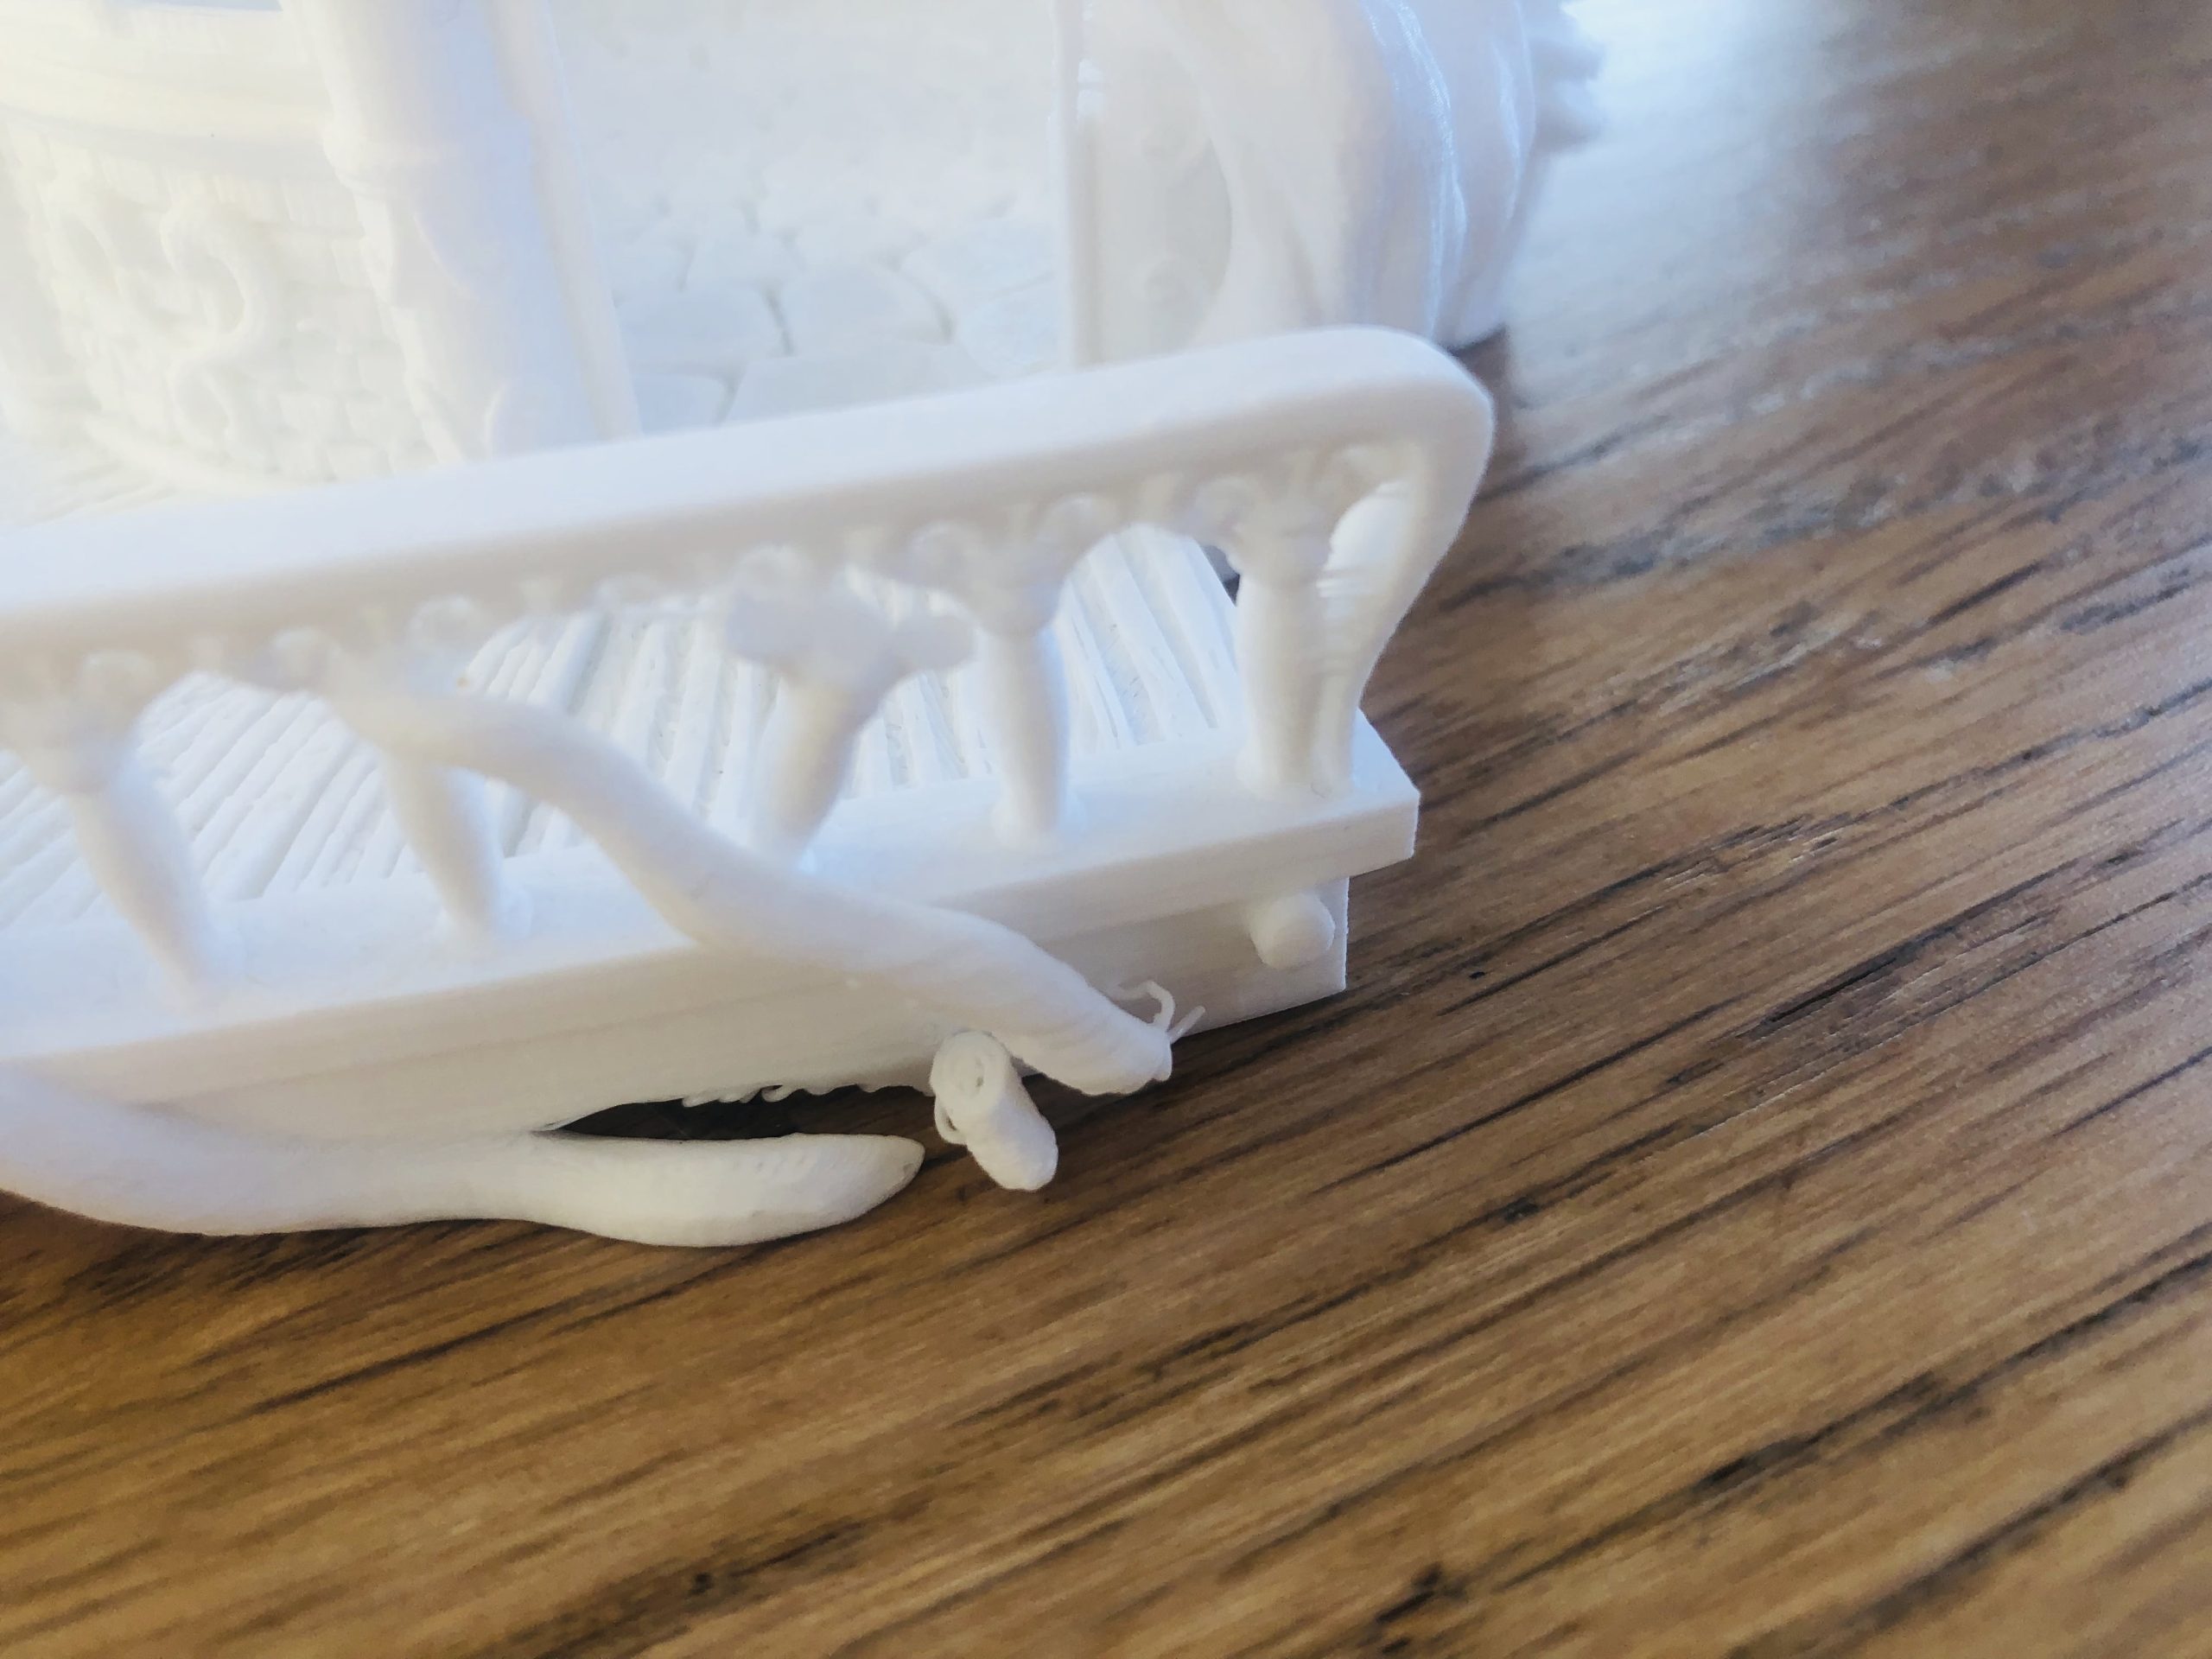
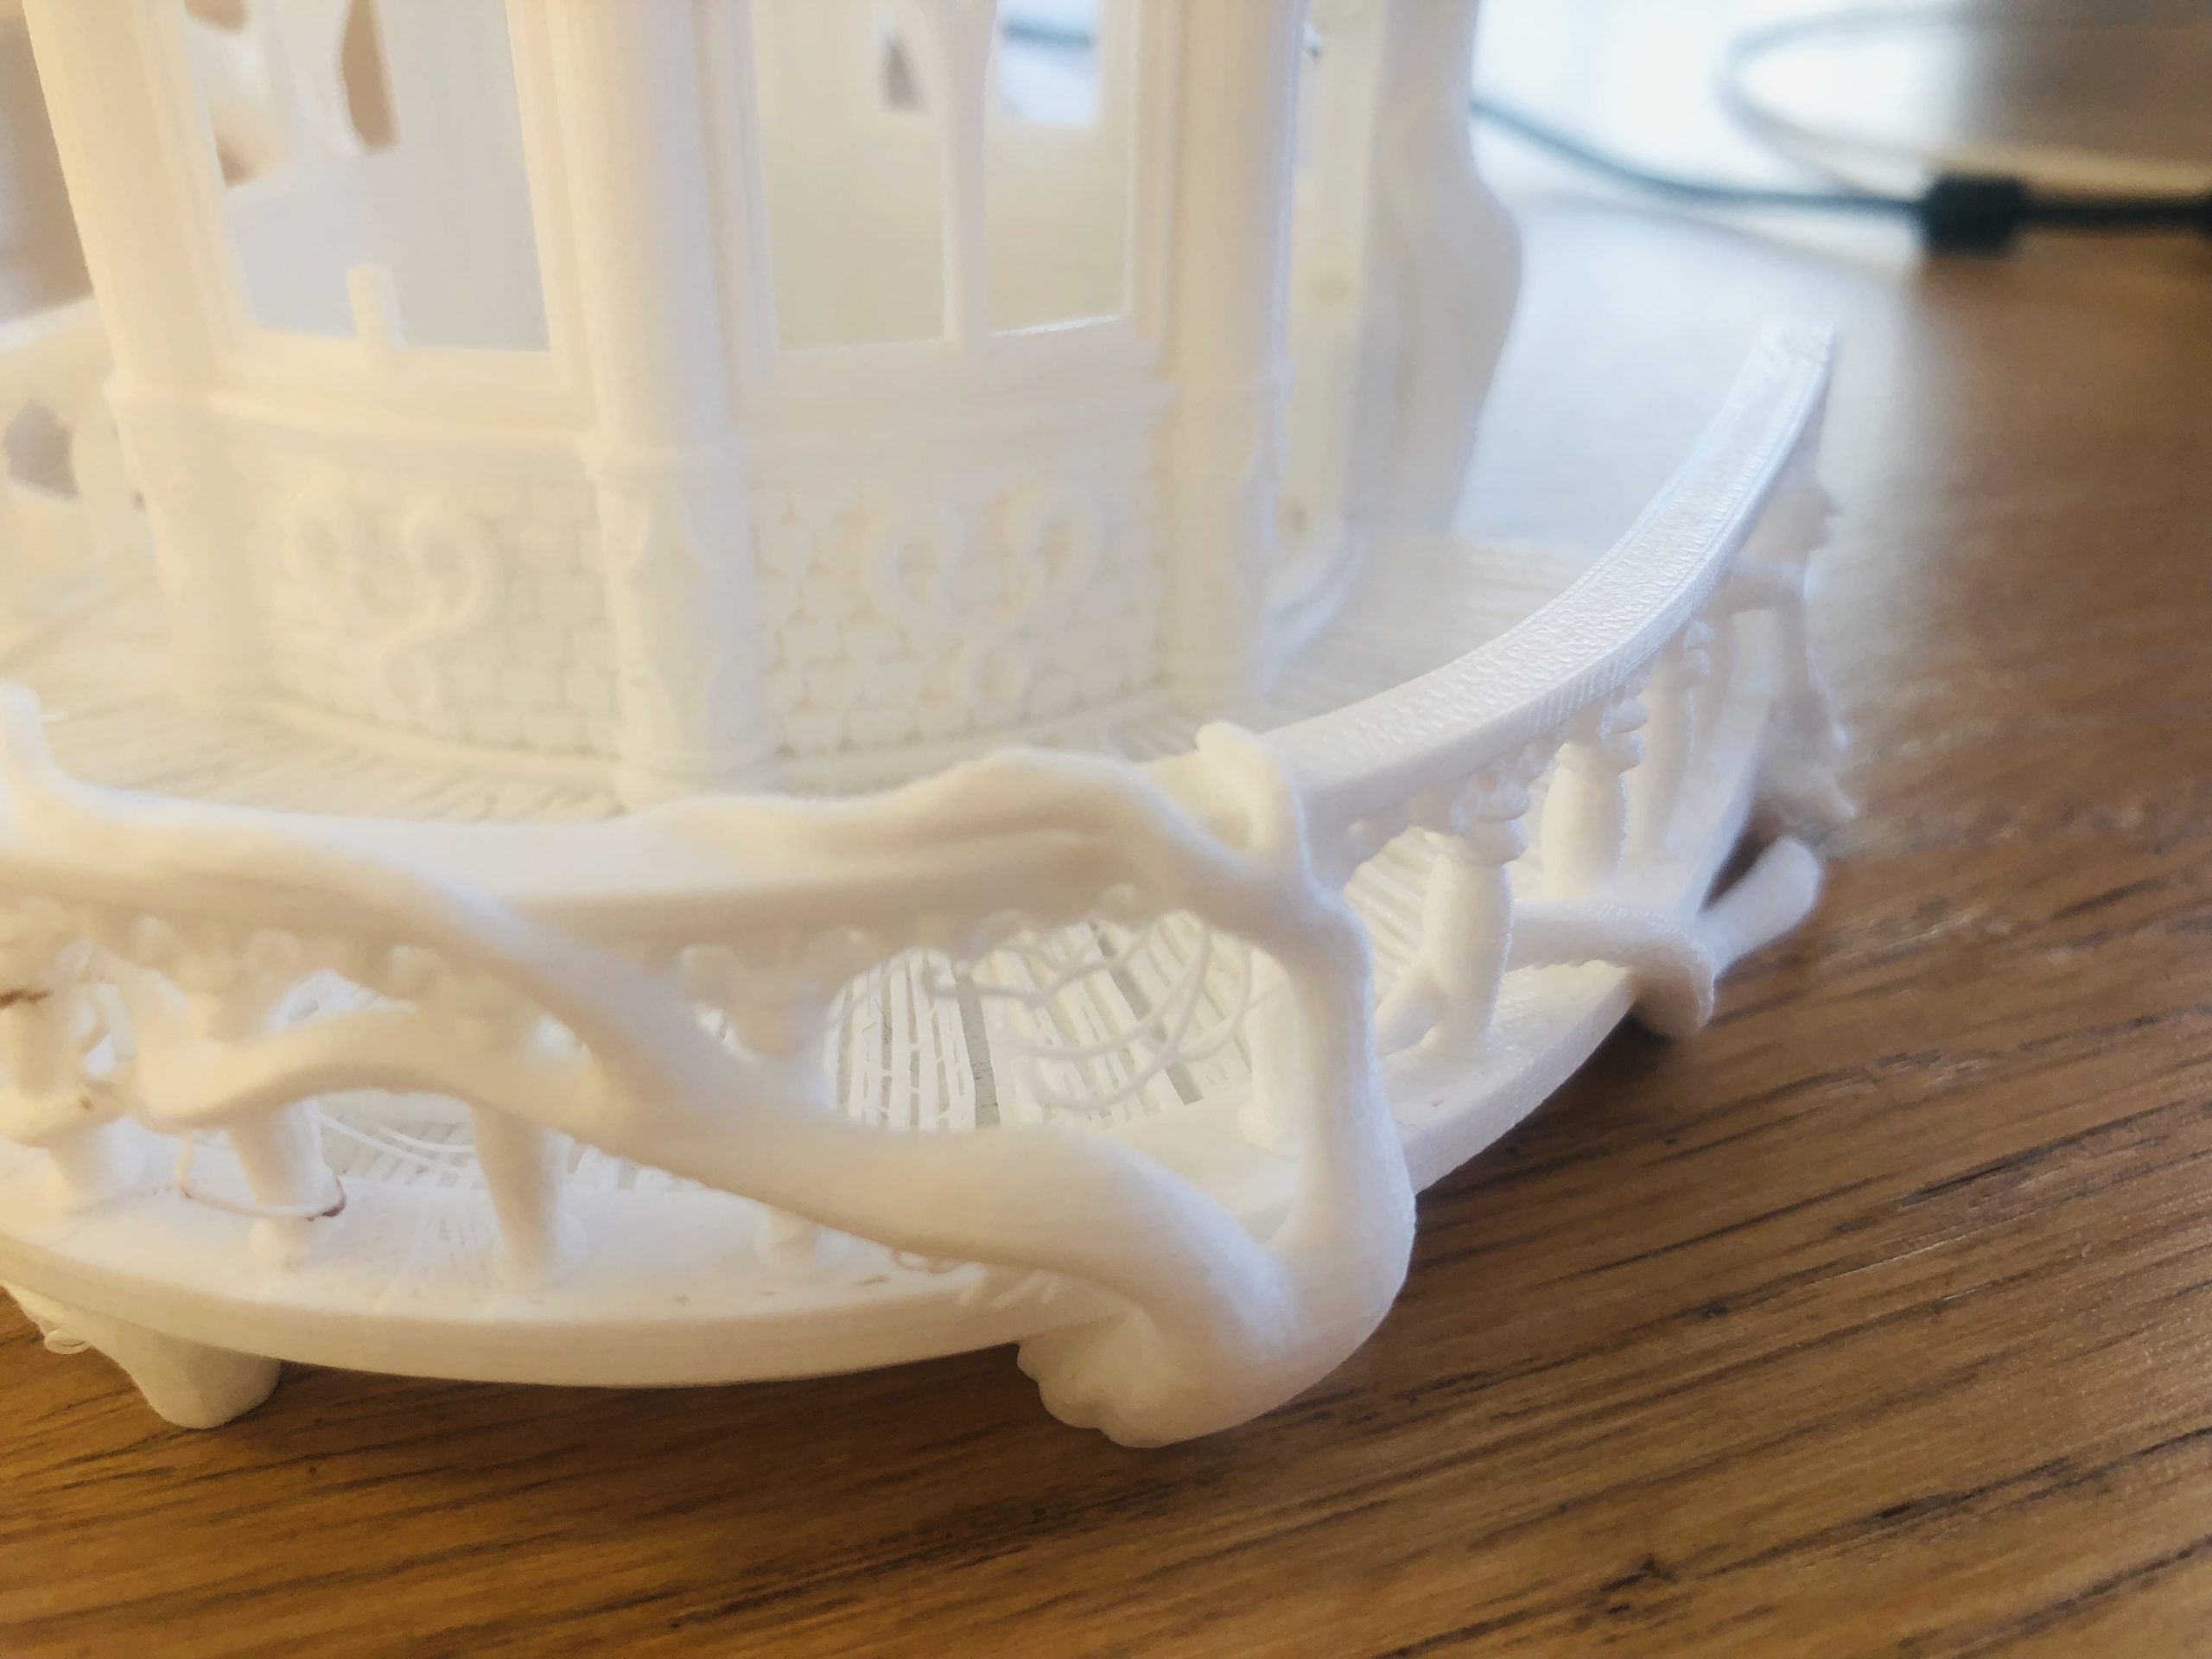
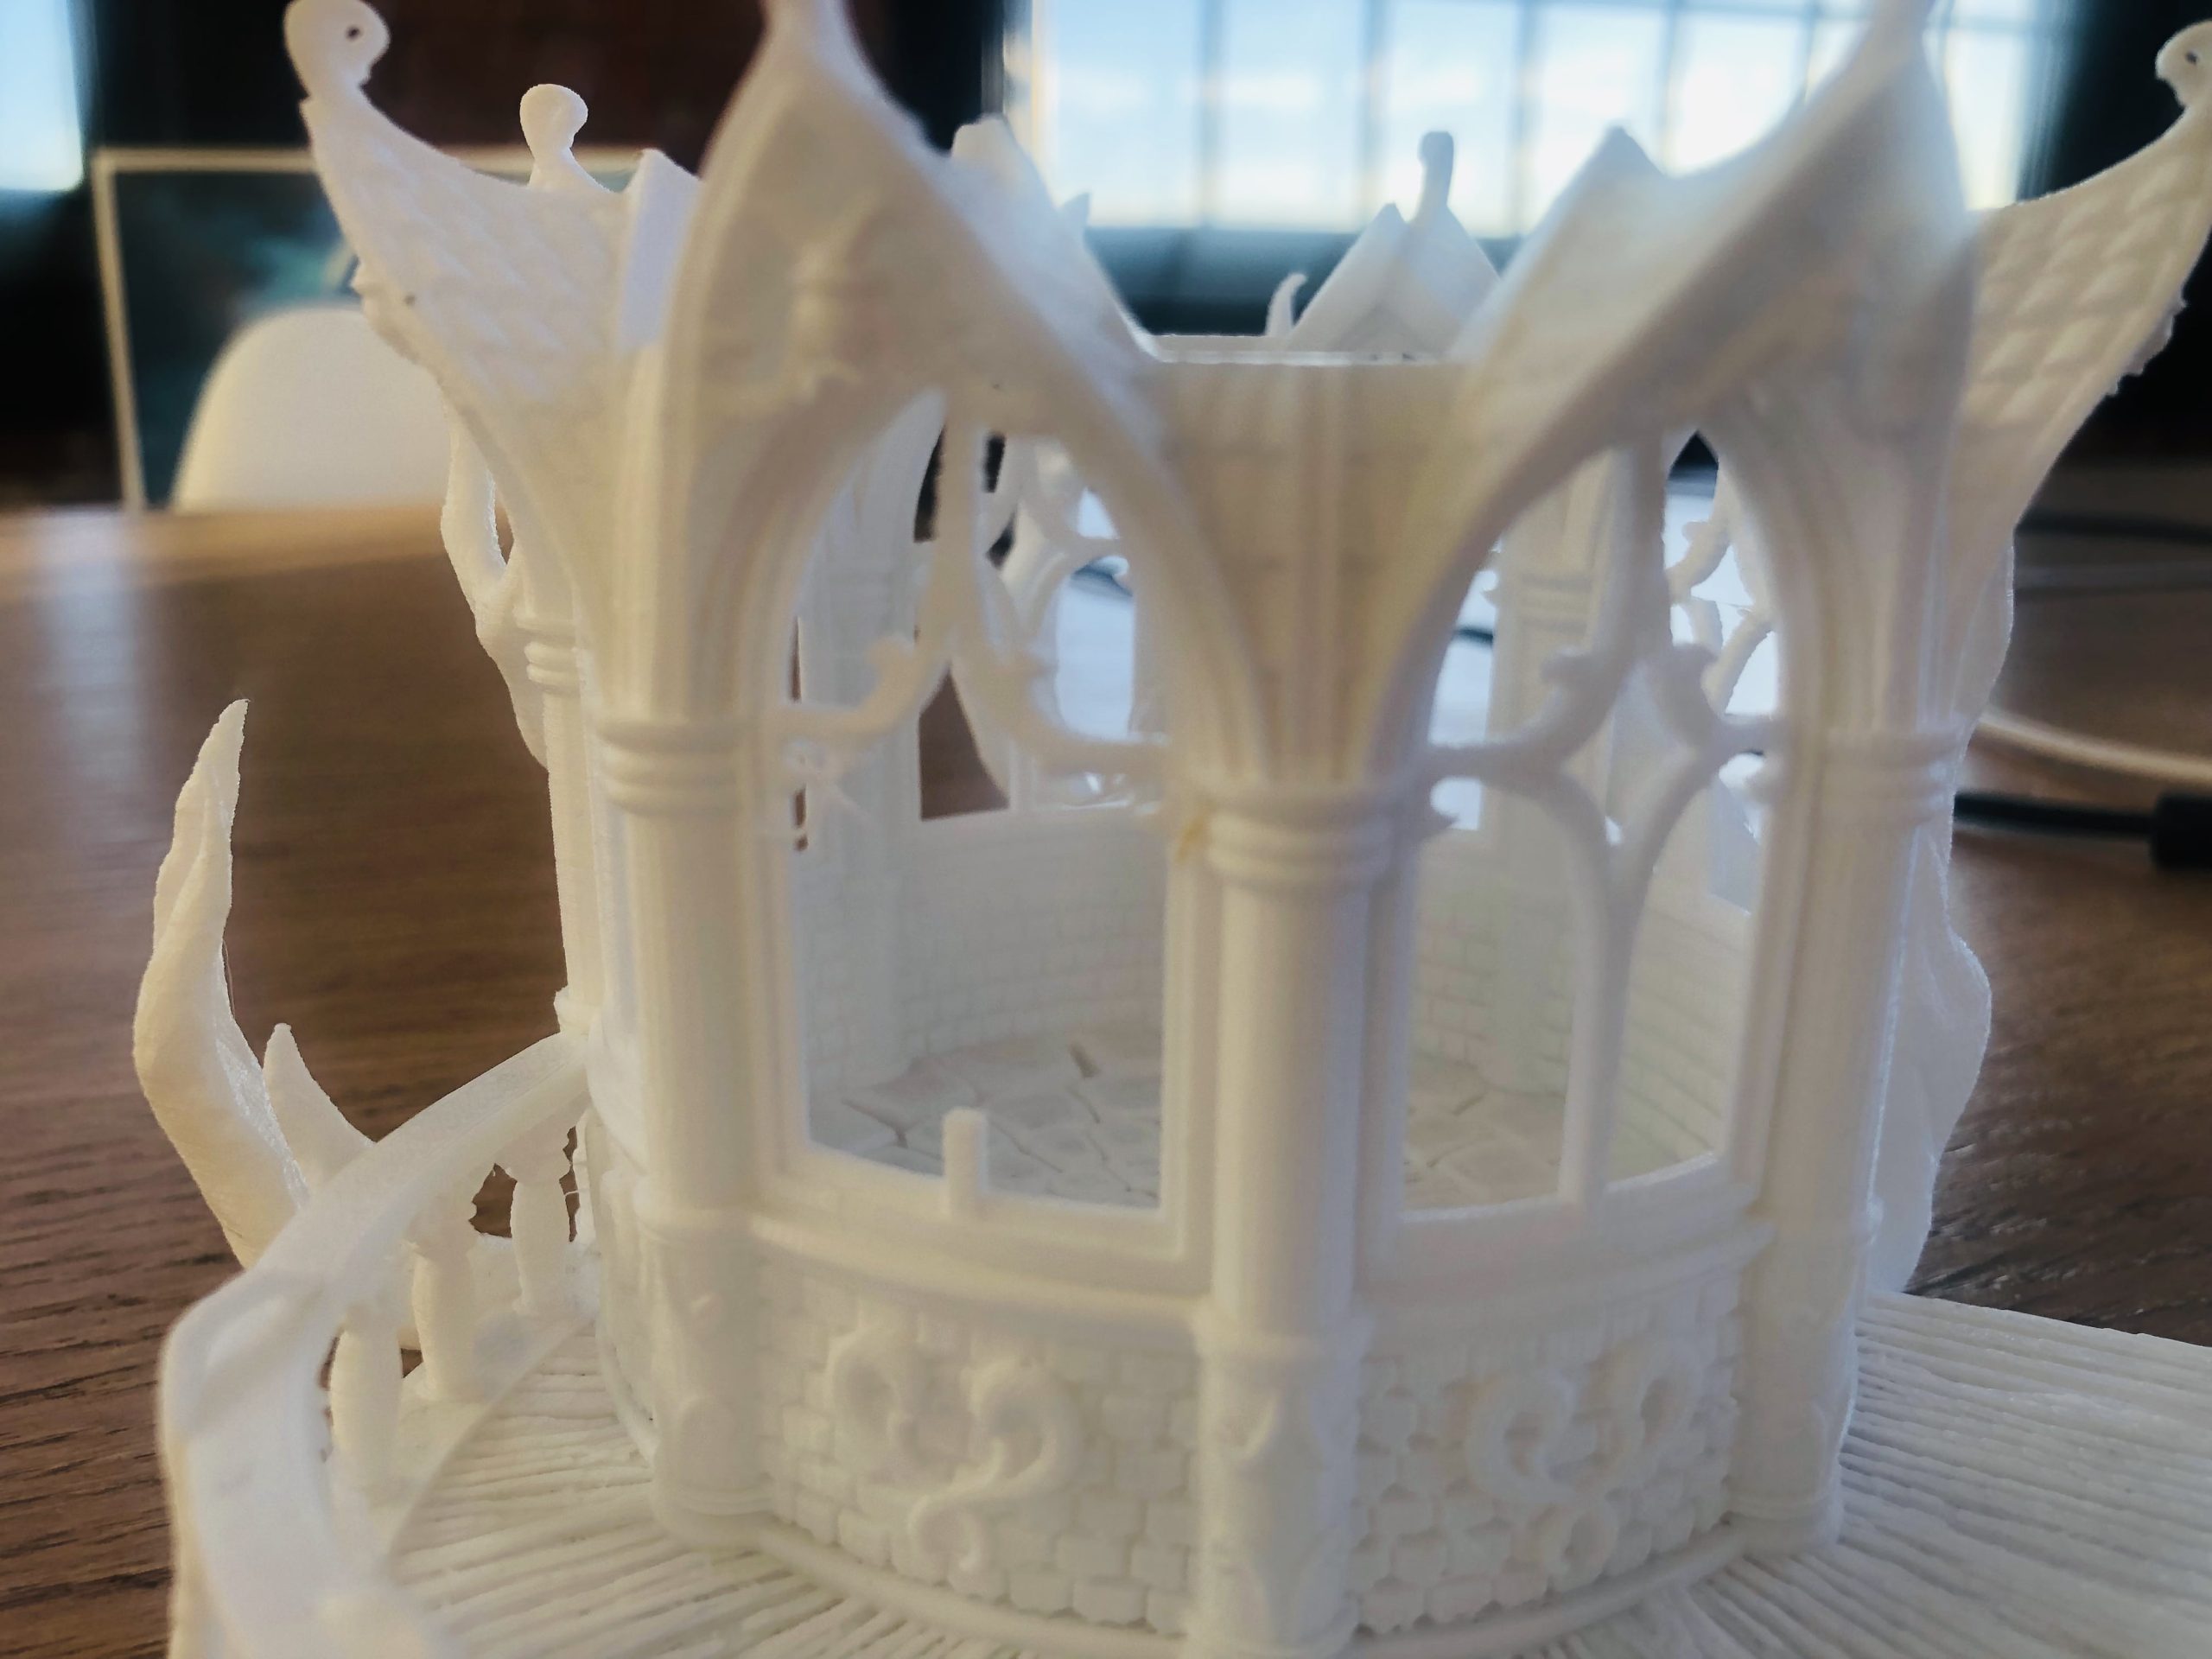
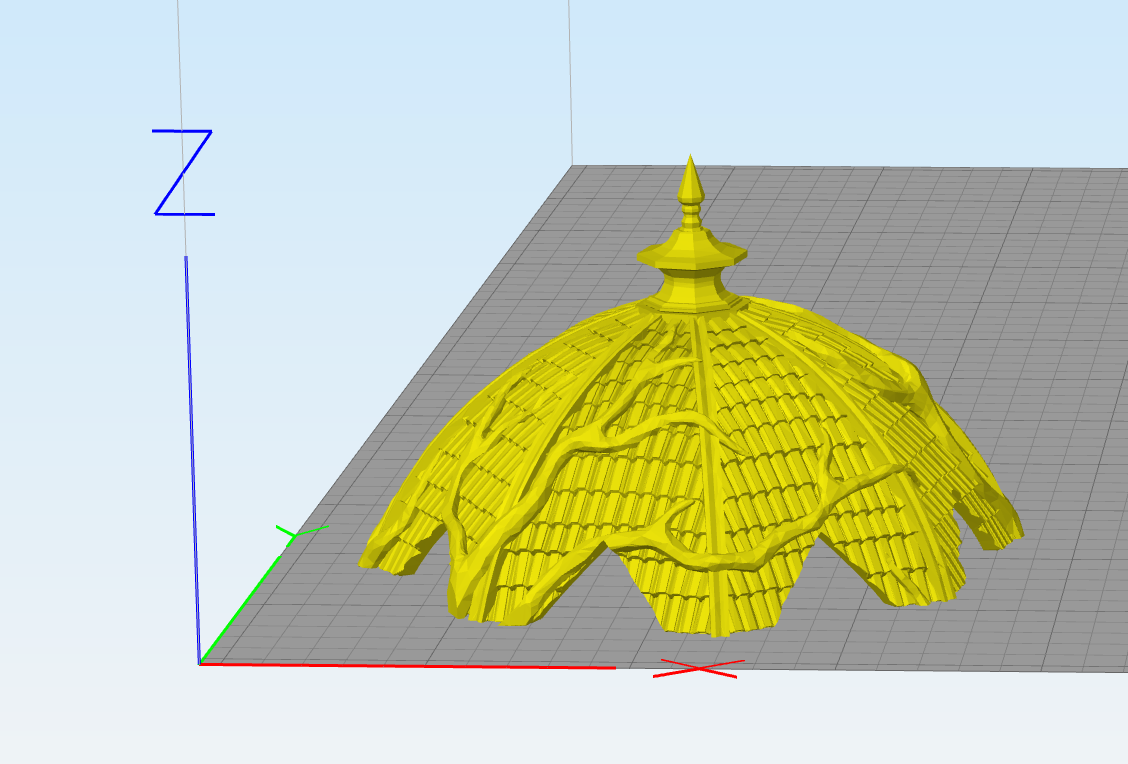
So i’m having problems printing the 2nd floor of the Gloomwood Eyrie, as you can see on the photos details are falling off and it’s only really this part that is having problems because as you can see the top is fine (photo).
I print on a Prusa i3 mk3 – I have 2 of them and i’ve tried both printers so my conclusion was the profile settings, but I don’t know what to change to fix it. -
February 27, 2019 at 2:15 pm #138421GnomeinbrainParticipant
Can you post the pic?
-
February 27, 2019 at 4:19 pm #138482ayliziaParticipant
I thought I did… I see now that it says” File exceeds allowed file size.” Let’s give that another go shall we.
-
February 27, 2019 at 8:24 pm #138528Matt BarkerKeymaster
Yes, those uprights are quite thin, if the Z is not perfectly aligned they can break. We could thicken the parts slightly to help with the printing.
-
February 28, 2019 at 2:43 am #138591GnomeinbrainParticipant
I had the same issue when I tried to print it. If you can thicken, I think that would help without detracting from the model.
-
March 1, 2019 at 12:55 am #138793p_cominsParticipant
I concur. (Printing on an Ender 3 using Cura 3.6). Thickening would help a lot. I’m printing double walls (.4 nozzle @ .16 layer height) with an additional wall every alternate layer (which helped with the Winterdale Wizard Tower where the balustrades were similarly frustrating breakage-wise) Oddly the internal window struts which are equally thin or thinner printed fine… just not the balustrades around the edge…
-
March 2, 2019 at 9:22 am #138983p_cominsParticipant
I dropped the travel speed from the stock 120m/s down to 100m/s in Cura after reading elsewhere that may help.
And it did… until the very top of the balustrades when I had no less than 5 break off in quick succession about 2 layers before they all join at the top.. makes it a little more salvageable than my prior efforts – so changing that setting may help others. -
March 19, 2019 at 4:40 am #141235ayliziaParticipant
Any chance this has been added to some sort of queue for updating the print? I really want to finish this print but i’ve yet to be successful even with tweaks mentioned here – and my Z should be aligned perfectly.
-
March 26, 2019 at 8:11 pm #142164mikdc29Participant
What print speed are you currently using? The default print speed is like 45 mm/s
-
March 27, 2019 at 10:13 am #142211MattParticipant
With the smaller things like balustrades, branches and horns, Restricting your exterior wall printing speed by 5 to 10mm/s we’ve found helps the most if you’re having printing problems.
-
April 4, 2019 at 2:52 am #142781GnomeinbrainParticipant
Sam,
What profile/settings/filament do you use on your Original Prusa I3 MK3 to print these models?
-
April 8, 2019 at 11:55 am #143371MattParticipant
Generally with the Prusa, I run most of the settings at 0.2 or 0.1, 10% infill and print with a raft. I haven’t had to change as many settings in the slicer compared to running the Ender with Cura slicer for instance.
-
April 18, 2019 at 5:00 am #144884ayliziaParticipant
I finally got it printed – had to slow the print speed down to 35 mm/s and 35 hrs later it’s finally ready to be painted!
Thanks for the feedback everyone. -
April 19, 2019 at 11:43 am #145088MattParticipant
Awesome to hear it printed well!
-
April 15, 2020 at 11:43 am #197641Matthew HorbundParticipant
I know it’s a year later, and people have obviously been successful. However, my roof has failed 9 times. It’s always on the same part. I’ve turned the roof about 15 degrees 3 times, moved it on the bed, it always fails on the same part every time. I’ve slowed it down, i’ve cooled it off, nothing works. I’m using a Raise3D N2 and slicing with Simpify3d. I’m using 3d FUel PLA at 205 and have done tons of prints successfully, including level 1 and 2 of the tree plus a 100 hour Mage Tower from the Titan Forge Patreon this month.
I’ve even added a 30x30x60 tower off to the corner to force the head to move off the print so that it cools the part. I’ve attached a screenshot of the section that always fails. It does seem to fail around the same spot usually, about the 5.5mm mark
Edit after a while – i tried 4 more prints, adding a raft, changing the initial layer height for more “squish” and even the layer width from 0.4 to 0.6 to see if that helps. if anything its worse now, failing before the first 5 layers.
Has anyone done anything other than just drop this on the plate and print to be successful?
Attachments:
-
April 21, 2020 at 3:19 pm #198428Matthew HorbundParticipant
Had to reprint this 13 times. i finally got it, it was a function of slowing down to 30mm/s (i usually print at 50mm/s) and a lot of sacrificing…,
-
April 23, 2020 at 10:58 am #198740Nicholas JebsonParticipant
Glad to hear they worked out for you Matthew.
-
-
AuthorPosts
- The forum ‘Resolving 3D Printing Problems’ is closed to new topics and replies.