-
AuthorPosts
-
-
February 10, 2019 at 7:28 pm #135998QuestKidsParticipant
Hello All! I am new to 3D printing and was wondering if I could get some advice on general settings used to print most scenery. I have a Creality 10s4. Some general questions to get the conversation started:
What nozzle size do you use?
Infill %?
Layer height?
Any tips/tricks to speed up the print time while maintaining quality?I have printed a few of the Glomwood Trees and they are clocking in at around 9-10 hrs for me. Right now I have Level 1 of the Dwarven House and it is going to take around 22 hours at 150% scale.
Thanks for the help!
-
February 11, 2019 at 10:37 am #136062MattParticipant
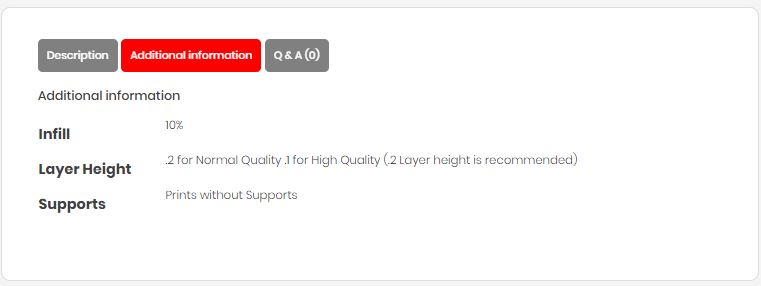
We use only Prusa I3 mk3, with a .4mm nozzle, exclusively at the moment, Usually each product we release has the recommended print settings in the additional information.
Typically our baseline for buildings for print settings is 0.2, with 10% infill.
I usually put glue on the print bed and print with a raft to alleviate lifting at the edges with large prints.Attachments:
-
October 18, 2019 at 2:39 am #173727the_real_batemanParticipant
Do you have an interior and exterior wall speed suggestion? I was printing at 0.12 with a wall speed of 10 and I get good results but it takes weeks to finish a print.
-
August 18, 2019 at 12:09 am #155920paul8Participant
That was really useful, didn’t occur to me to hit the other buttons.
I wonder if the additional info would work better if it was just in the initial description tab?
-
November 4, 2019 at 10:35 pm #176461DeVoiceParticipant
Depending what slicer you use will determine what settings you can change.
I use cura for my i3 mega with a 0.4 nozzel.
If you want speed, 0.2 layer height is your Friend and it really doesn’t look bad, especially when you wack some paint on there!
Otherwise I recommend 0.15 to get a little more detail out without impacting speed as much
Otherwise I print at 25mms first layer which goes up to 50mms for all the other layers.
To save a bit more speed as Well, I do 15mms outter shell and 60mms inner shell (can probs get away with 80mms).
I pretty much only use 10% grid infill.
Oh and prepping your file so that objects are close together, especially taller ones will cut down on travel time per layer and will help battle warping.
-
March 15, 2020 at 6:52 am #194544Matthew HorbundParticipant
New to these files, and looking forward to getting and printing more. Having a devil of a time with clips snapping and not working even with all the recommended setting.
Curious if everyone is printing floors horizontal (flat on bed) or vertical. I found flat on the bed the tops (stone side) are indistinguishable. However standing them up they look fantastic, like walls.
I’m using a Raise3D N2 with a 0.4mm nozzle, 0.2mm layer height, 4 top and bottom layters, 3 shells/perimeters, 15% grid infill. Just need to figure out how to get clips in without snapping them or the tiles.
-Matt
@potent3d (was @Jet_Prints)
@mmWine -
March 15, 2020 at 7:41 am #194551Matthew HorbundParticipant
Ok, once i figured out the 6 “bars” on the outside of the floor and wall are your built-in support and they get removed, the clips fit. Now I need to reprint everything I broke. and i broke a LOT 🙁
For newbs like me, is there a step-by-step “this is how we do it” for the most recent versions? It would have been fantastic to see
Step 1 – use a needle nose plier to pull out “these supports” with a picture
Step 2 – Slide the clips in, you dont need more force than it would take to crush coal into a diamond
Step 3 – keep doing it til you’re done🙂
-
-
AuthorPosts
- The forum ‘Resolving 3D Printing Problems’ is closed to new topics and replies.