Getting started with 3D printing
So you’ve heard about 3D printing and are wondering what it’s all about. Maybe you’ve seen some incredible miniatures, cosplay props, or cool gadgets online and thought, “Could I make something like that myself?” The answer is yes, and it’s easier getting started with 3D printing than you might think.
In this article, we’ll walk you through the basics of 3D printing, the tools you’ll need, and how to take your first steps in turning digital files into real objects. Whether you’re looking to support your hobby or want to try something new, this is your starting point.

What is 3D printing and why it’s awesome
Simply put, 3D printing is the process of turning a digital file of a 3D model into a real, physical object of that 3D model. Software is used to design and build the 3D models, which are delivered to another software (a slicer), translating that file into a path for a 3D printer to execute.
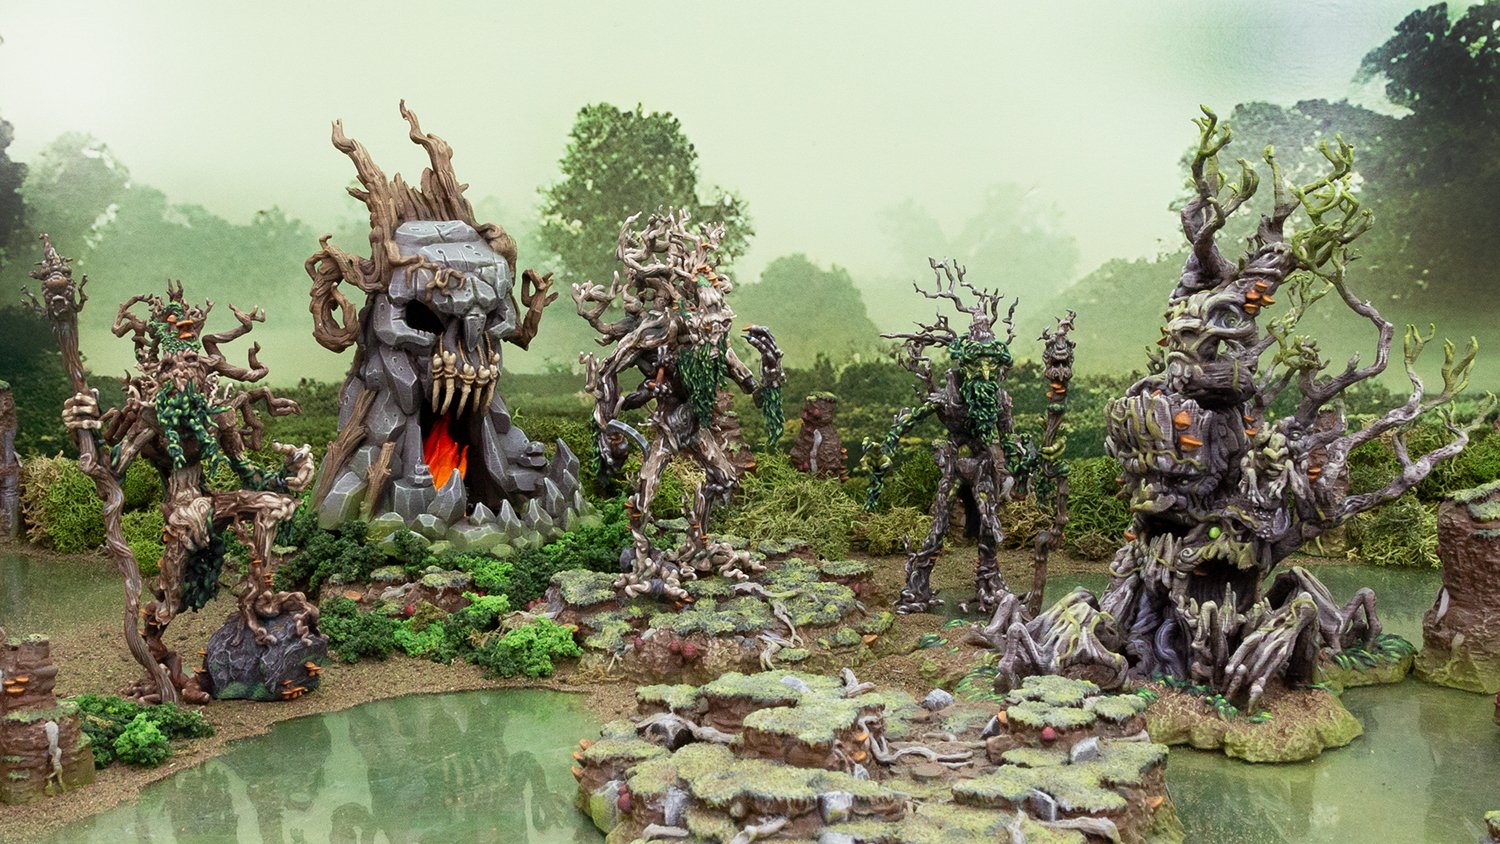
3D printing is the ultimate extension for many hobbies. It allows you to exercise creative freedom without being limited to what you can buy at the store. You can make your own terrain for DnD or wargaming, create custom props for a cosplay outfit, or make parts and tools for your hobby. The satisfaction of making something yourself shouldn’t be underestimated.
And if you aren’t savvy at designing your own models, don’t worry, there are thousands of people out there making things for us all to enjoy. There’s guaranteed to be a community of like-minded people designing things for your hobby.
Choosing the right 3D printer for you
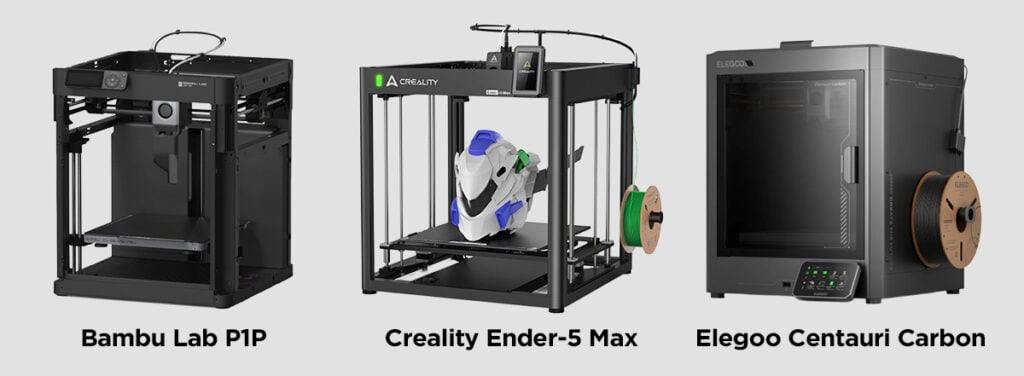
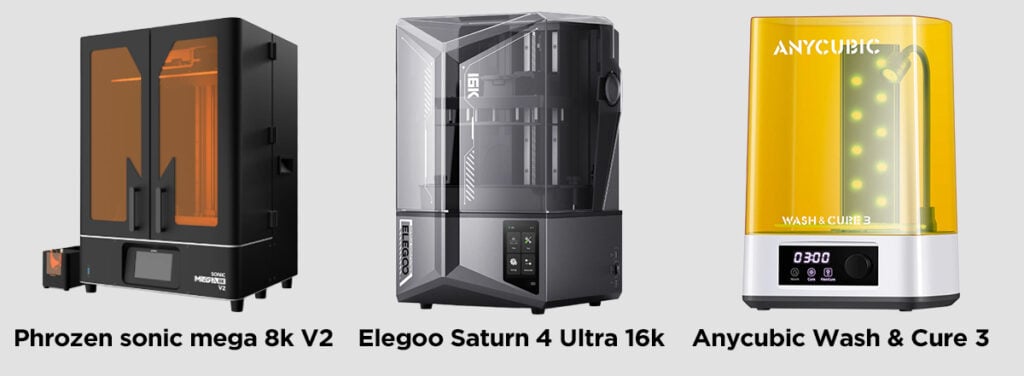
There are two types of 3D printers to be aware of: resin and filament. Resin printers use a UV light source to selectively solidify layers of photosensitive liquid resin, a process known as photopolymerization. The build plate moves through a vat of liquid resin, progressively building the model layer by layer. Filament printers work similarly in that they build up layers, but they do this by heating plastic, often PLA, and extruding it through a small nozzle and moving that nozzle along a fixed path, adding layer by layer till the model is done.
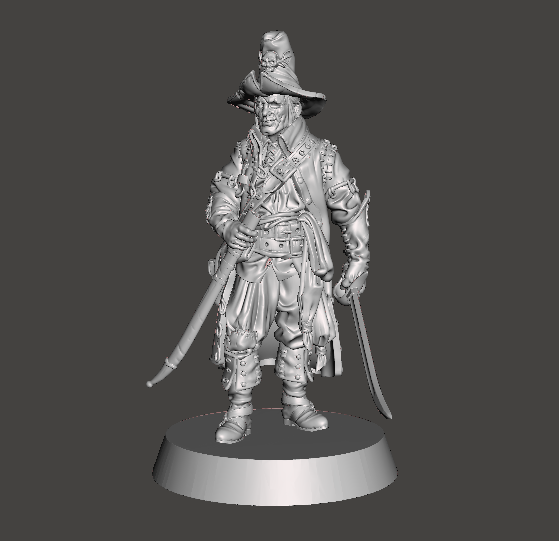
Resin printers are great for smaller-scale but highly accurate prints like miniatures. They can print in a very high definition, where the naked eye can barely see any visible traces that it was printed in layers. However, resin printers are a lot messier overall, are more expensive to get started, and require the model to be cleaned after printing, as the resin is toxic.
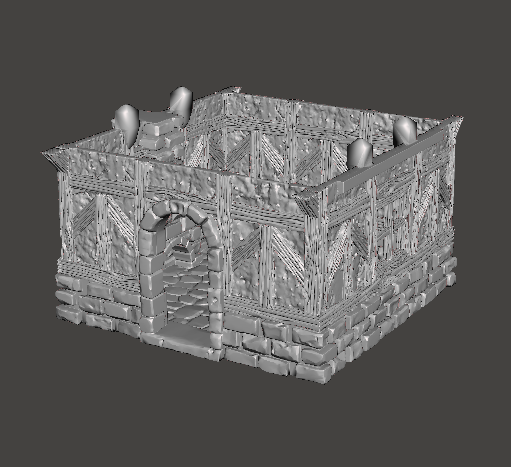
Filament printers are ideal for larger objects that don’t require the same level of detail, like scenery and props. The nozzles on filament printers can get quite fine, but the result still has the layers visible. However, they are cheaper to purchase and run, and require little to no cleanup after the print is complete.
For more in-depth information on 3D printers, we have this article.

Checklist for getting started
Here’s a quick rundown on the bare essentials for getting started. We encourage you to do your own research on which brands and price ranges suit you the most.
For FDM printers:
- A 3D Printer
- PLA filament (there are other types of filament, but this is the most common)
For Resin printers:
- A 3D Printer
- Resin
- Isopropyl alcohol (IPA)
- Wash & cure station (or DIY setup)
- Gloves, masks, and paper towels to avoid exposure to the resin
Both printer routes will also require:
- A computer or device that can have slicer software installed
- A slicer program (there are free options like Cura and Lychee, but your printer may come with its own. More on this below.)
- STL files (the 3D model file you’d get from us, for example. More on this below.)
- Hobby knife and snips for cleaning the model
- Super glue for assembly

Where to find 3D models
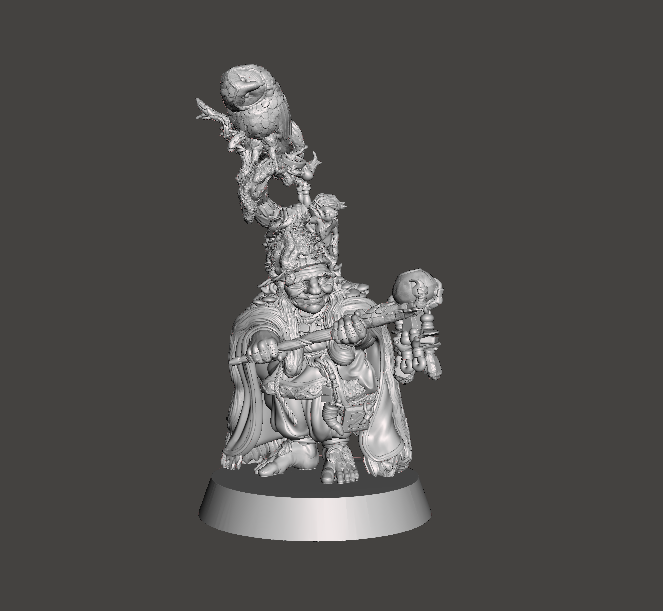
You can find 3D model files (STL files) from a wide range of sources. There are websites with extensive libraries of files available and a long list of individual creators on Patreon. For terrain and miniatures, we have a massive selection of models here at Printable Scenery that are all beginner-friendly.
When picking up your first 3D model files, look for models with good reviews and investigate whether the creator lists them as needing supports. Supports are physical stands that attach to a model to help it print. But the more supports a model needs, the more complex it is and the higher the chance it fails or becomes difficult to work with. Most of our models require zero supports and print great out of the box.
Software you’ll need
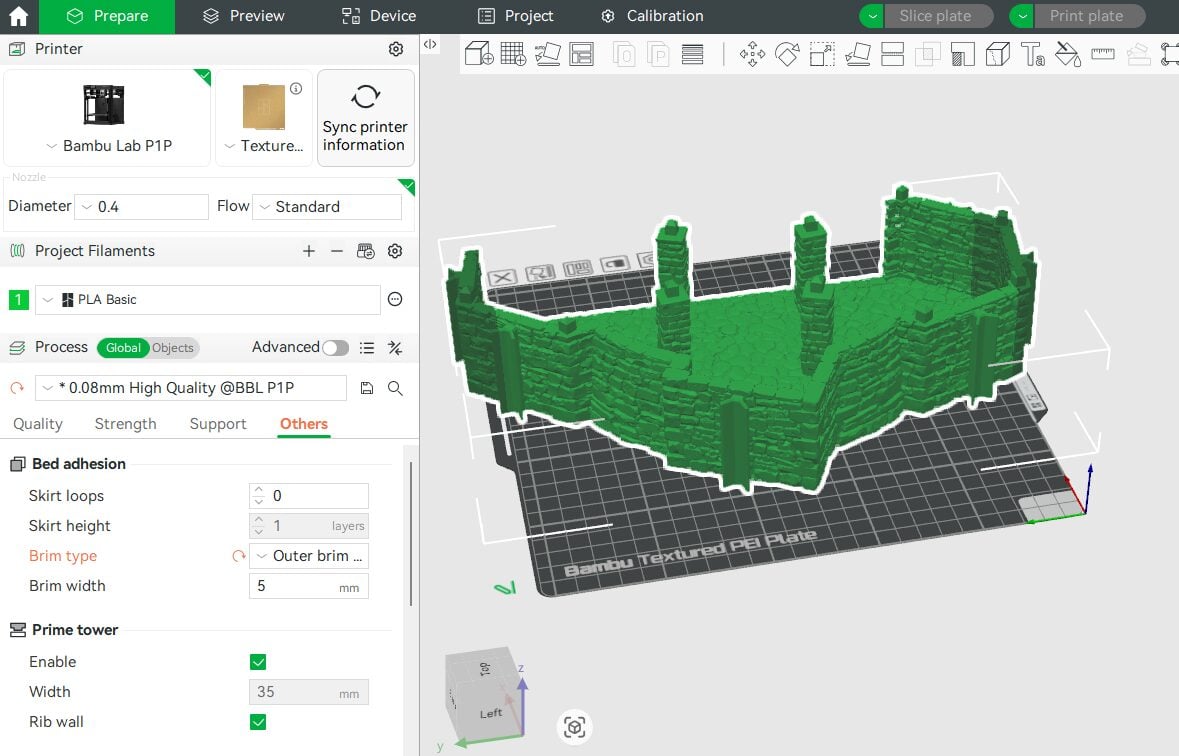
To turn your 3D STL file into a printed object through your printer, you’ll need slicer software. This translates the STL into a series of layers that the printer will print sequentially to build the model. It produces G-code, which the printers use as instructions. There are some great free slicer software providers out there. For FDM, there is Cura and Prusaslicer, and for resin, there is Lychee and Chitubox.
When first learning a slicer, a few key settings are worth understanding. Layer height controls the level of detail; smaller layers give smoother results but take longer to print, while larger layers are quicker but more visible. Infill determines how solid your model is inside; higher infill makes a piece stronger, but most decorative prints only need around 10–20%. Supports are temporary structures the printer builds to hold up overhanging parts of your model, which you’ll remove after printing. Finally, print speed affects both quality and reliability; printing slower often leads to cleaner results, while higher speeds can save time once you’re comfortable with your machine.
Your first print and common mistakes
Start with a calibration or small test print. When your 3D printer first boots up, it will run some calibration tests, so don’t skip those. Check the first layer in the slicer and watch as it prints, as many print failures will show at this point. But don’t be discouraged by failed prints either, it’s all a part of the learning and experimenting process of getting started with 3D printing.
For FDM: if your print isn’t sticking to the bed, ensure the surface is clean and properly leveled. Stringing (thin plastic hairs between parts) usually means the nozzle temperature is a bit too high or retraction settings need adjusting. An elephant’s foot occurs when the bottom layers bulge outward—it can often be fixed by raising the bed slightly or tweaking initial layer settings. Warping, where corners lift during printing, is caused by uneven cooling; adding a brim, slowing down cooling fans, or enclosing your printer can help keep the print flat.
With resin printing, common issues look a little different. If your print isn’t sticking to the build plate, check that the plate is leveled correctly. Supports failing (where parts of the model break off mid-print) usually means the supports were too thin or not angled well—try adding stronger or more strategically placed supports. If you’re seeing layer separation or peeling, it often points to a dirty or cloudy FEP film, or the lifting speeds are too fast. If the details look over-cured (blobby or swollen), lower your exposure time slightly and make sure your resin is well-mixed before printing.
Safety & Maintenence
There are some safety measures to be aware of when getting started with 3D printing. These are pieces of machinery, so expect moving parts and regular maintenance of an electrical tool. This can include cleaning and replacing nozzles, lubricating parts like the rails and replacing films. They should also be in safe, ventilated spaces away from direct sunlight.
When FDM printing, there are hot parts that can burn if not careful, like the plate itself. And while it’s regarded as non-toxic, gloves, mask, and eyewear never hurt when cleaning or working with an FDM printer. For resin safety, you’ll need to have the printer in a well-ventilated area and always handle the resin while wearing gloves, a mask, and eye protection. The same goes for the cleaning of the resin miniatures. You’ll also need to consider safe disposal of the resin.
Like many hobbies, 3D printing produces small pieces of plastic that can be easily missed. Be careful with small plastic parts left discarded when pets or children are in the house.
Developing your skills
After getting the hang of 3D printing, you can begin to explore new aspects of the hobby and develop your skills. You can do this by joining online communities like Reddit, Discord, and Facebook groups. Here is a Printable Scenery group on Facebook with many excited and keen hobbyists who all share work and tips regularly. YouTube is another place to learn; there are tons of creators and hobbyists on there. We also have a YouTube channel with a lot of tutorials and guides.
You can experiment with settings and upgrades to get even better results from your printer. Tweaking slicer settings like temperature, retraction, or layer height can dramatically improve print quality once you understand how each affects the outcome. Hardware upgrades are another fun way to grow—things like PEI sheets (for stronger bed adhesion), direct drive extruders (for smoother filament control, especially with flexible materials), or even silent stepper drivers to reduce noise. For resin users, experimenting might mean trying different resin formulations for strength, flexibility, detail, or upgrading your light source for faster, sharper curing.
And if you really want to flex some new skills, you can look into developing your modelling skills by diving into programs like Blender, where you can sculpt models from scratch or make tweaks and improvements to models you have brought. After printing, you can look into painting and finishing techniques, too.
Getting started with 3D printing can seem like a daunting task with the upfront setup, but the long-term satisfaction you get from making your own models is worth it. It’s okay to take it slow, do the research, and learn as you go. It’s a creative journey, where mistakes can become happy accidents that reward you with new ideas. So stay curious and enjoy the process! If you have any questions, the team at Printable Scenery is always here to help.