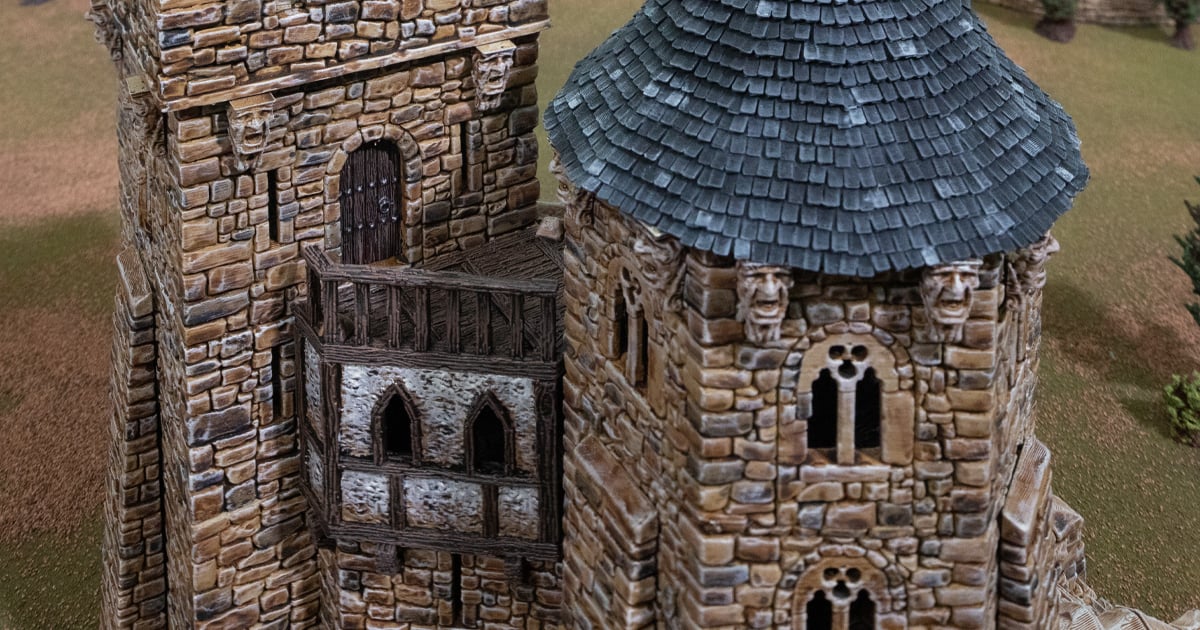
How to paint Wattle & Daub and Roof Tiles
In this tutorial, we’ll cover how we painted the wattle & daub areas and roof tiles from our Throne & Ash campaign. It’s very simple to recreate and uses simple techniques. Wattle & Daub is found on many of the Throne & Ash buildings, and there will be more to come as the stretch goal models get released.
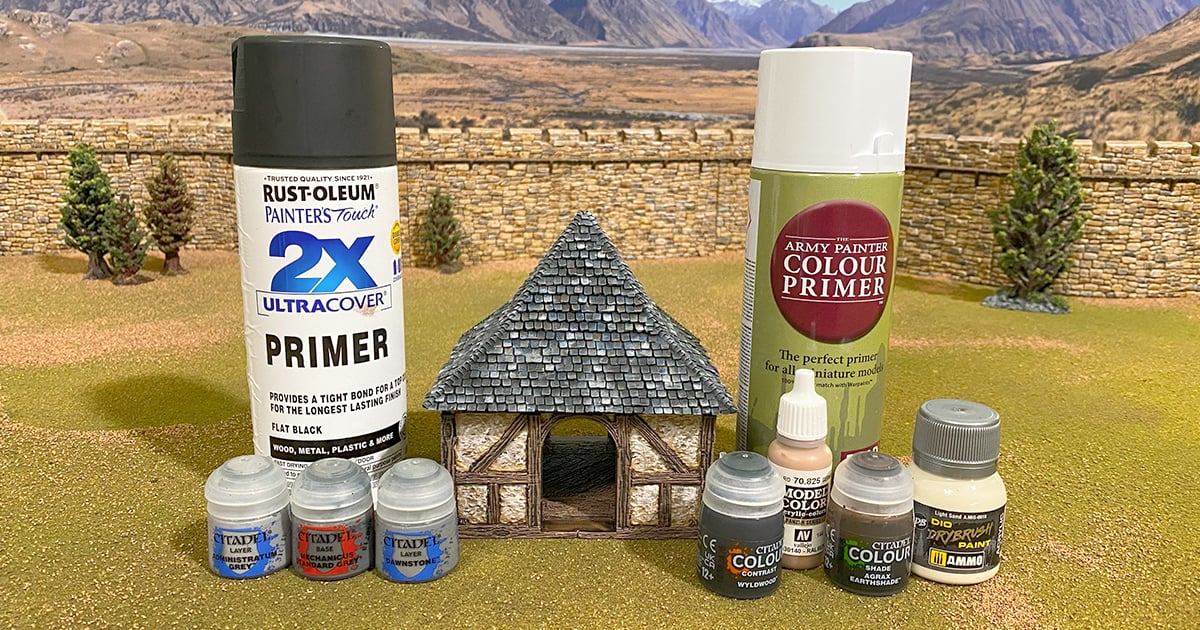
For this tutorial on how to paint wattle & daub and roof tiles, you’ll need the following:
- Printed models (shown are test models for upcoming stretch goals)
- Black primer
- Army painter skeleton bone primer
- Citadel Mechanicus Standard grey
- Citadel Dawnstone
- Citadel Administratum grey
- Citadel Wyldwood contrast
- Citadel Agrax earthshade
- Vallejo German Camo Pale Brown
- Ammo Light sand dry paint
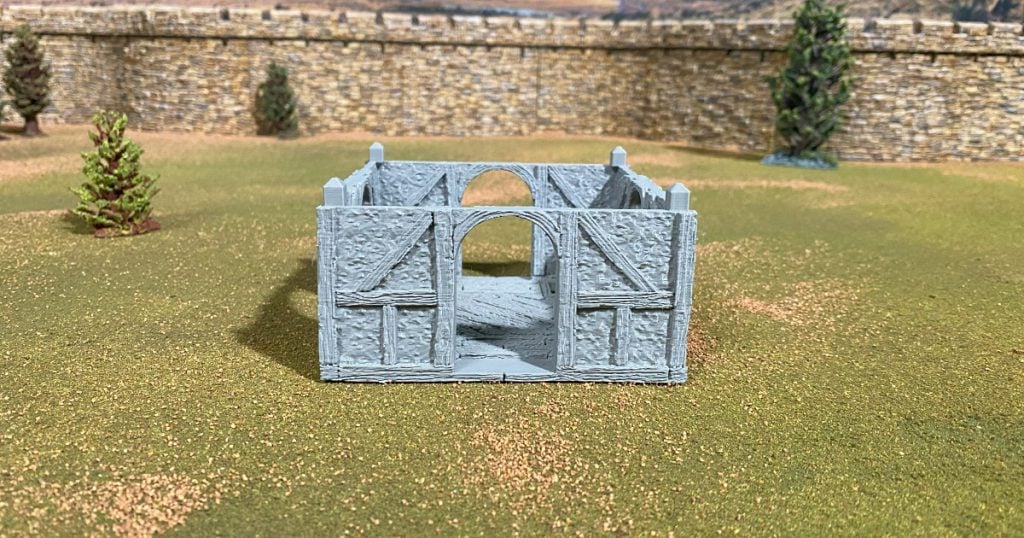
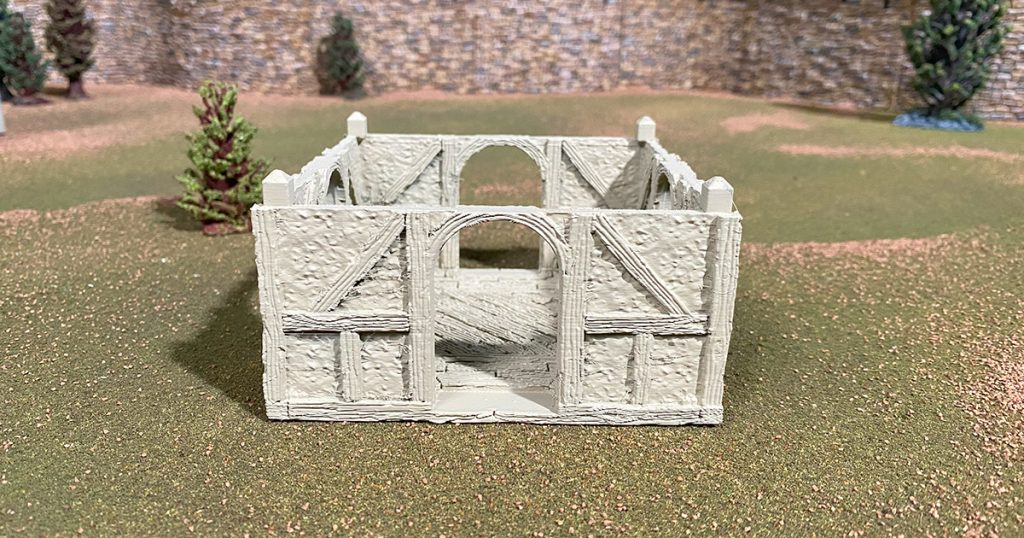
First, prime the printed model with the skeleton bone primer. We found that it’s easier to pick out the wood framing than the other way around.
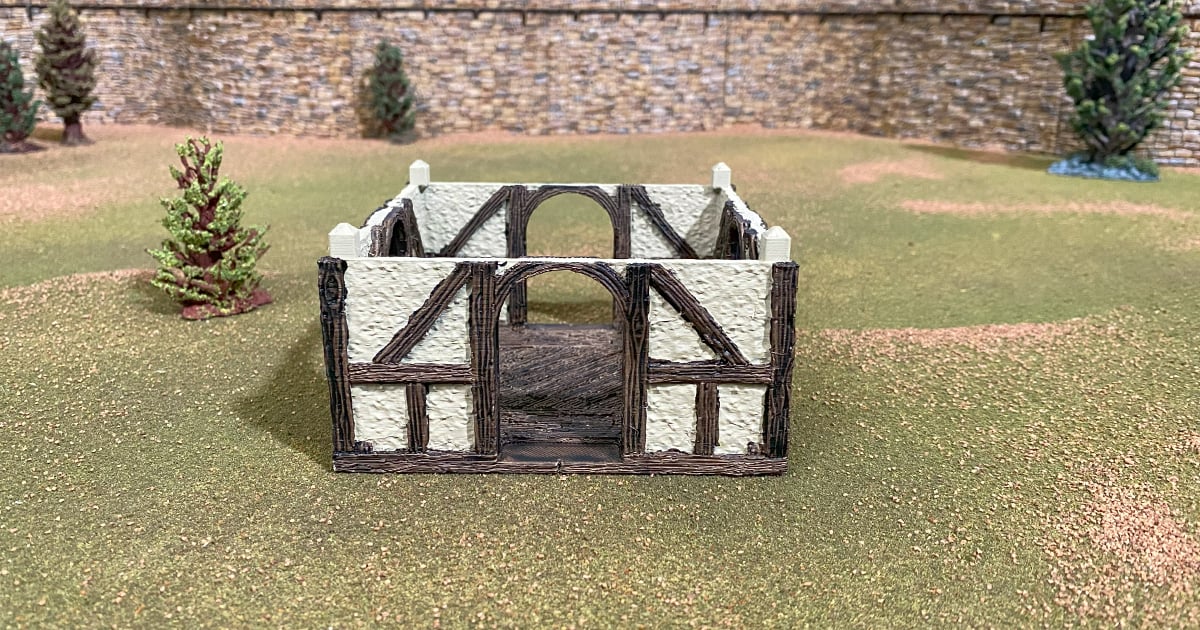
Use the Citadel Wyldwood to carefully pick out the wooden framing, with a reasonably generous wash coat. You want to try and slip as little as possible, but there are steps ahead where it becomes less important, and we can cover it up.
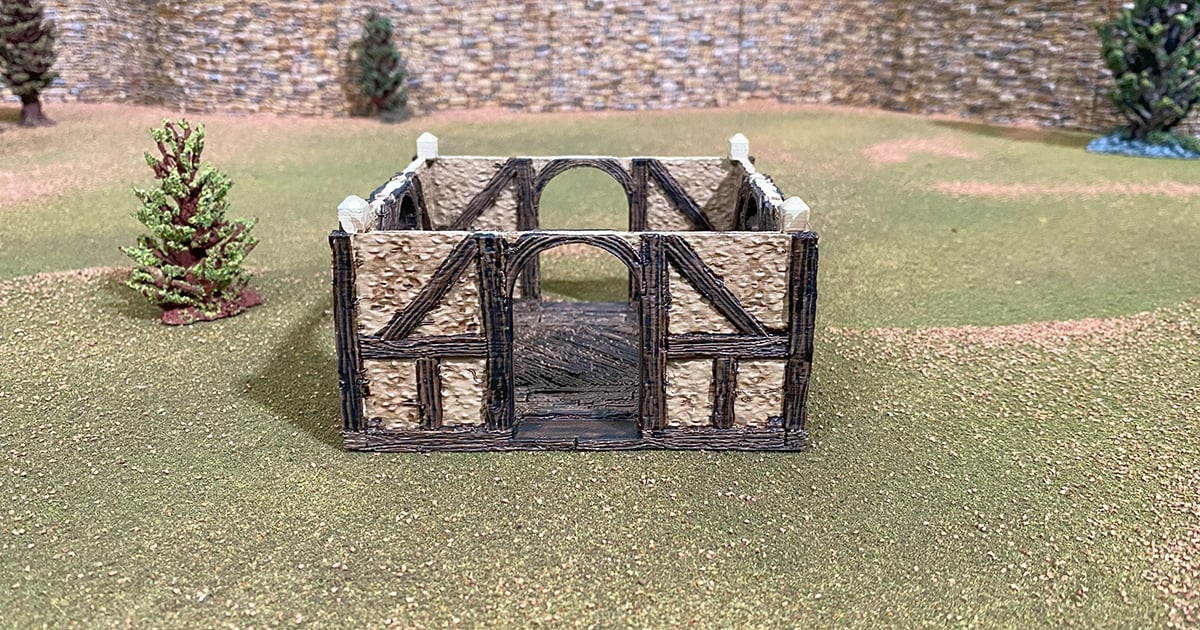
Then we added a coat of the Agrax Earthshade over the pale areas, keeping it even but allowing it to settle into the texture and corners that bleed into the wooden framing.
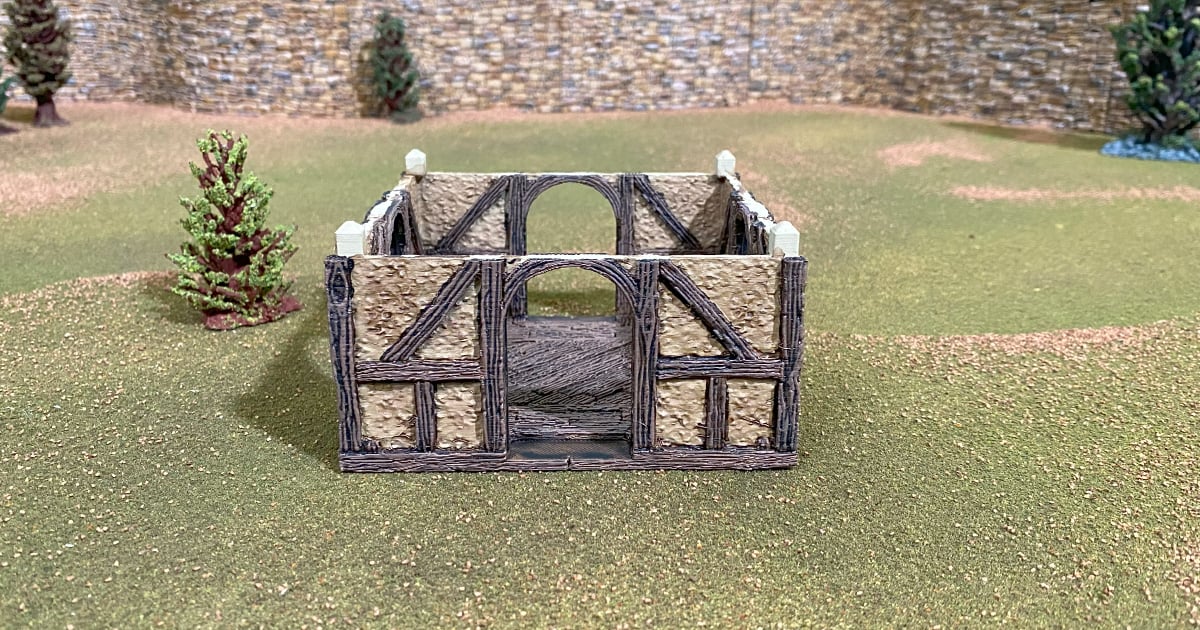
Next, use the German Camo Pale Brown to drybrush the wooden framing. Load up the brush with more paint than you normally would for a dry brush, keep the brush parallel to the model, and drag the brush over the wood. We found this picks out the wood grain the cleanest.
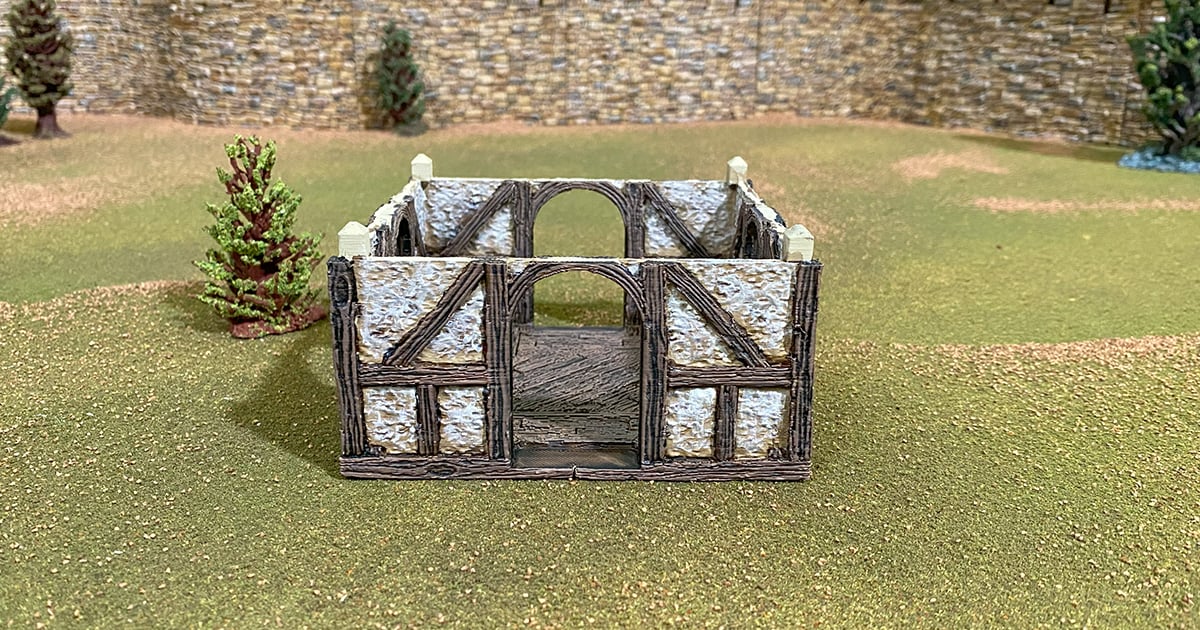
Finally, a drybrush of the pale areas using the Ammo light sand. Keep the brush strokes down as you go, so you only hit the top edges. Circular or side-to-side dry brushing looks quite messy on these model parts.
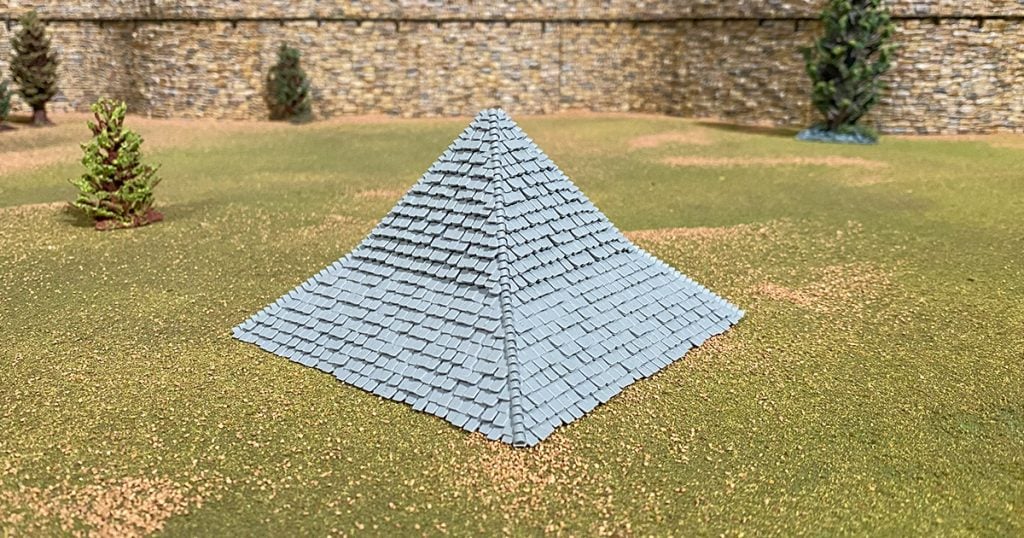
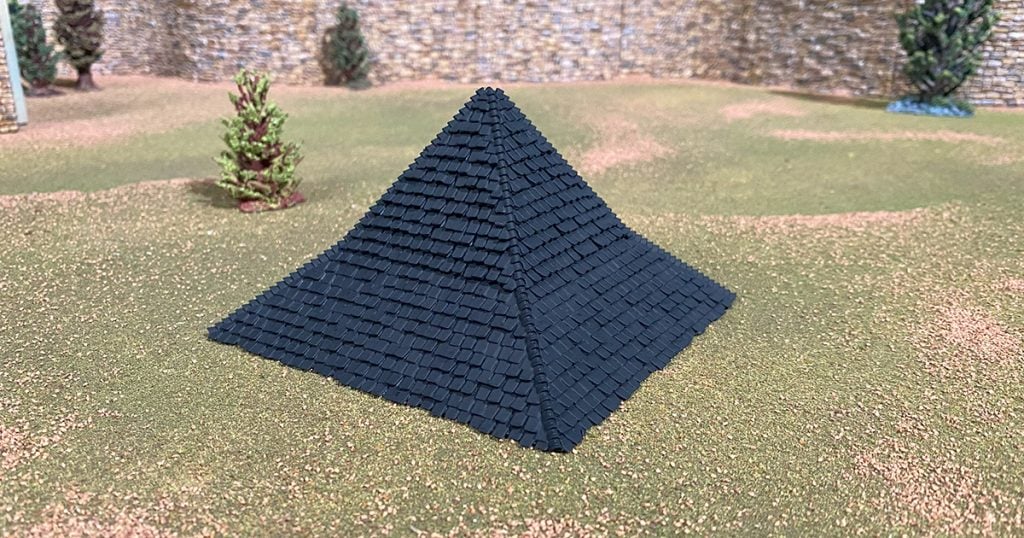
For the roof tiles, we prime black, being careful to get the primer up into the underside of the tiles themselves.
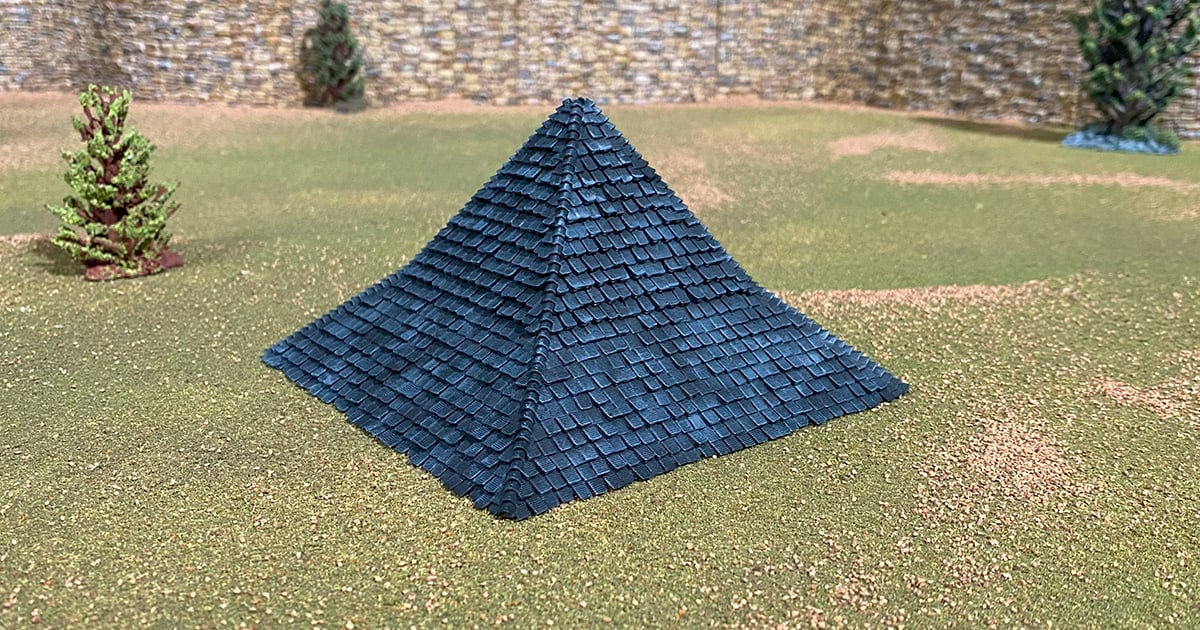
The first step is a drybrush using the Mechanicus Standard grey. We wanted a patchy aesthetic, so our drybrush technique was very random and messy.
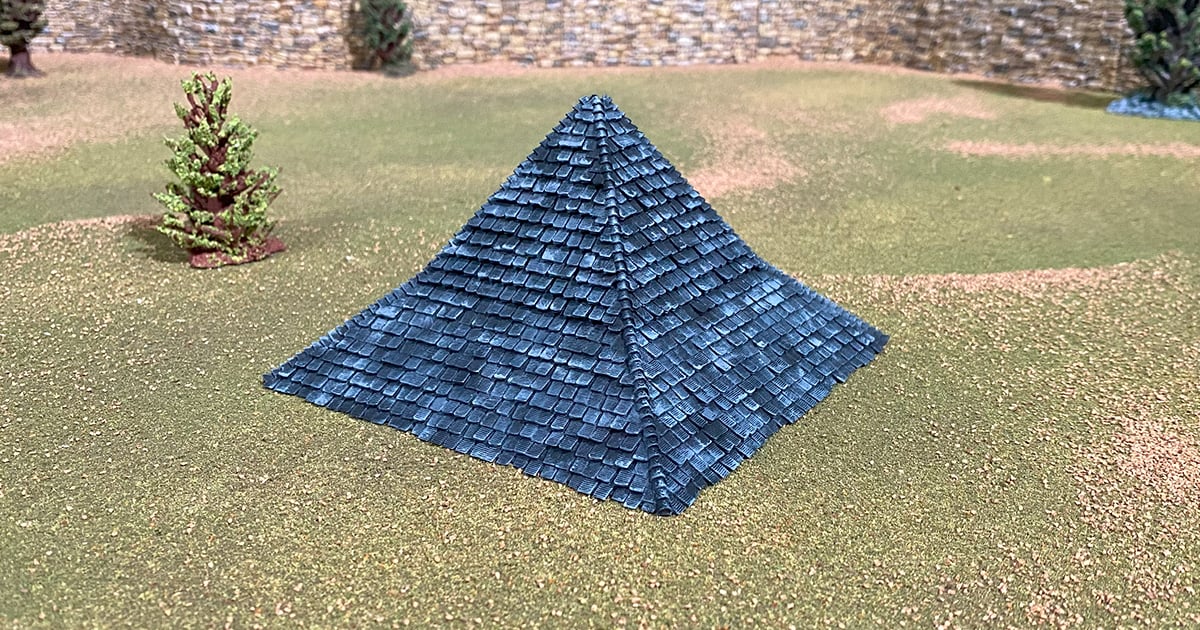
Then, we repeated the same technique with the lighter Dawnstone paint, intentionally being quite aggressive with the method, allowing some thicker paint to catch some tiles here and there.
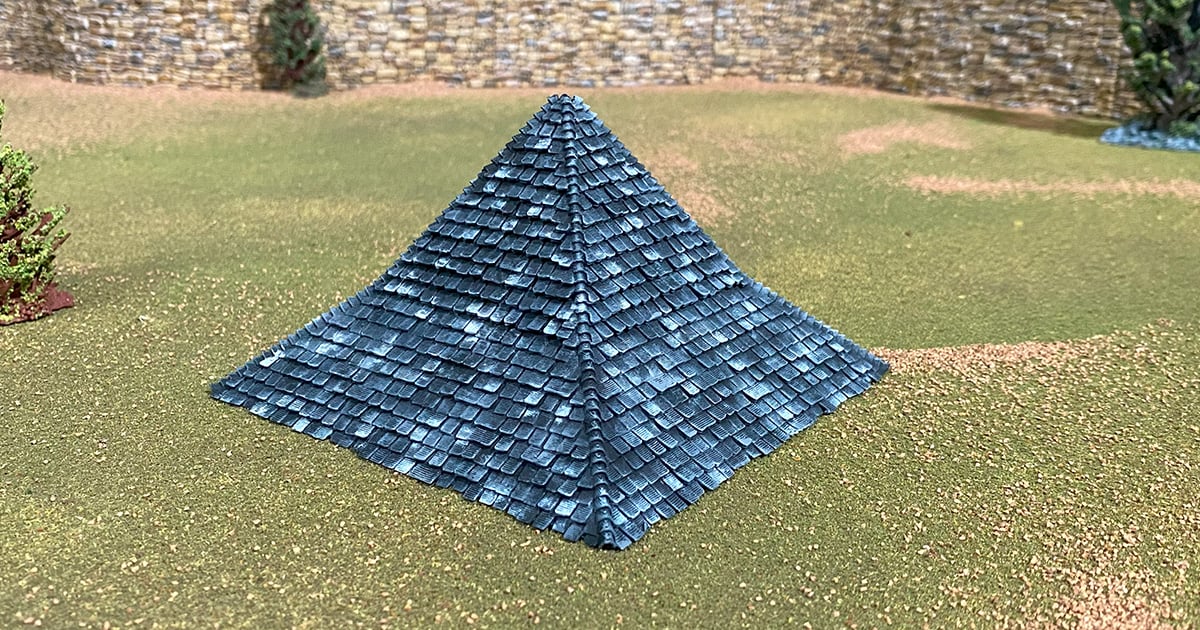
And finally, we use the administratum grey to pick out some tiles individually and go for a quick light drybrush to enhance the patchy look.
That is it, a straightforward guide on how we achieved the look for all our Throne & Ash models. Let us know what you think and want to learn next.

Awesome. Super simple but very detailed. Has there been a guide for the walls?
*castle walls I mean.
Hey, glad you like it. Yea, I did one here: https://www.printablescenery.com/2025/04/29/how-to-paint-castle-bricks/
Fantastic tutorial! This is super helpful, I always have trouble choosing the right colour palette. Hope to see more in the future!
Thank you, appreciate it! Definitely more to come
The models and paint guides are amazing , keep up the good work.
Is there a paint guide for Brackencourt ?
Thank you! We don’t have a guide specifically for the Brackencourt, but we have paint guides for most of the Gloaming set, which you should be able to recreate into the Brackencourt as it used the same schemes
I’ve been following your tutorials on these and I don’t think you’re using the skeleton bone primer. Your primer looks a lot more ivory white colored. The skeleton bone primer is a strong beige color and when I apply the Vallejo sepia it turns the walls into a fairly strong yellowish color. So I don’t have yellow walls I end up having to put a lot more dry brush on just to cover up the yellow tint. Is there another primer we can use that is closer to your color?
Definitely using the Skeleton Bone primer, but the photos have probably washed out the end result as these were just taken on my phone. The sepia does make a very yellow/brown tone and the drybrush corrects it a lot
Ah ok thanks, so I’m doing it right.
I love the way you make this look so easy!! However I look forward to giving it a go when my new 3d printer arrives. Thanks for the great content. A few more youtube videos would be great. Are you planning any new scifi/futuristic projects that would go with my very bad 40K habit!
Thanks again.
Ian
Thanks Ian! We can’t really say what’s next for us, we’re still working out the details. But there’s a planet in the 40k universe with any kind of terrain you can imagine 😉 not helpful for the 40k habit I know haha
thanks i like your suggestion and pictures for painting! great keep up the good work!
Thank you! We appreciate it