-
AuthorPosts
-
-
July 28, 2021 at 10:42 am #291259GlutamateMaximusParticipant
I have sliced a portion of the HH Cottage base_A to 37mm tall and am printing it at different layer heights on my Prusa i3Mk3S (.15 QUALITY, .20 QUALITY and .30 DRAFT) to see what the differences will be across the total models. So far (5 mins into the first print), having sliced all three samples, the .15 layer height print time is 3h36m, the .20 is 2h48m and the .30 is 1h44m.
If you are interested I will post photos so you can see any differences. I am doing this now because I want to figure out what print settings and layer heights I want to use. If anyone has already done this, please let me know!
- This topic was modified 4 years, 11 months ago by GlutamateMaximus.
-
July 28, 2021 at 11:41 am #291278Brian EttyParticipant
Definitely interested in seeing the results. I am currently printing them at .20 Quality with some minor modifications.
-
July 29, 2021 at 12:25 pm #293205GlutamateMaximusParticipant
If you don’t mind sharing, what are your settings and tweaks?
-
-
July 29, 2021 at 9:28 am #293148Mike LosParticipant
VERY interested to see how they turn out, please do share! The prints for our studio pieces are done at .2 layer height so will be keen to see how these go.
-
July 29, 2021 at 12:22 pm #293199GlutamateMaximusParticipant
Okay, I have the .20 QUALITY and the .15 QUALITY test prints done. I decided to skip the .30 DRAFT as I can tell from the preview in Prusa Slicer that it’s too rough and lacks detail. I may do a test print of that just for fun this weekend. These are the preset Print Settings that are part of the PrusaSlicer, using my Prusa i3Mk3S, in Matterhackers PLA Jet Grey PLA.
I honestly can’t really tell the difference between the .15 QUALITY and the .20 QUALITY prints–though my wife successfully did. I had to label them on the bottom to keep them straight. The difference between the print times was about an hour more for the .15 test print–and if I slice the entire model the .20 QUALITY preset is a 19h43m print, and the .15 QUALITY preset is 25h28m print–a difference of about 5 hours, 15 mins.
-
July 29, 2021 at 12:25 pm #293204GlutamateMaximusParticipant
The files are: HH-Cottage-Test-1-scaled.jpg is the .20 layer height, the HH-Cottage-Test-2-scaled.jpg is the .15 and the HH-Cottage-Test-3-scaled.jpg is both, with the .15 on the left and the .20 on the right.
-
-
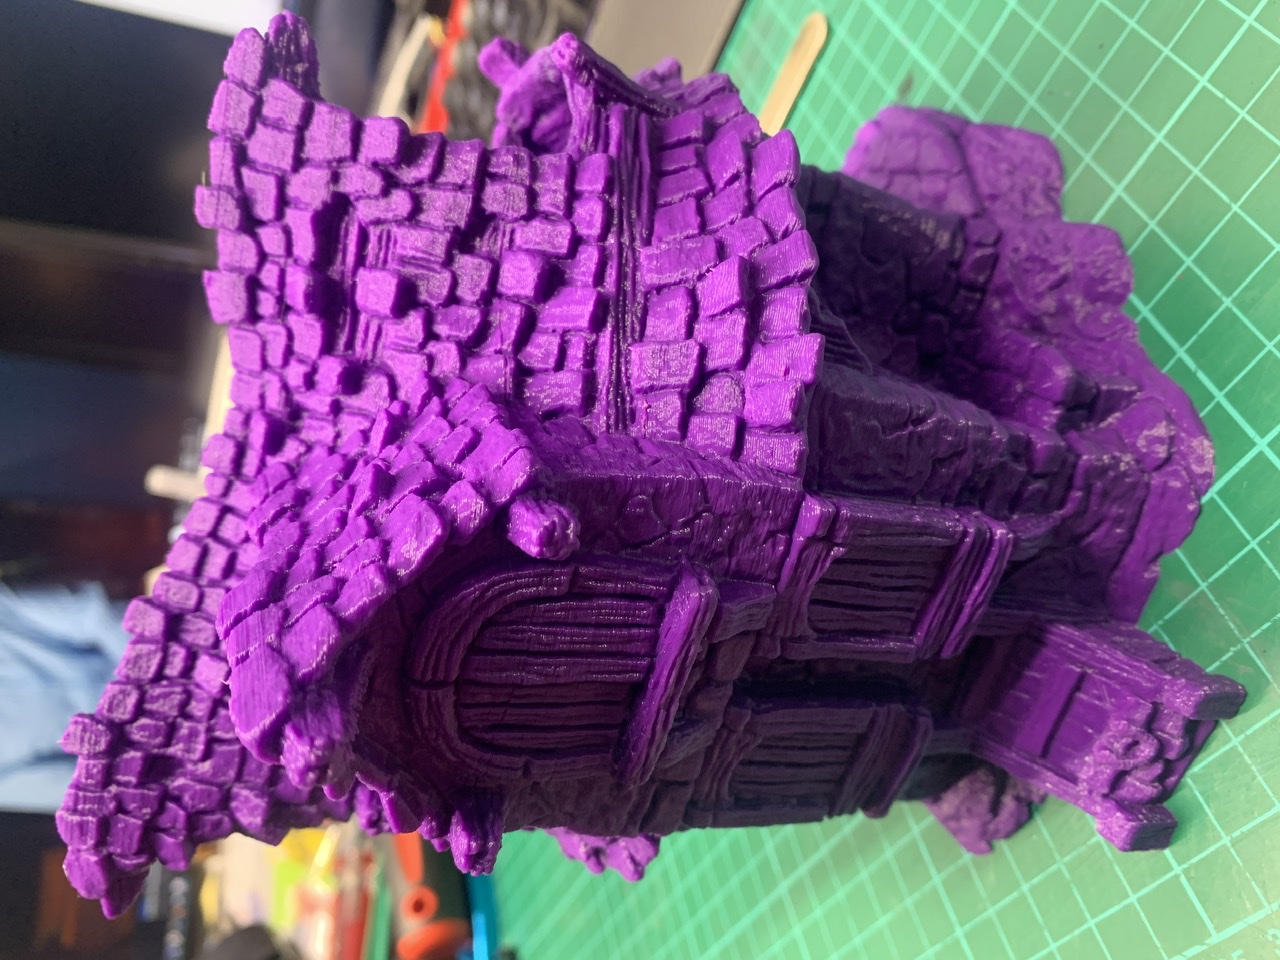
July 29, 2021 at 11:01 pm #293381SuperJimParticipant
This is the cottage at 0.16mm. Unfortunately had to reduce size due to 2mb limit.
Attachments:
-
July 30, 2021 at 1:54 am #293420GlutamateMaximusParticipant
Looks great and I love the color!
-
July 30, 2021 at 8:51 am #293528Mike LosParticipant
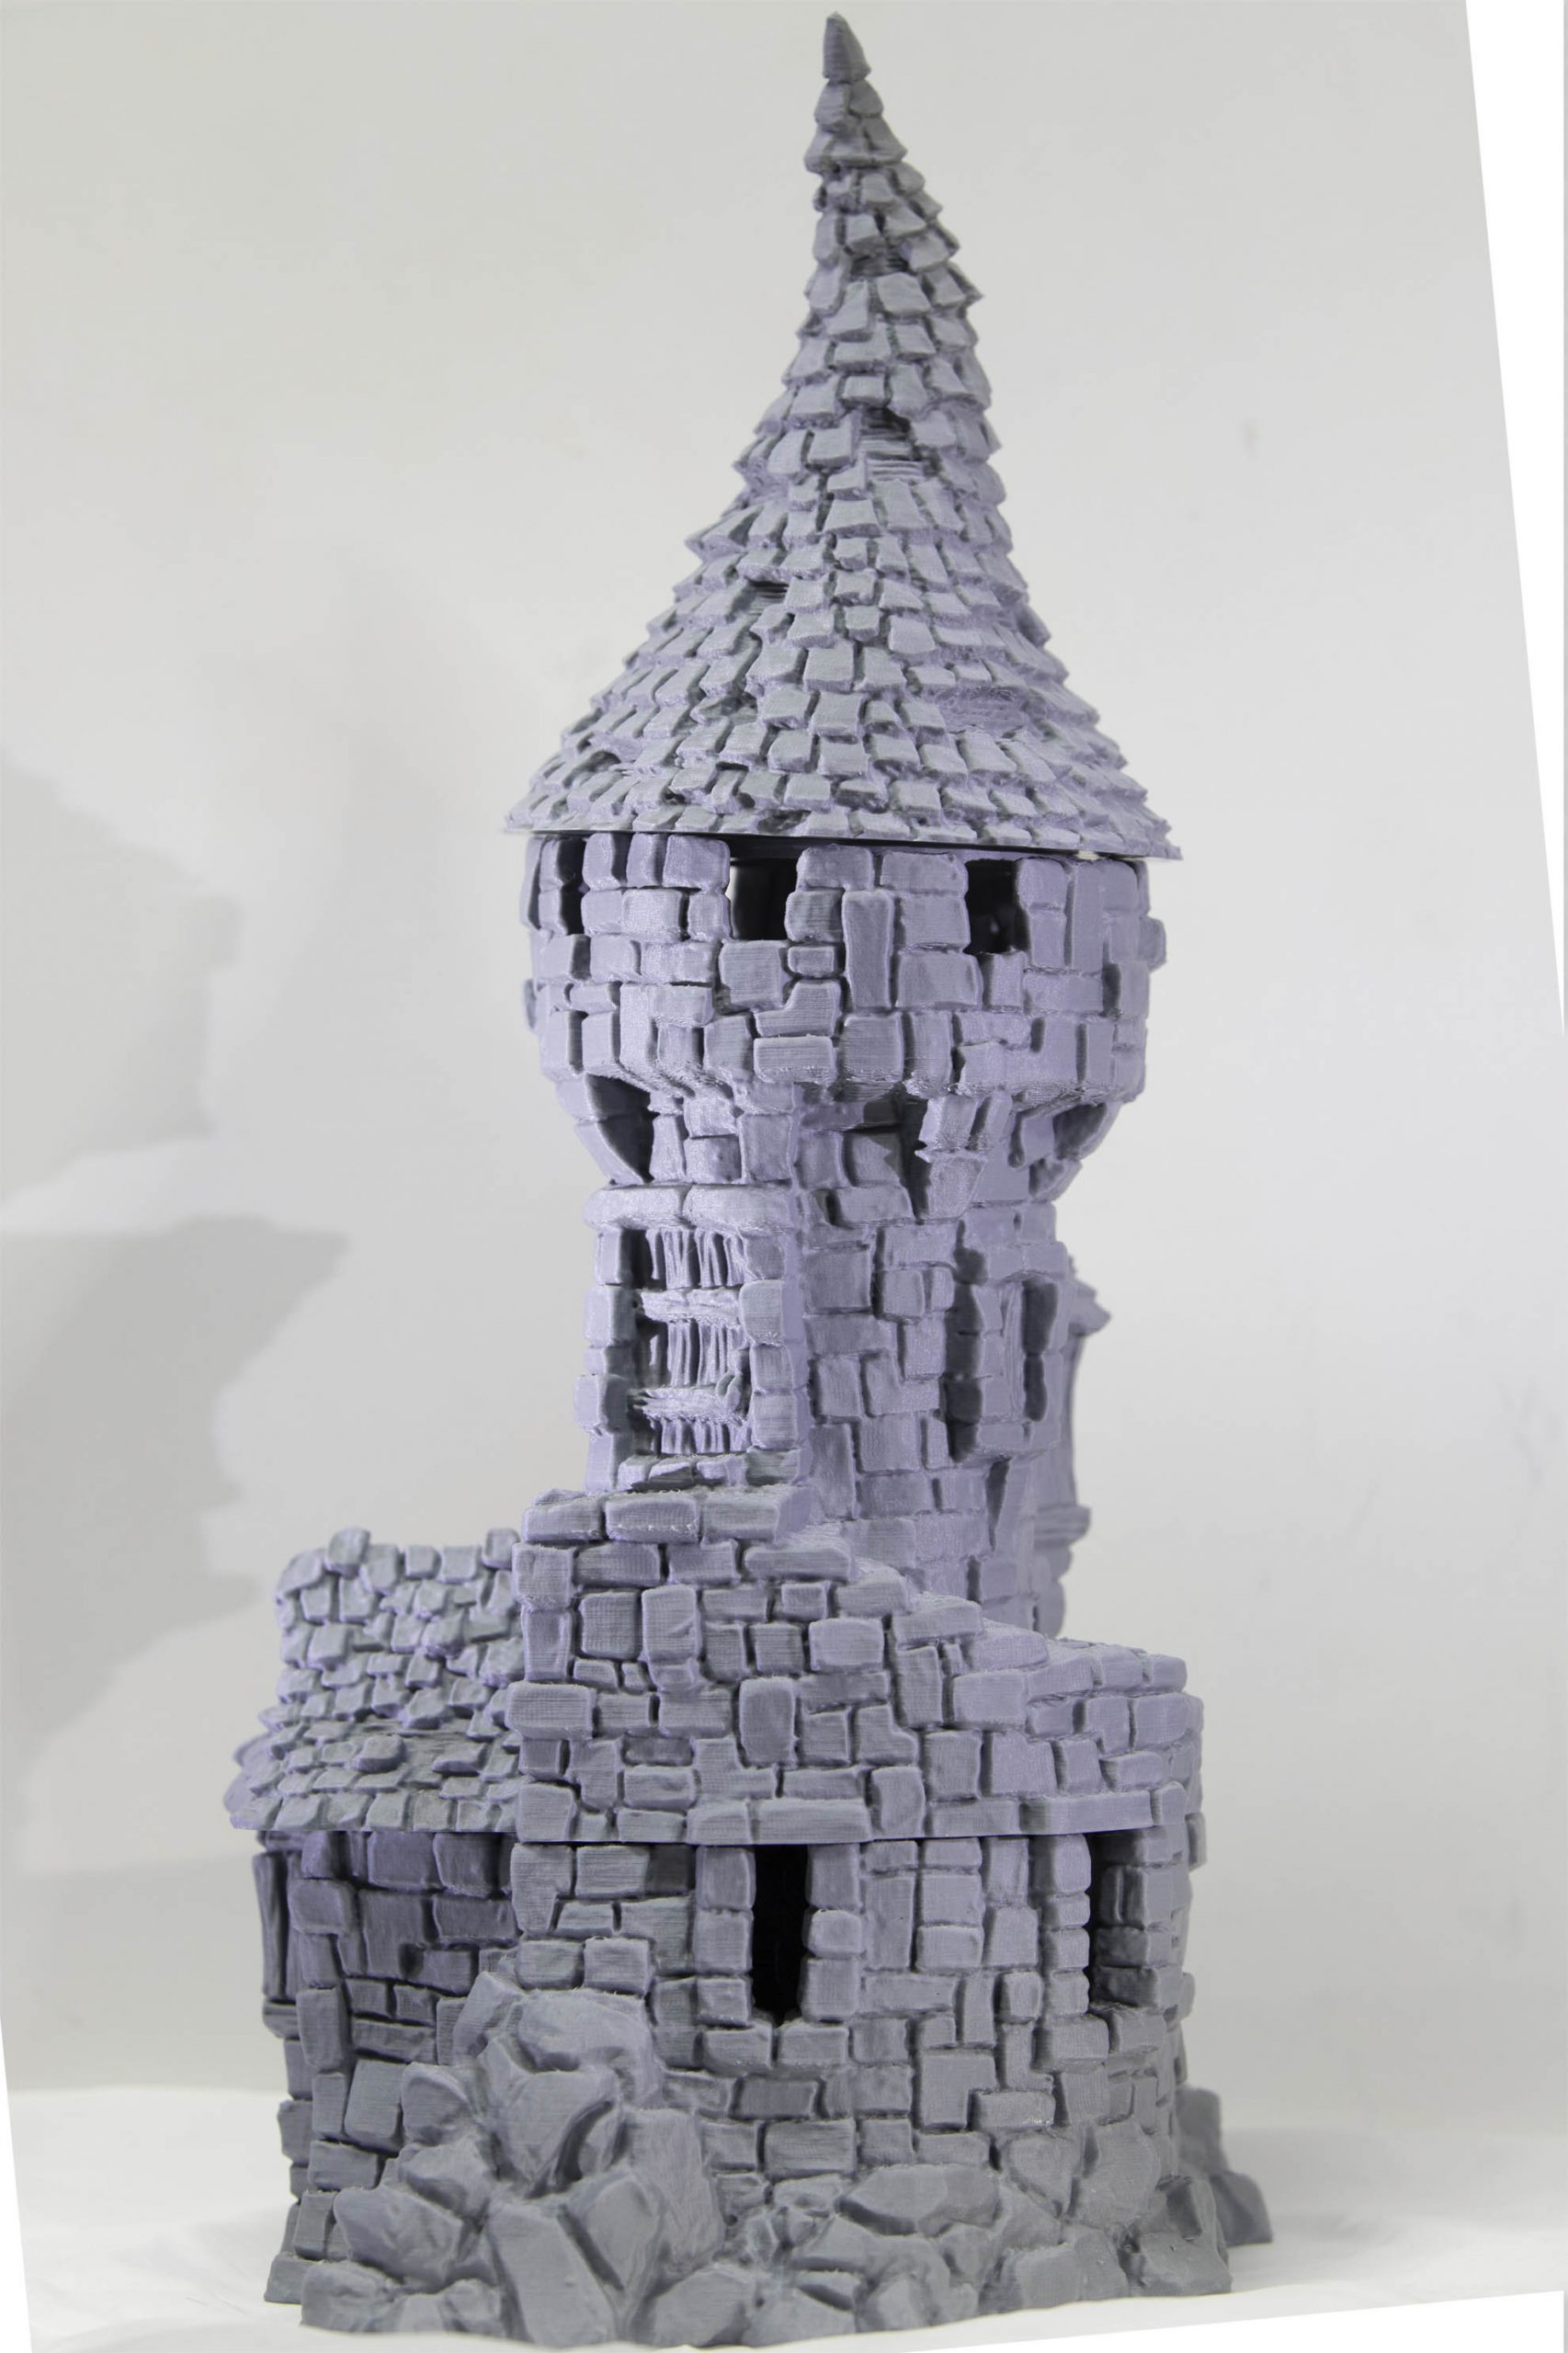
Thanks for sharing your findings! I wonder if the smaller layer height will come into play more when it comes to smaller objects like some of the furniture stretch goals and the waymarkers.
-
July 30, 2021 at 9:10 am #293533Brian EttyParticipant
With something like this using the variable layer height feature can come in handy. So if you have a peak that you want be more defined as it comes to a point you can decrease the layer height on that part only and leave the rest of the model at like .2
-
July 30, 2021 at 10:00 am #293565GlutamateMaximusParticipant
That is an excellent point and I never think to do that.
-
July 30, 2021 at 1:23 pm #293651Brian EttyParticipant
I started to do it with tiles. the base of the tiles I would do even at .3 then as it got into the detail I shrunk it. Especially for flat tiles if you take the layer height down you get more variation and less flat areas.
-
-
July 30, 2021 at 2:43 pm #293694farmerbil66Participant
Curious as to what size people are printing at? Are people printing at the supplied 28mm scale? Or downsizing/upsizing?
-
July 31, 2021 at 7:17 am #294168Brian EttyParticipant
supplied scale for gaming. I am most likely going to print some lower scale ones, maybe even in resin as gifts at some point.
-
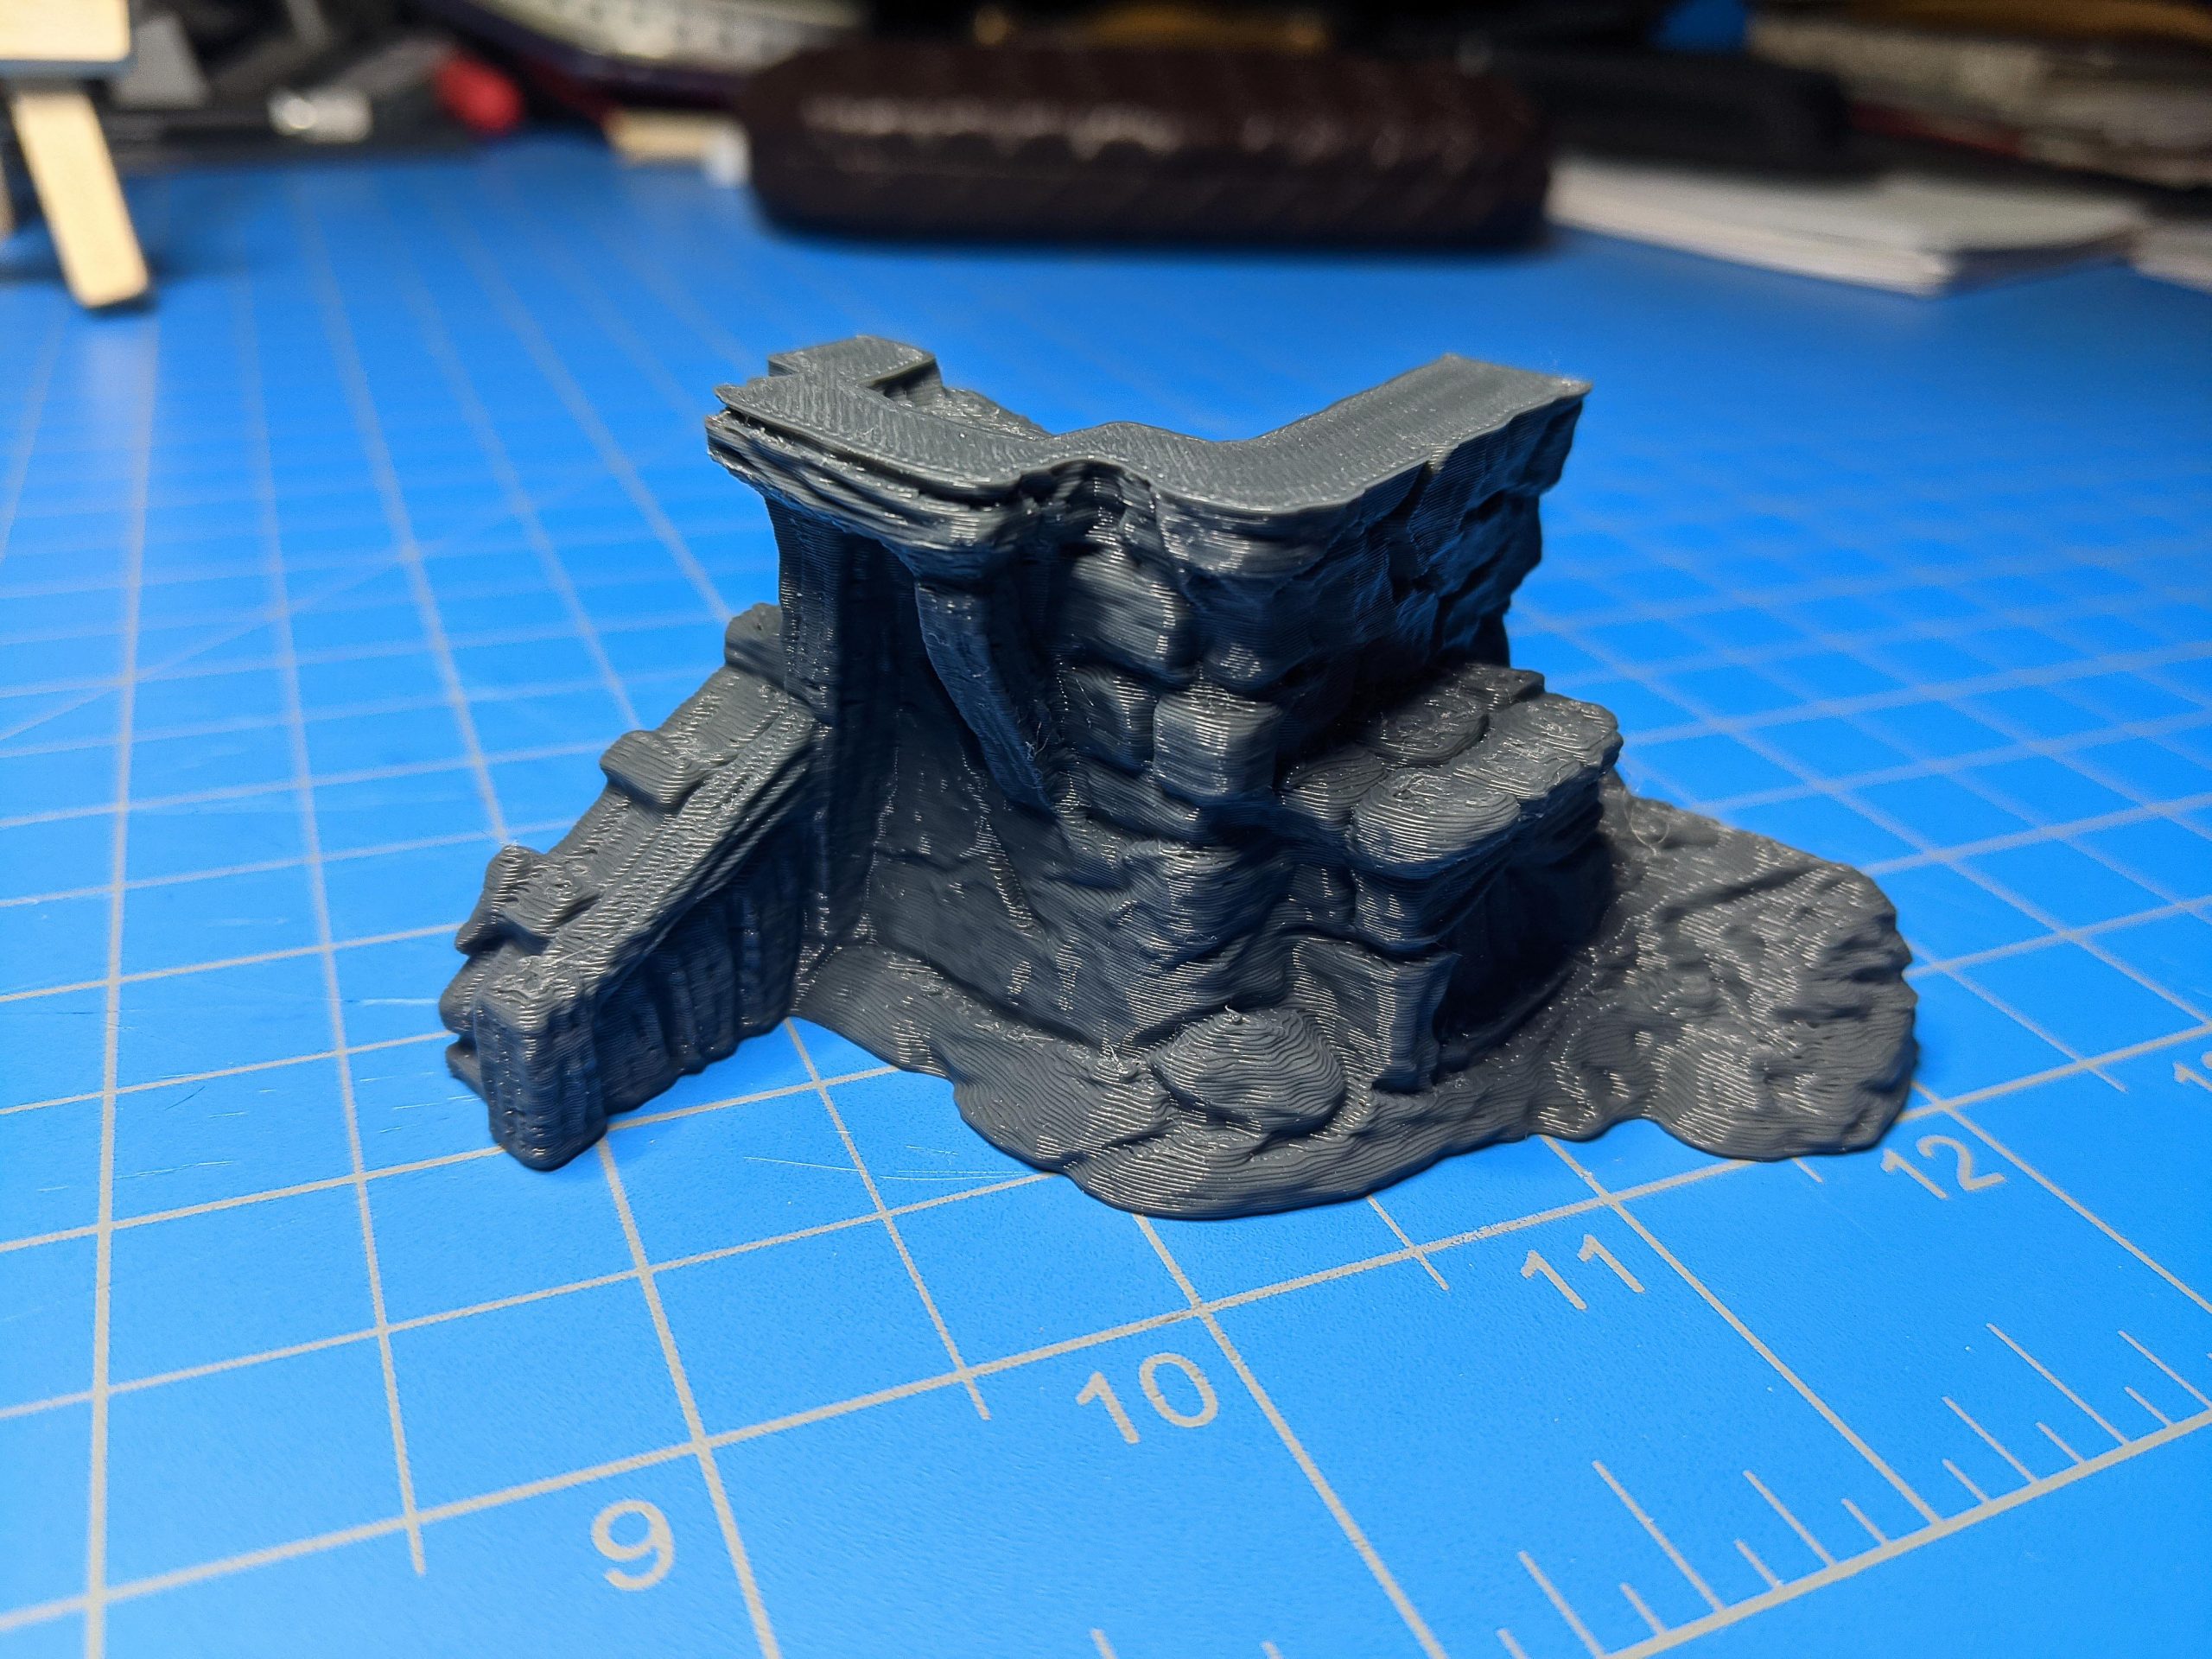
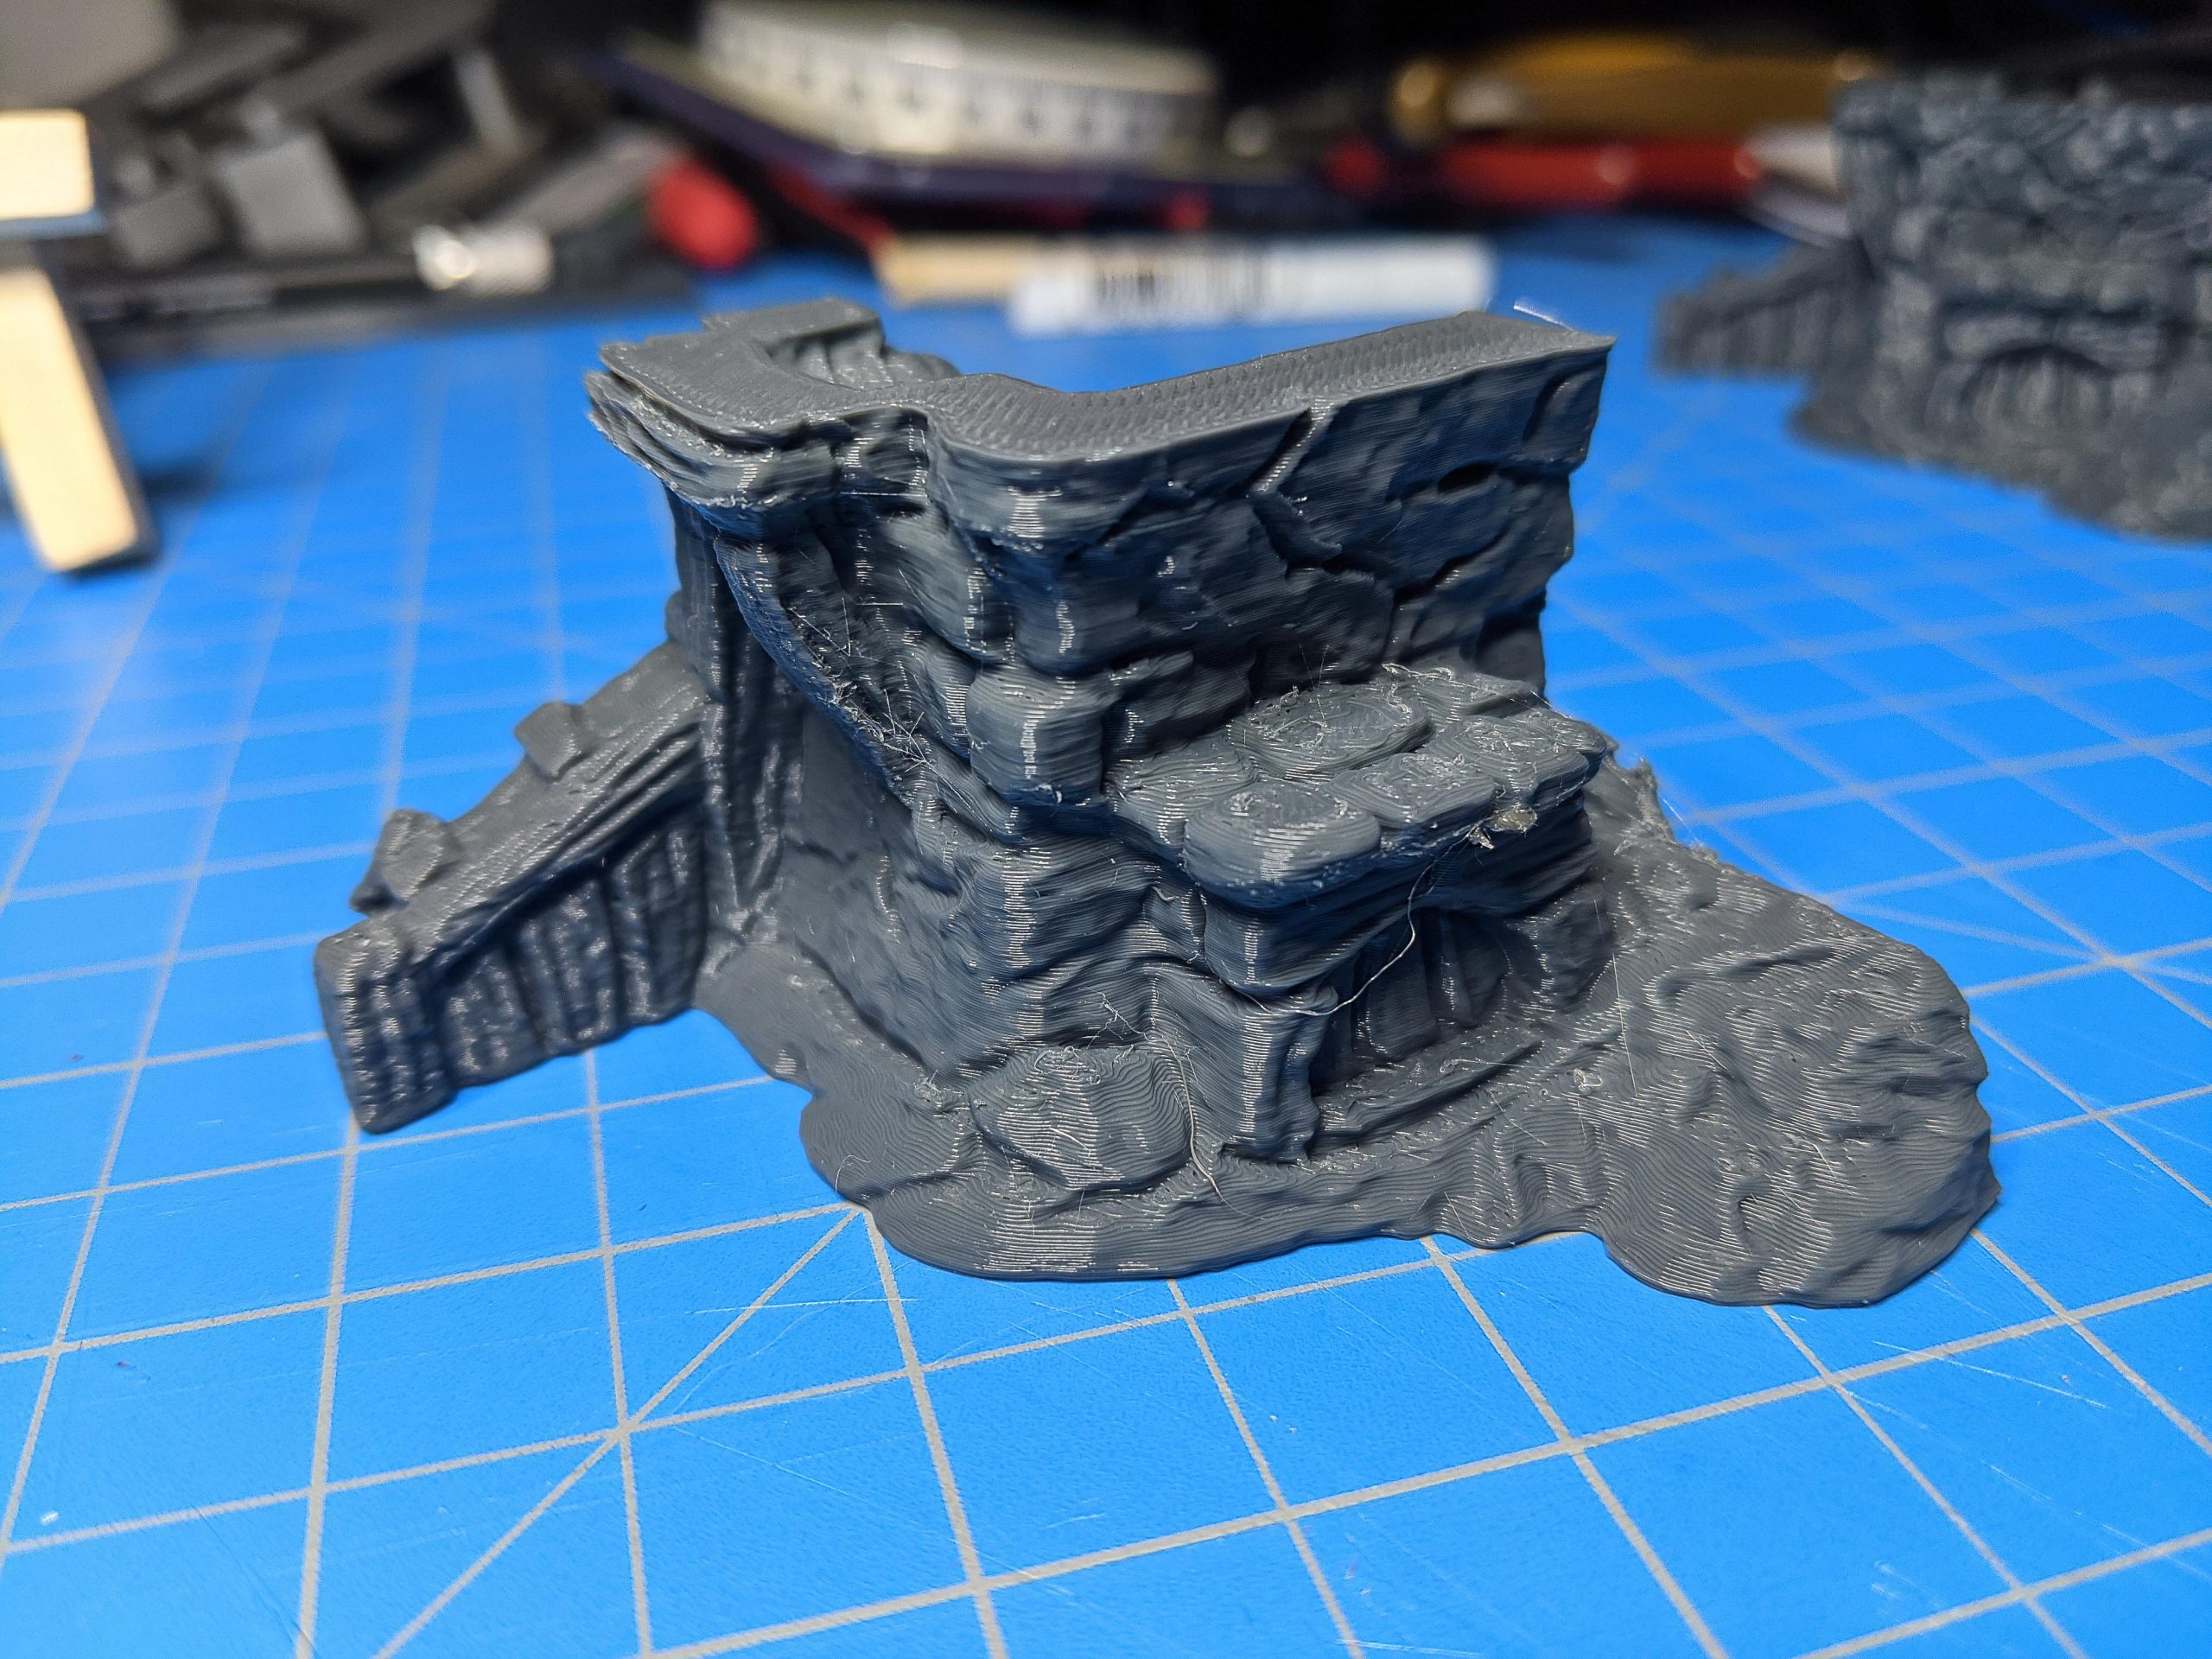
August 5, 2021 at 9:00 pm #295780wierd101Participant
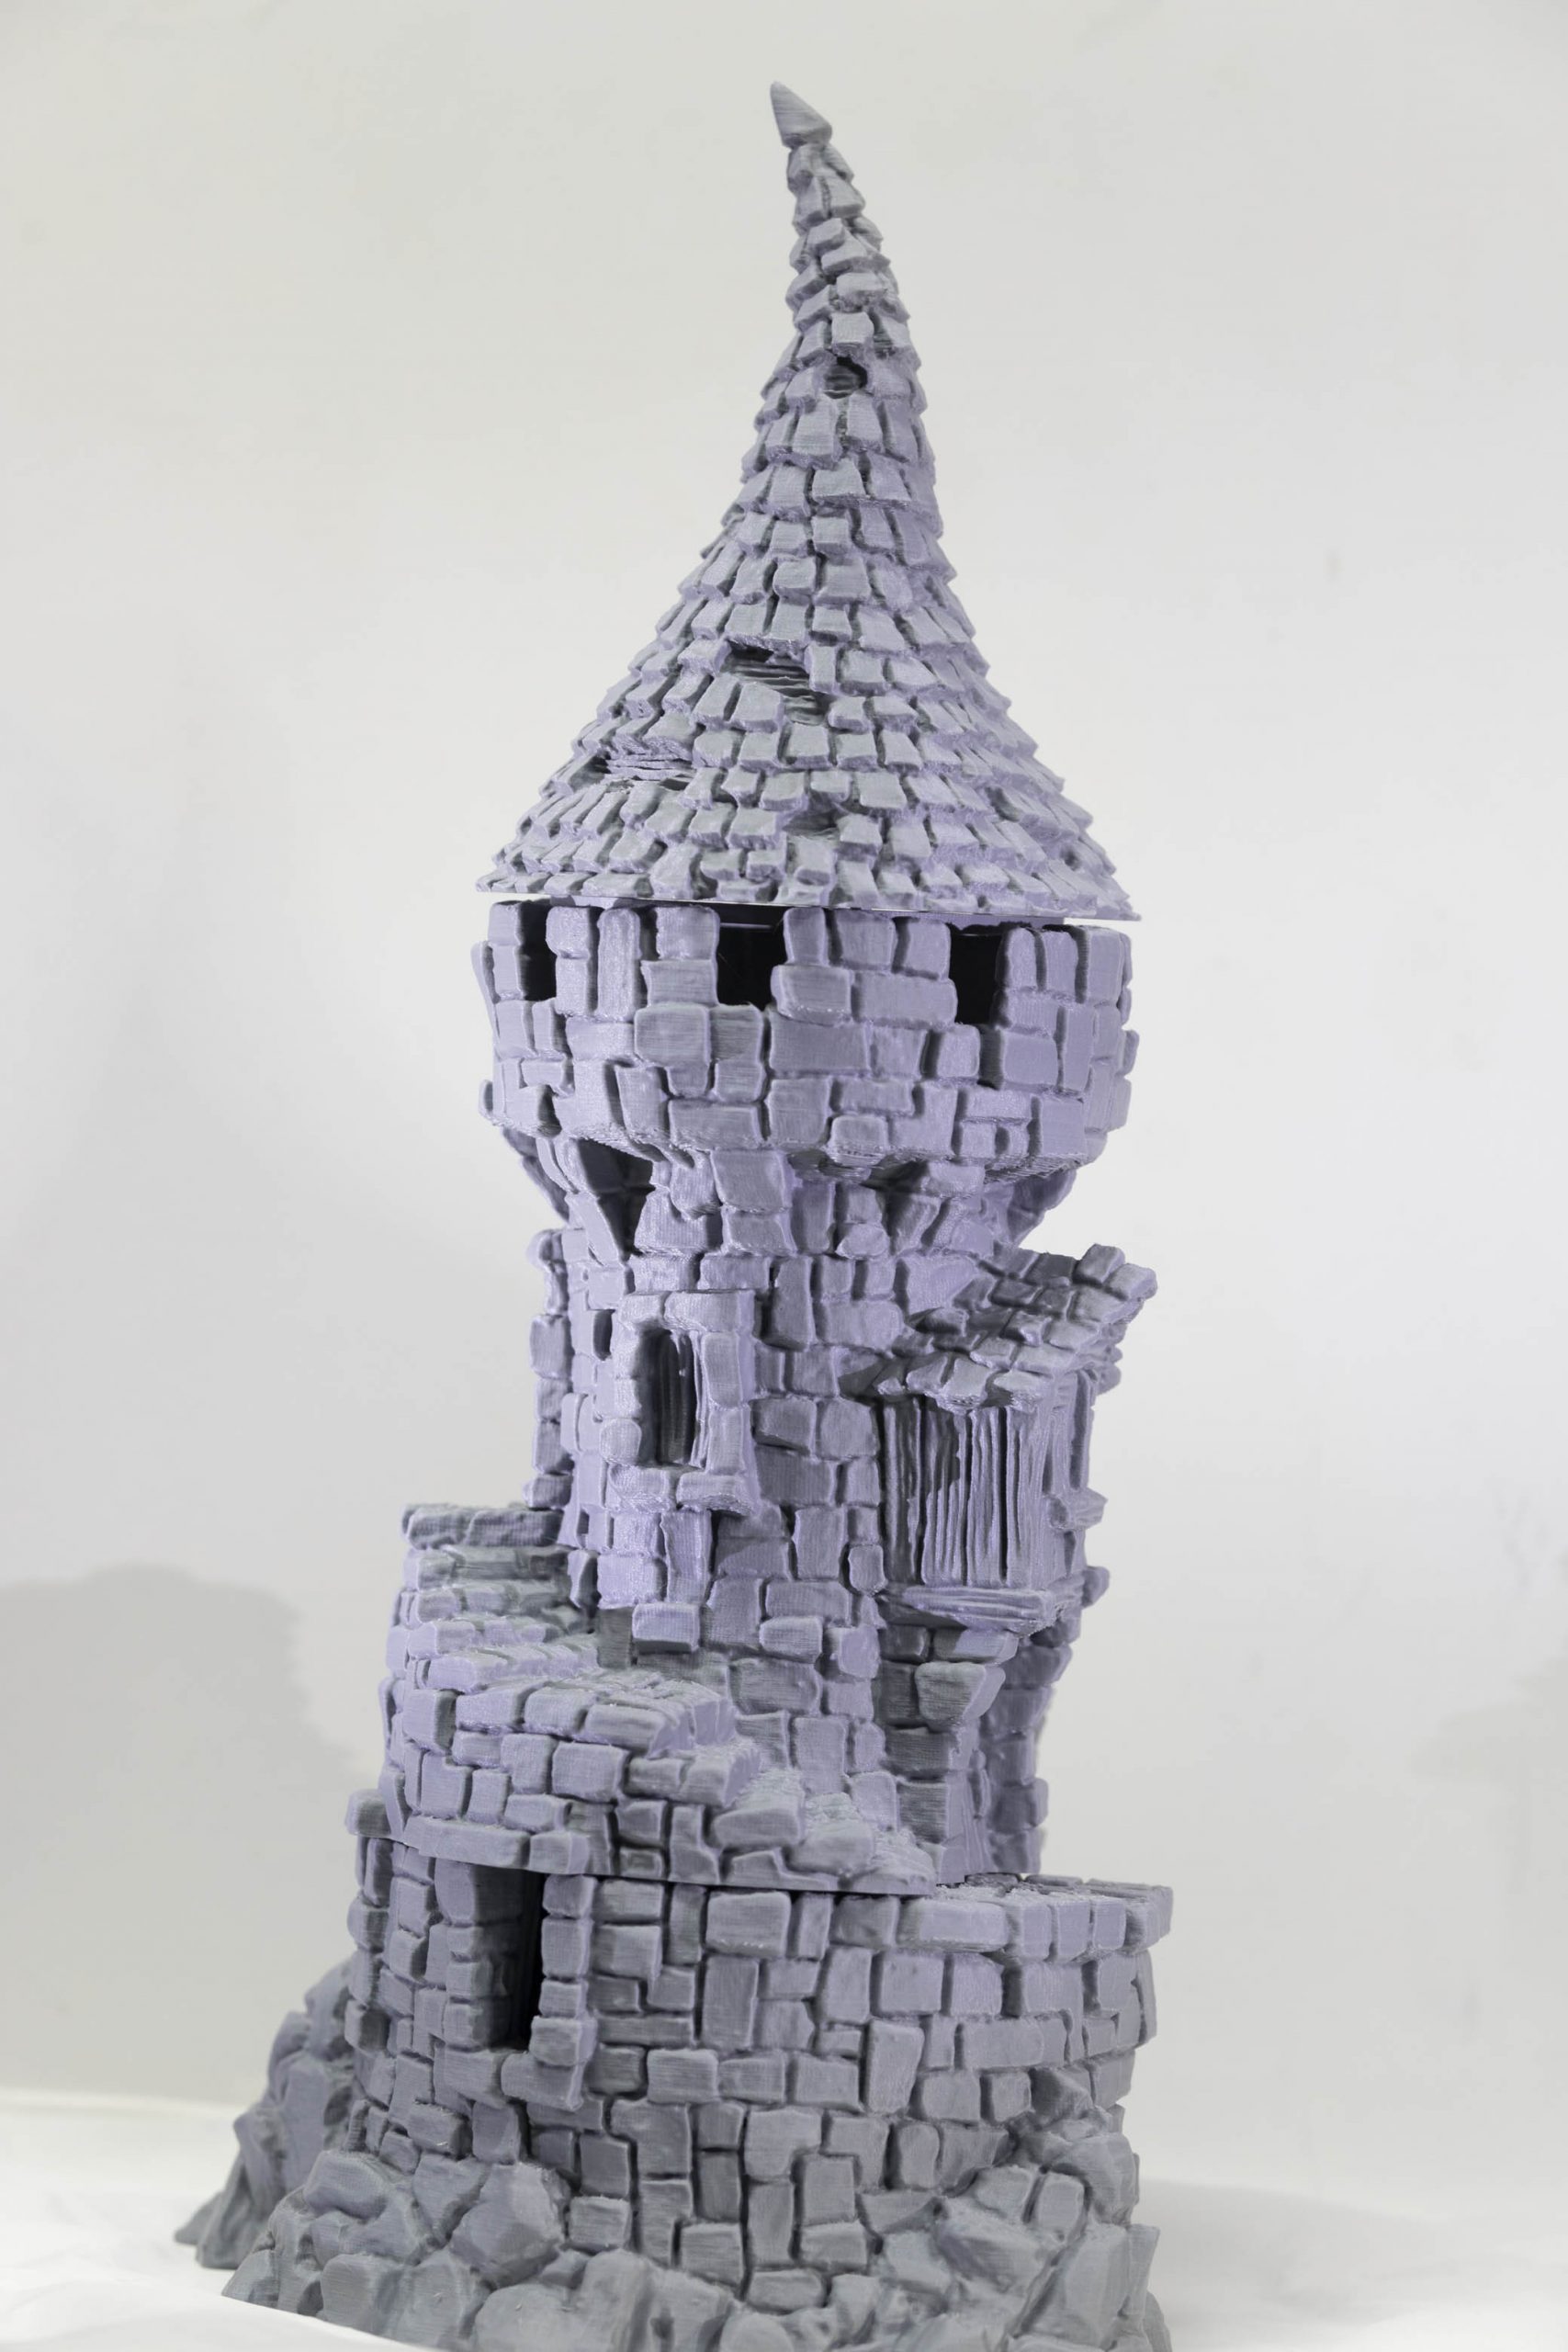
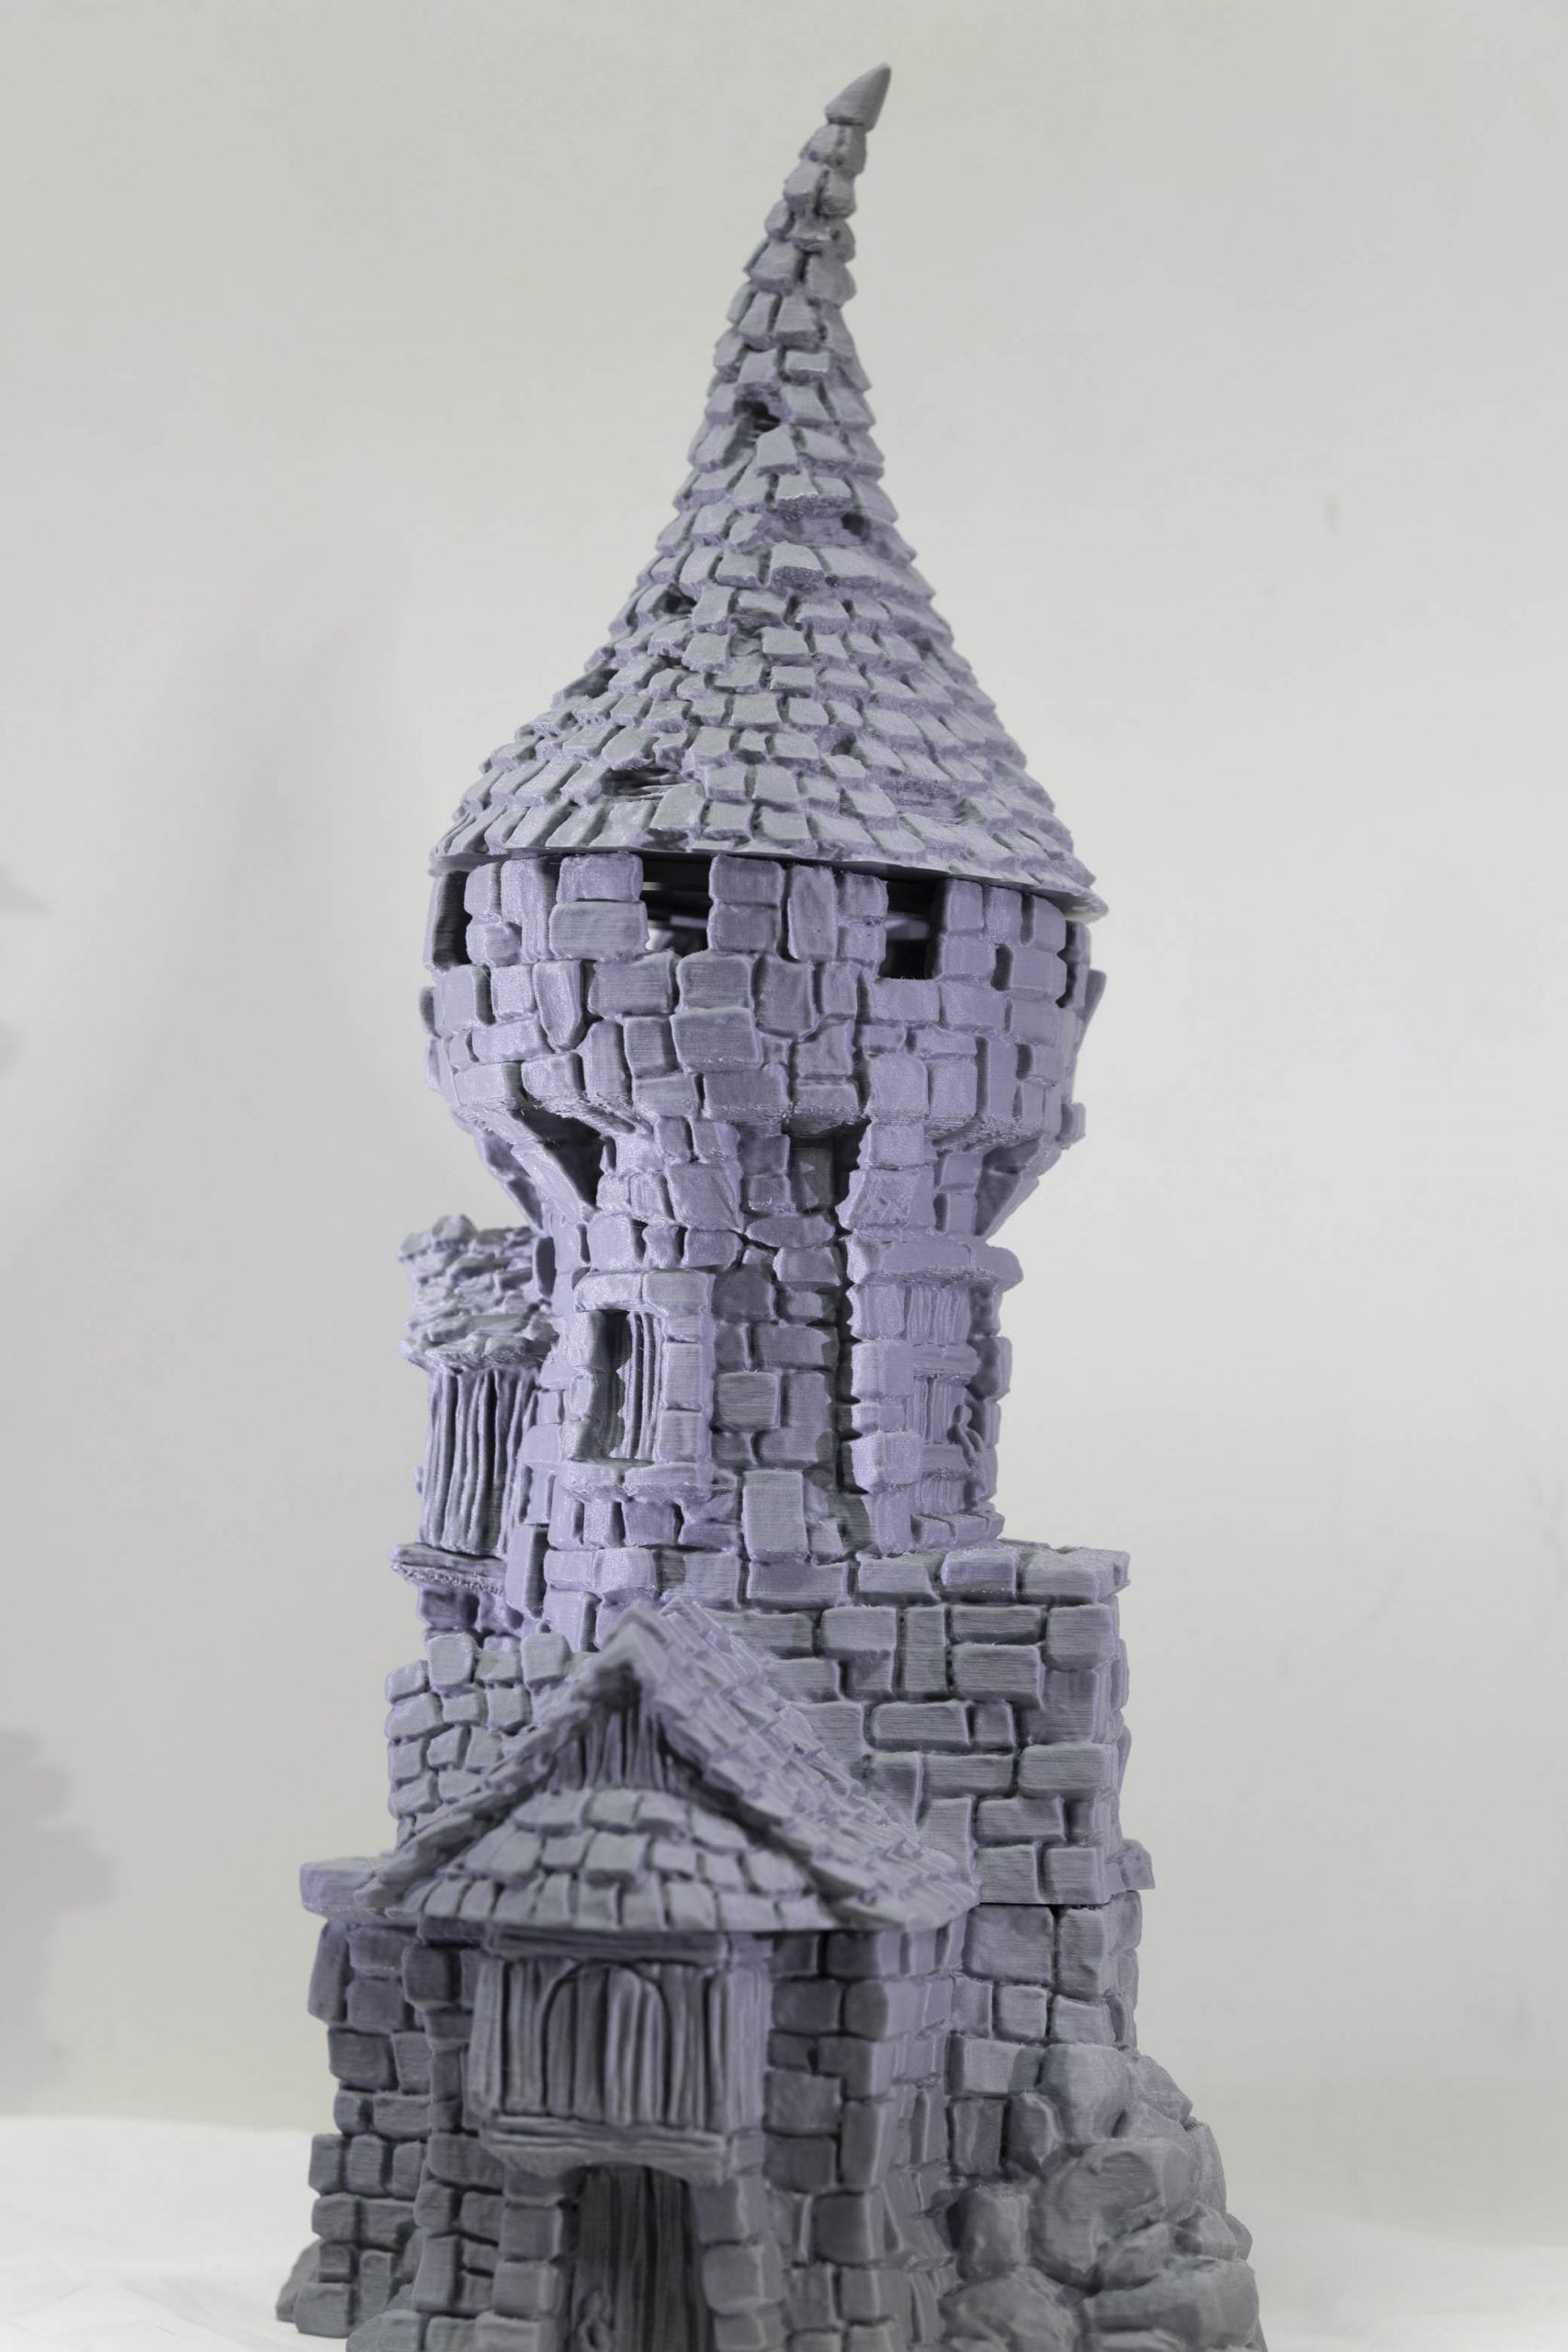
First print of the Hagglethorn Tower.
0.15mm layer height
15% infill (Prusa – Support Cubic)
Polymaker Polyterra grey PLA
~65 hours total, ~537gRoof printed prints fine without support, no issues with overhangs. Will look great when painted. The anchor pins are a little tricky to line up but once in place it doesn’t fall out.
The tower printed without support, no issues. If i were to print it again i would add supports at the door overhang. Supports under the crenelations might help (will experiment) but with 0.15mm layers at this point it would be hard to improve (good spot to use variable layer heights).
The base printed with custom supports (as supplied not so great for FDM), these added around 3 hours from the unsupported file. Painted on using Prusa Slic3r, same locations as in the provided file. Areas with supports are barely noticeable once removed. The larger bricks and the door overhangs are good candidates for variable layer heights. Supports shouldn’t be necessary for the bricks.
Something to note is that the unsupported base model (Hagglethorn-Tower-Base-v1.3.stl) does not include the pins for the tower. Might have to print and glue these on later.
Photos are using the harshest light i could get to show up any imperfections, before any major cleanup of the prints. Viewed from a reasonable distance on a table the layers are not noticeable, looks very much like a hand-sculpted model (many *squees* made over how good it looks).
Next prints (Hagglethorn cottage) will use 10% infill (or less if possible) and more supports under overhangs. Finding that the Polyterra is great for ease of support removal, other filaments might cause more problems with too much support.
Attachments:
-
-
AuthorPosts


- The forum ‘Hagglethorn Hollow Kickstarter’ is closed to new topics and replies.