Description
As you step through the archway, you realise that you’ve stepped into a place like no other.

Updates:
-
- 28 September 2017 – updated to clip 5.1.
- 13 April 2018 (version 6.3) OpenLOCK clip updated to 5.3
- 28 May 2018 (version 7.0) Updated to the latest version of Triplex.
- 31 July 2018 (version 7.1) Update to I-Column.
- 10 September 2018 (version 7.2) OpenLOCK clip updated to 5.4
- 5 October 2020 (version 7.3) Minor overhangs fixed on Heavy Walls.
Notes:
- There are no T and X column configurations as there can be only two active OpenLOCK connections in the column configuration.
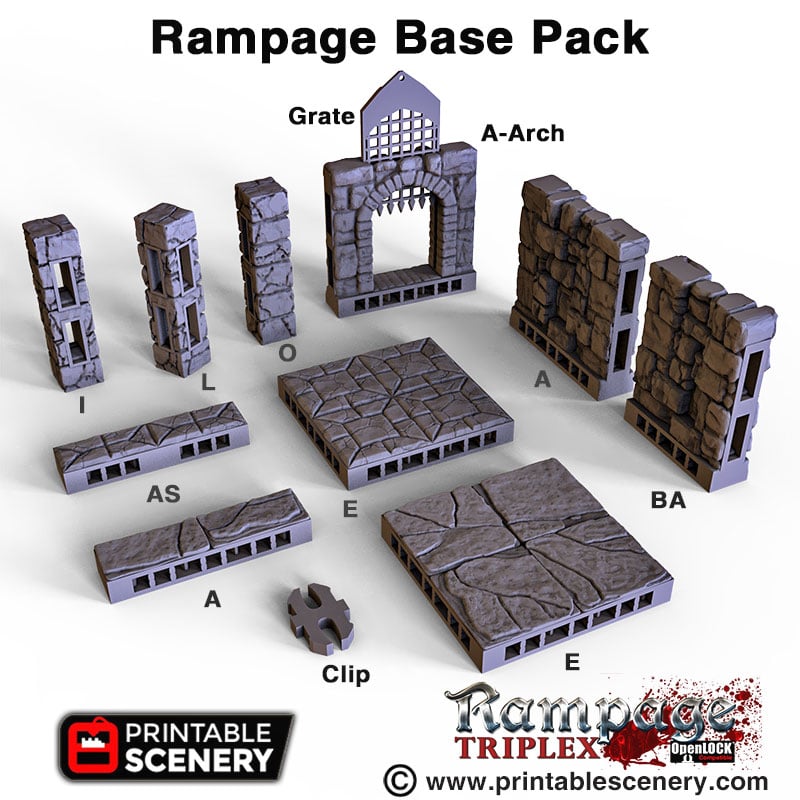
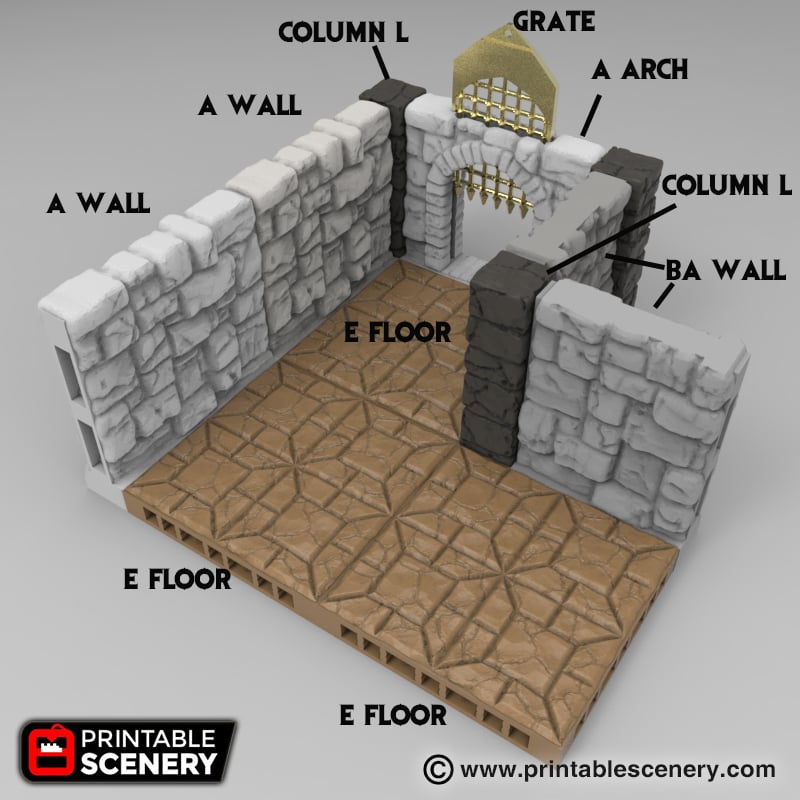
- Right-click on the image below and “Save As” to download the reference sheet for this pack.
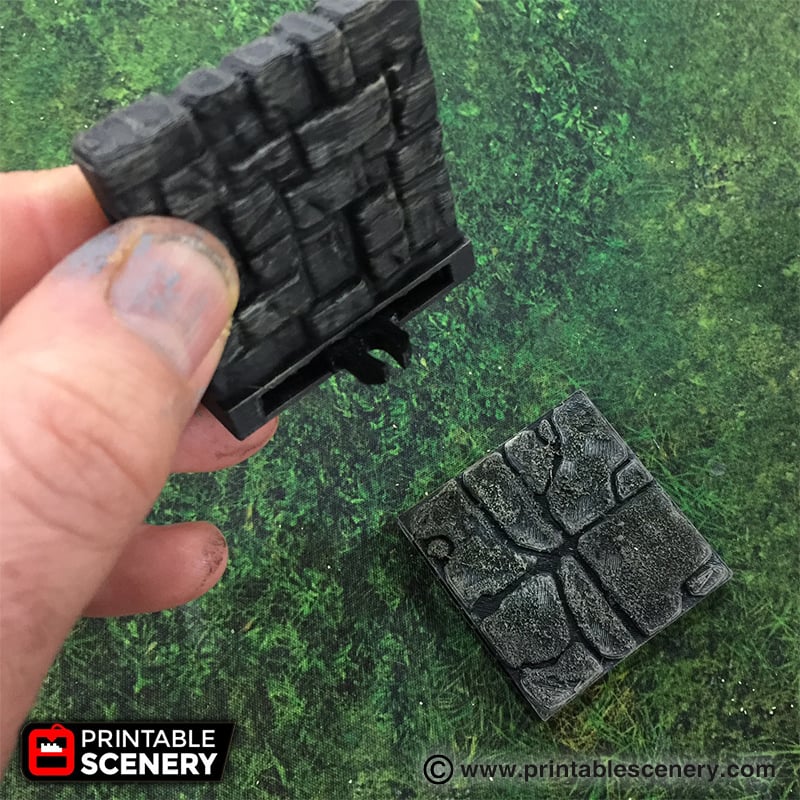
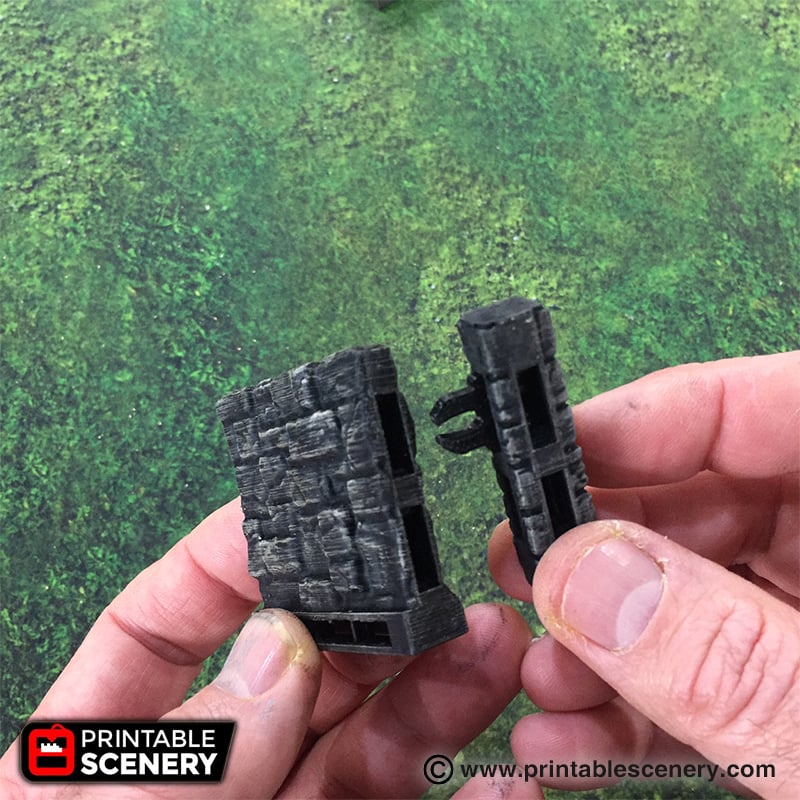
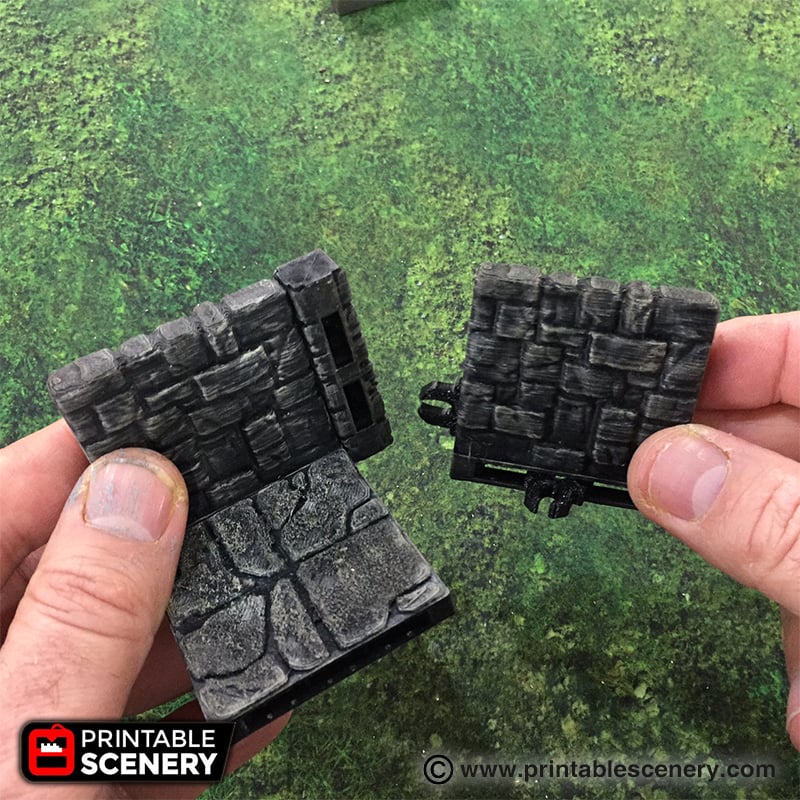
- The outer supports need to be removed for the OpenLOCK clips to fit. See video below.
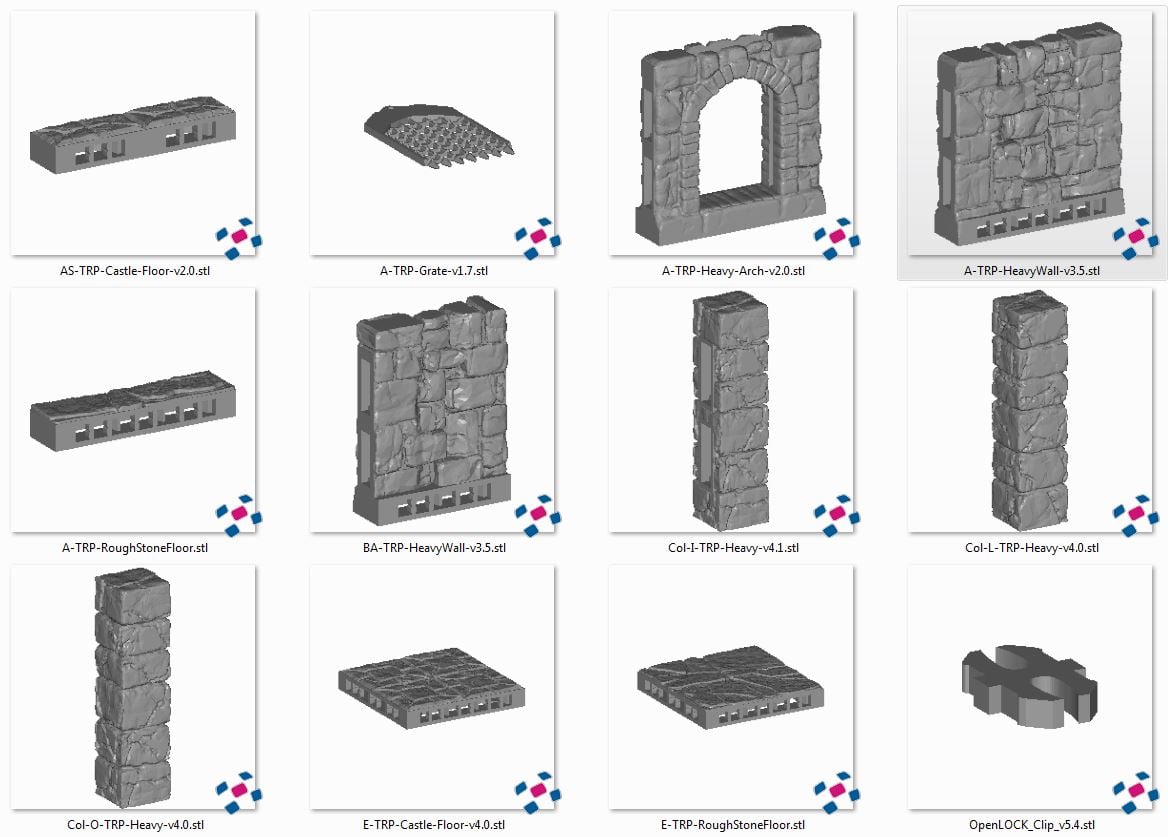
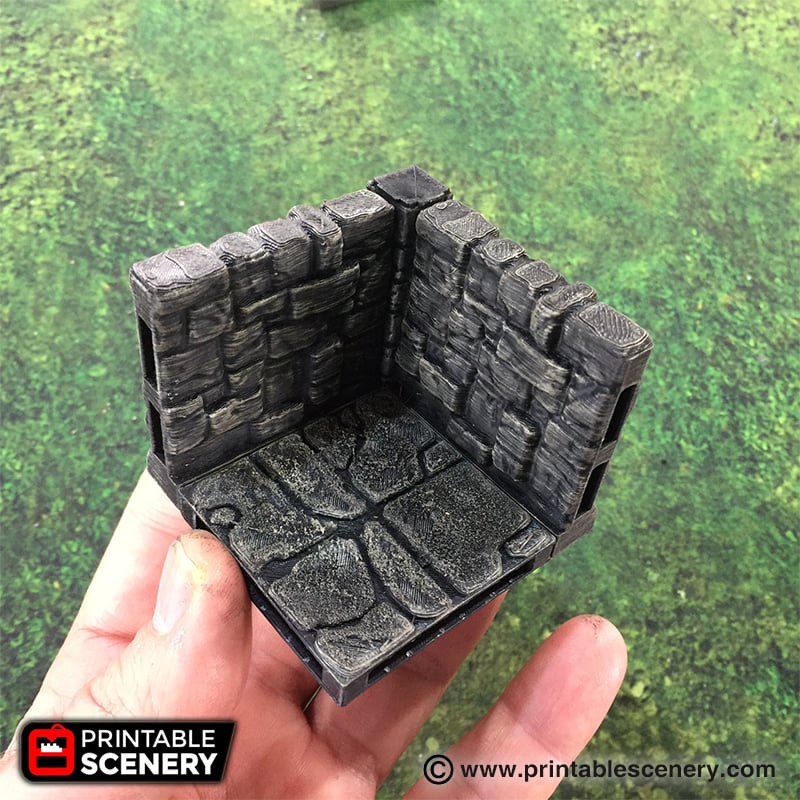
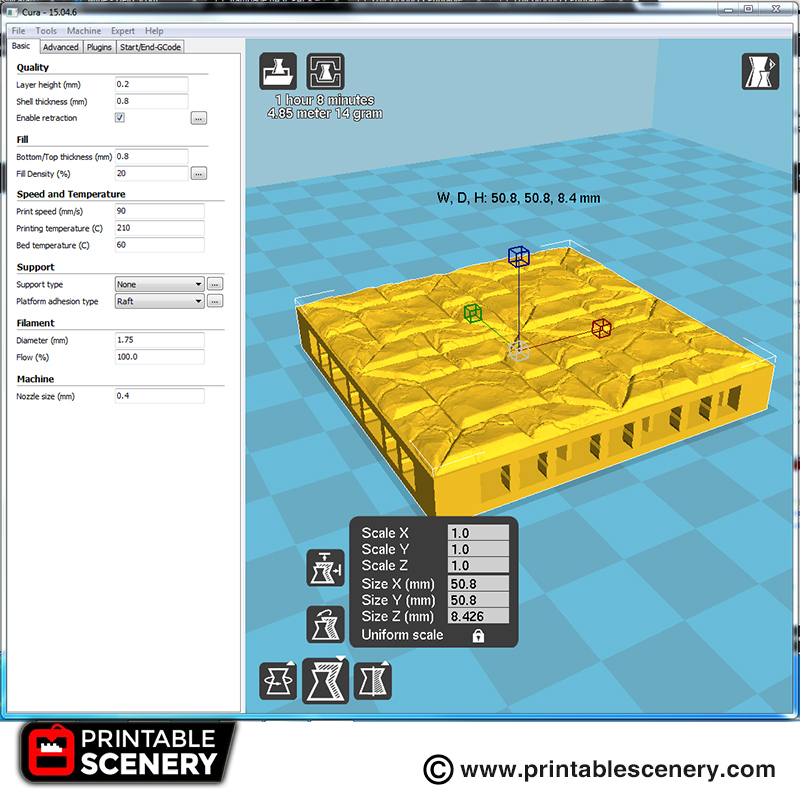
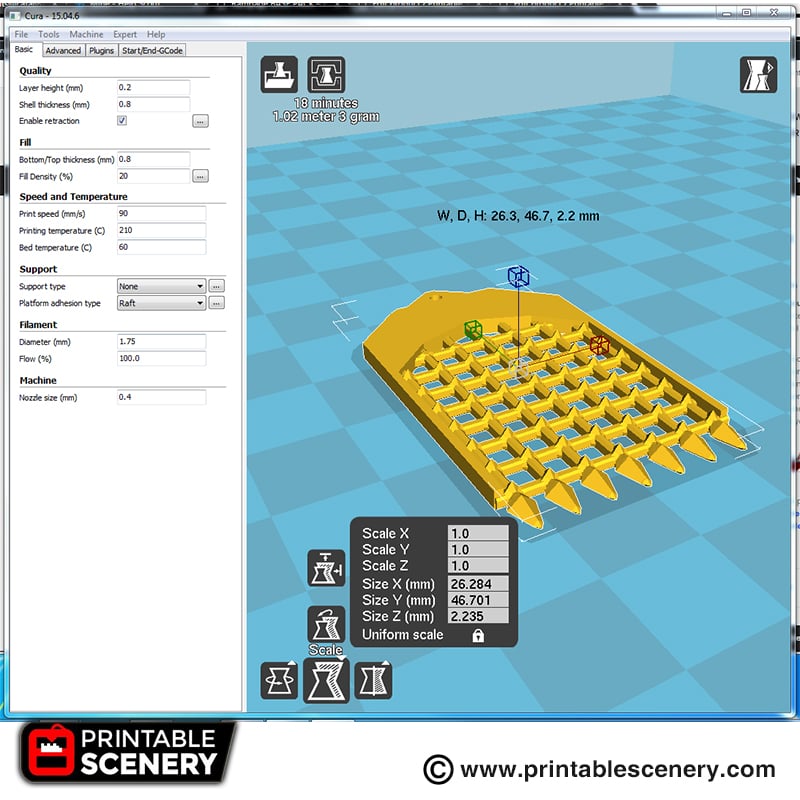
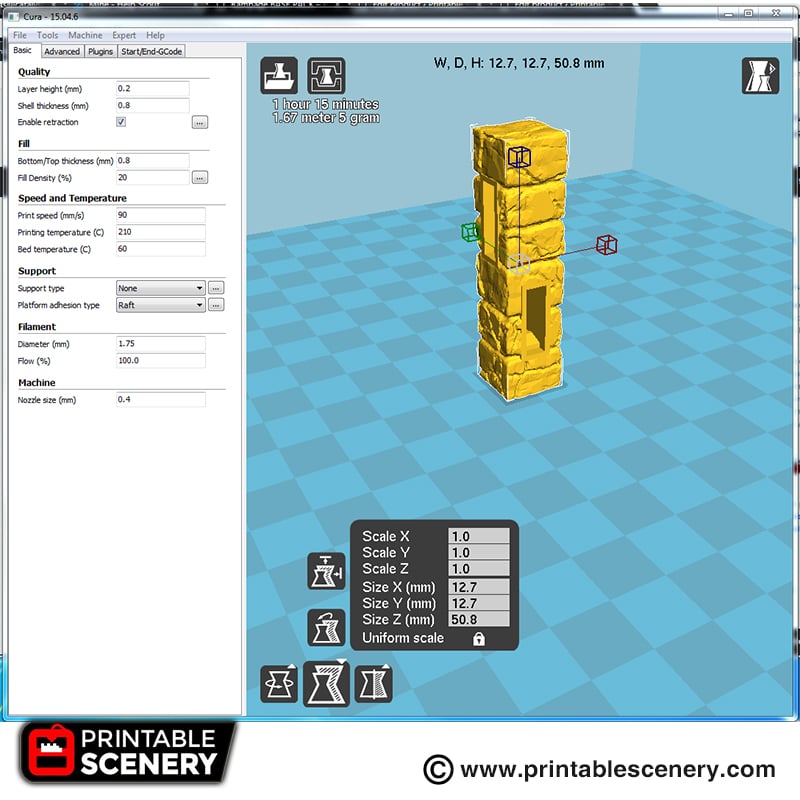
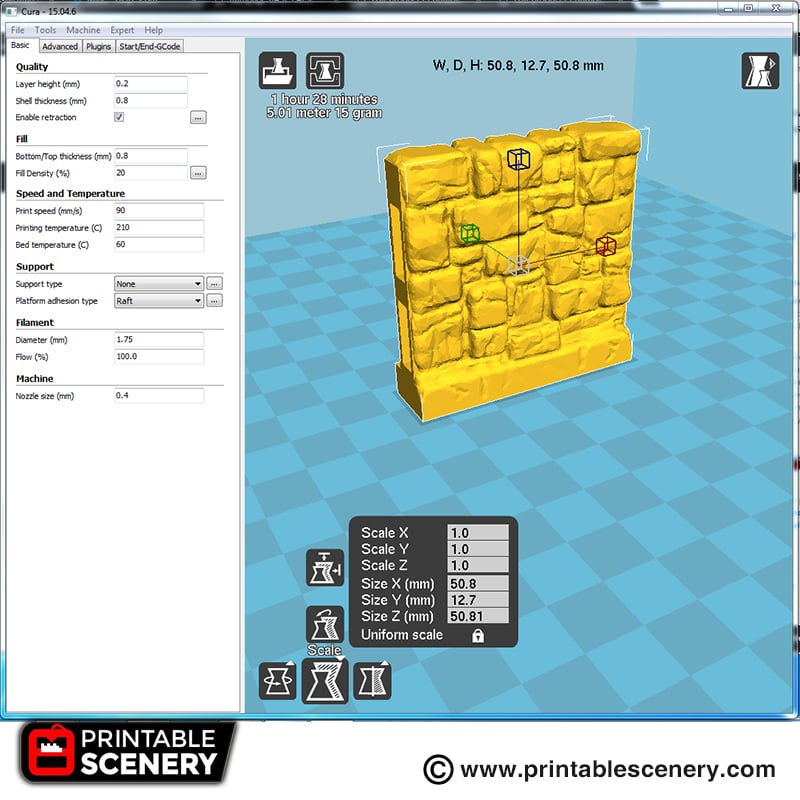
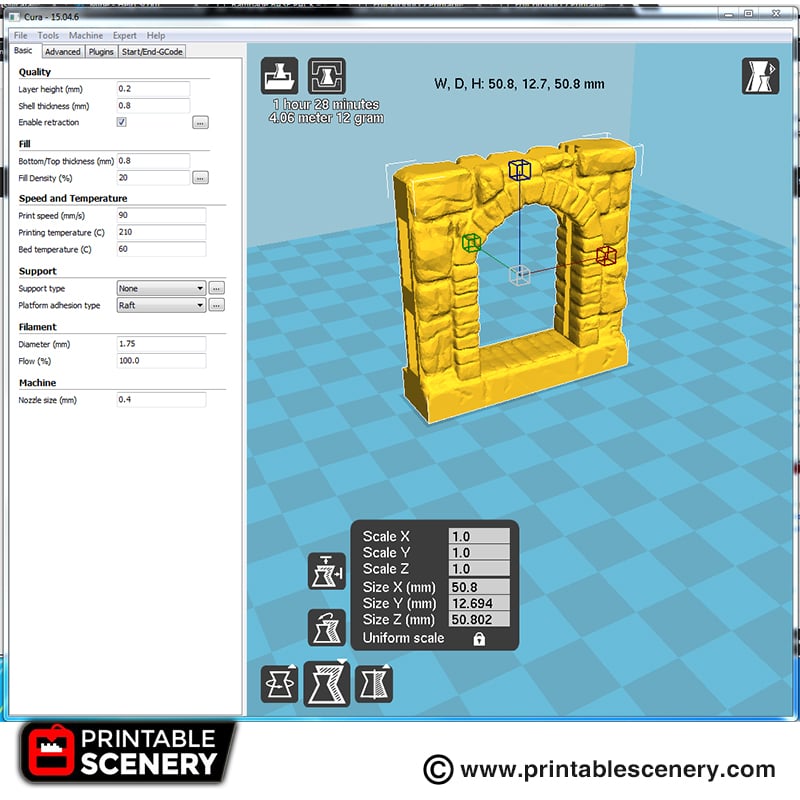
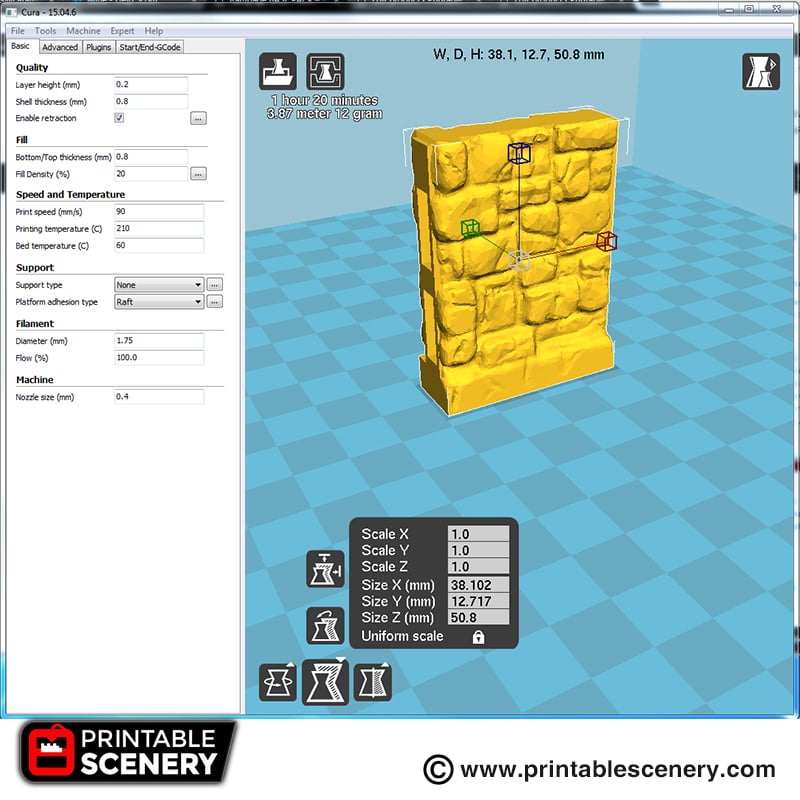
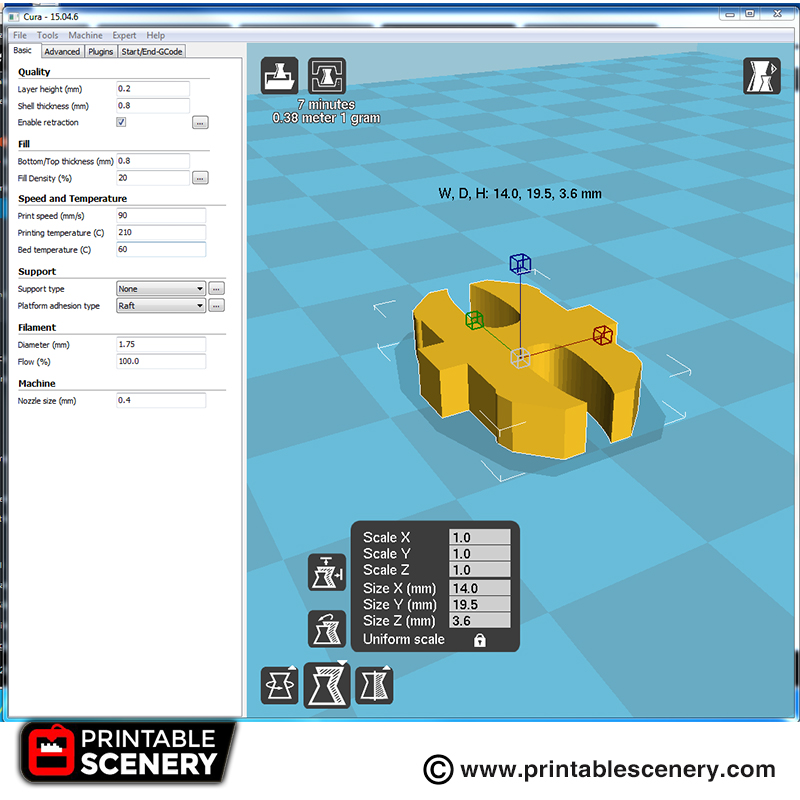
- Product measurements can be found in the image gallery.
 My Account




Edward J Hanratty Jr –
The Description shows to remove supports with needle nose pliers, but the Additional Information says supports aren’t needed. Is it recommended to print with supports or without?
Matthew Barker –
Hi, yes you don’t need supports, they are built into the model. It’s a good idea to print with a ‘brim’ this will make sure you get nice flat prints
mike2 (verified owner) –
Hi. Should I print the clips with 15% infill? Or do they need more to be stronger?
Matthew Barker –
I normally print the clips with 15% infill, they work great.
Dennis (verified owner) –
Hi Matt, I seem to have issues with the wall pieces. The more extruding stones on them always have stringing on the bottom. Quite severe actually. There are always 5-10 separate strings of filament that are just sticking into the air. I tried printing with 0.2 and 0.15 mm layers on a 0.4 mm nozzle using PLA and several variations of infill. Its always the same. It seems as if they might need supports but I was thinking that might be a bit overkill. Any recommendations?
Matthew Barker –
Hi Dennis
The walls do have some stringing under the large protrusions, this isn’t that noticeable but it can be removed with a knife. Ill do a blog on this soon
pepsicat585 –
Do you print the clips on a brim or a raft?
Matthew Barker –
It depends on your printer, but I normally print the clips with a brim
Michael McCoy (verified owner) –
Hi Matt,
The new 6.0 version has replaced the RPG stone floor, with the TRP castle floor. Is there any chance you might include a TRP version of the original stone floor?
Thanks,
-Michael
Matt Barker –
We will make some more TRP stone floors and castle floors. However, they are backwards compatible, so you can use any existing floors with the TRP Walls and visa versa
Michael McCoy (verified owner) –
Hi Matt,
You’re now responsible for my Prusa MK2 running ~20 hours a day… 🙂 I’m wondering whether you have any tips for printing the gate. In the .stl it’s oriented vertically, and even with a brim there’s very little surface area touching the plate. I’ve printed a few this way, but it’s been a bit hit or miss. Do you print this flat on a raft, or vertically ‘as is’ ?
Thanks,
-Michael
Matt Barker –
We have updated the gate so that it prints flat
Jimmydark (verified owner) –
Why is the top of the BA wall in this set flat rather then stone textured like the A wall?
Matt Barker –
True, I’ll make a quick fix to that now. Thanks for the heads up.
fhans (verified owner) –
Hi, I’ve tried downloading this set, as well as printing it, and was wondering how the pieces fit together.
I printed a clip (MMS_Clip-OpenLOCK 4.3) and a floor piece (A-TRP-Castle-Floor-v2.0), but when I tried to insert the clip into the floor, I couldn’t make it fit in any position. Am I missing anything?
Why is there two clips in the pack, both of which looks to be equally big?
Matt Barker –
You need to remove the small supports from the front of the openLOCK ports
ehrlich (verified owner) –
Hi, I’m new to this. I’d like to know if you have a recommended print list for someone getting started, i.e. what’s a good number of walls and floors and clips to print to get started.
Matt Barker –
The best would be to print 4 x L-Columnns, 4 x E-Floors 7-A-Walls and an A-Door. From there you will see how it assembles togeather
Karsten Fink (verified owner) –
Hi Matt, when is the next version ready to download? (with the quickfix, reported at October 5, 2017 🙂
Can you say, when the old sets updated to TRP?
Matt Barker –
We are going to start updating all the files as soon as we have sent out the main pledges for Rampage Gothic
jose.junior (verified owner) –
Is the only way to get stone floors buying the 9.95 stone floor package or is there any that would be included on this set?
Rex Foot (verified owner) –
The E-TRP Floor tile is included in the pack. We do howsoever have a wide variety of different stone floor designs, but you will need to by those packs to get access to them.
G Rose (verified owner) –
Is there an existing floor tile with a slot for the ‘A’ so it can be a ‘roof’ over the gate?
If not could you please make one and put some murder holes in the floor , so my kobolds can slam the gates down in front and behind the and then pur boiling oil down on the adventures!
Rex Foot (verified owner) –
The two products i recommend are the RPG- Murder Holes, and the Castle Floor packs. Let us know if that is what you are looking for.
G Rose (verified owner) –
Not quite the idea is they come in through the entrance tile seeying the first arch tile (no gate) then a floor tile then the second arch (also no gate) when the party move onto th floor tile then the kobolds in the room on the second floor slam the gat4es down and pour boling oil on the adventures.
I guess I can make the castle floor tile work
cheers
nookrmk (verified owner) –
I tried printing the walls and floors vertically with a skrt and I got good adhesion but a stringing mess afterword. It’s very frustrating. I’d like to purchase products but I’m apprehensive. What are your recommended print settings? Can you print vertically? Do you recommend a raft? Thanks in advance.
Sam Campbell (verified owner) –
Printing vertically with a raft is an option we use frequently for doign floors. If you have a stringing mess it’s usually to do with calibrating your z settings correctly or your tile is oriented so it can get knocked over. If you orient the tile so it’s in parallel with the bed motor it works better.
alexvigil –
Will I be able to print your products on any of these 3d printers?:
101 Hero, Cabinet Autonivel, QIDI TECH DOUBLE ?
Sam Campbell (verified owner) –
As long as you run the STL (universal file) through the slicer configured for your printer it should be fine.
Marcel Toele (verified owner) –
I hope this isn’t a very dumb question, but since I see it everywhere: What does TRP stand for?
Matt Barker –
It’s stands for Triplex, which is the OpenLOCK tile with 3 ports per 2 inch instead of 1 port per 2 inch
sirdeblin34 (verified owner) –
This is more of a generic question – For all models not just the RPG base Pack. First i love the models and I am currently downloading all the Demon Elves and Dwarven Terrain. All of your files come with a great reference sheet, Would it be possible to add the standard print profile info to these. For example .2 layer height, 6 top / 6 bottom, 15% infill, speed… and such. It would save time from goign to the web site between different prints and models.
Sam Campbell (verified owner) –
There is no standard print profile, some things print with different settings depending on the model.
dasor (verified owner) –
Just to let you know: the L column model has still 4 “little points” where the old supports were.
Sam Campbell (verified owner) –
Thankyou, we’ll get this updated.
savery.theron (verified owner) –
Hi guys, tried printing out the floors with 20% infill and .2 mm layer height. Ran into an issue where my slicer (cura) is trying to print material over open gaps in my infill. Just wondering what kind of infill pattern you recommend as well as patterns for top/bottom layers for detail on the floor, thanks.
Sam Campbell (verified owner) –
Infill pattern depends on your printer and how it fills over gaps within infill. We test print with a basic square grid. Usually if you have two fixed points within the top layer of infill it will print horizontal lines quite well. You may need to check your fan cooling as the filament comes out of the nozzle.
stephenmarsh42 (verified owner) –
Has the B wall been removed from the pack? I couldn’t see it in the Zip.
Sam Campbell (verified owner) –
Yes the B-Wall was removed. We’ll get the picture updated.
Kayo de Bakker (verified owner) –
Hi! Thanks for all the hard work.
I recently printed the grate + arch but the grate doesn’t fit. I think I can sand it a bit for it to fit but I was wondering what you guys would recommend.
Sam Campbell (verified owner) –
It is a snug fit so you may need to sand it down to get rid of burrs from the print lines. You can also print the grate at 98%.
enniosialiti (verified owner) –
Hey!
This might be silly question but I am having difficulty with the supports built into the floor tiles for example.
When I try to remove the tiny supports covering the openings, there are things that crack under the pressure of the removal. I can’t explain it any other way.
The bottom plane might suddenly crack loose, and often the small parts that are meant to hold the clips also give way.
Any advice on this?
Thanks 🙂
Nicholas Jebson –
Hey Enniosialiti, What are you using to remove the supports? We have sometimes find that you can get cracking if too much downward pressure is applied with needle nose pliers, so we tend to use curved nose beading pliers with a sideways twist to pop them out. I haven’t had any problems since I started using them.
André Podeyn (verified owner) –
Hey I am Looking for T style columns so Slots on 3 sides, cant find them. I own the rampage Floors and walls sets as well as the Basic pack.
Nicholas Jebson –
Hey Andre, because the columns only have room for 2 pegs we did not create a T style column for this set. If the wall that was going to make up the trunk of the T needs anchoring i would recomend using a L column to anchor it to the most stable wall and have the other side abate it.
Jesse Riley (verified owner) –
Hey there. it was mentioned that some people print the tiles vertically to get better detail. Do you add your own supports to do that? It seems that there are some overhangs that wouldn’t work without supports.
Sam Campbell (verified owner) –
Some people print floor tiles verticall and most of the floor tiles will work. There may be some overhang on the inner support structure but this wont be visible and wont affect clipping.
adrianreszka90 (verified owner) –
I have a small issue with overhang for walls, is there some specific setting or supports i need to add ? I use 0.2 and 15% infill.
Sam Campbell (verified owner) –
We’ve got an update for this that will be uploaded shortly.
Joseph Smith (verified owner) –
Is there a version of the castle floors that is smooth? It seems to be printing them out super rough and not looking like what is in the photo…tried different printers and printer settings to make this work also and still have a broken up floor surface
Sam Campbell (verified owner) –
It sounds like you might have some issues with your printer or settings. Can you please contact [email protected] with attached pictures of the failed print.
mdchickenbob (verified owner) –
I often have issues with the clips or parts snapping when I try to fit them together. I can play with scaling, but I still want there to be resistance to prevent the assembly from falling apart. In one of your youtube videos, you show the clip as springy. What material do typically use for the clips?
Nicholas Jebson –
We typically only do the clips in PLA as it has a decent flex to the plastic to allow the clip to ‘spring’. If the PLA is older as well it will become more brittle so the quality of the PLA can be a factor.
FatherYee –
My first couple runs with these haven’t been a “disaster” more of a “that looks pretty but doesn’t work.” I’ve done some digging and it looks like the fact that I’m using a Resin printer is the main crux of my problem. None of the clips worked properly and turns out most folks I’m seeing suggest either going for Maginets instead, reduce the print size for Resin on the clips, and/or just NOT printing the clips in your resin printer at all and using a PLA printer for that.
Luckily for me my mate has a PLA printer so I’ll see about him printing me some clips and see how this works.
Jo Boorer (verified owner) –
PLA is defiantly suggested for the clips as they need to have that flexibility.